Search Our Database
How to Copy Emails to Sent Folder in Roundcube Webmail
Introduction
This Knowledge Base article provides a concise, step-by-step guide on How to Copy Emails to Sent Folder in Roundcube Webmail. Copying emails to the Sent folder allows you to maintain a record in your sent items while keeping the original message in its current location. Use this guide when you need to duplicate emails for organizational purposes without moving them from their original folders.
Prerequisite
- Access to your Roundcube Webmail login page.
Step-by-Step Guide
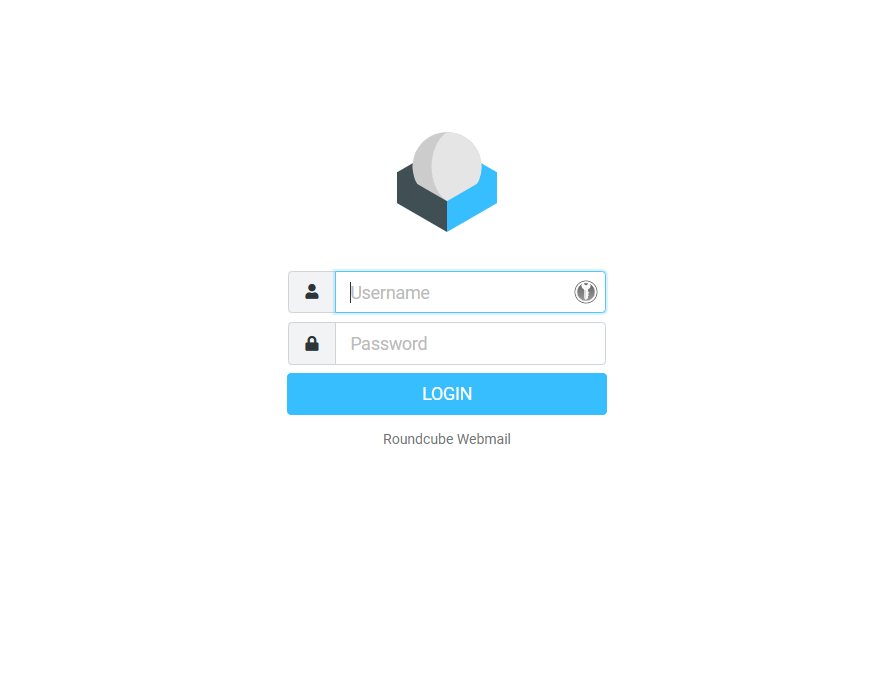
Step 1: Log in to Roundcube Webmail
- Visit the webmail login page (e.g., https://webmail.yourdomain.com).
- Enter your email address and password, then click Login .
Step 2: Locate the Original Folder
- Navigate to the folder containing the email you want to copy (e.g., Inbox).
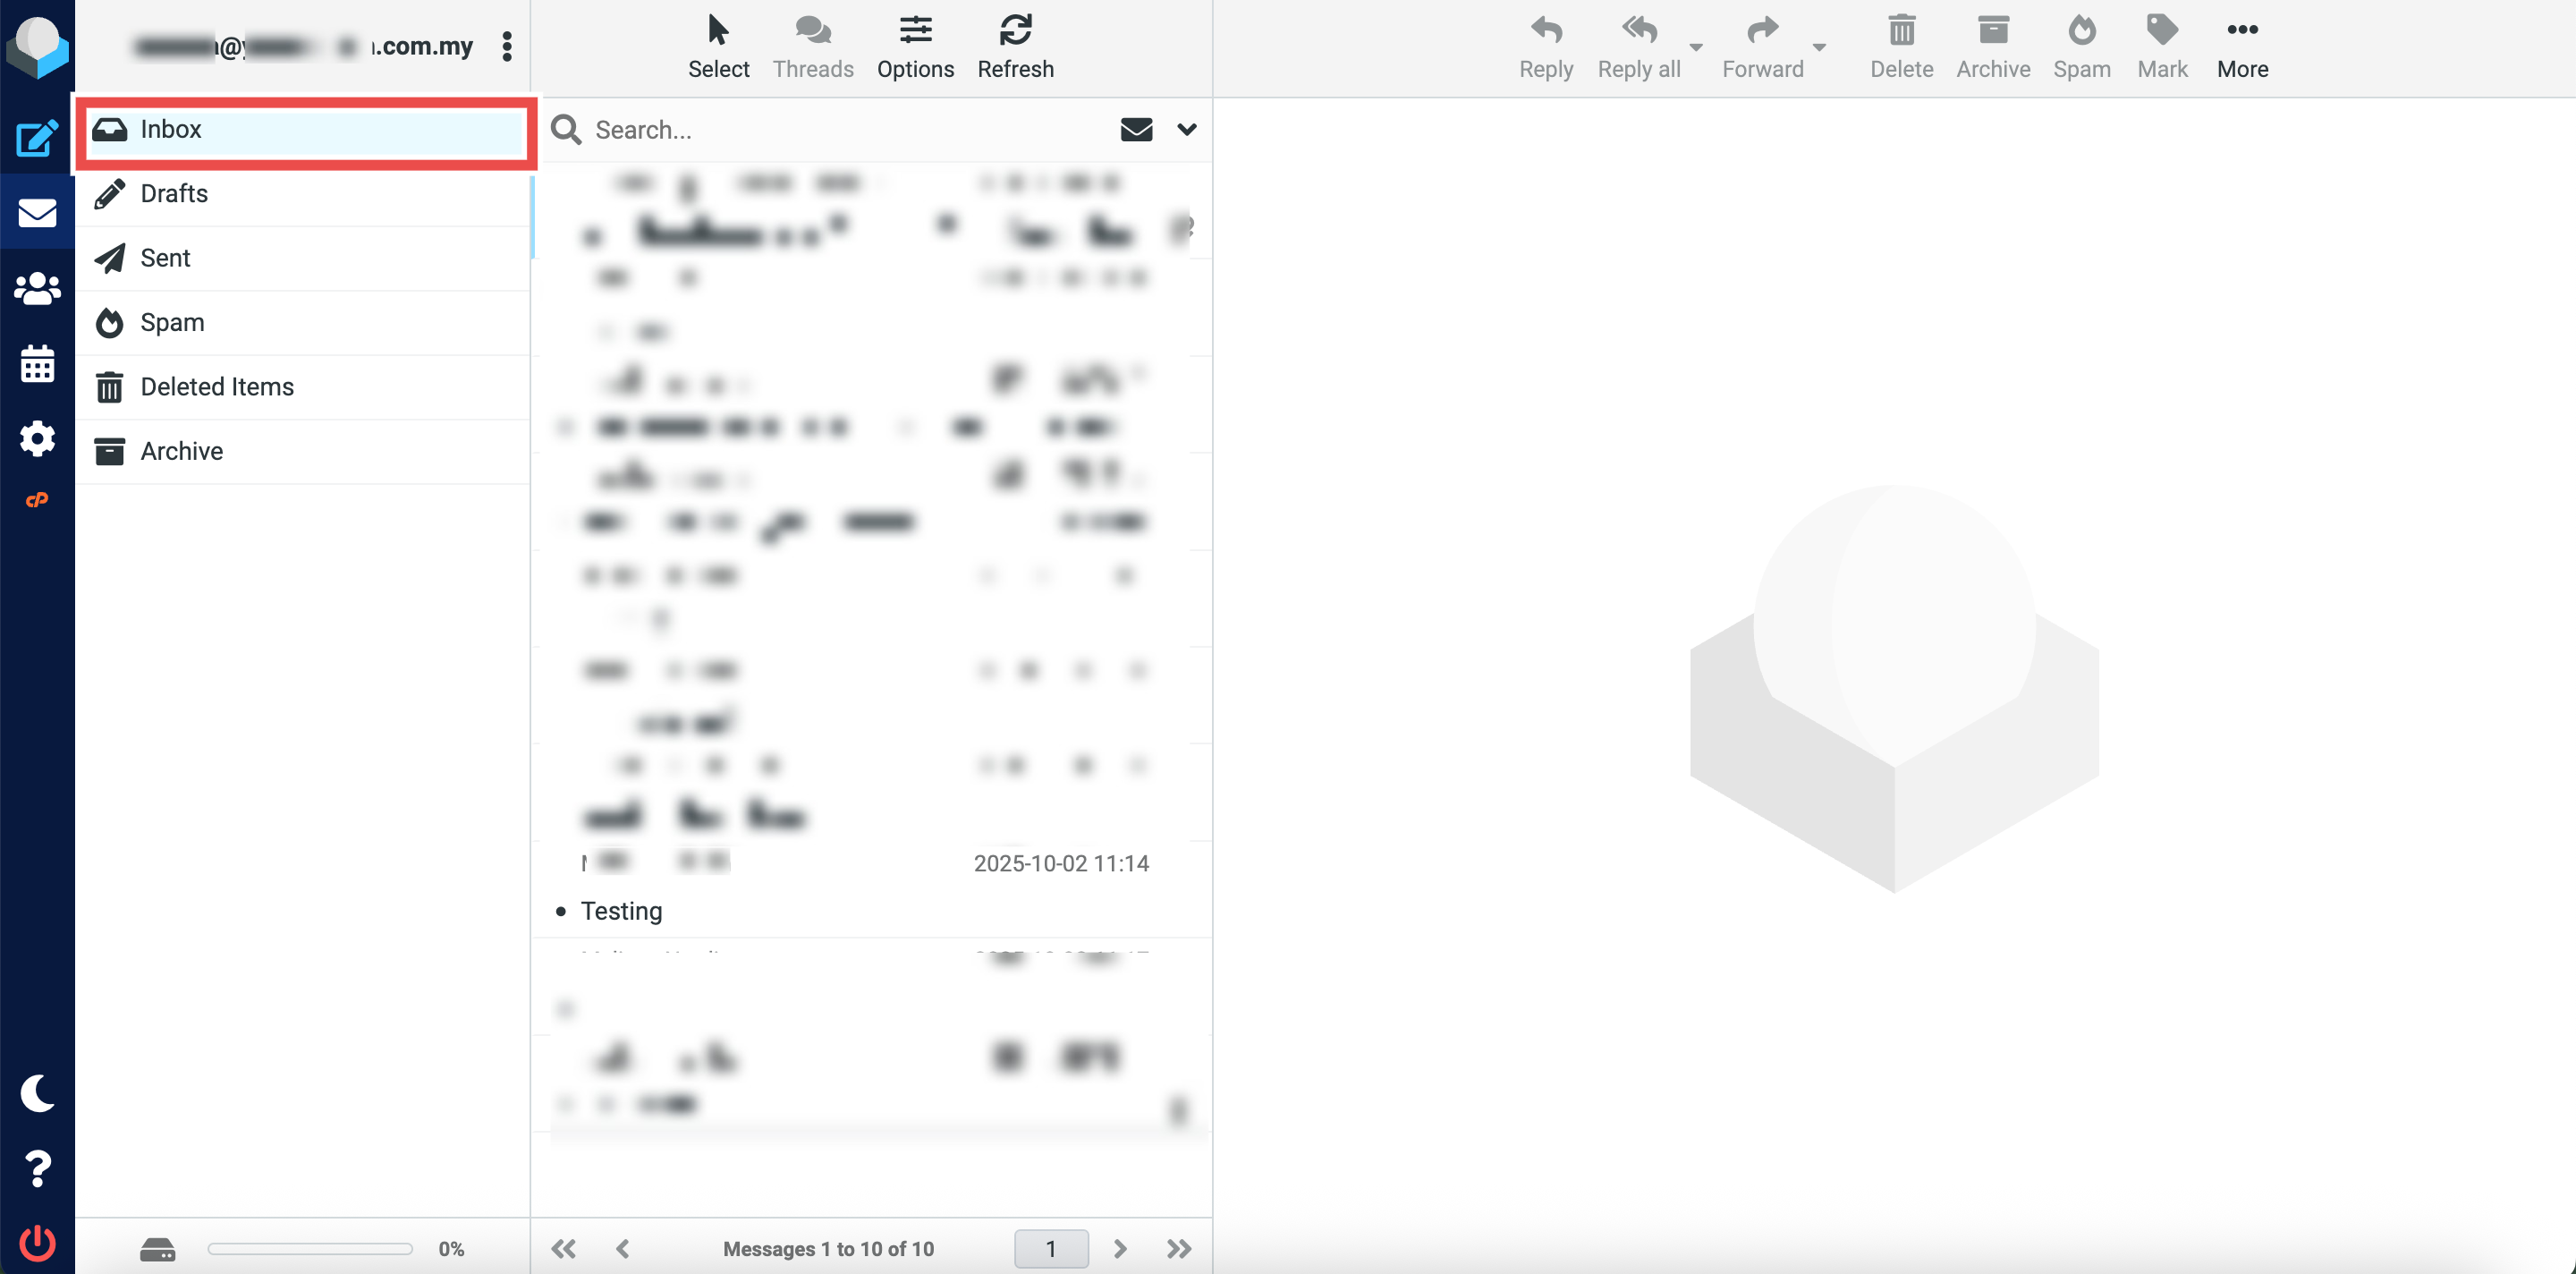
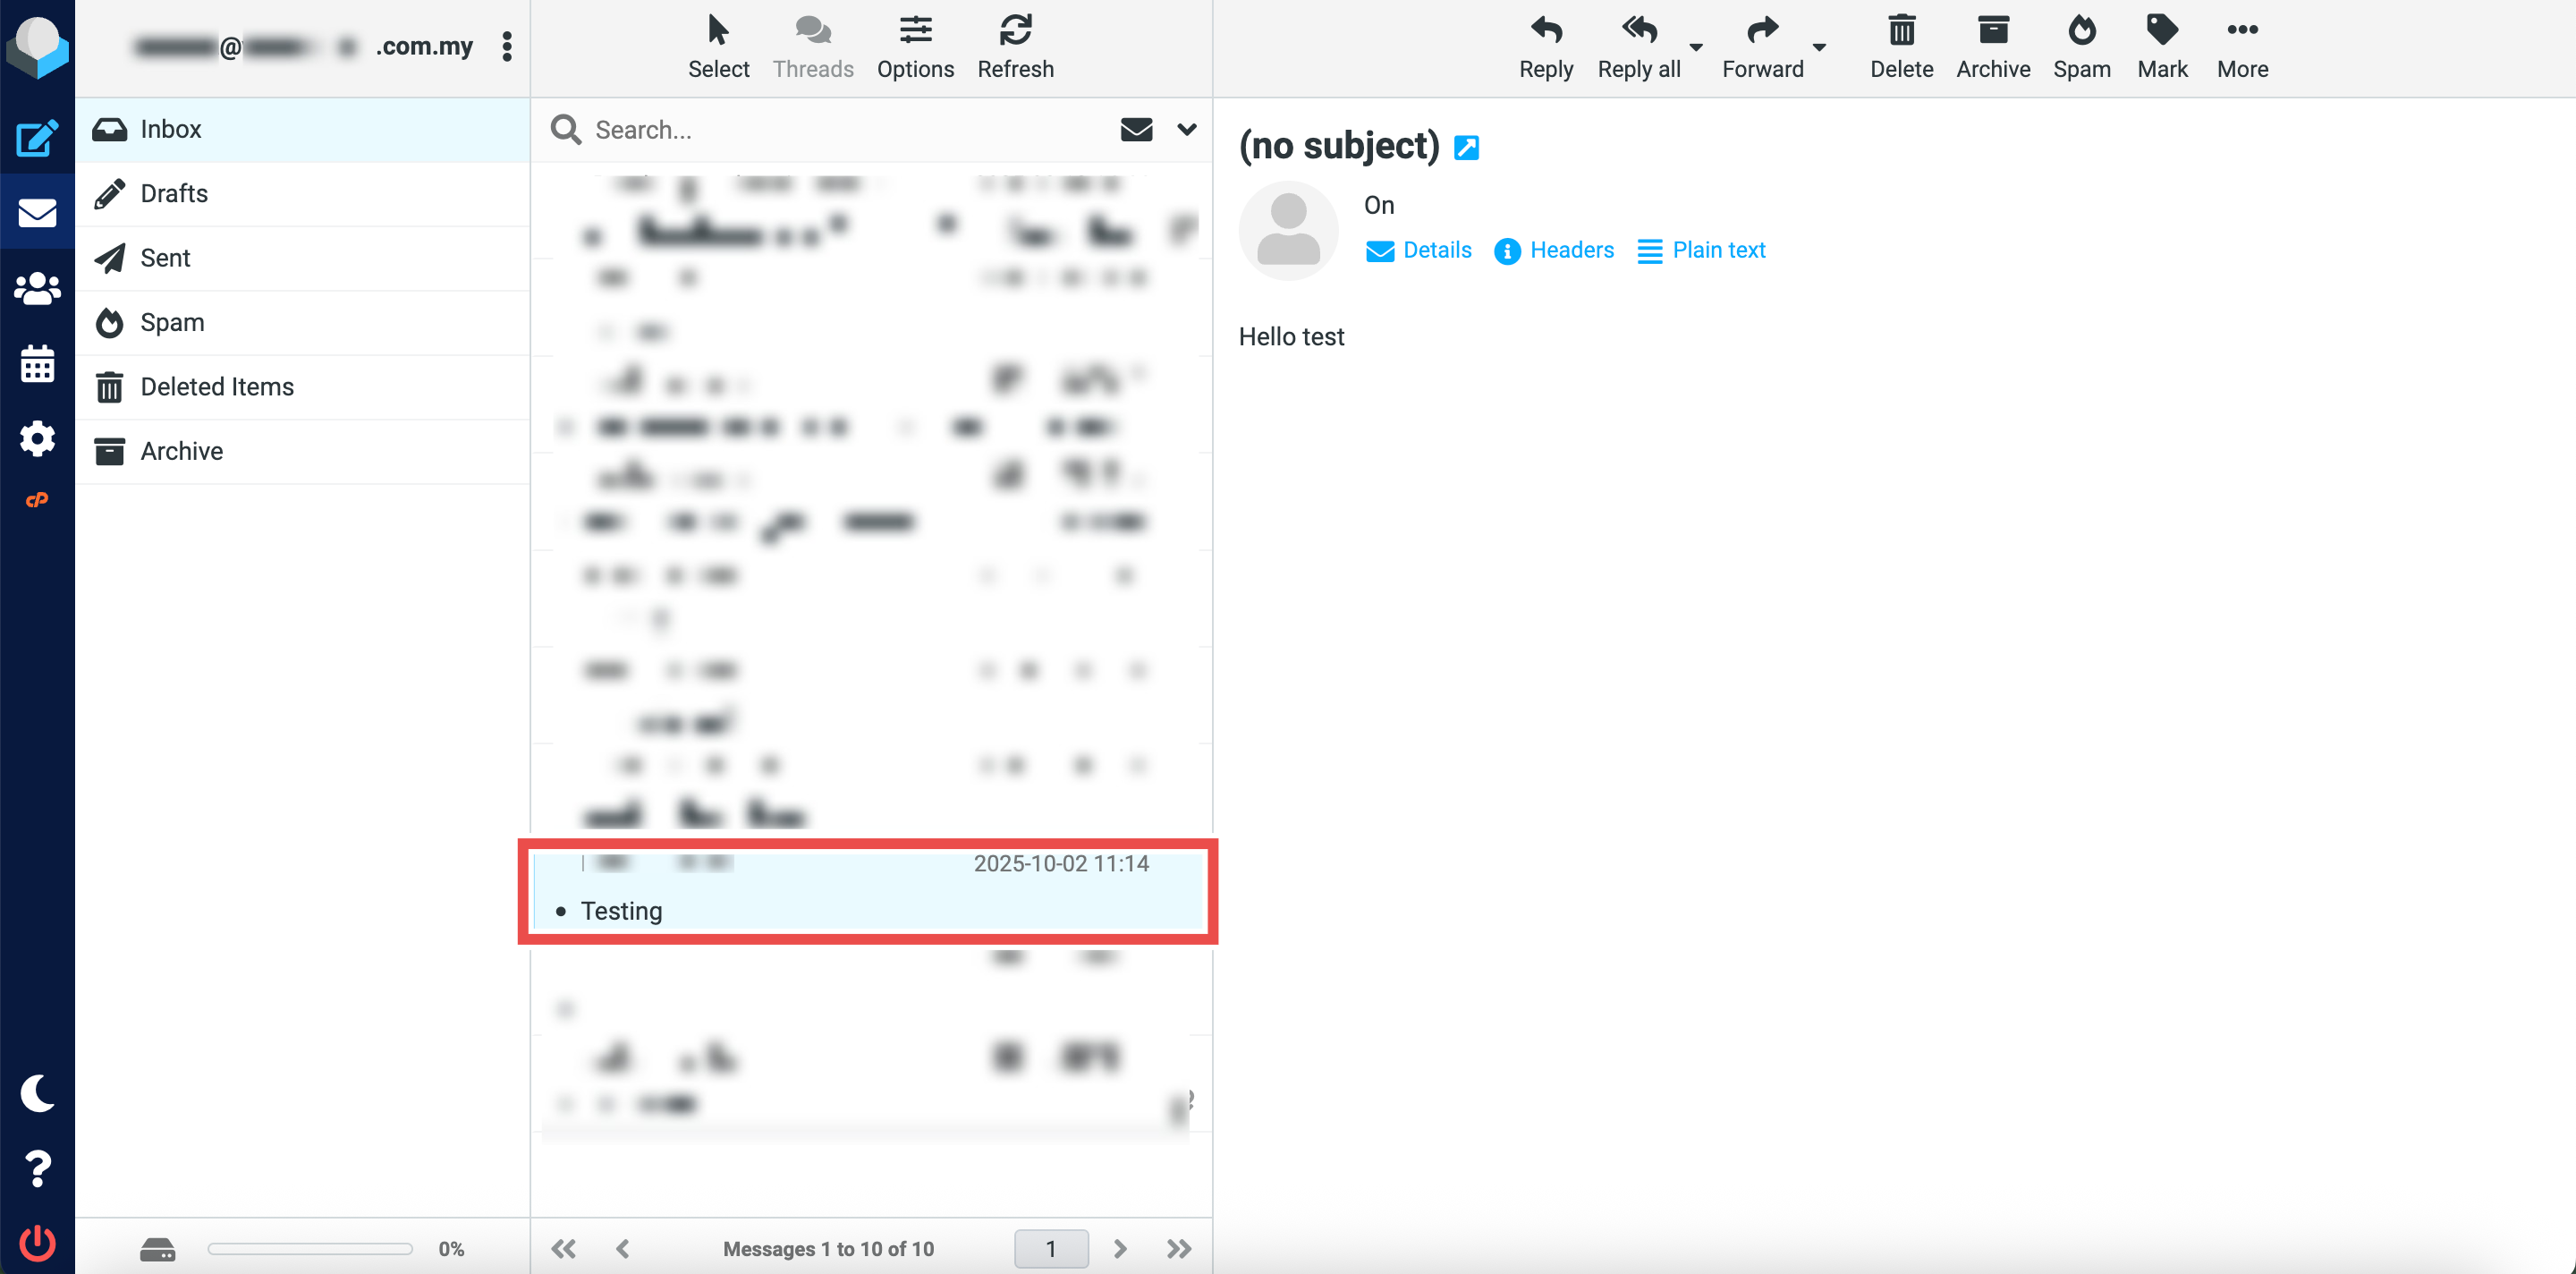
Step 3: Select the Email to Copy
- Locate the email message you wish to copy to the Sent folder.
- You can select multiple emails.
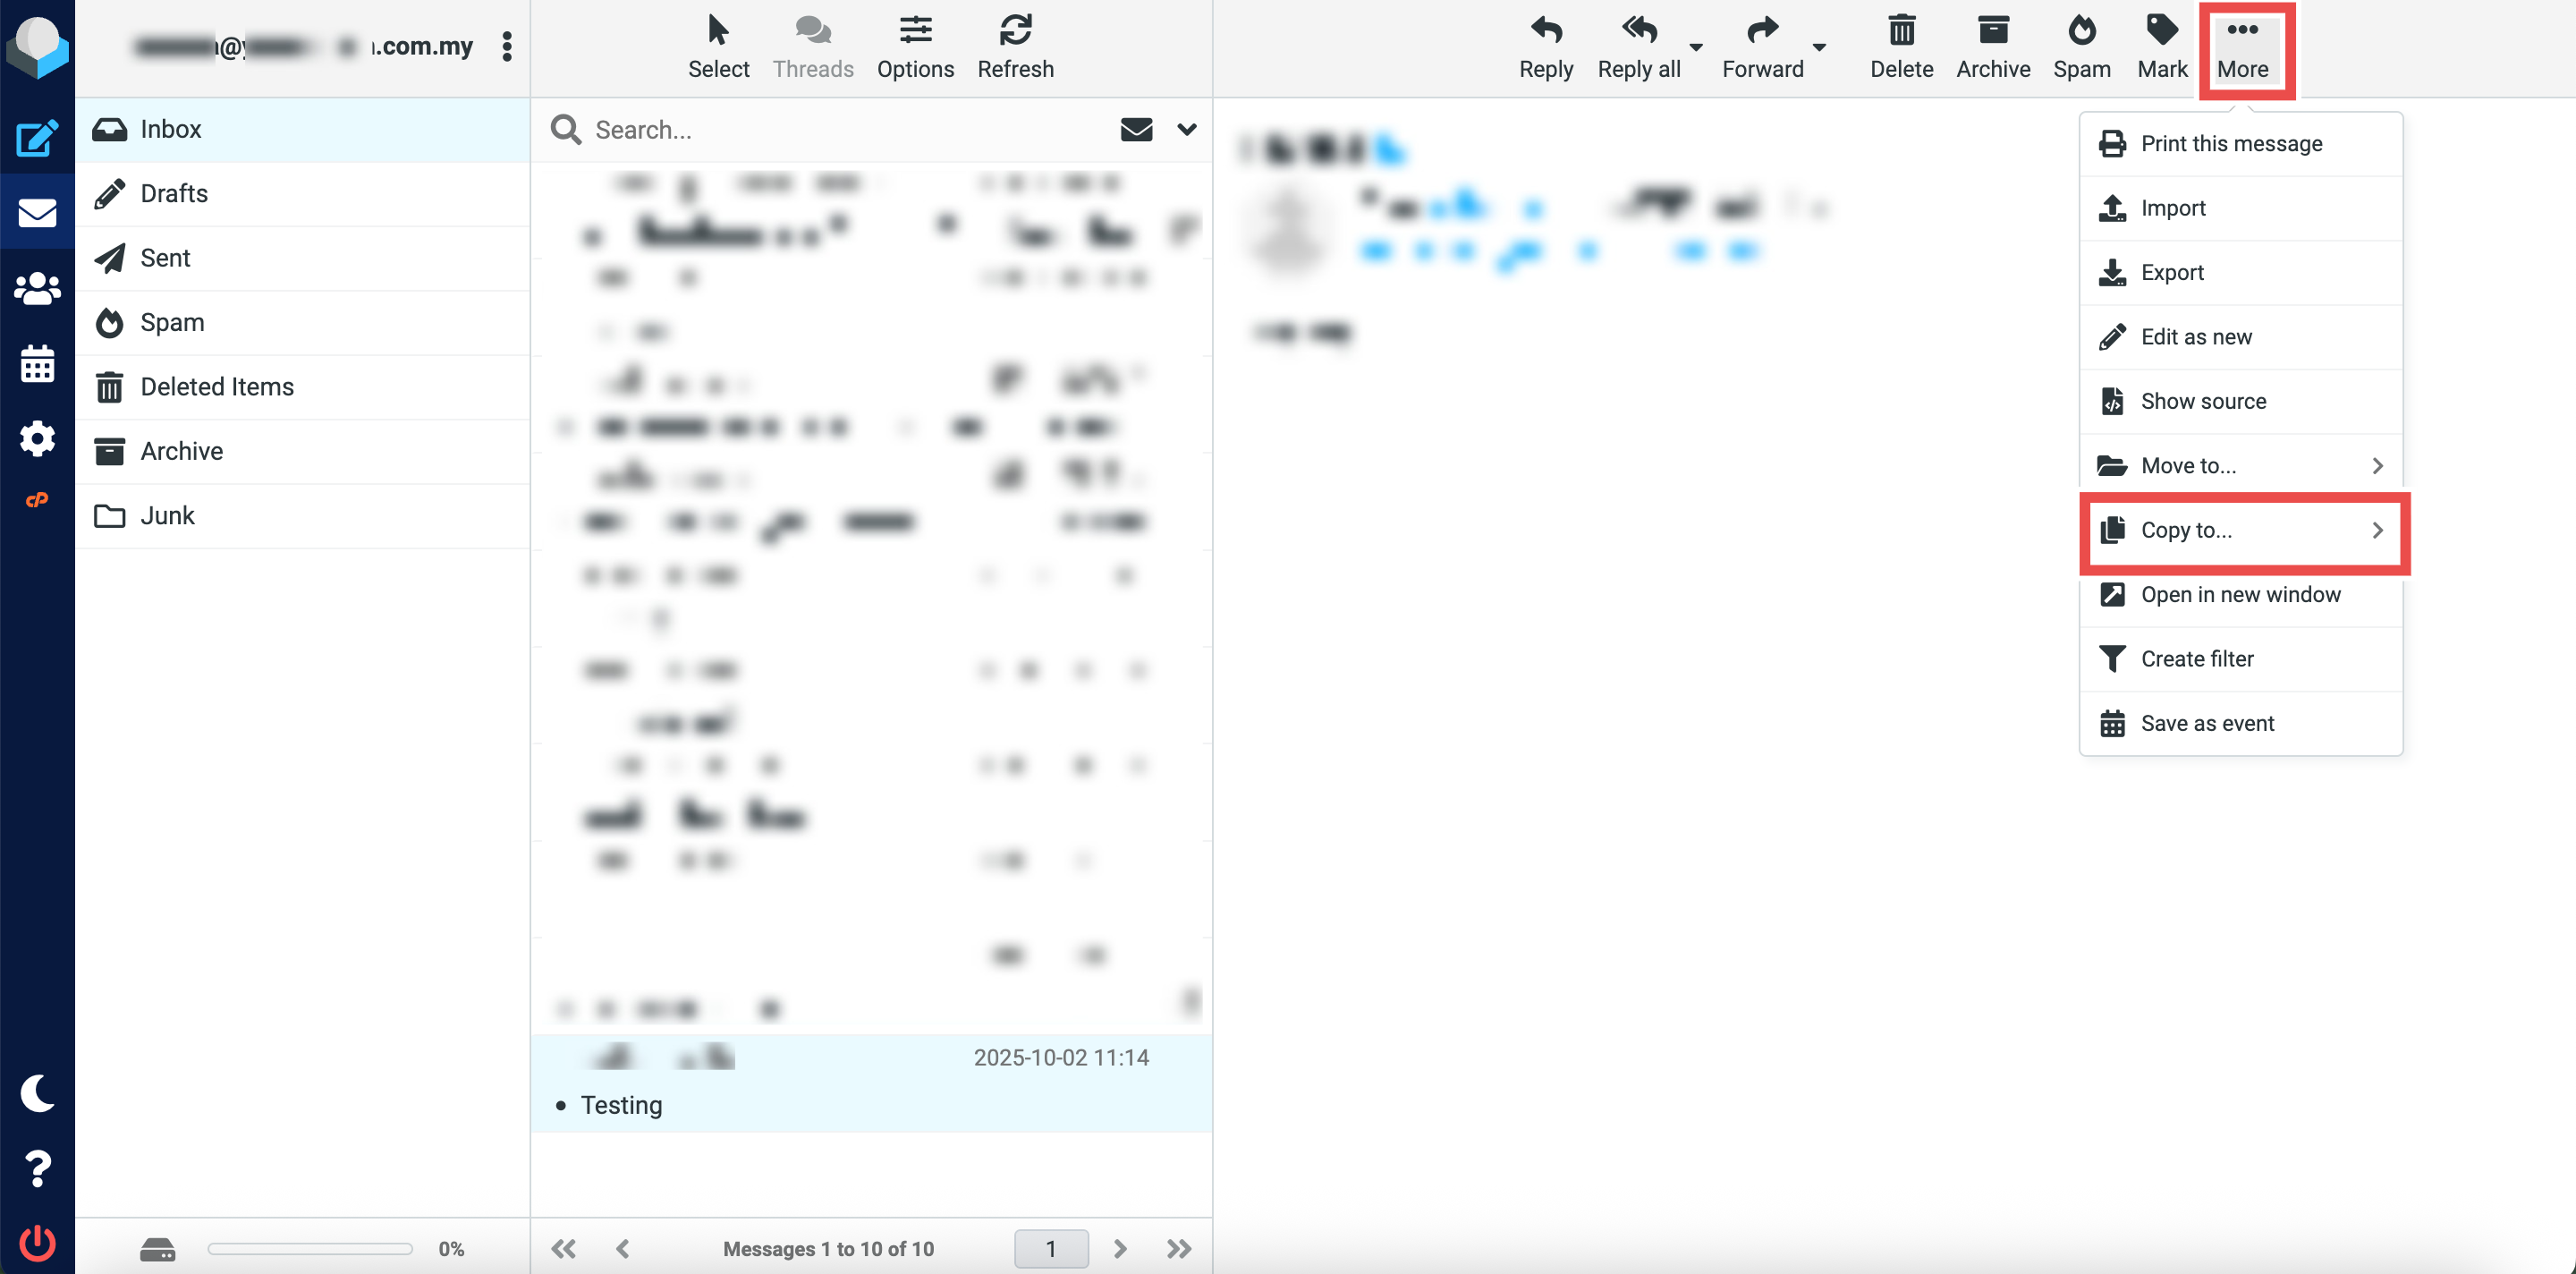
Step 4: Copy the Email to Sent Folder
- Click More button at the top right of the page.
- Click Copy to button from the dropdown options.
- Click Sent to copy the selected email(s) to the Sent folder.

Step 5: Verify the Email Was Copied
- Successful message will appear confirming the email has been copied to the Sent folder.
- Additionally, you may click on the Sent folder in the left sidebar and locate the email you just copied in the folder, the email should now appear both in the Sent folder and its original folder.

Conclusion
By following these steps, you can copy emails to the Sent folder in Roundcube Webmail. This is useful for maintaining organized records of your communications while keeping emails accessible in multiple locations. Remember that copying creates a duplicate, so any changes to one copy will not affect the other.
Should you encounter any issues or have any questions, our support team at IPSERVERONE is always here to assist you. Don’t hesitate to reach out to us at support@ipserverone.com for any help you need.