Search Our Database
How to Configure Forwarding Option: “Delete Gmail’s Copy” in Gmail Web
Introduction:
Managing professional communications for high-performance infrastructure, such as NovaCloud, GPU Servers, and Bare Metal Servers, often results in a high volume of automated notifications, including billing invoices, support ticket updates, and system alerts. To prevent these redundant messages from cluttering your primary account, Gmail provides the “Delete Gmail’s Copy” forwarding option, which automatically removes the original message from the source inbox once it has been successfully relayed to a verified destination address.
According to the sources, this administrative setting is managed within the “Forwarding and POP/IMAP” tab on Gmail Web and serves as an effective tool for maintaining a lean, efficient digital workspace. By configuring this rule, you ensure that your primary account acts strictly as a routing hub, centralizing all management tasks to a secondary mailbox while protecting the storage capacity and performance of your primary communication stream. Mastering this configuration allows for a streamlined data strategy.
Prerequisites:
- User must possess a fully registered and active Gmail account.
- The procedure explicitly requires accessing the Gmail Web interface.
- You must have a secondary, active email address to serve as the forwarding destination.
- You must have already successfully added and verified a destination email address.
Step-by-step Guide:
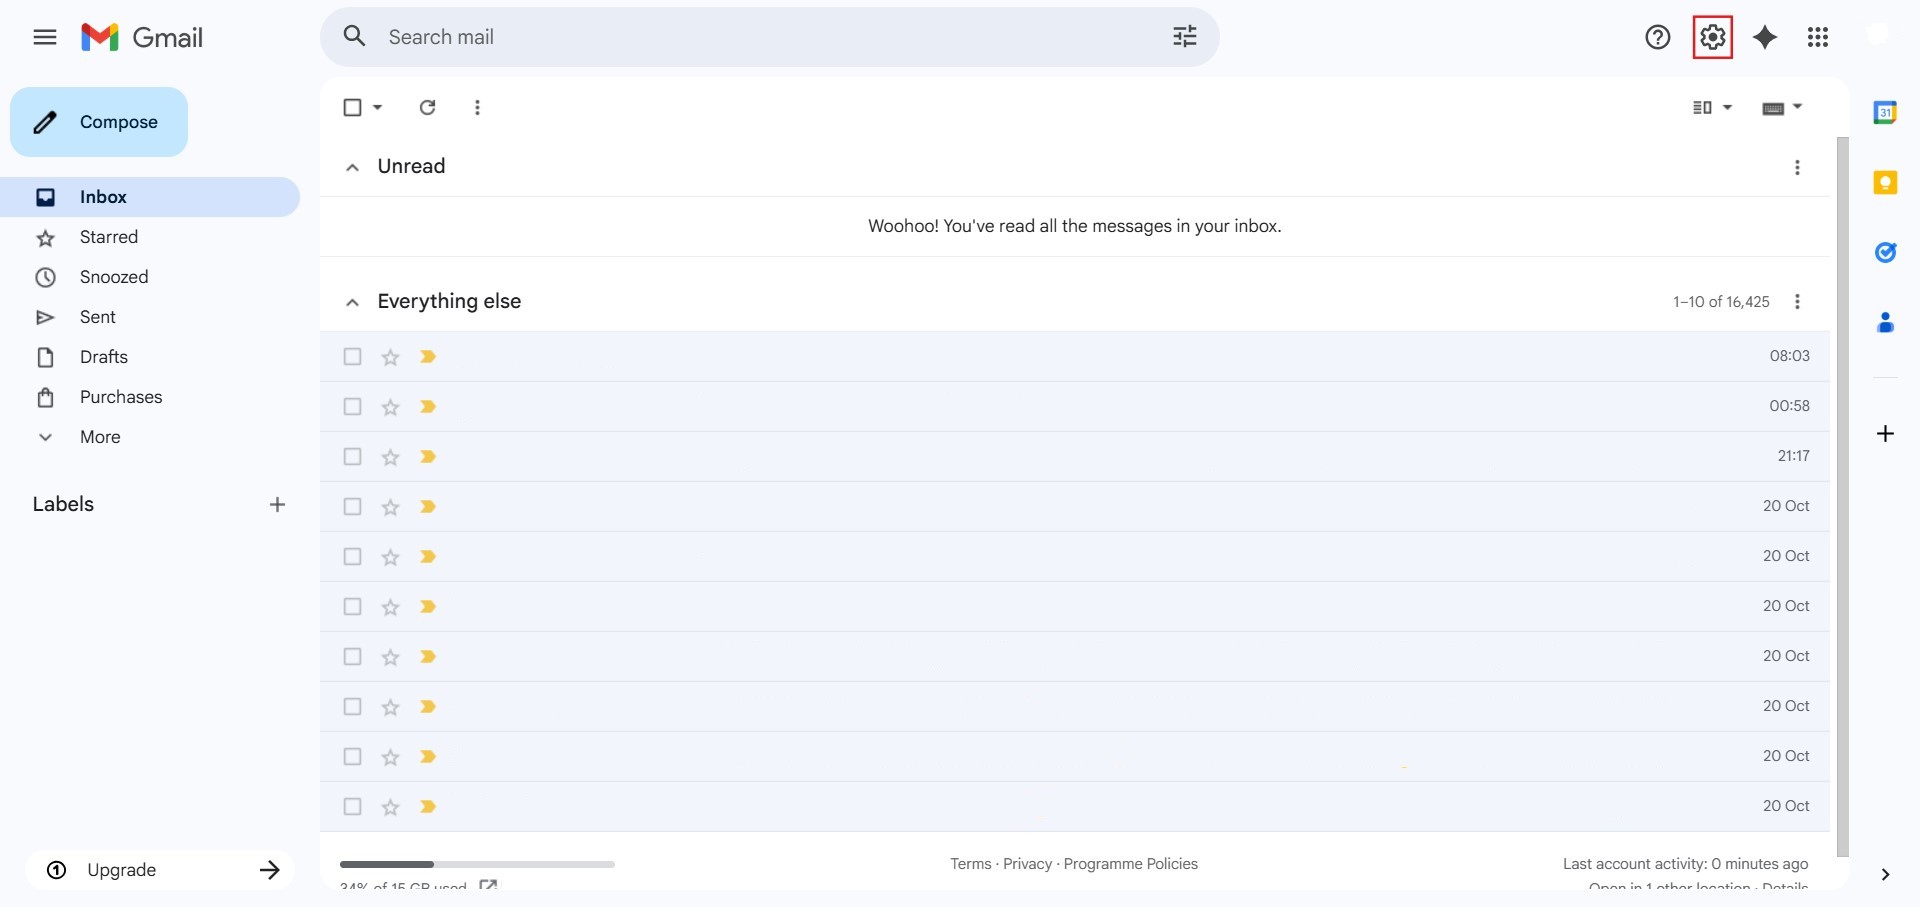
Step 1: Access Settings
- The initial action required is to Click setting.
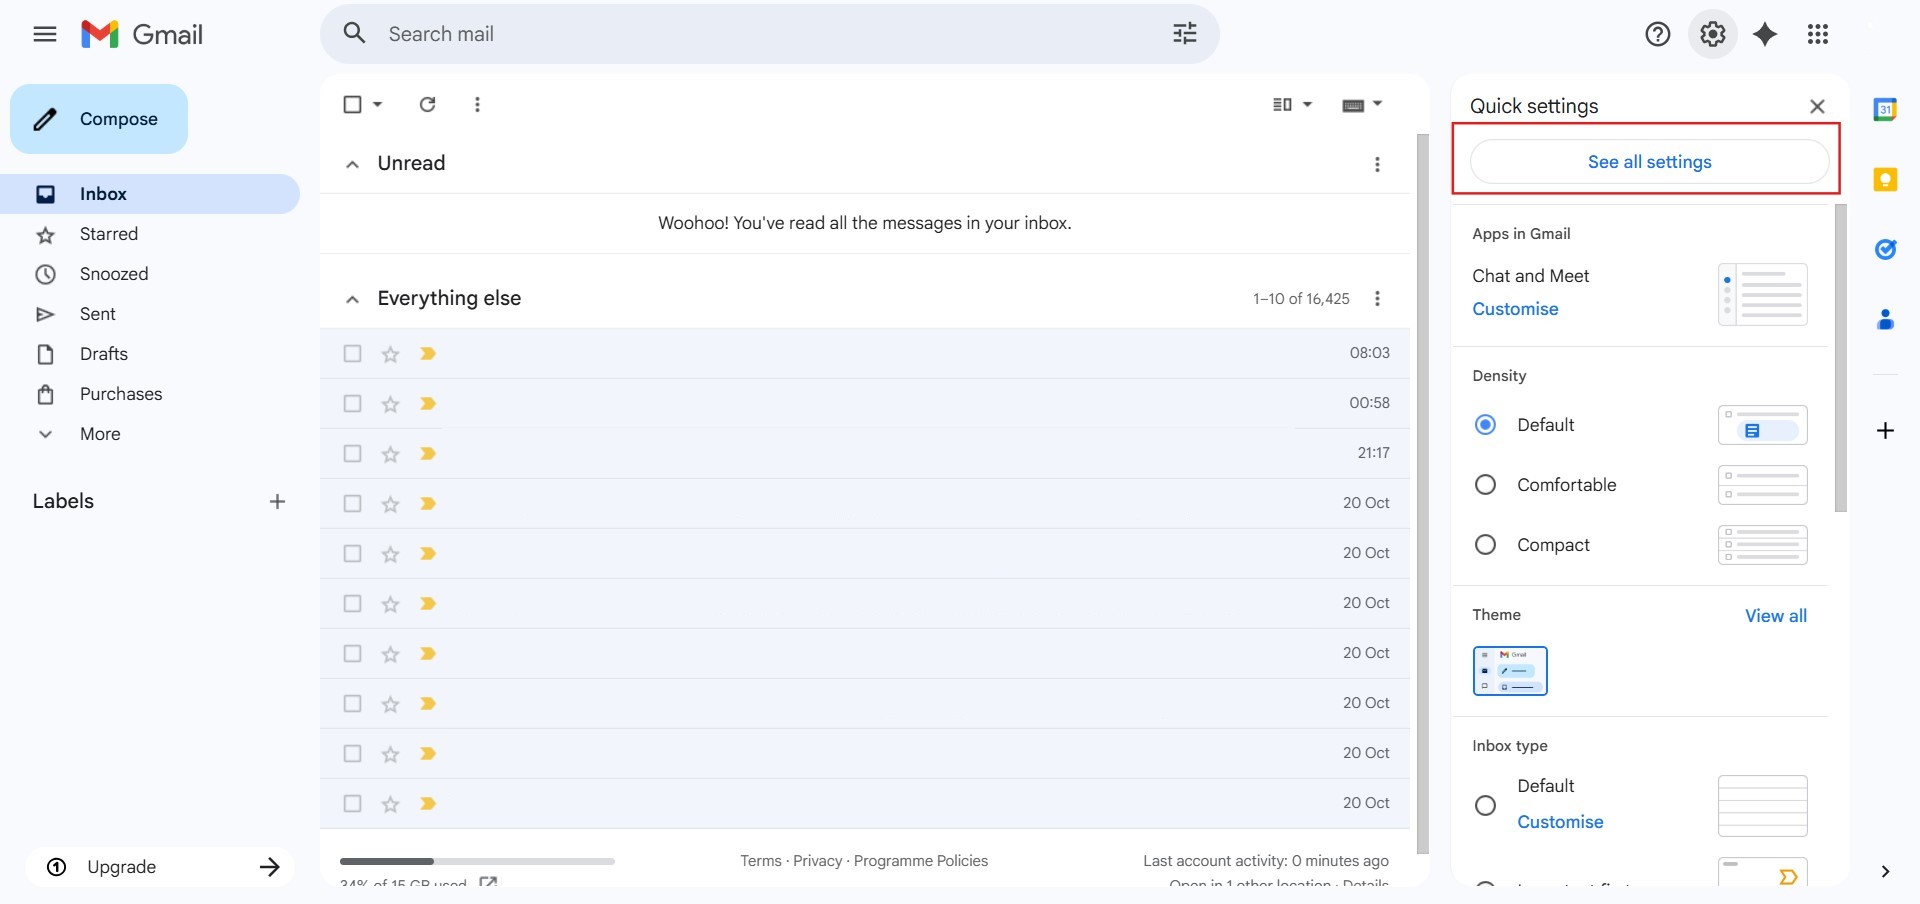
Step 2: Navigate to All Settings
- After clicking “setting,” proceed to select See all Settings.
Step 3: Navigate to Forwarding and POP/IMAP
- Click on the tab labeled “Forwarding and POP/IMAP” located in the top menu bar of the settings page.

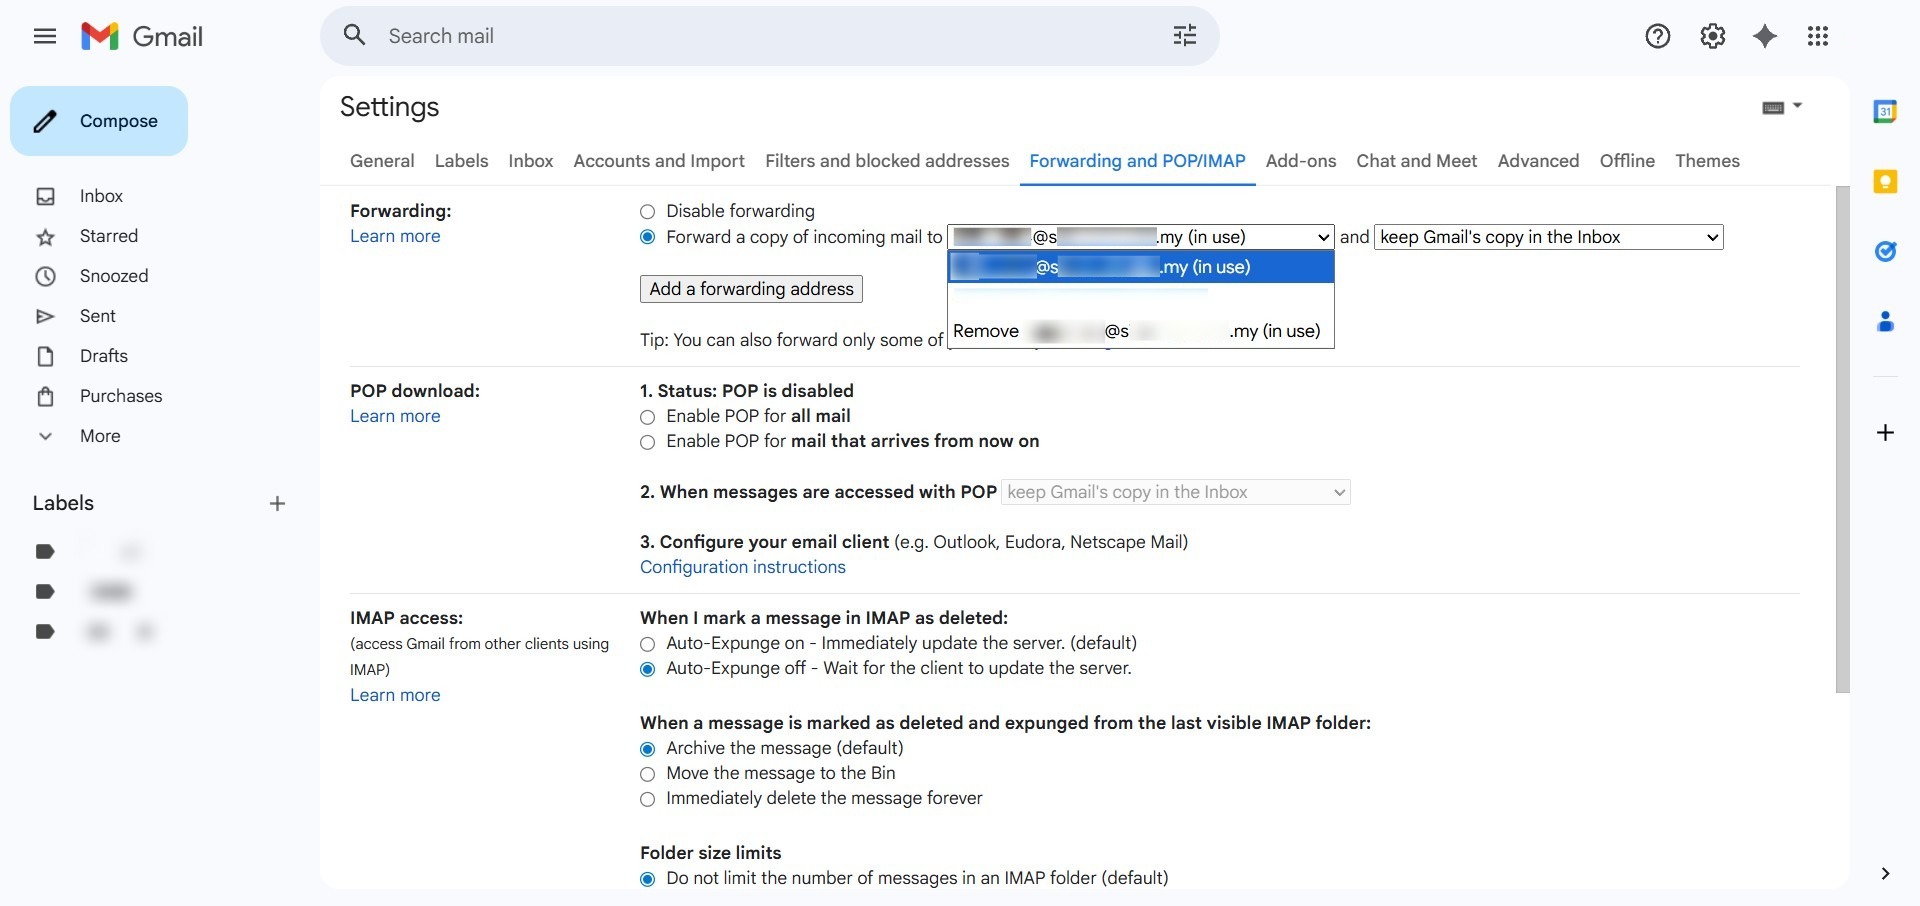
Step 4: Choose Recipient
- Ensure the forwarding feature is toggled to “Forward a copy of incoming mail to…”

Step 5: Enter Destination
- Select the verified destination email address from the primary dropdown menu.
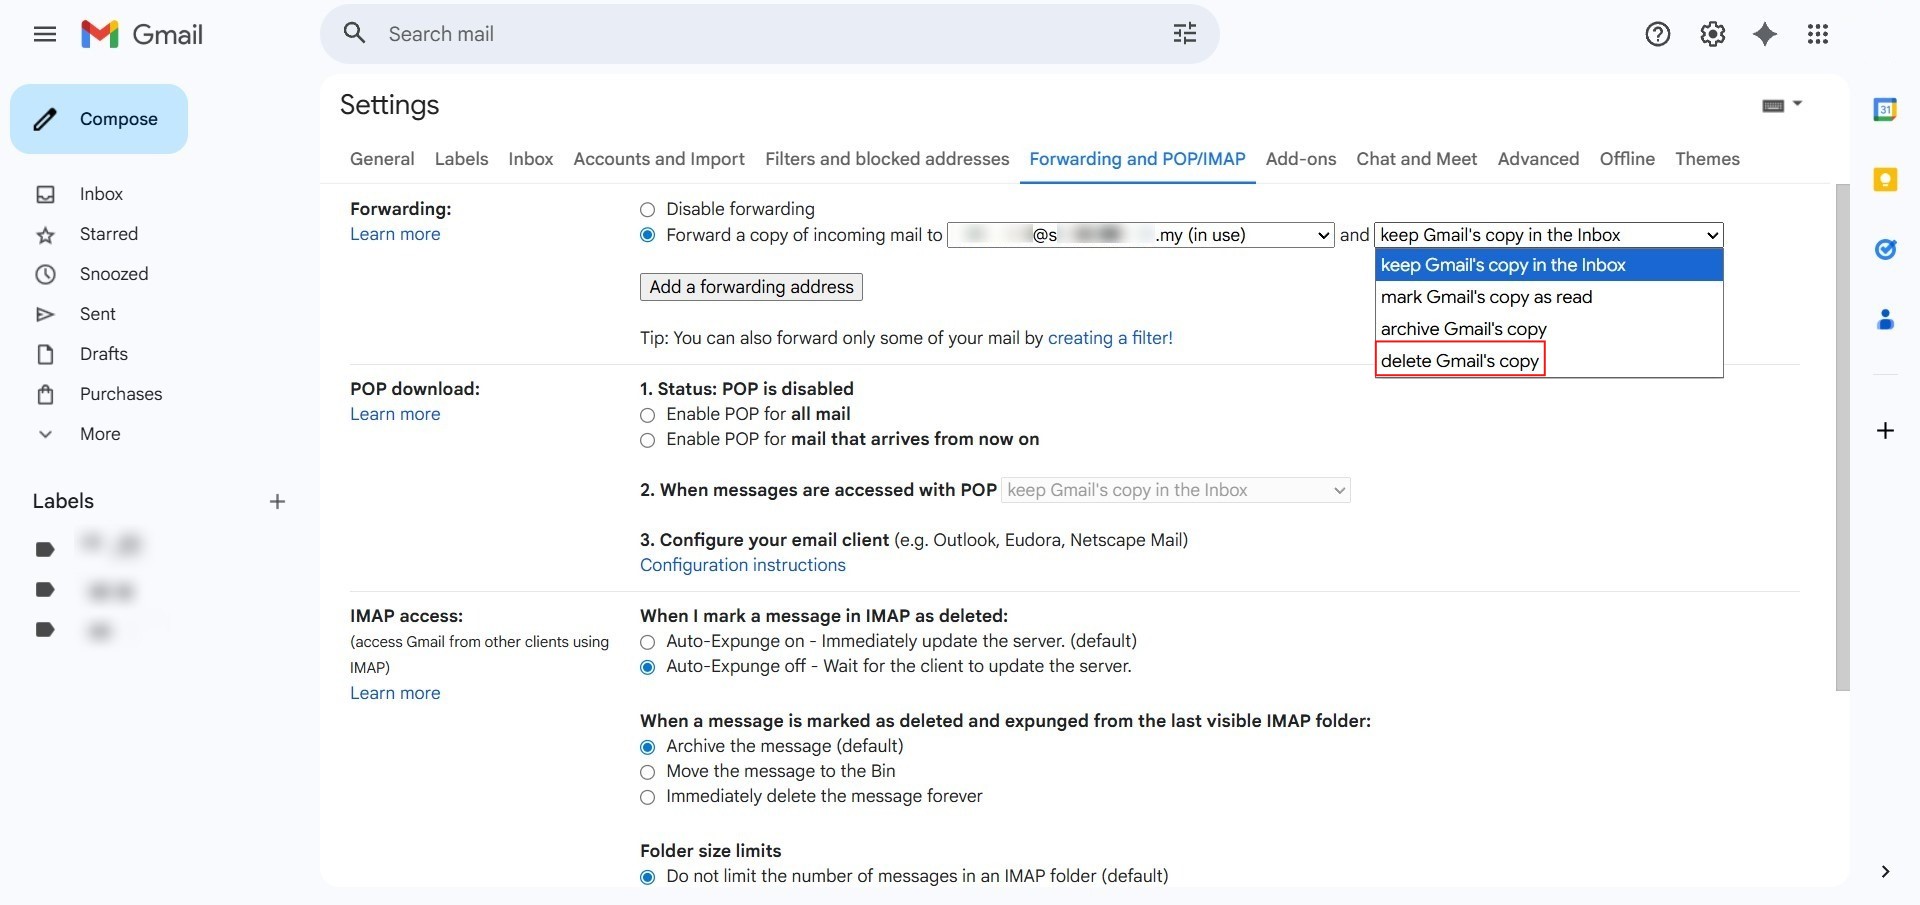
Step 6: Set Deletion Action
- In the secondary dropdown menu, select the specific instruction: “delete Gmail’s copy”.
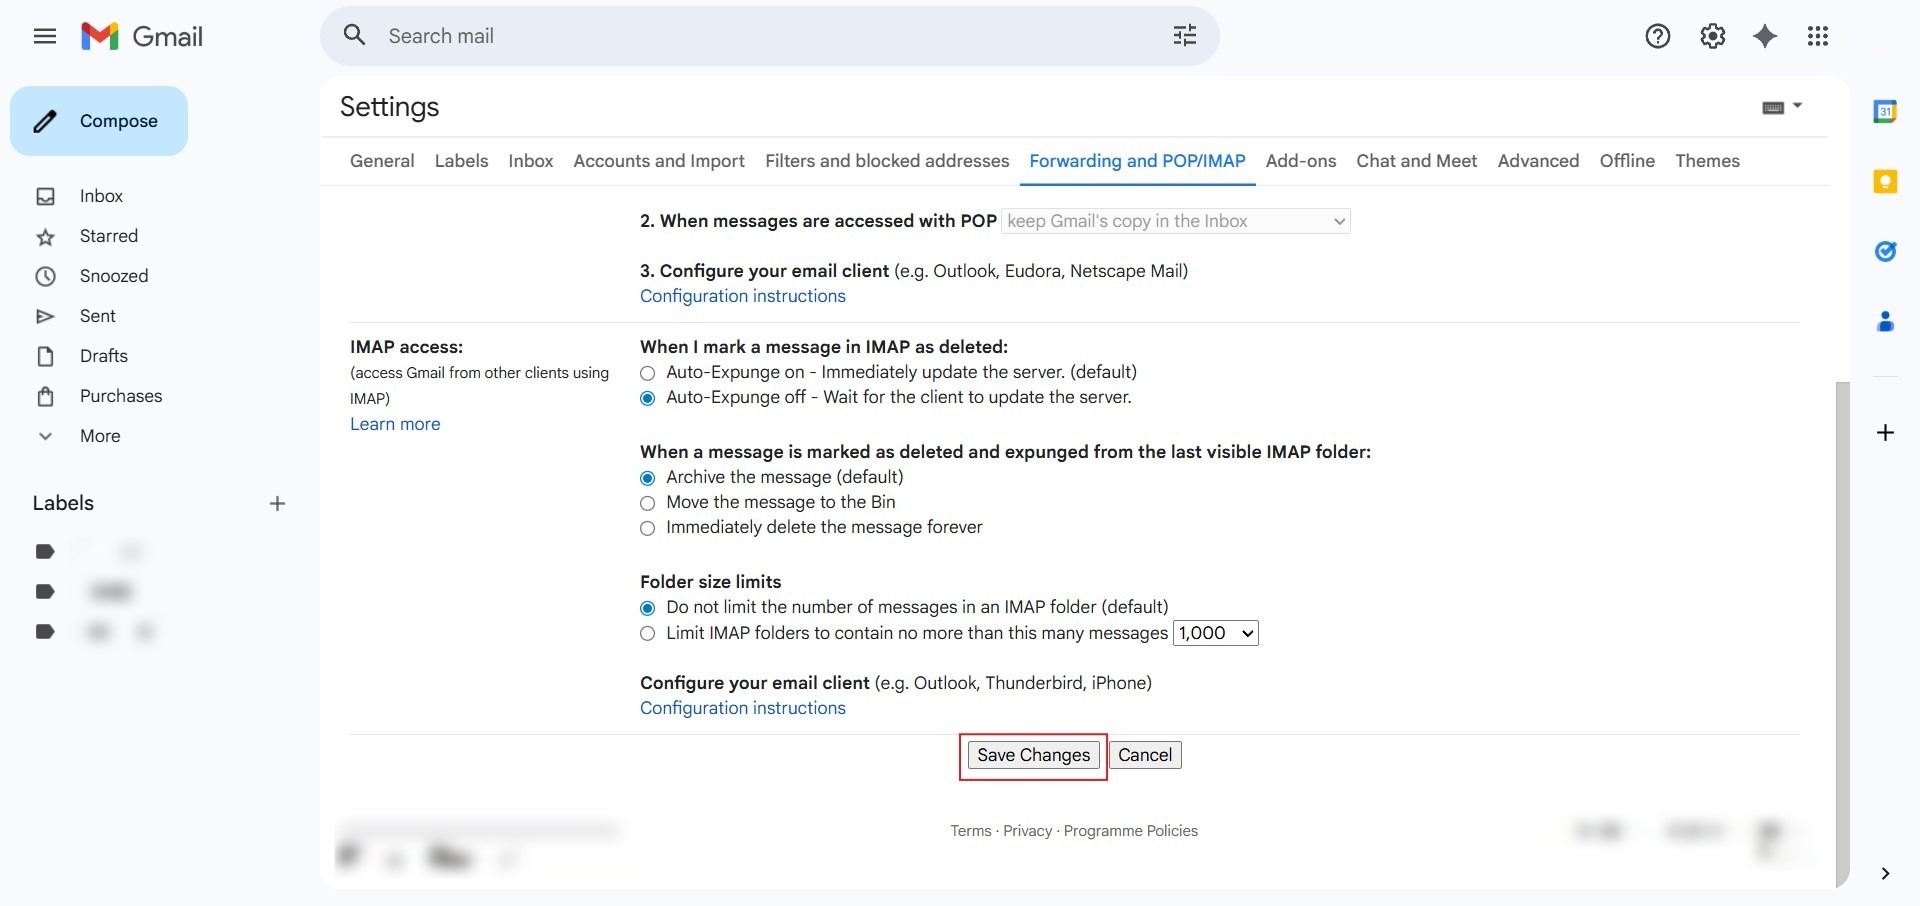
Step 7: Finalize Changes
- Scroll to the bottom of the settings page and click the “Save Changes” button to apply the redundancy rule.
Conclusion:
By successfully enabling the “Delete Gmail’s Copy” option, you have finalized a lean communication strategy that prioritizes storage efficiency and centralized management. This configuration is particularly effective for administrators managing high-volume resources like NovaCloud instances, GPU Servers, and Bare Metal infrastructure, as it prevents the source Gmail account from becoming cluttered with redundant billing invoices or support ticket updates.