Search Our Database
How to Change Two-Factor Authentication with Authenticator App to Email Authentication in Customer Portal
Introduction:
Transitioning your account security protocol from an Authenticator App to Email Authentication within the Customer Portal involves reconfiguring your Two-Factor Authentication (2FA) settings to change how you receive login verification codes. This modification shifts the delivery method from a mobile application standard (such as Google Authenticator or Authy) to a standard where unique codes are delivered directly to your registered email address.
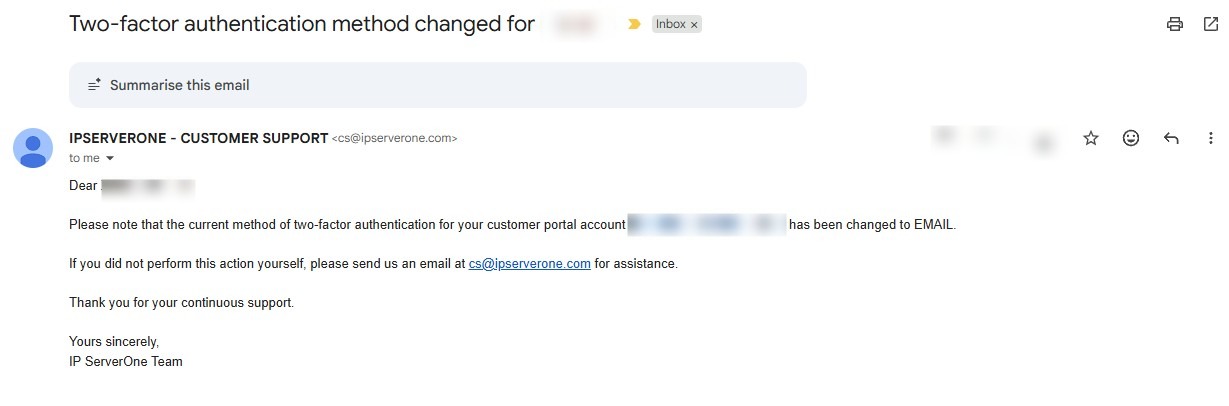
According to the sources, this adjustment is an administrative task managed within the Account Security dashboard. The process requires you to first disable the existing 2FA method by verifying your identity with your account password before you can initiate the new setup for Email Authentication. A successful transition is reached once you input a verification code sent to your inbox and receive a formal confirmation email from the IP ServerOne team stating that your authentication method has been updated.
Prerequisites:
- You must have an active, registered account and be successfully logged into the IP ServerOne Customer Portal.
- Two-Factor Authentication must already be configured and active on the account.
Step-by-step Guide:
Step 1: Access User Profile
- Click on the User icon or name located in the Customer Portal interface.
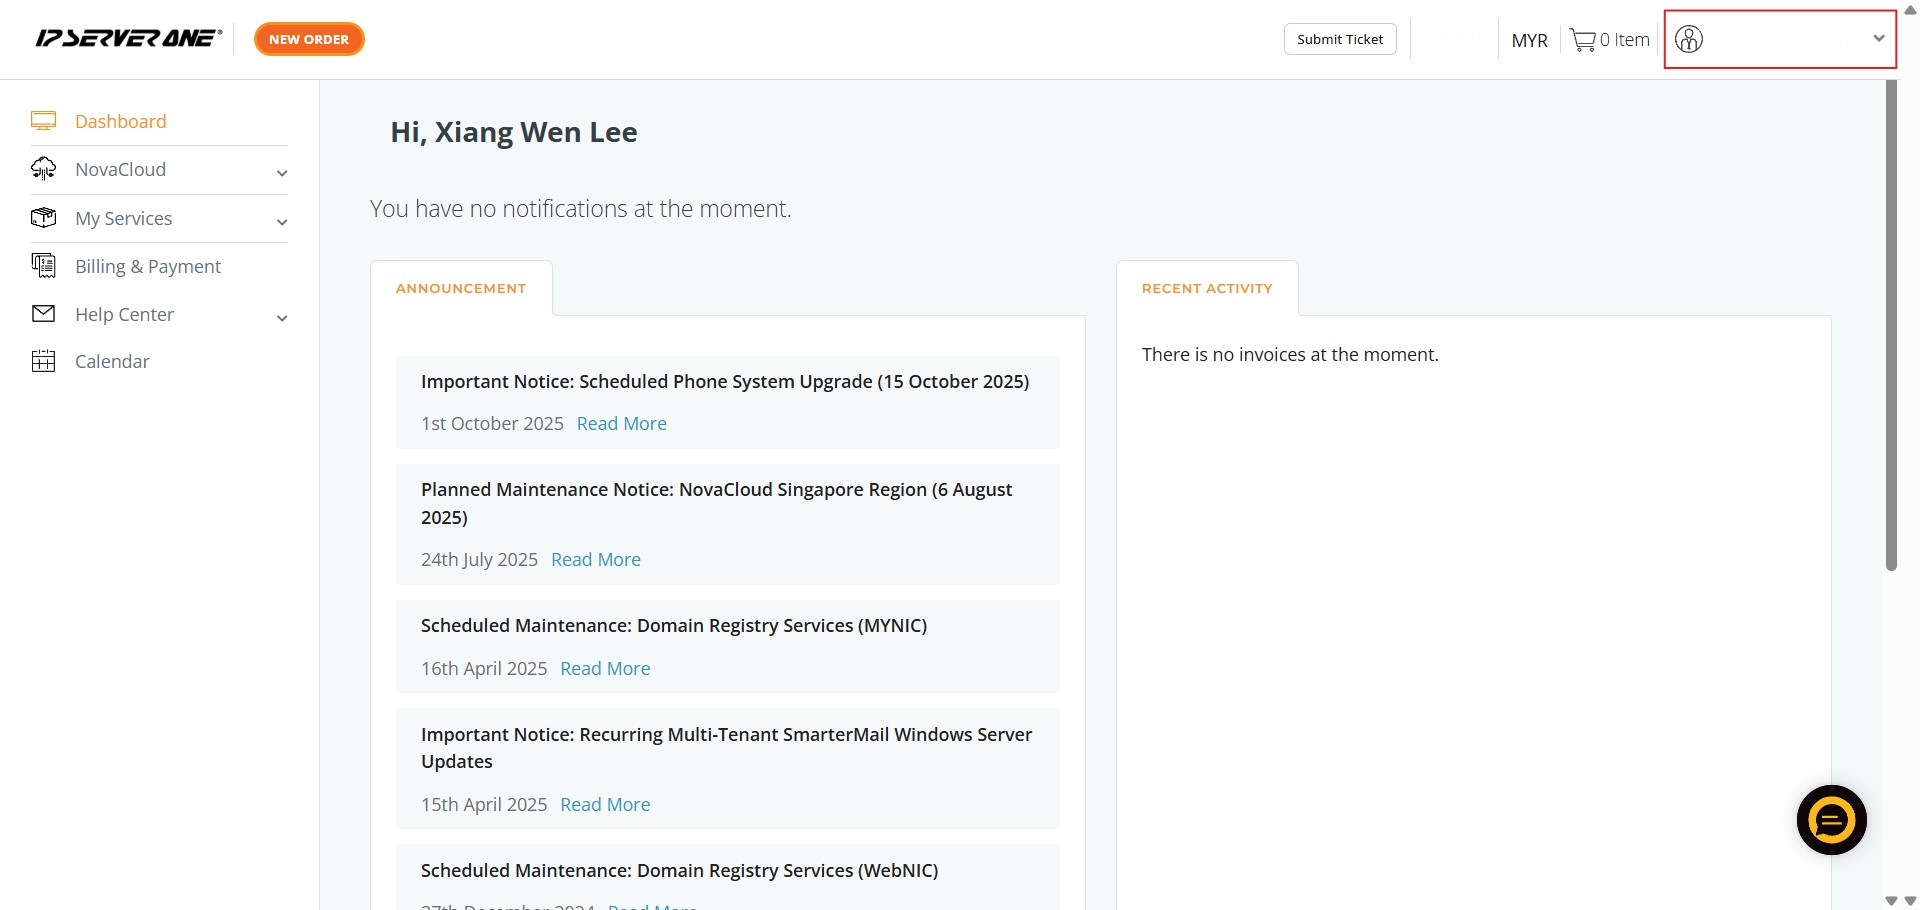
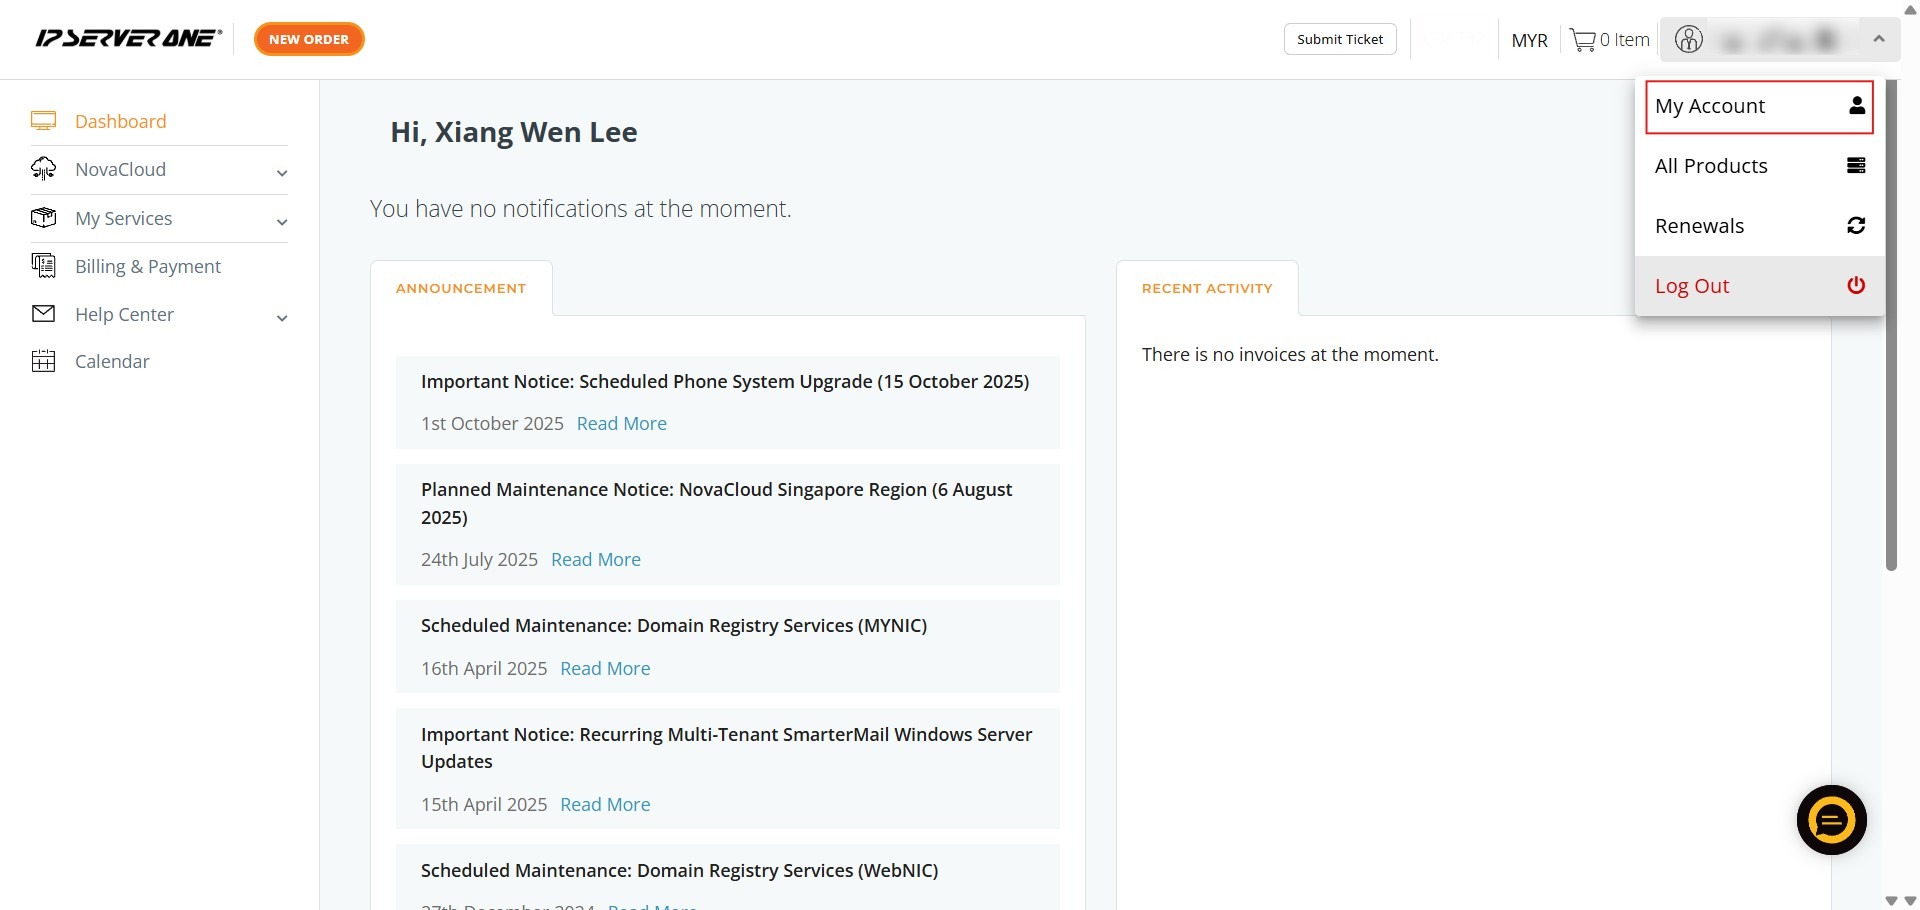
Step 2: Enter Account Settings
- Select “My Account” from the dropdown menu to view your personal profile.
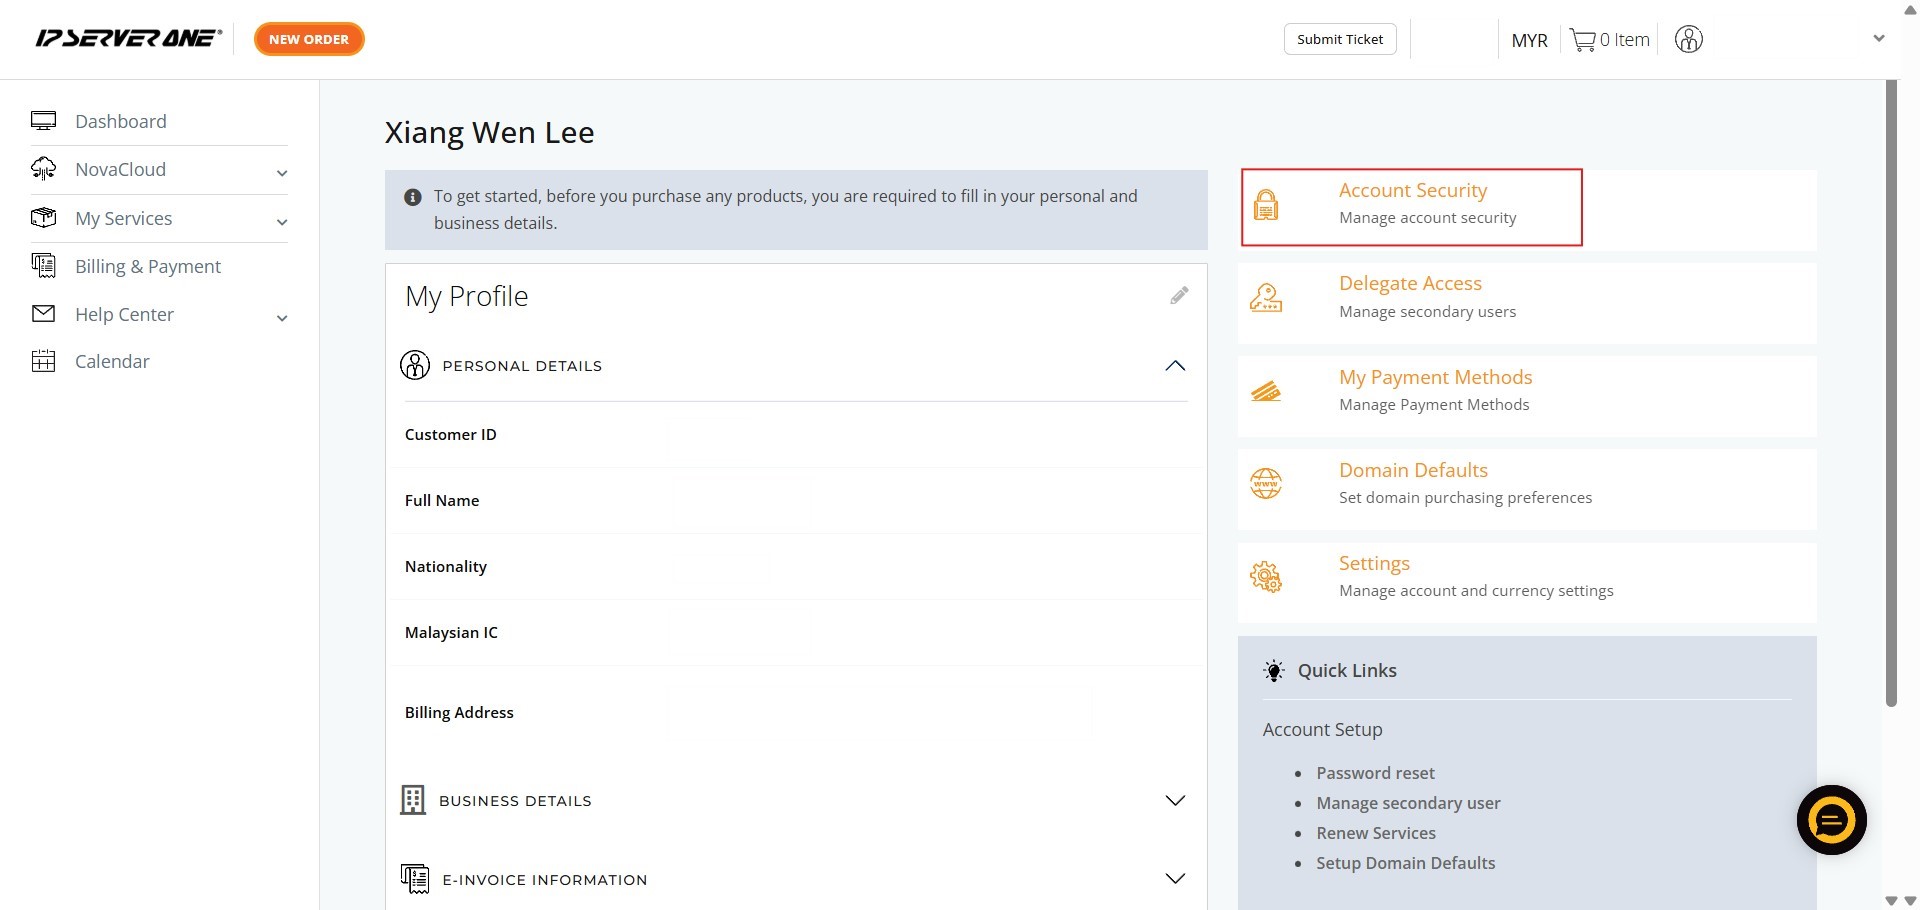
Step 3: Navigate to Security
- Click on the “Account Security” tab to manage your login protection settings.
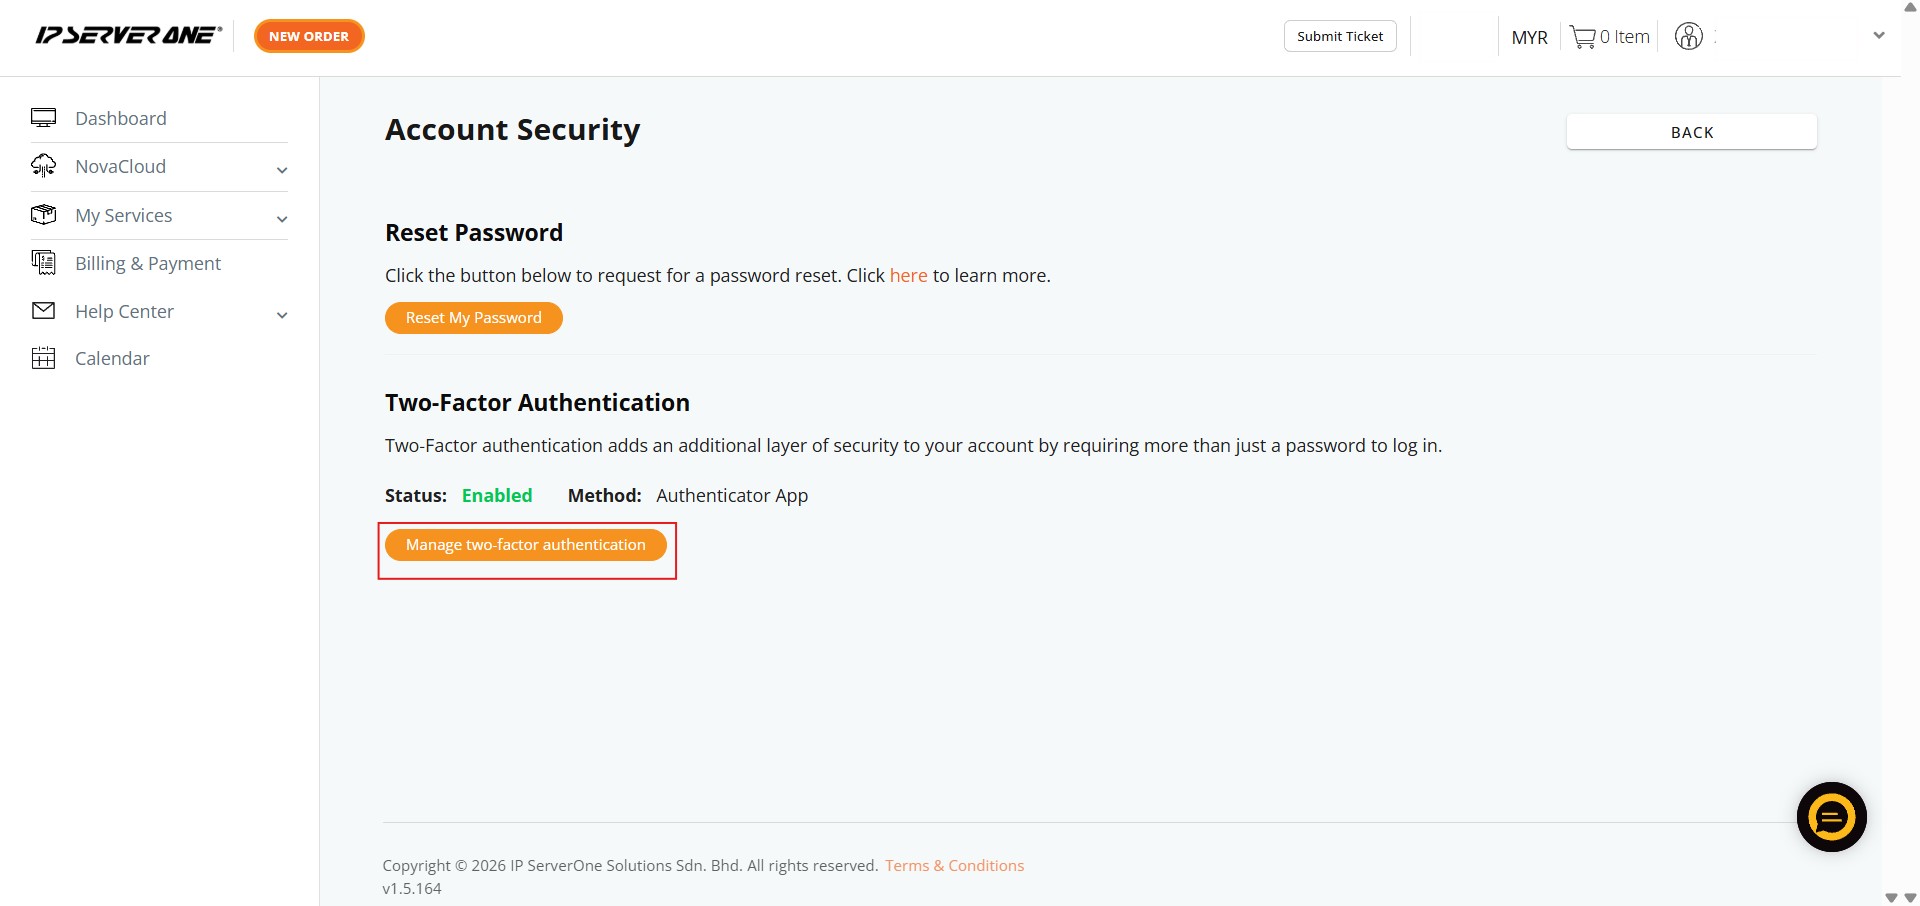
Step 4: Manage 2FA
- Locate and click on “Manage two-factor authentication”. This option is only available if 2FA is currently active.
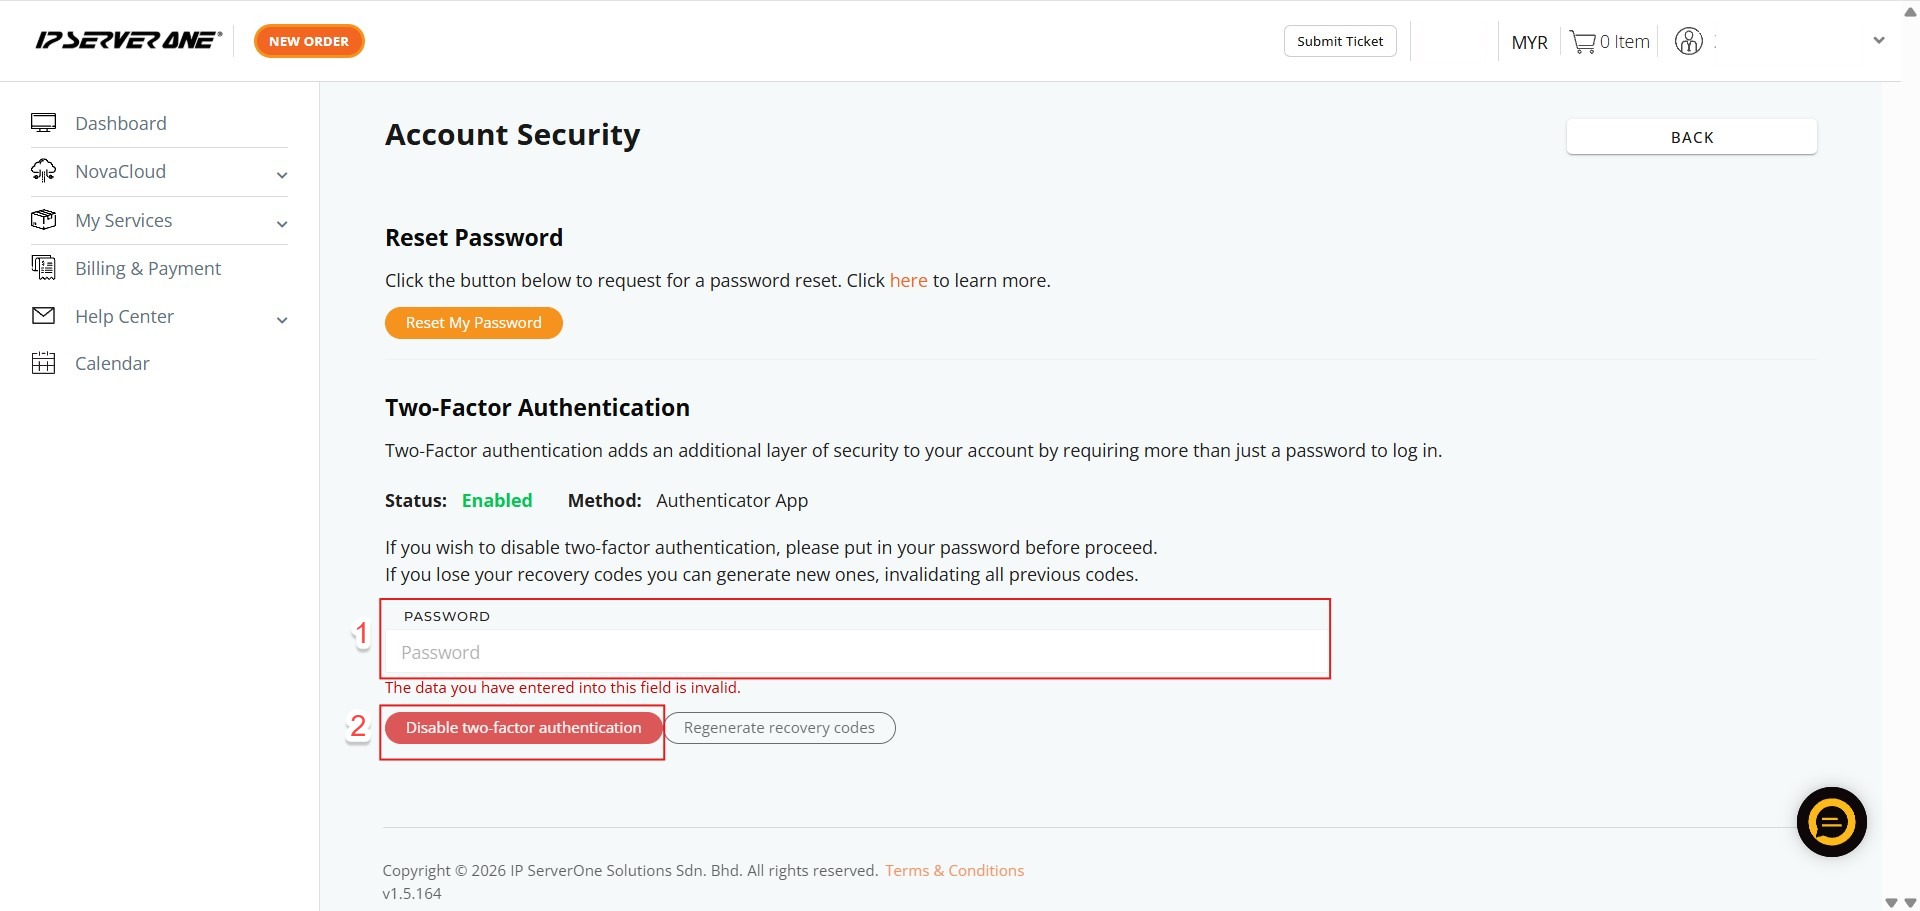
Step 5: Identity Verification and Deactivate
- Enter your account password in the required field to authorize the security downgrade.
- Click the “Disable 2FA” button to remove the secondary authentication requirement.
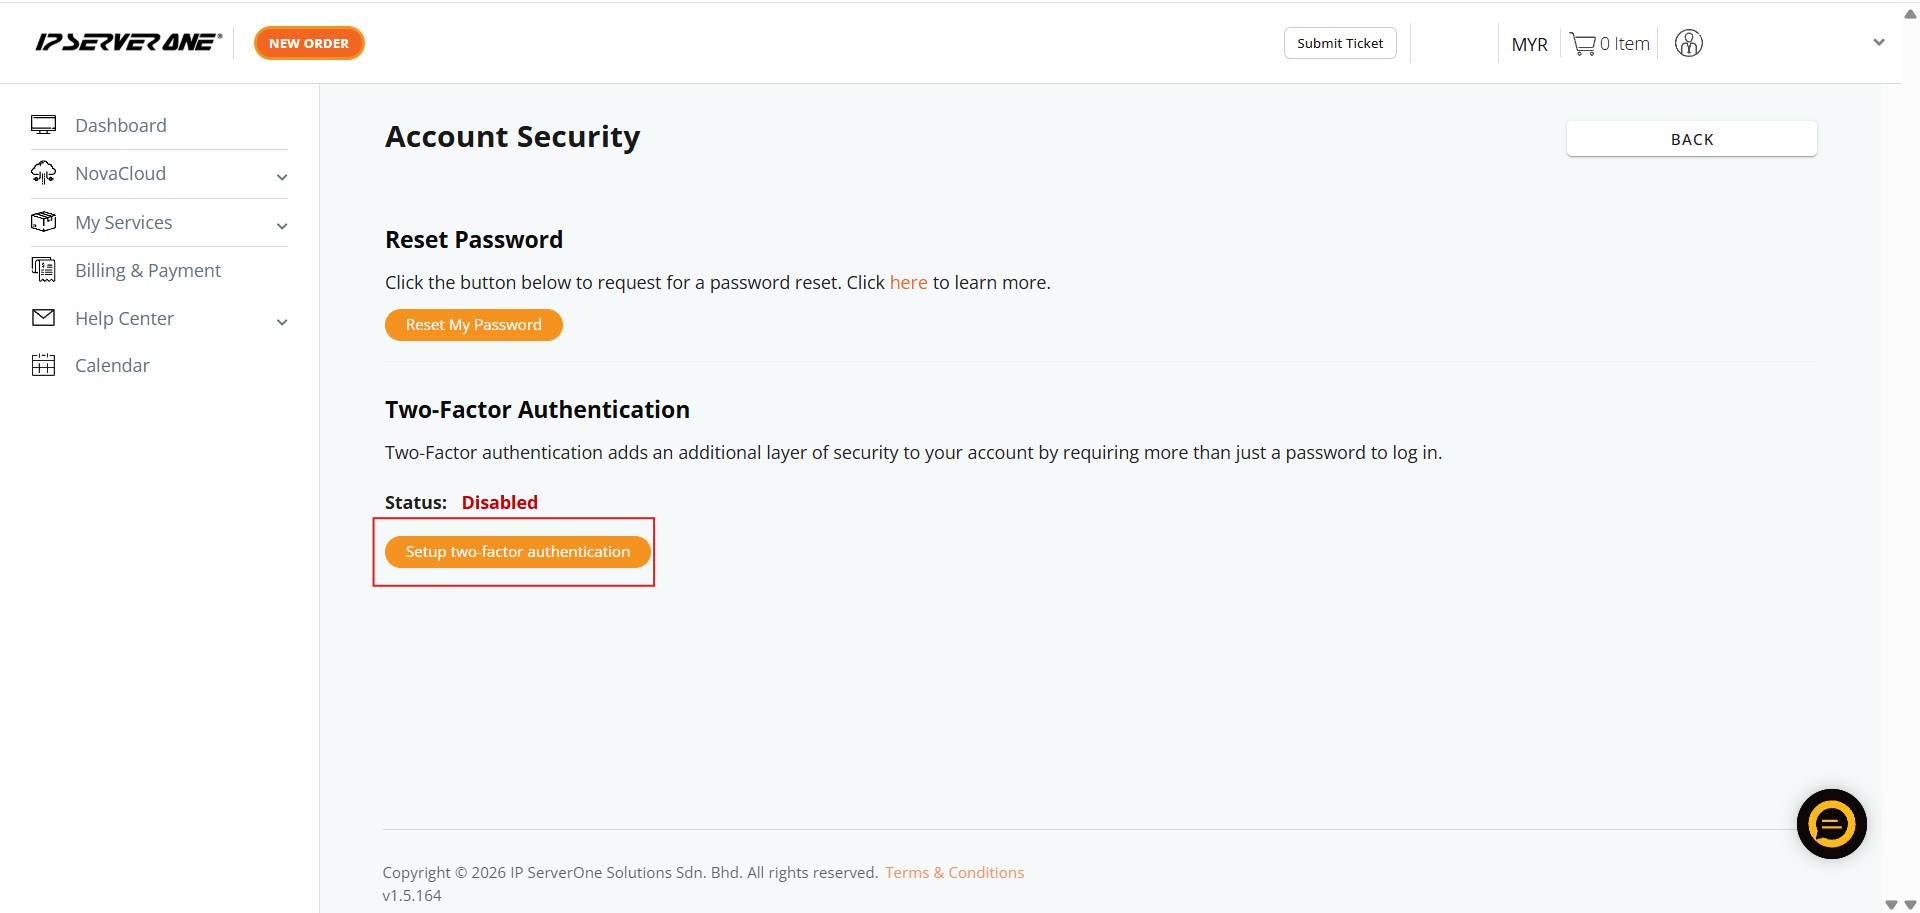
Step 6: Initiate 2FA Setup
- Click the button labeled “Setup Two-Factor Authentication” to begin the process.
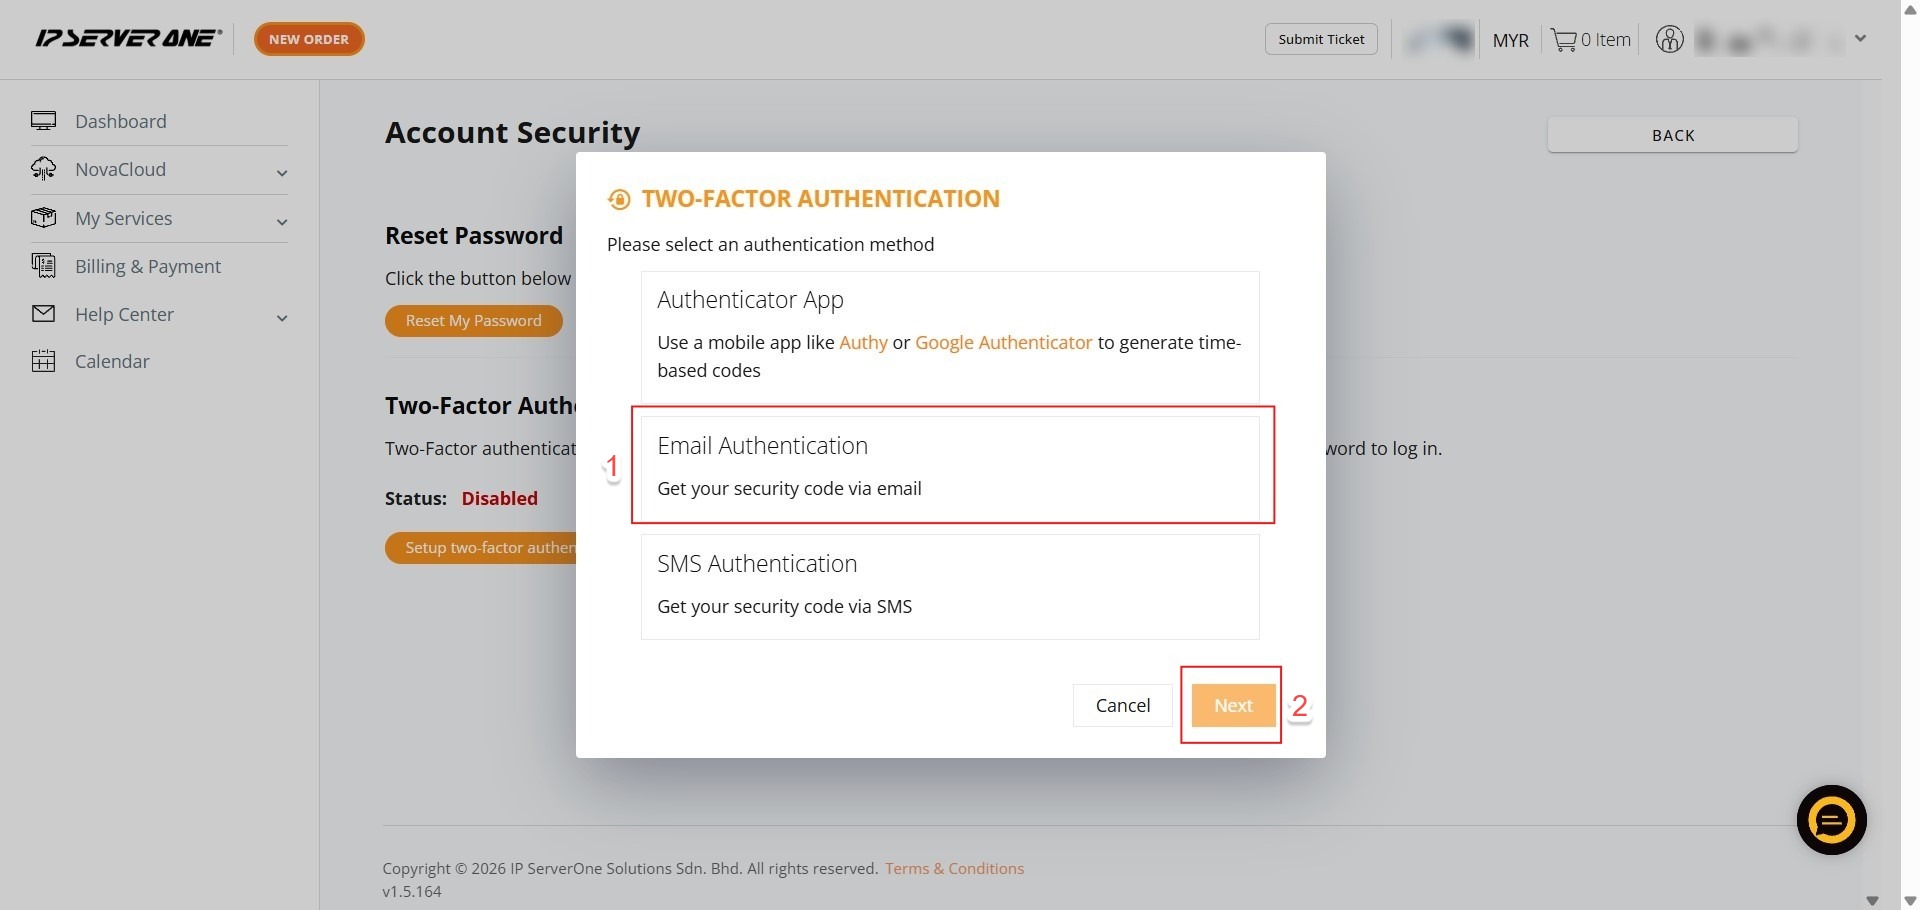
Step 7: Select Method
- Choose “Email Authentication” from the available secondary verification options.
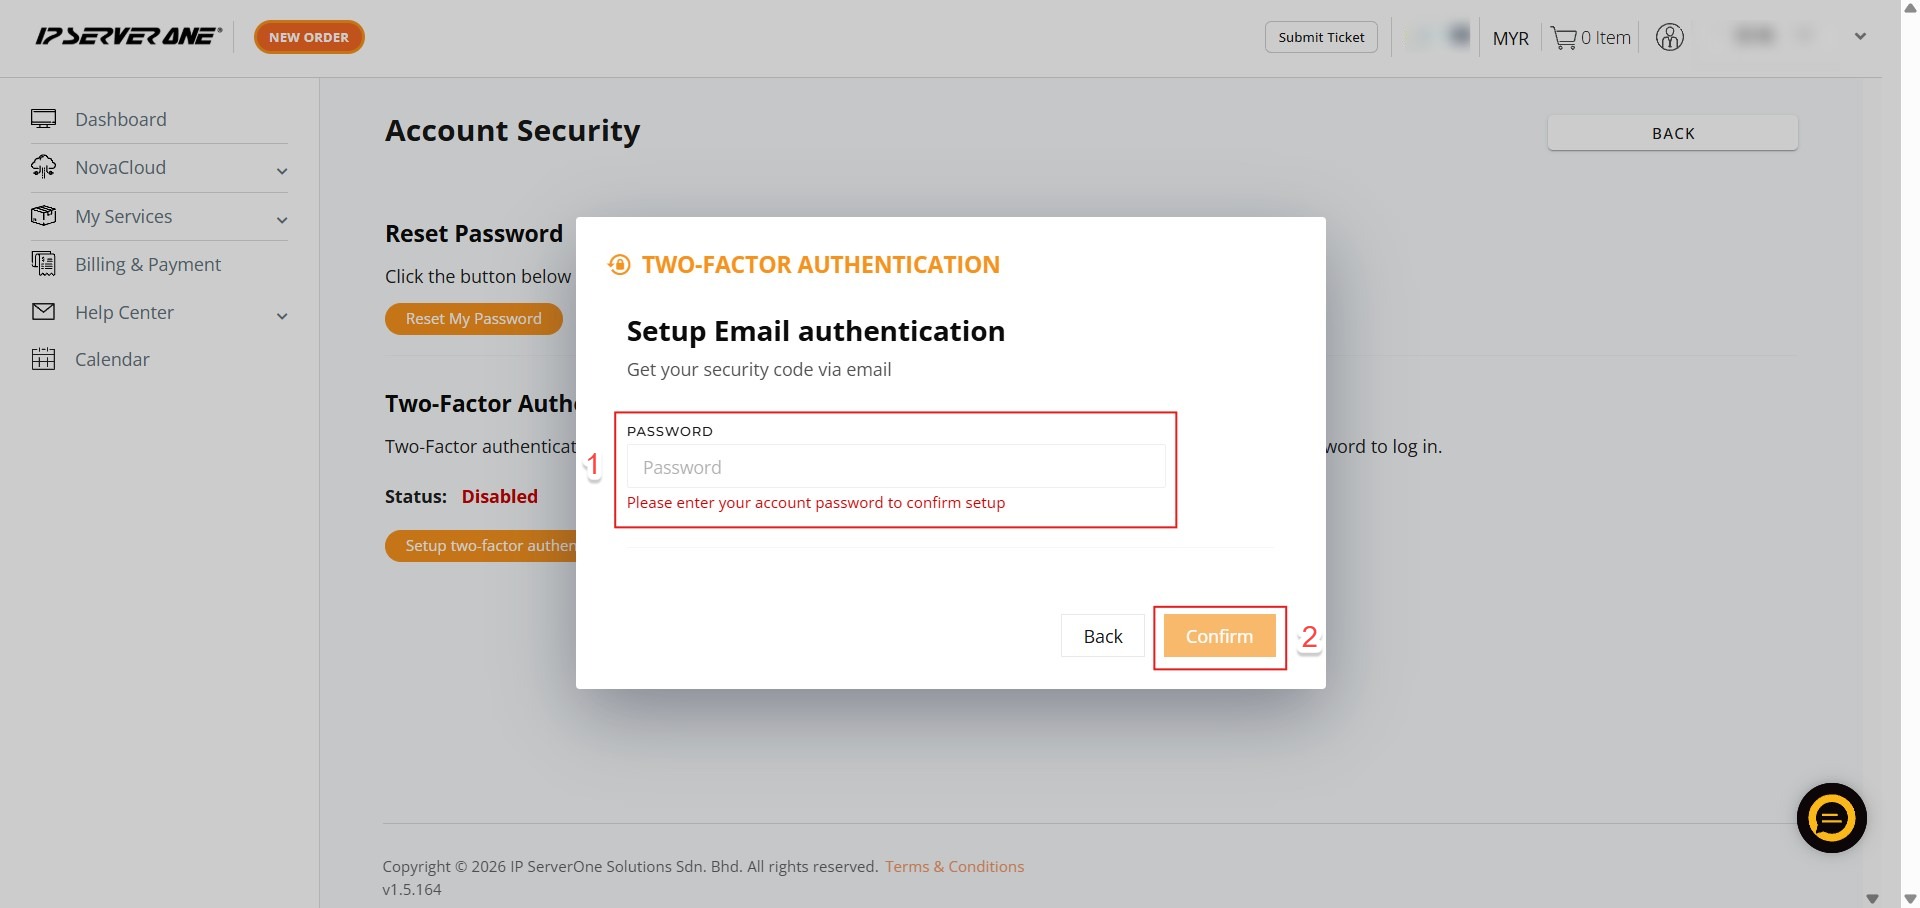
Step 8: Verify Identity
- Key in your account password
- Click confirm to authorize the security changes.
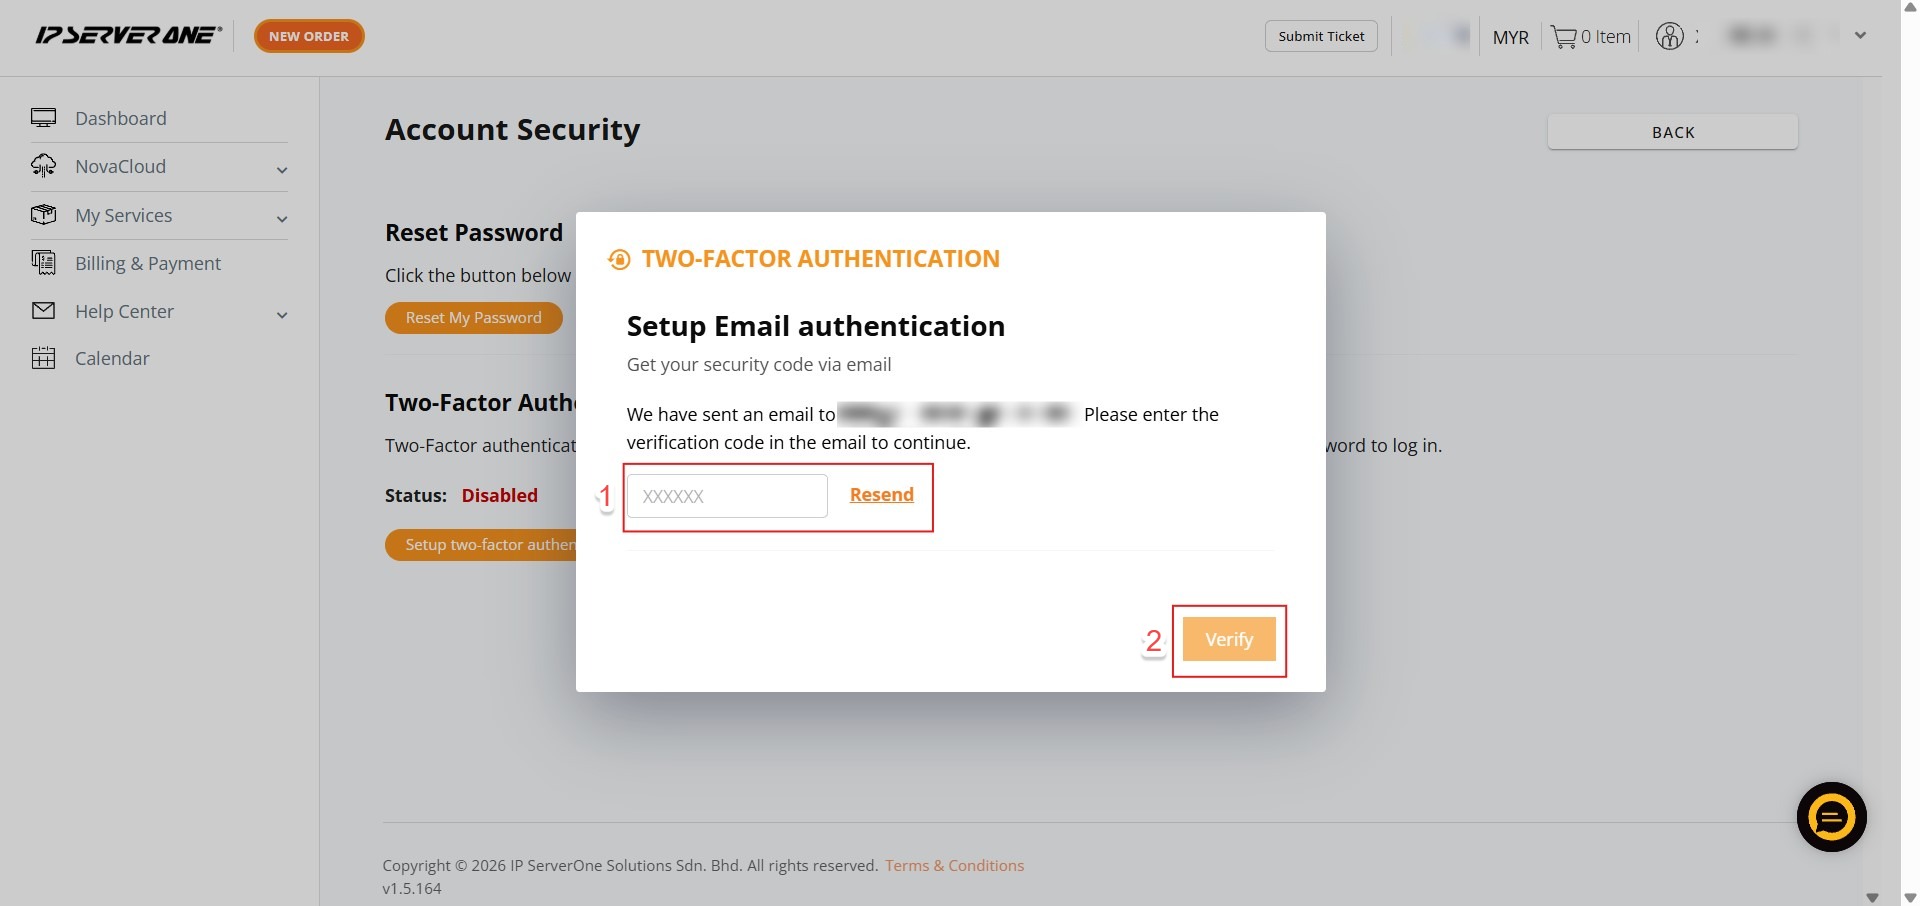
Step 9: Enter Verification Code
- Retrieve the time-sensitive verification code sent to your registered email, enter it in the portal, and click “Verify.”
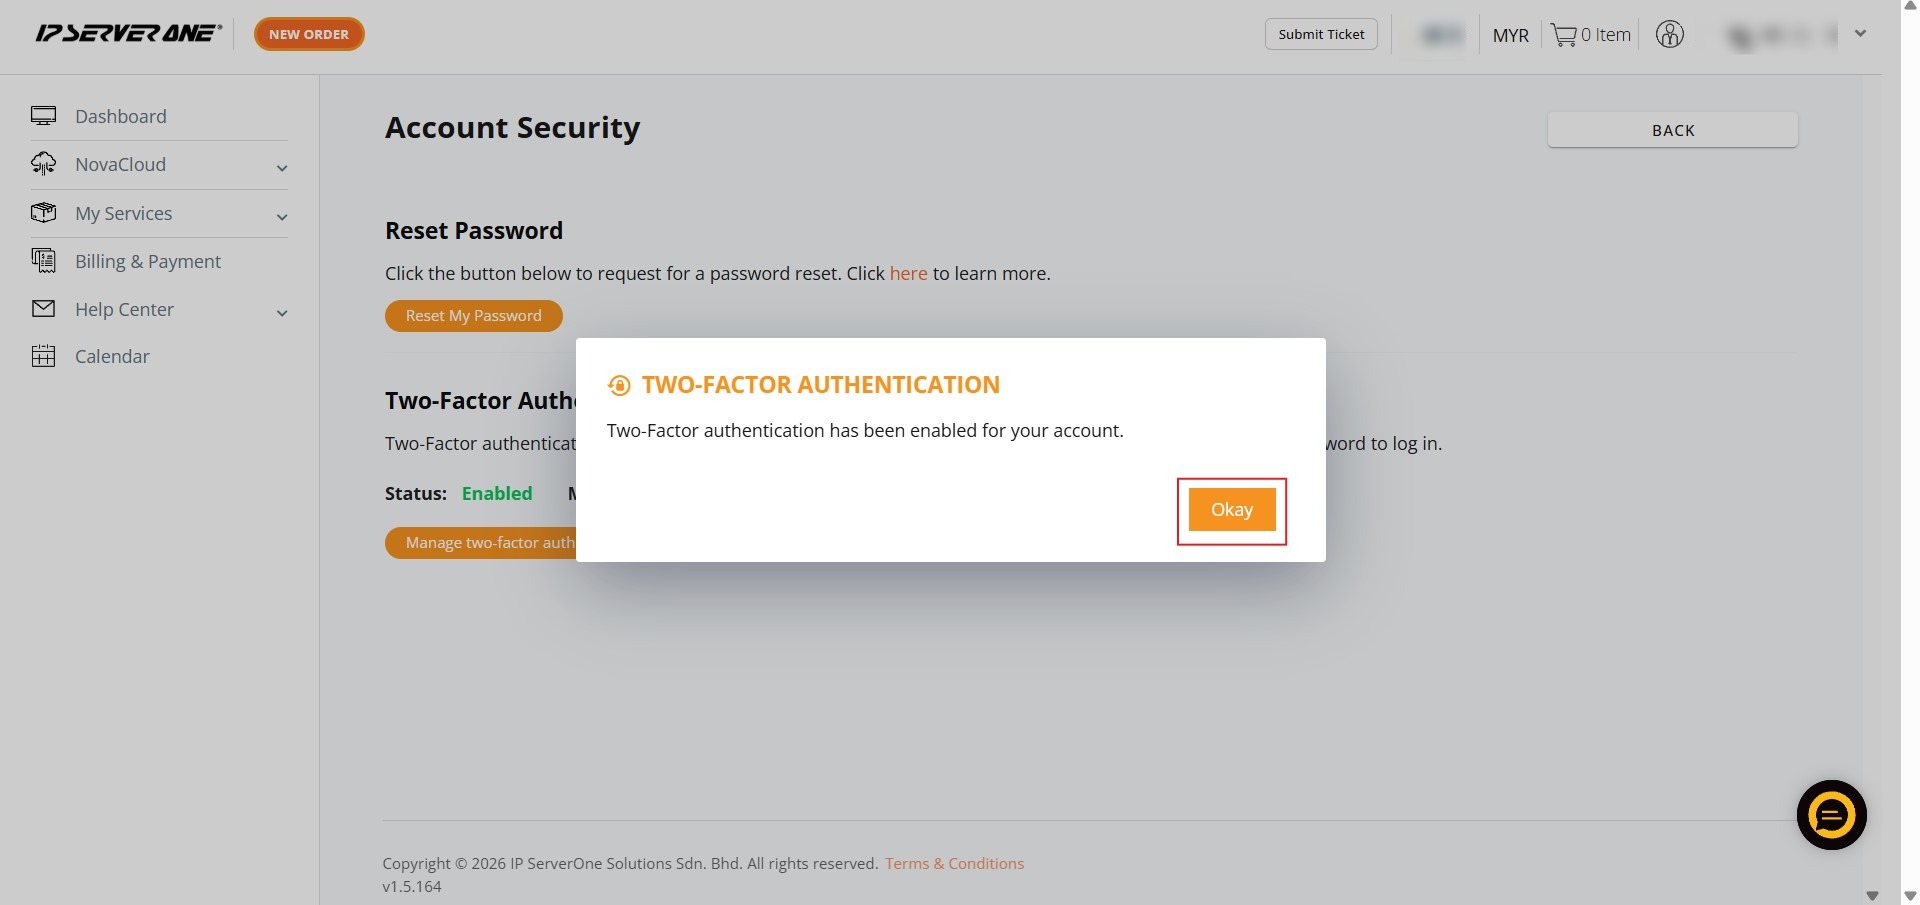
Step 10: Confirm Activation
- Click “Okay” to finalize the setup once the verification code is accepted.
Step 11: Completion
- A success message will appear; the IP ServerOne team will also send a confirmation email to your registered address.

Conclusion:
In conclusion, transitioning your security protocol from an Authenticator App to Email Authentication is achieved through a two-stage reconfiguration within the Account Security dashboard of the Customer Portal. The process is finalized once you have successfully deactivated the previous TOTP (Time-based One-Time Password) method using your account password and immediately established the new Email Authentication standard.