Search Our Database
How to Change the /tmp Partition Size in WHM
Introduction:
The /tmp partition in WHM is used for temporary file storage and is secured by securetmp to improve system security. Modifying its size may be necessary based on your server’s workload. This guide walks you through adjusting the /tmp partition size using WHM’s Tweak Settings.
Prerequisites:
- Root access to your WHM panel
- Awareness that changes to the /tmp partition will delete its current contents
- Preparedness to reboot the server for changes to take effect
Step-by-Step Guide:
Step 1: Log into WHM
Access your WHM interface with root credentials.
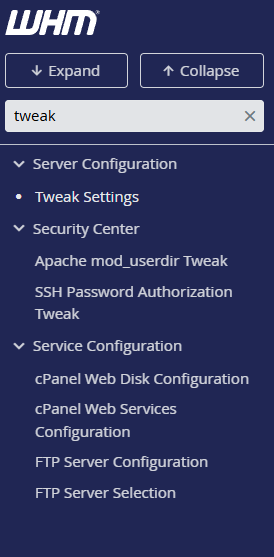
Step 2: Navigate to Tweak Settings
From the WHM home screen, go to: Home » Server Configuration » Tweak Settings and click the System tab.
Alternatively, you may use the search bar to search for “Tweak Settings” to directly access the page.
Step 3: Modify the /tmp Partition Size
Locate the setting: “Size, in MB, for the /tmp partition secured by securetmp”
Change the value from the default “Use algorithm to determine size” to a specific size in megabytes (MB) (e.g. 5GB would be 5120MB, you may use online converters such as Convert GB to MB for this) based on your needs.
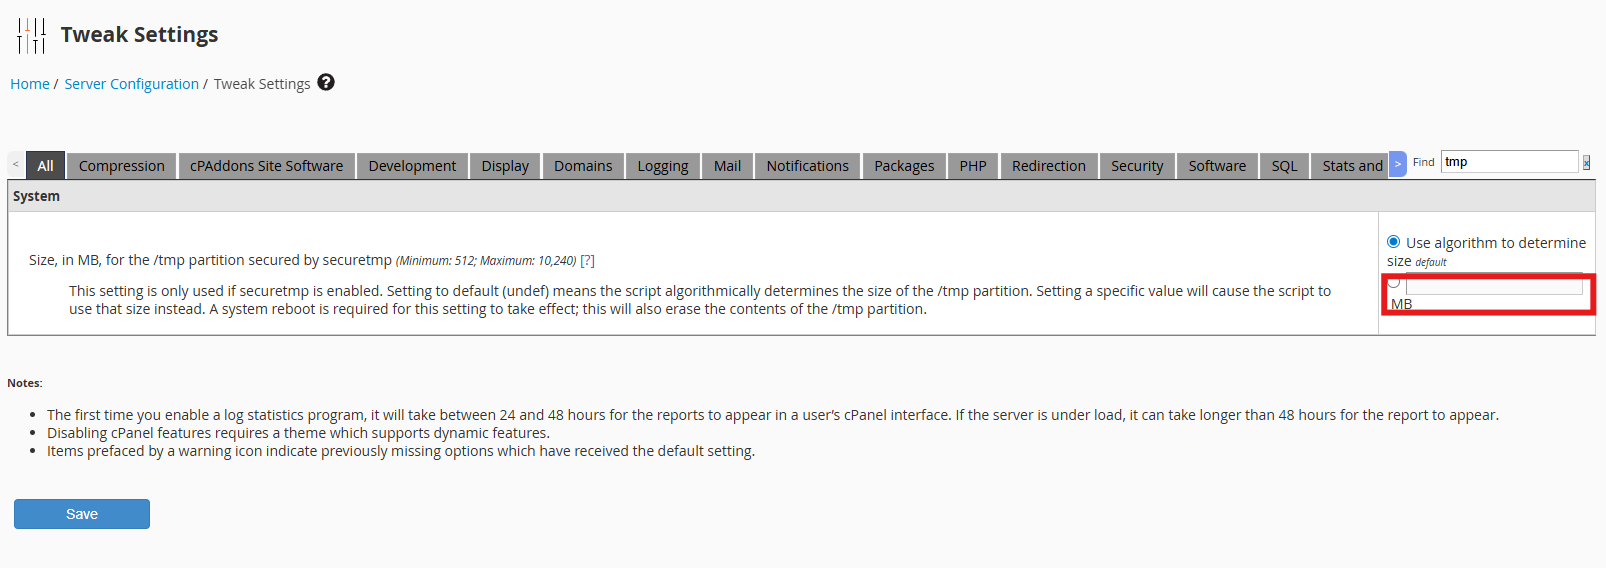
Step 4: Save the Changes
Scroll to the bottom of the page and click Save.
Step 5: Reboot the Server
For the new /tmp partition size to take effect, you must reboot the server.
Note: Rebooting will delete the existing contents of the /tmp partition.
Conclusion:
Adjusting the /tmp partition size helps manage server resources more effectively, especially on high-traffic systems. Always plan for a reboot after making changes to this setting, as it’s required for the new size to be applied.
For assistance, contact our support team at support@ipserverone.com.
Article posted on 25 November 2025