Search Our Database
How to change the server timezone in WHM
Introduction
This article guides you through how to change the server timezone in WHM. Setting the correct timezone ensures that server logs, scheduled tasks (cron jobs), and account activities reflect the accurate local time.
Prerequisites
-
Root access to WHM (Web Host Manager).
-
Basic familiarity with WHM interface.
Steps to Change Server Timezone in WHM
Step 1: Log in to WHM
- Open your browser and navigate to your WHM login page (e.g., https://your-server-ip:2087).
-
Enter your root or reseller credentials and click Login.

Step 2: Open Server Time Settings
-
In the WHM search bar, type Server Time.
-
Click on the Server Time option from the menu.
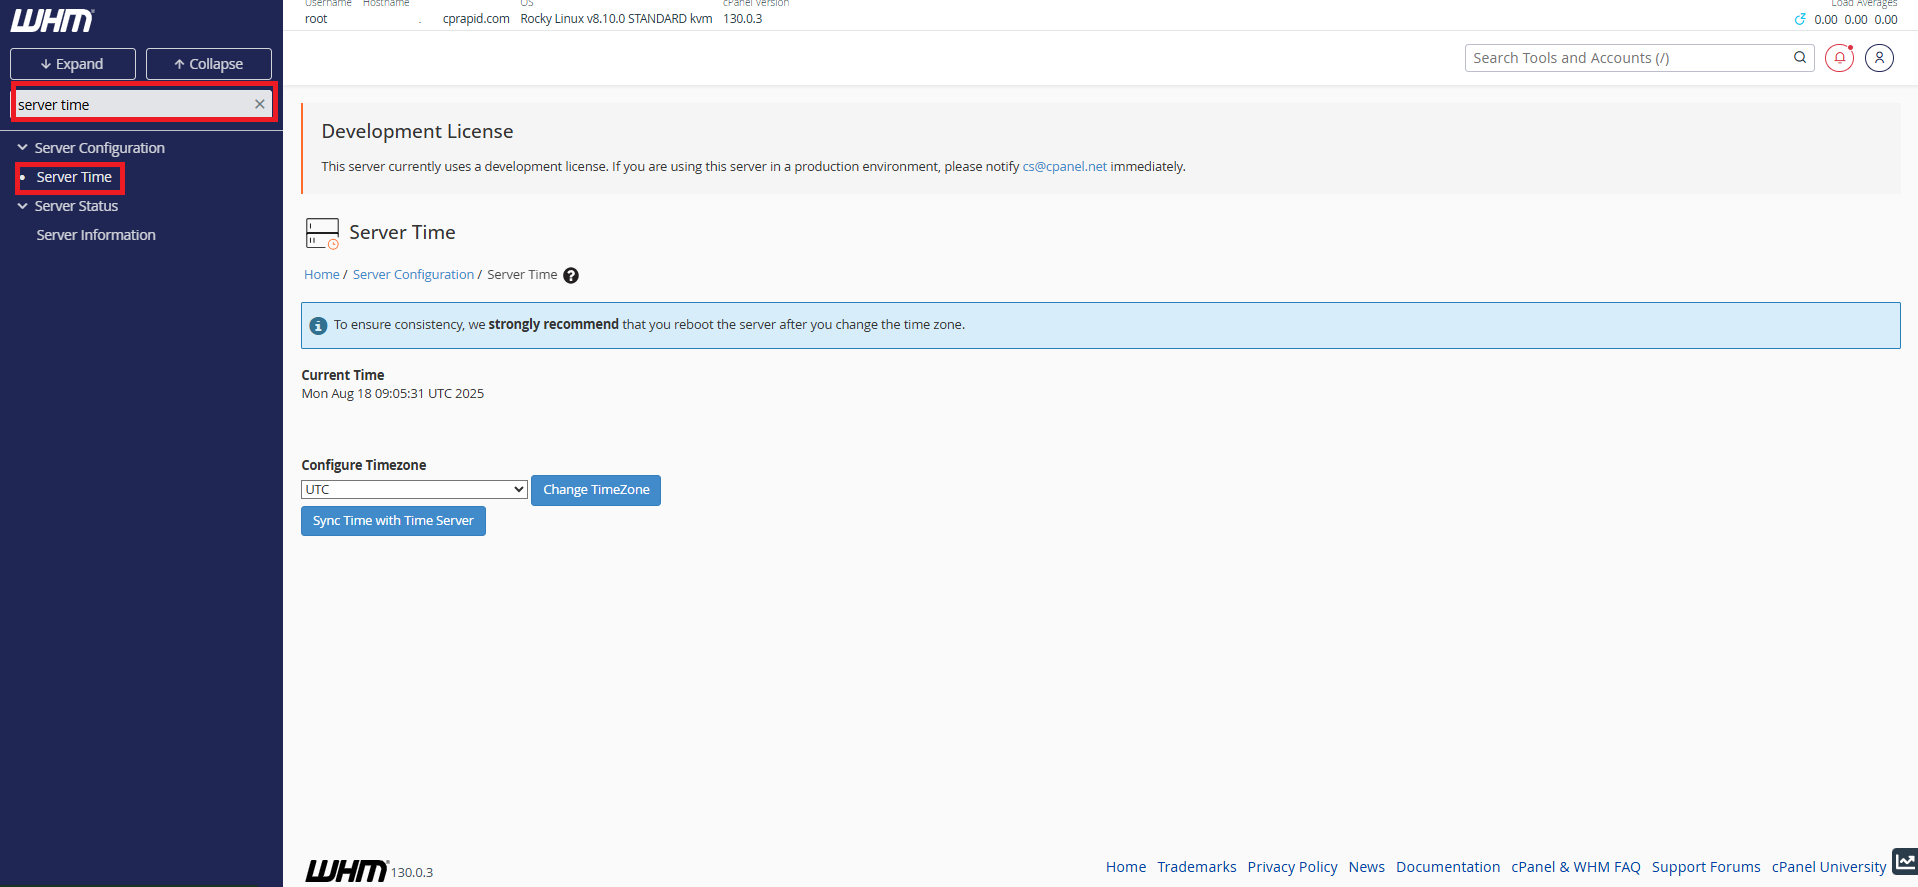
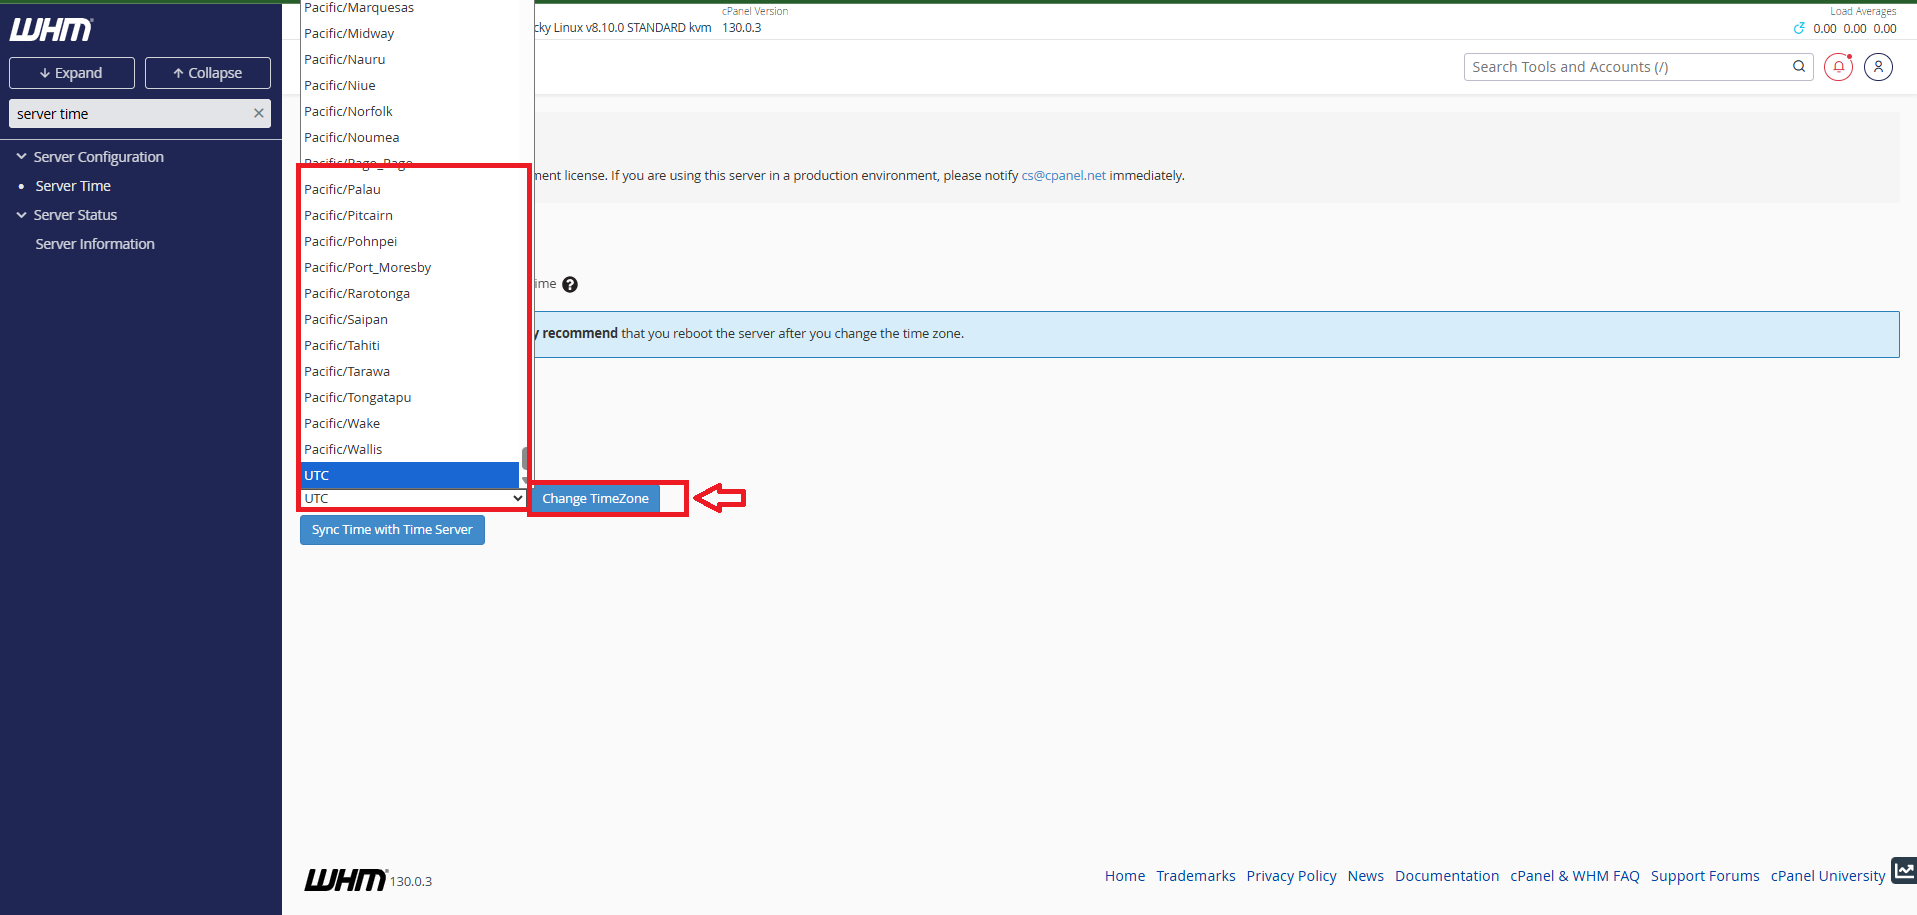
Step 3: Configure Timezone
-
Under the Configure Timezone section, click the dropdown menu.
-
Select your desired timezone from the list.
-
Click Change TimeZone to apply the new setting.
Step 4 (Optional): Sync Time with Time Server
-
On the same page, you will see a Sync Time with Time Server button.
-
Clicking this will synchronize your server clock with the configured NTP (Network Time Protocol) server, ensuring the system time stays accurate.
Conclusion
By following the steps above, you can easily change and synchronize the server timezone in WHM. Keeping your server time accurate helps prevent scheduling issues and ensures that logs reflect the correct timestamps.
For further assistance, please contact our support team at support@ipserverone.com.