Search Our Database
How to change the footer in SmarterMail domain settings
Introduction
In SmarterMail, administrators can customize the footer for emails sent from their domain. This footer can include disclaimers, legal text, or contact information. The footer settings can be modified at any time through the domain’s general settings section in the admin interface. By following the steps outlined below, you can easily update and apply a new footer to all outgoing messages or specific mailing lists.
Prerequisites
-
Administrator access to the SmarterMail interface.
-
Basic knowledge of navigating the SmarterMail admin settings.
-
Access to the domain for which the footer will be updated.
Steps to Change the Footer
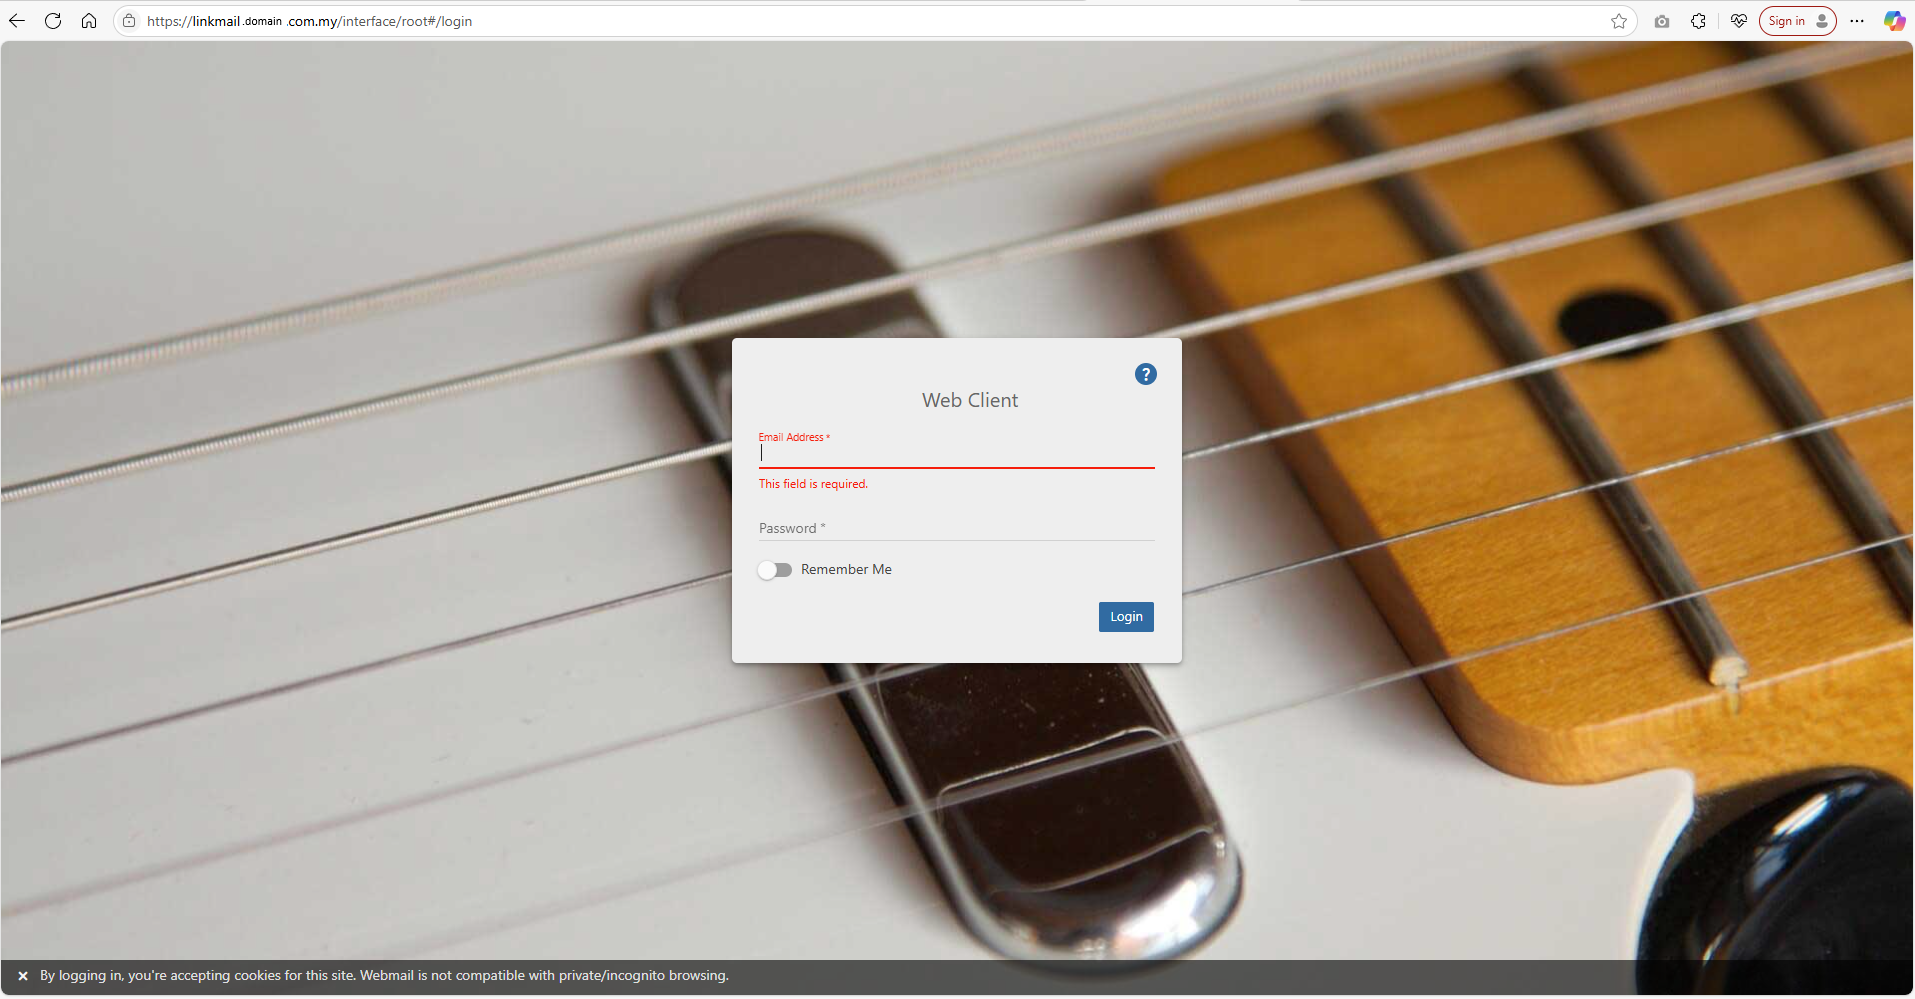
- Open any preferred browser and browse to your Smartermail Interface. Use your administrator login credentials to login to the Smartermail.
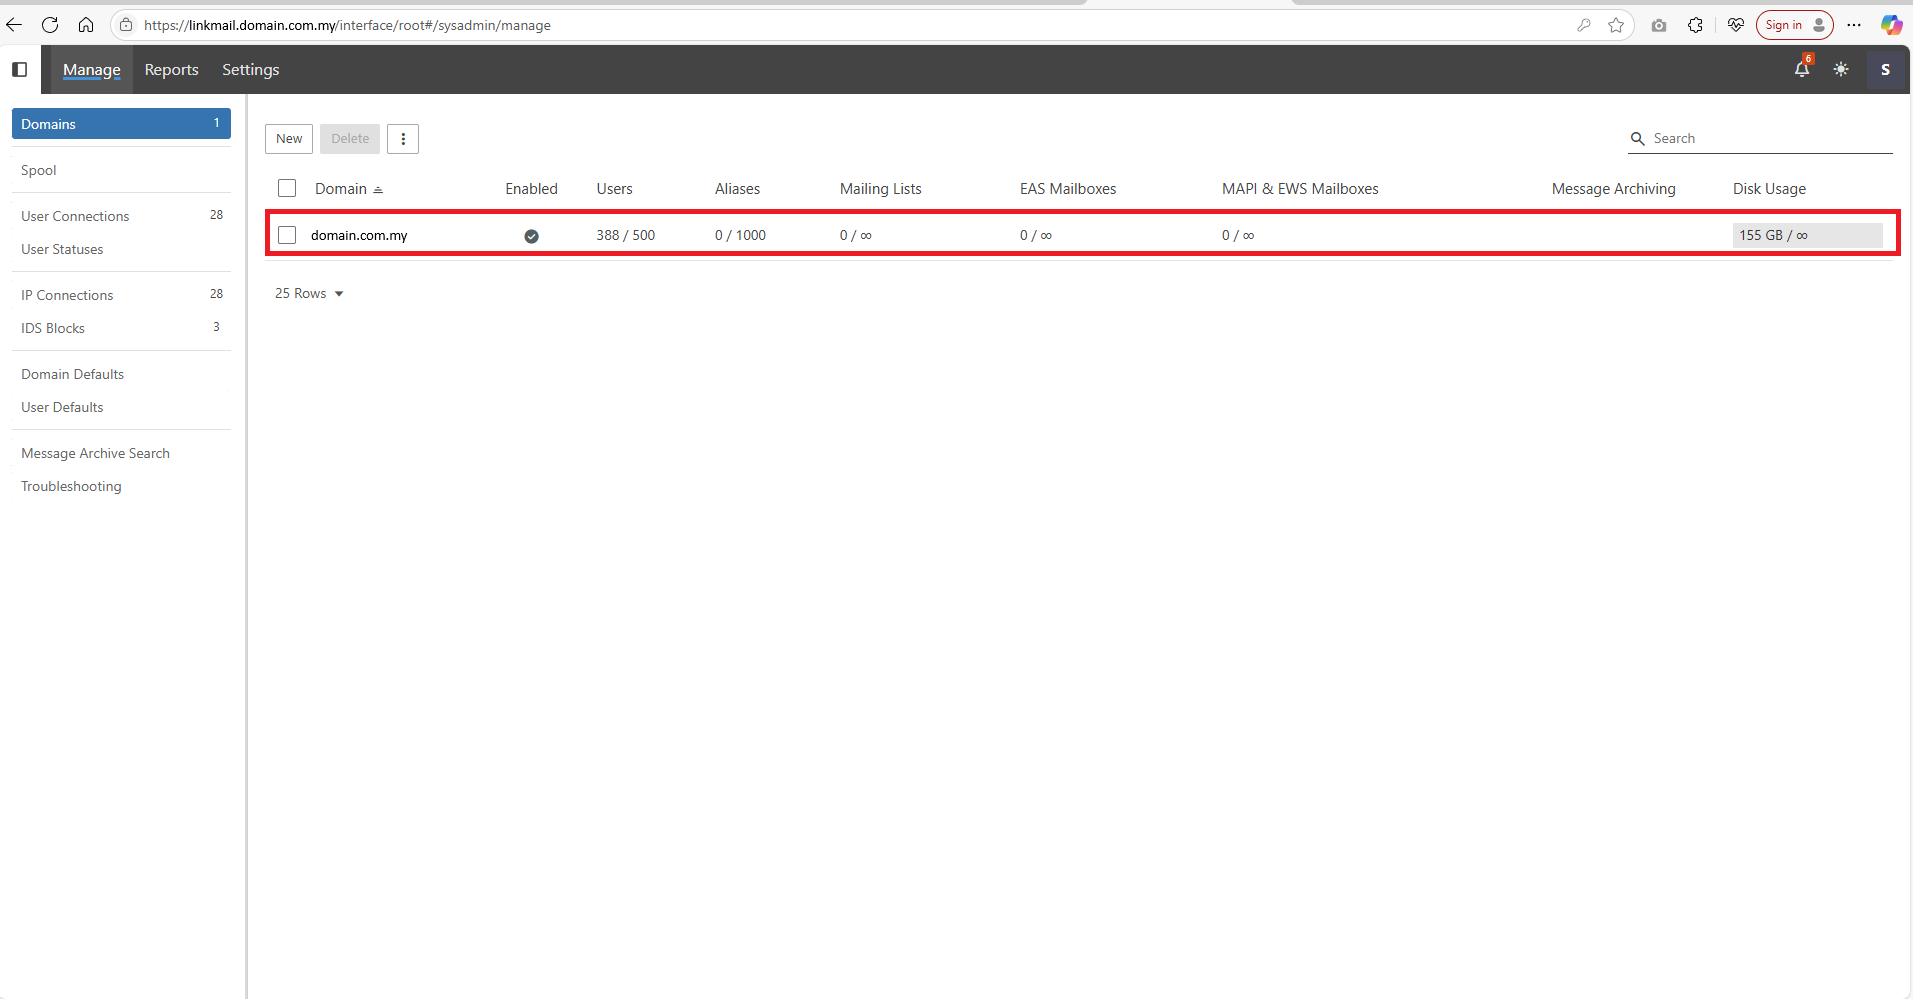
- Select the domain for which you want to modify the footer.
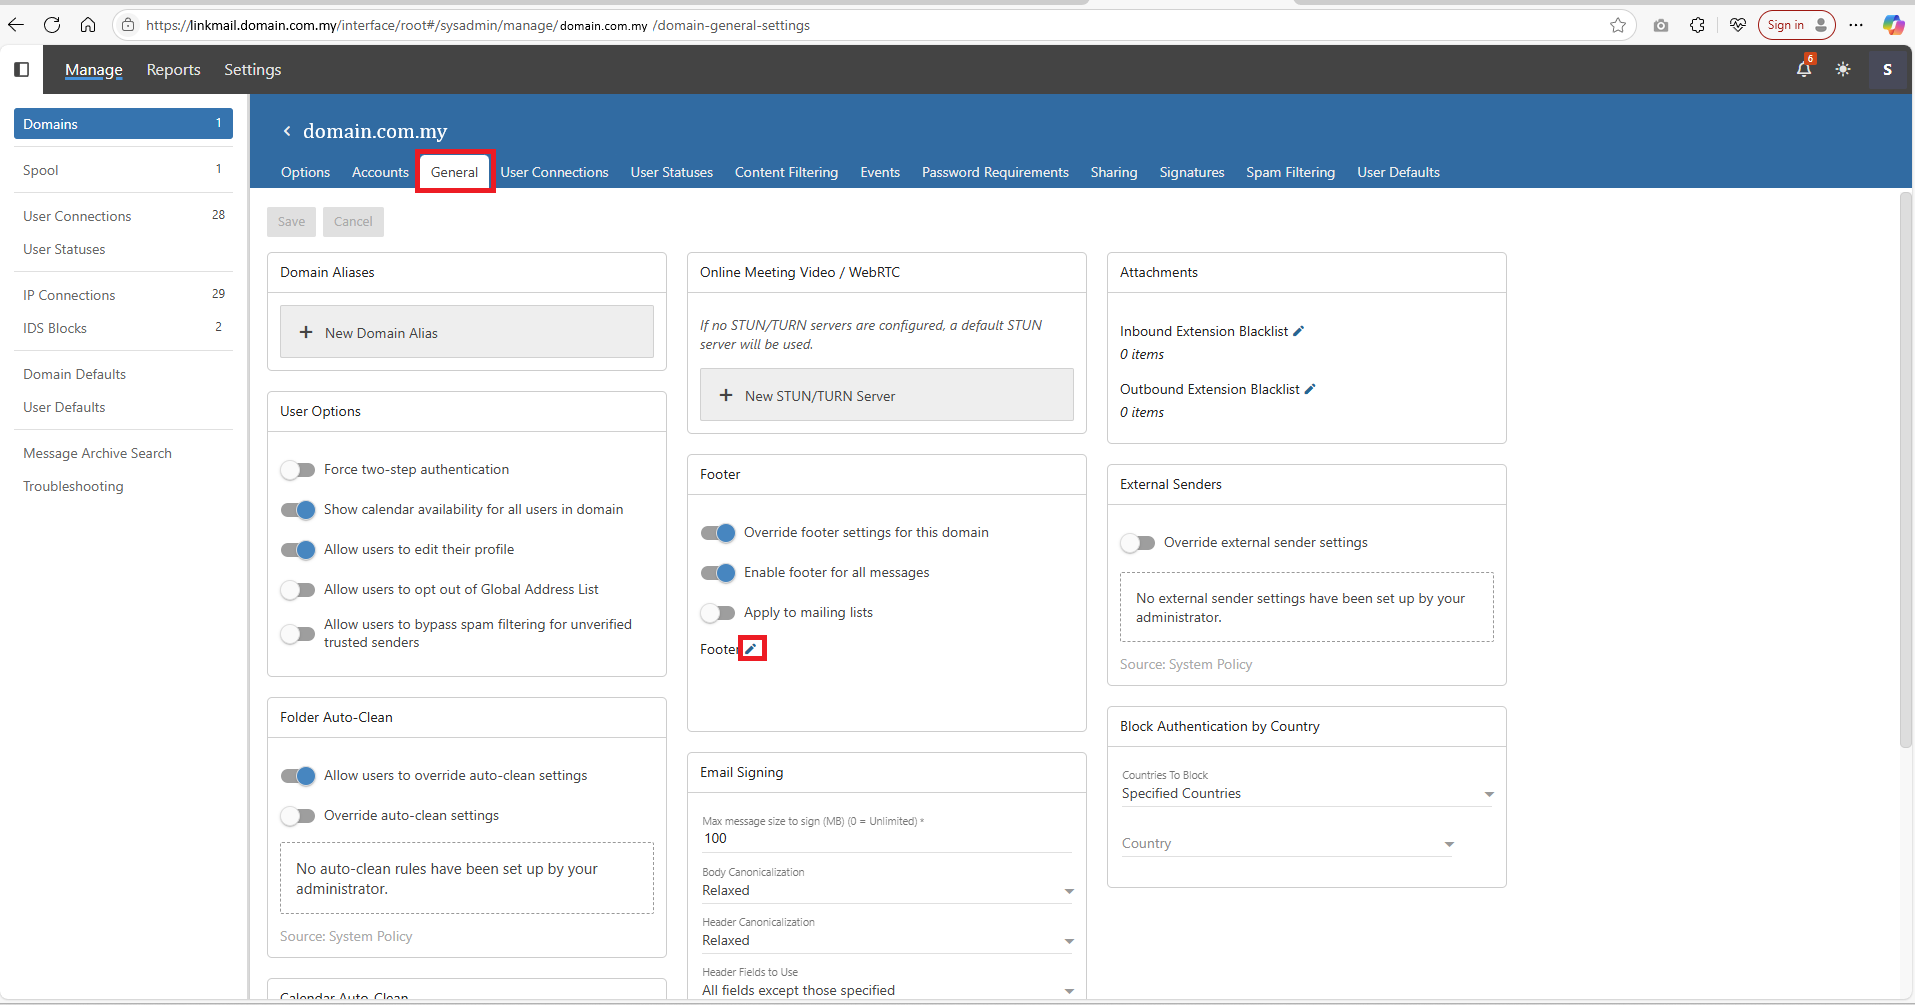
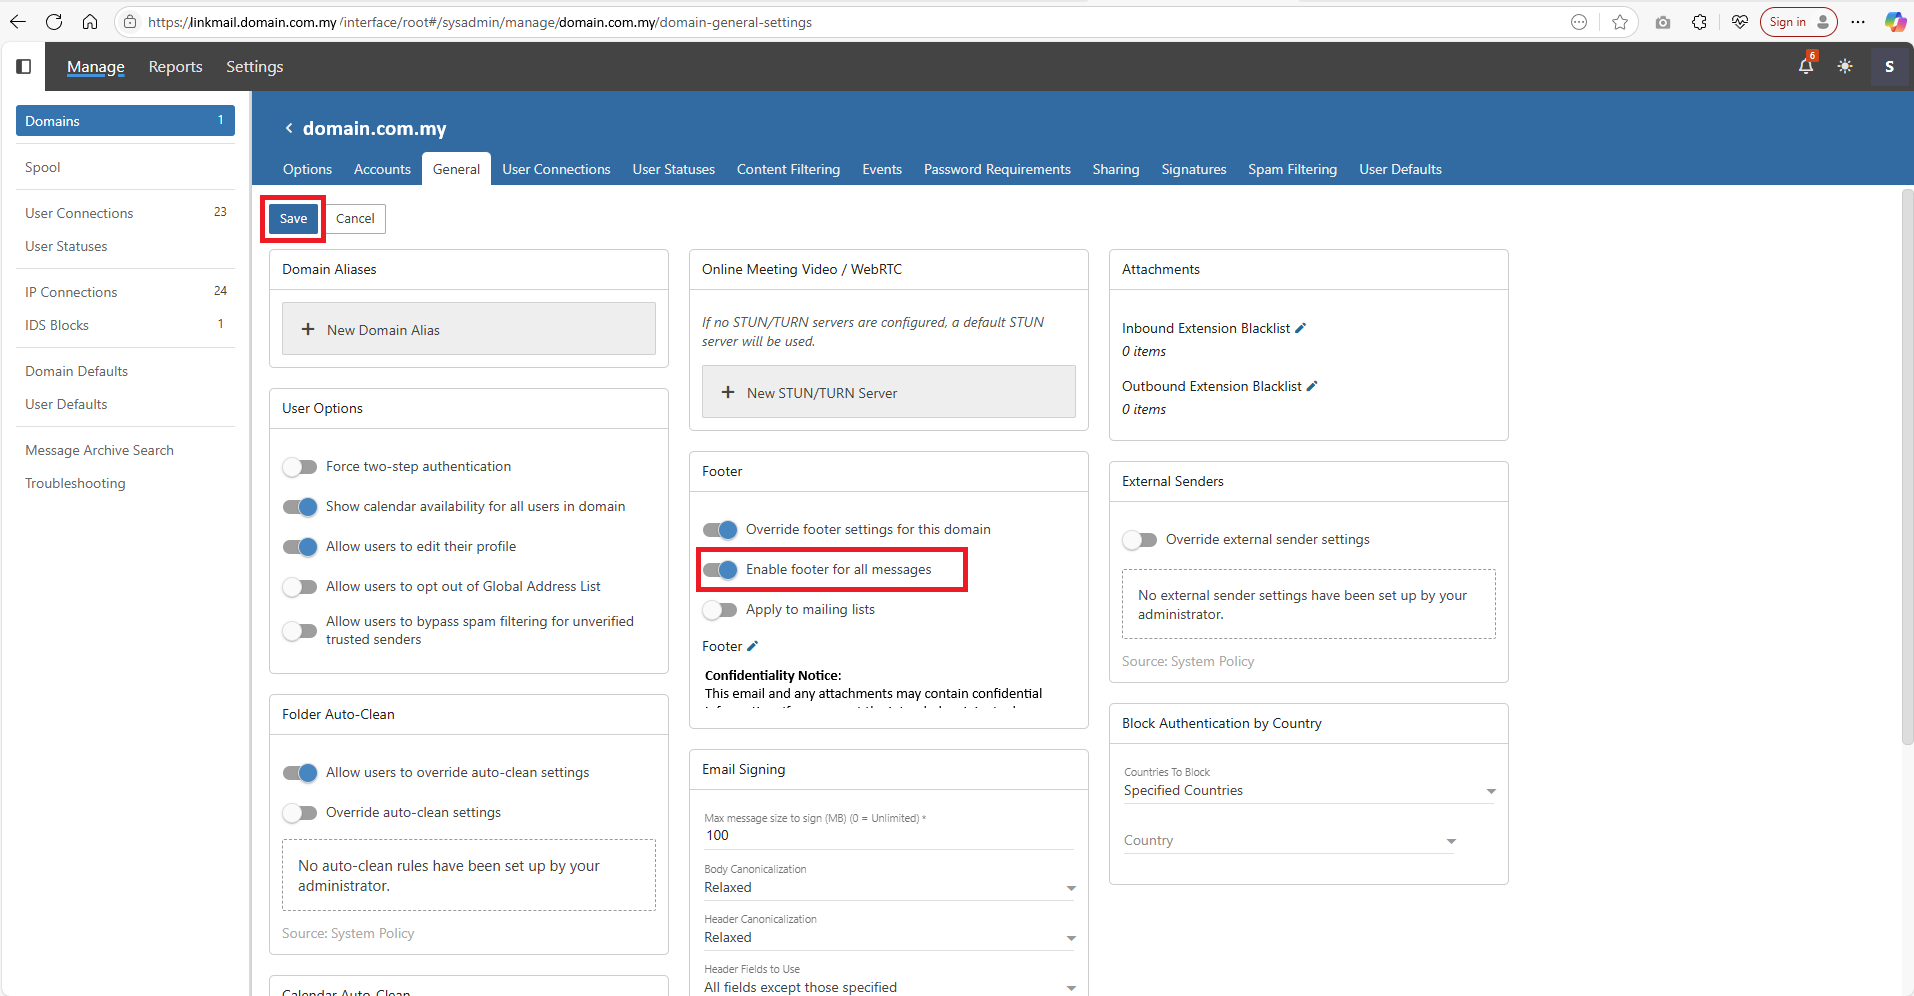
- Click on the General tab to open the domain’s general settings and, scroll down to the Footer section on the settings page. Click on the pencil icon right to the Footer to edit.
- You can modify the text in the footer text box to include the desired information (disclaimers, contact details, etc.).
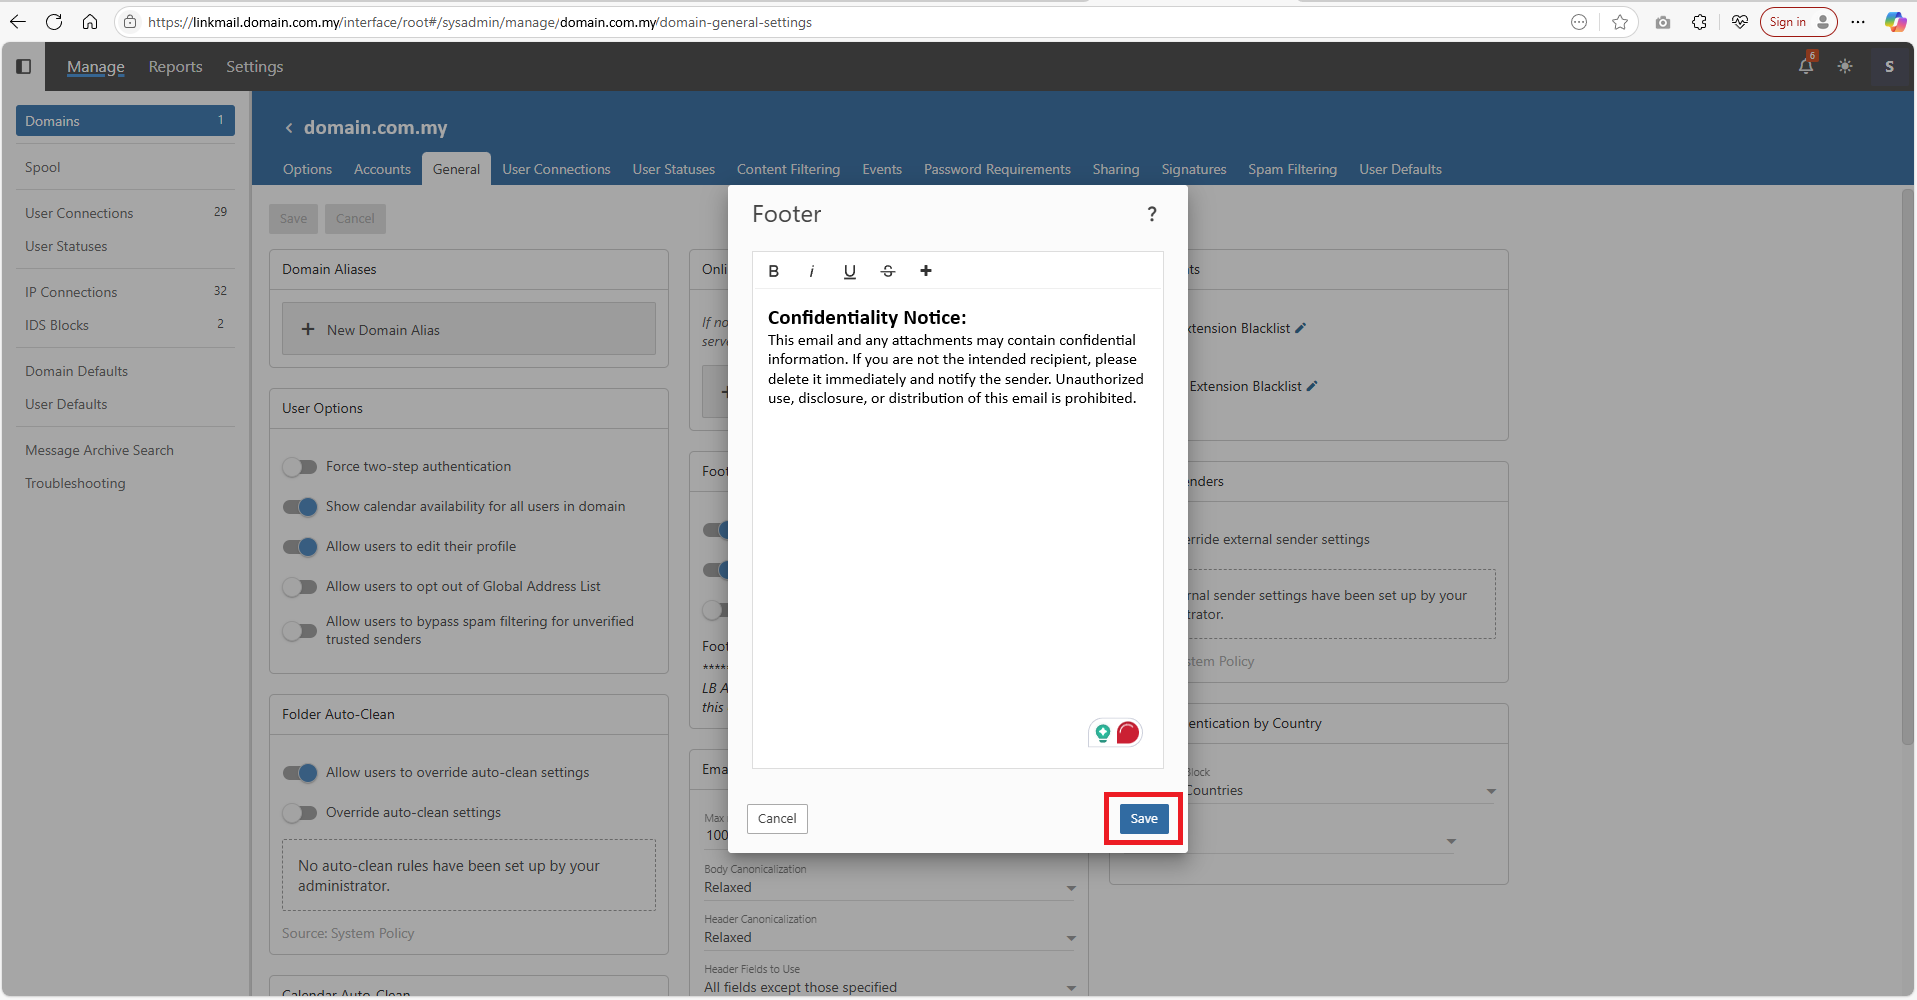
- To apply the footer to all outgoing emails, check the option Enable footer for all messages.If you also want to apply the footer to mailing lists, ensure the option Apply to mailing lists is selected. Then, click Save at the top bar to apply the changes.
Conclusion
Customizing the email footer in SmarterMail ensures that all outgoing emails from your domain carry the necessary legal and contact information. By following the steps above, you can easily apply a consistent footer to all emails or specific mailing lists. This process helps maintain professionalism and ensures compliance with legal and organizational requirements.
Related Article
Related Posts
- How to Export a New Filter and Blocked in With Specific Word Gmail Web
- How to Create a New Filter and Blocked in With Specific Word Gmail Web
- How to Create a New Filter and Blocked with Specific Email User in Gmail Web
- How to Change Date Format from MM/DD/YY (US Style) to DD/MM/YY (UK Style) in Gmail App
- How to Change Date Format from DD/MM/YY (UK Style) to MM/DD/YY (US Style) in Gmail App