Search Our Database
How to adjust send/receive setting in Outlook
Introduction
Microsoft Outlook offers the flexibility to control how frequently it sends and receives emails. This is particularly useful for users who manage multiple email accounts or require fine-tuned control over synchronization to optimize performance. This guide shows you how to configure Send/Receive settings, including scheduling automatic sends and downloads.
Prerequisites
- Microsoft Outlook installed on your Windows machine.
- At least one email account already configured in Outlook.
- Basic familiarity with Outlook’s interface.
Step-by-Step Guide
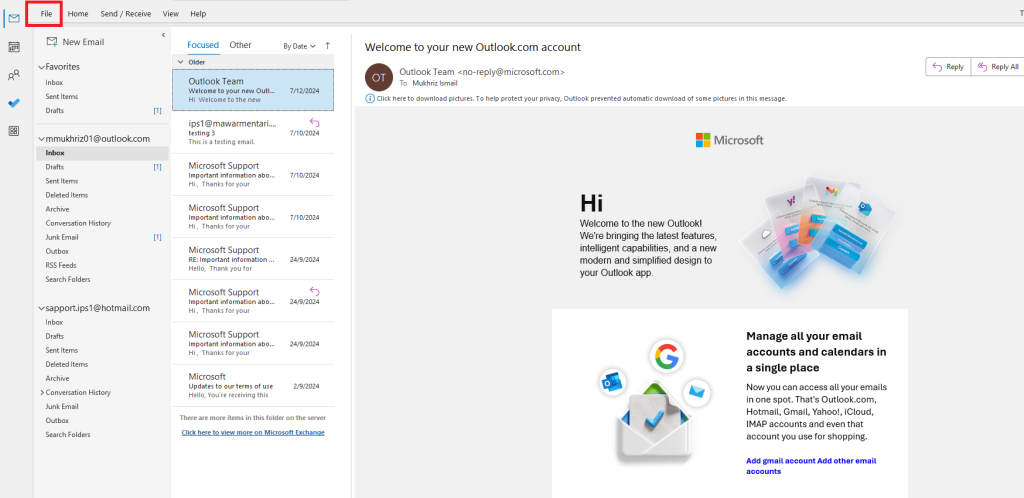
Step 1: Access Outlook Options (GUI)
- Open Microsoft Outlook.
- Click on the File tab located at the top-left corner.

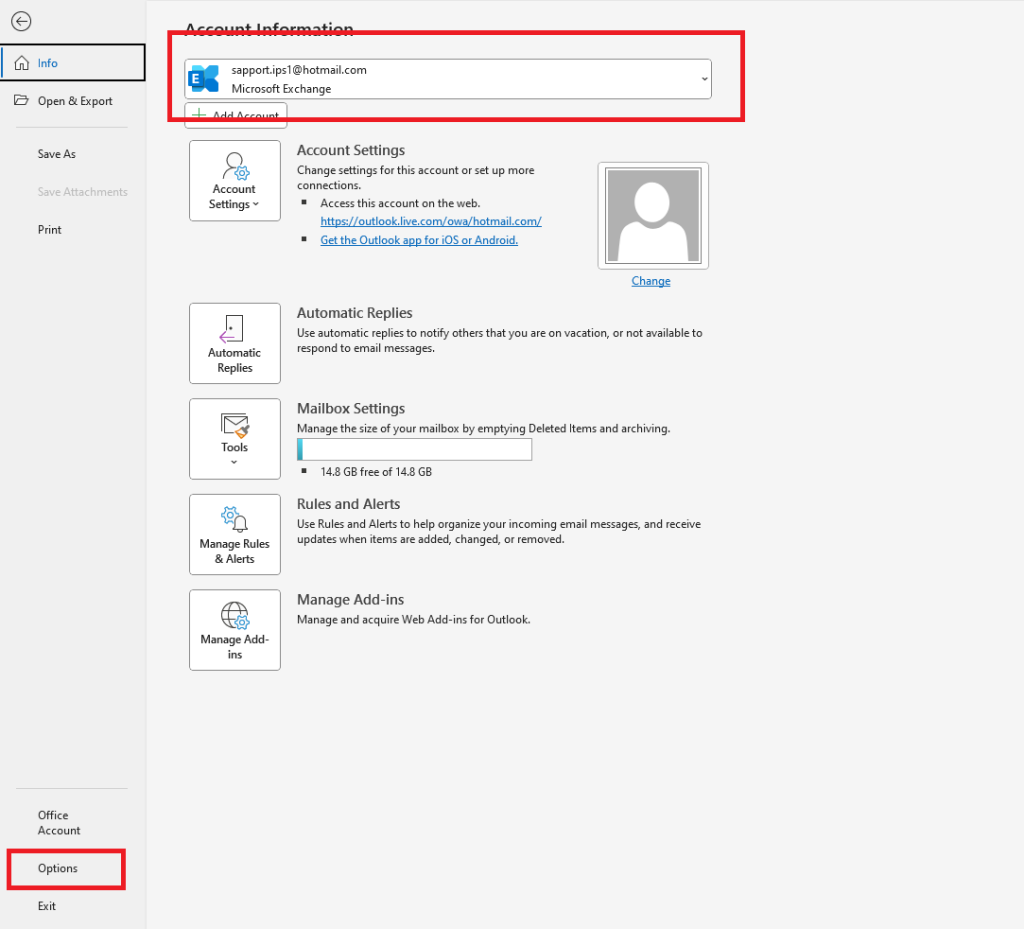
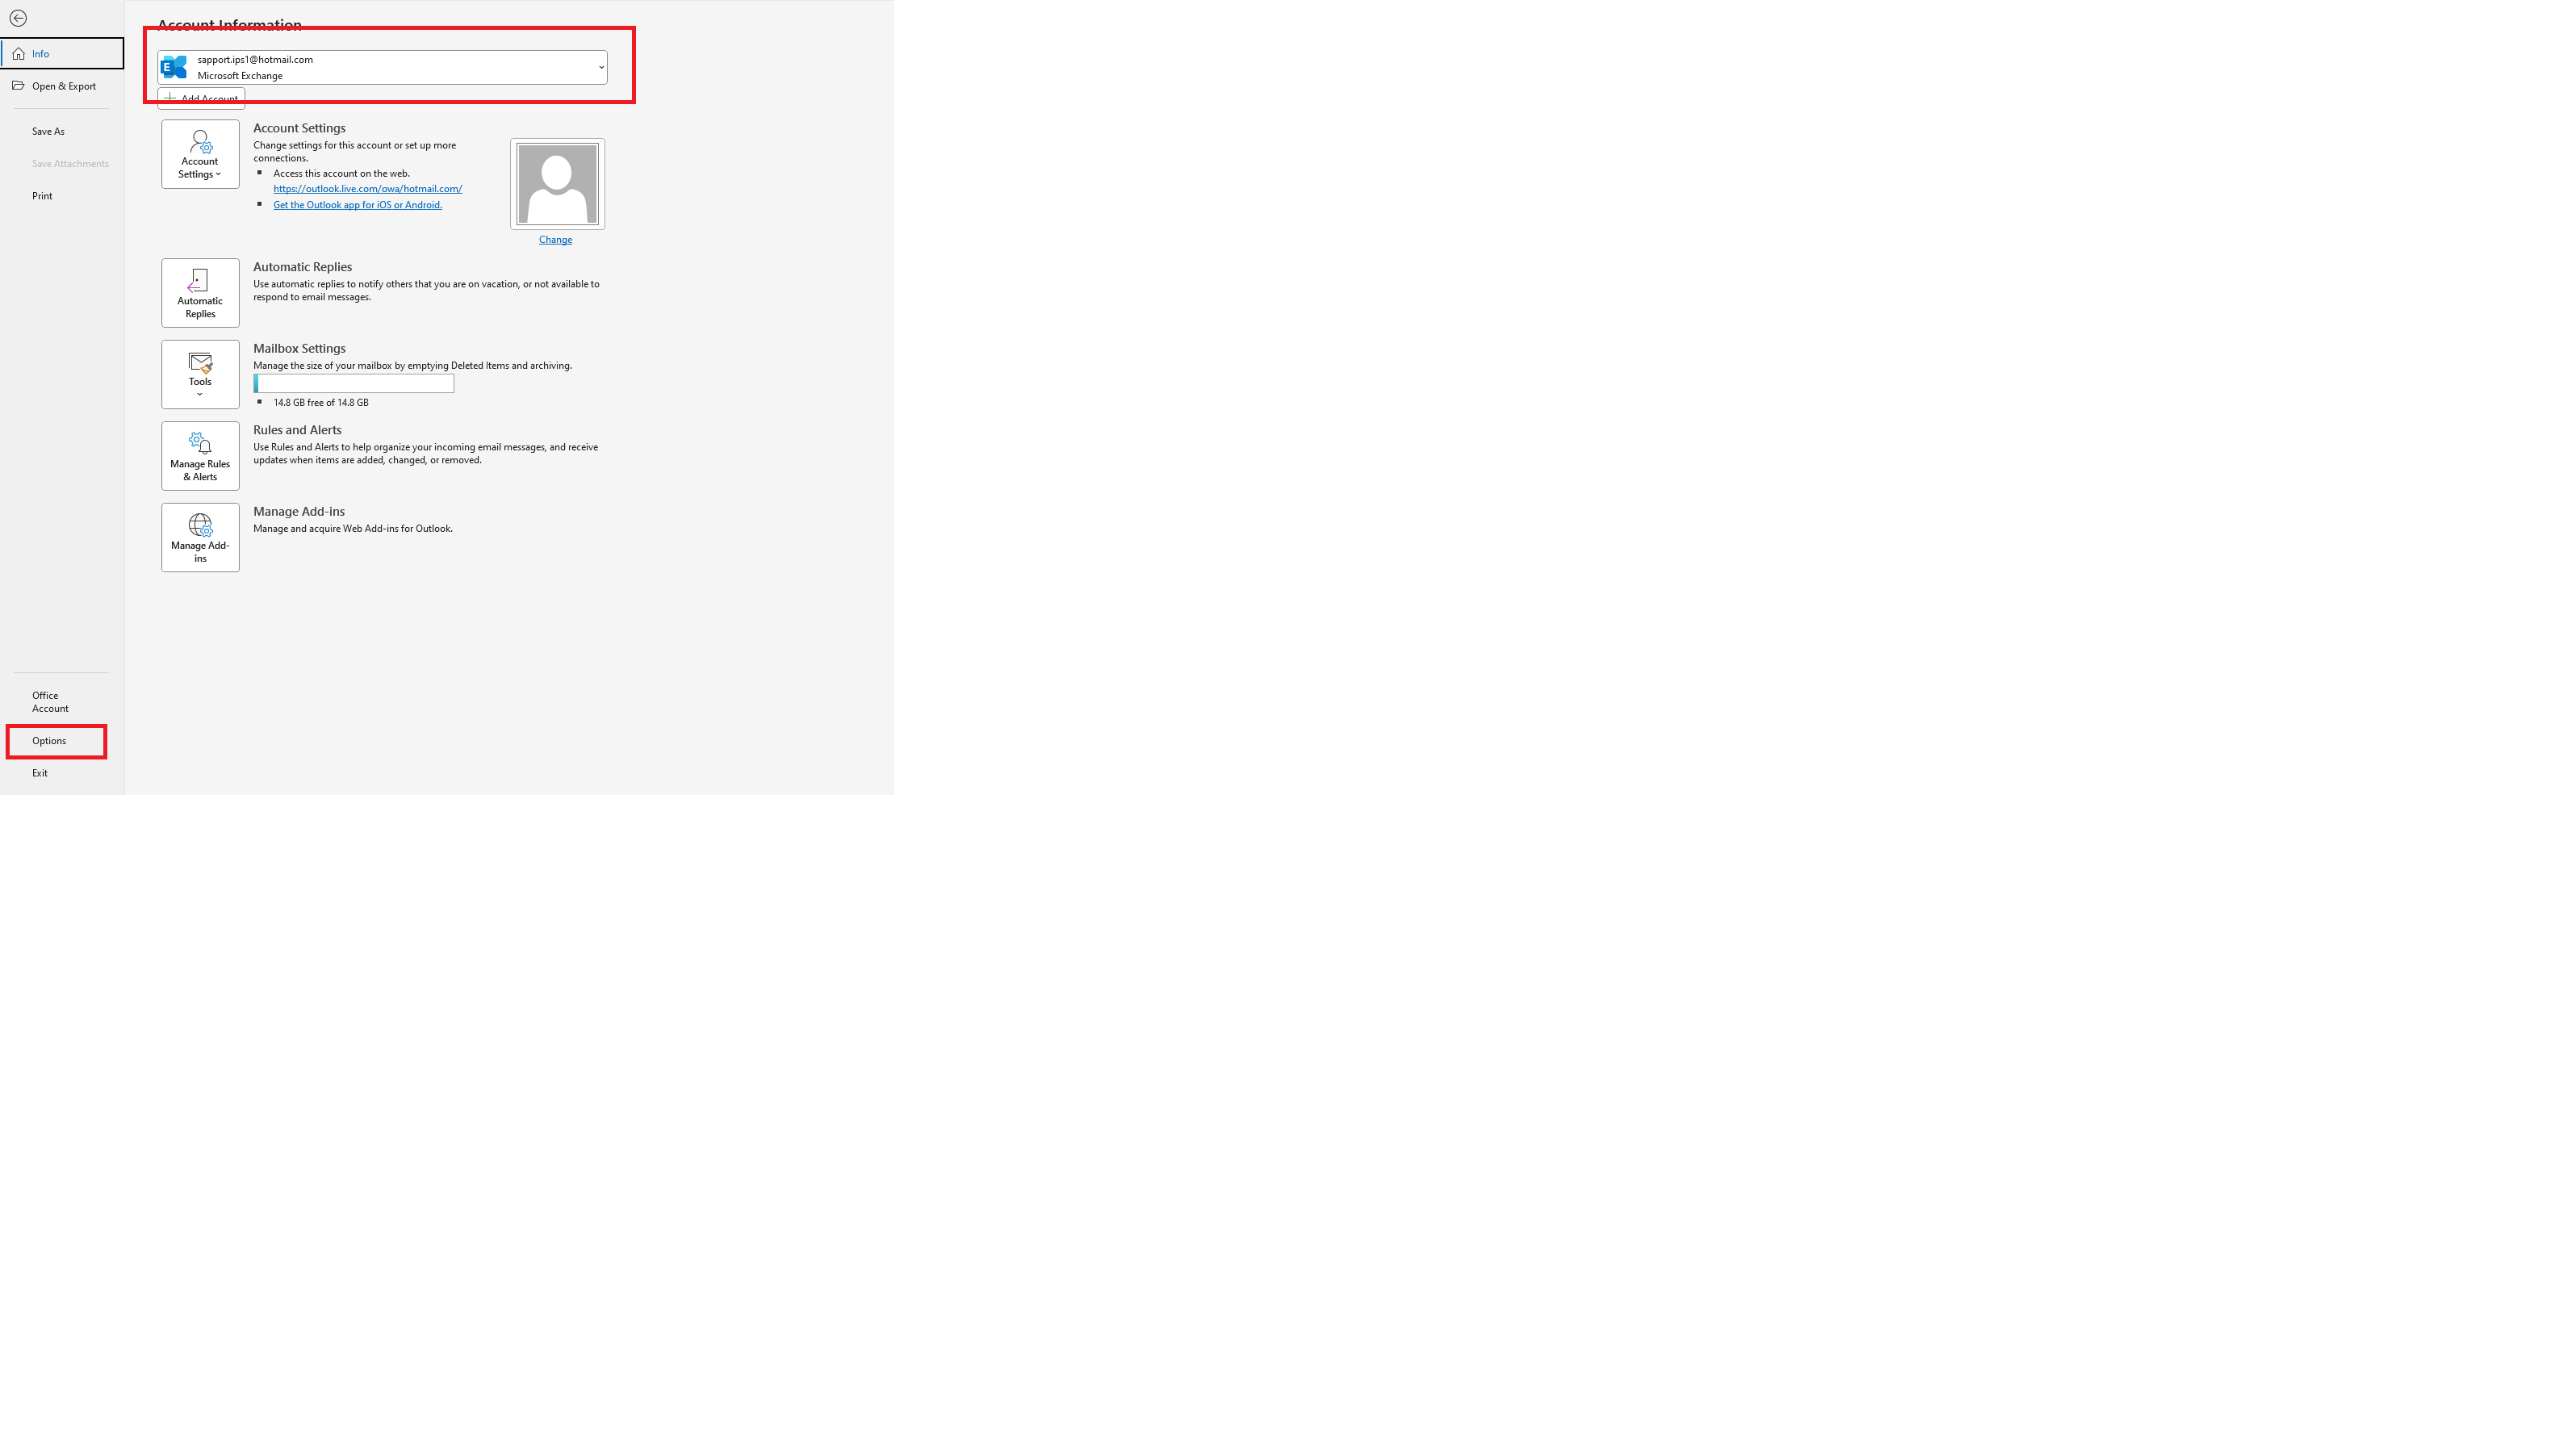
Step 2: Navigate to Send/Receive Settings
- Choose the account that you want to set the settings, then go to bottom left side for the Options
Step 3: Modify Send/Receive Groups
- In the Outlook Options window, go to the Advanced section from the left menu.
- Under the Send and receive group:
- Ensure the checkbox for Send immediately when connected is ticked.
- Click on the Send/Receive… button.

-
- In the Send/Receive Groups dialog:
- Select All Accounts.
- Check the box labeled Schedule an automatic send/receive every [X] minutes.
Recommended: Set to 5 or 10 minutes - Optionally, enable the same setting for offline mode.
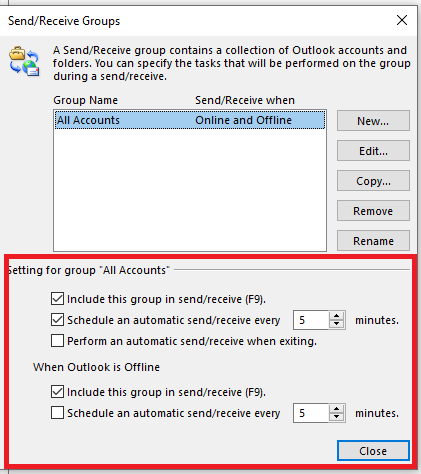
- Click Close to save changes.
Conclusion
Adjusting the send and receive intervals in Microsoft Outlook ensures timely delivery and syncing of emails based on your specific workflow. This simple customization can improve productivity and ensure you never miss an important message.
For further assistance, contact our support team at support@ipserverone.com.
Article posted on 26 June 2025 by Mukhriz