Search Our Database
How to Add Mail Signature on Gmail Web
Introduction:
This introduction addresses the need of a Gmail user who requires a signature for the outgoing email, especially when they need to sent too much email that demands a standardized signature.
The objective of the steps is to guide the user on how to create a signature for outgoing emails in GMail Web. The process begins with accessing Settings, followed by selecting See all Settings, and then scrolling down to locate the Signature section. From there, the user will Click Create New, input a name for the signature, and key in the desired signature content. Finally, the process concludes by configuring the signature settings and clicking save changes.
Prerequisites:
- User must possess a fully registered and active Gmail account.
- The procedure explicitly requires accessing the Gmail Web interface.
- User should have the desired signature content prepared.
Step-by-step Guide:
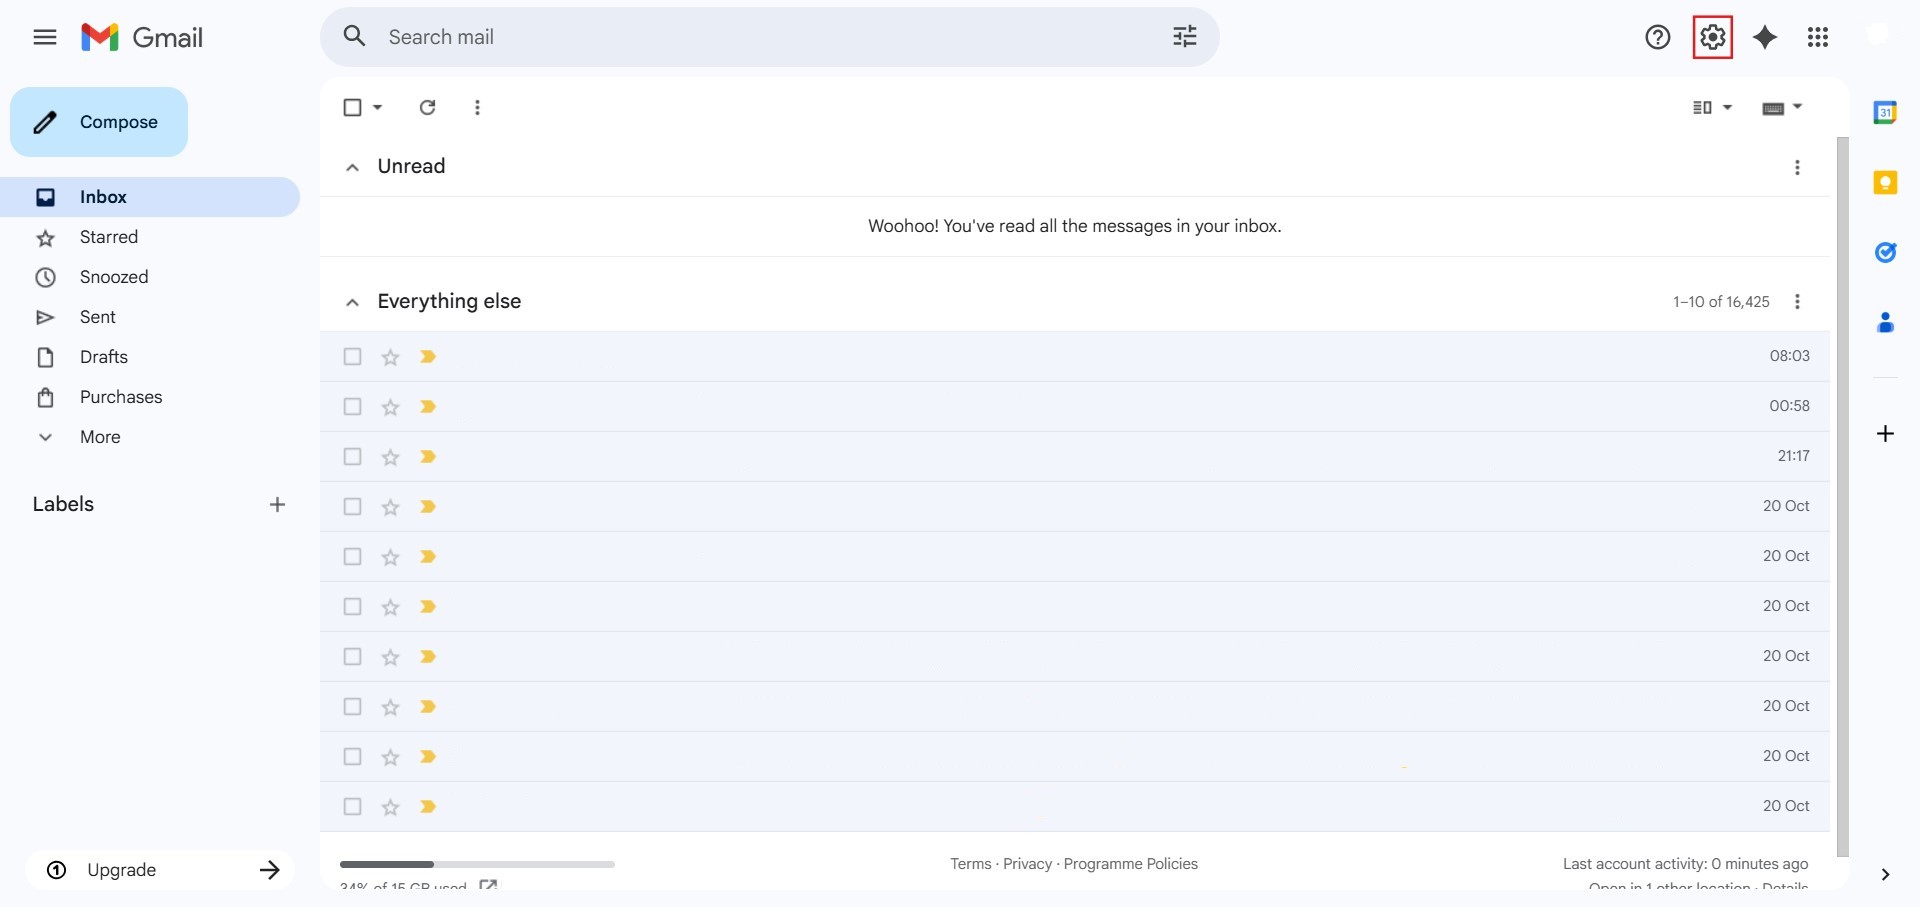
Step 1: Access Settings
- The initial action required is to Click setting.
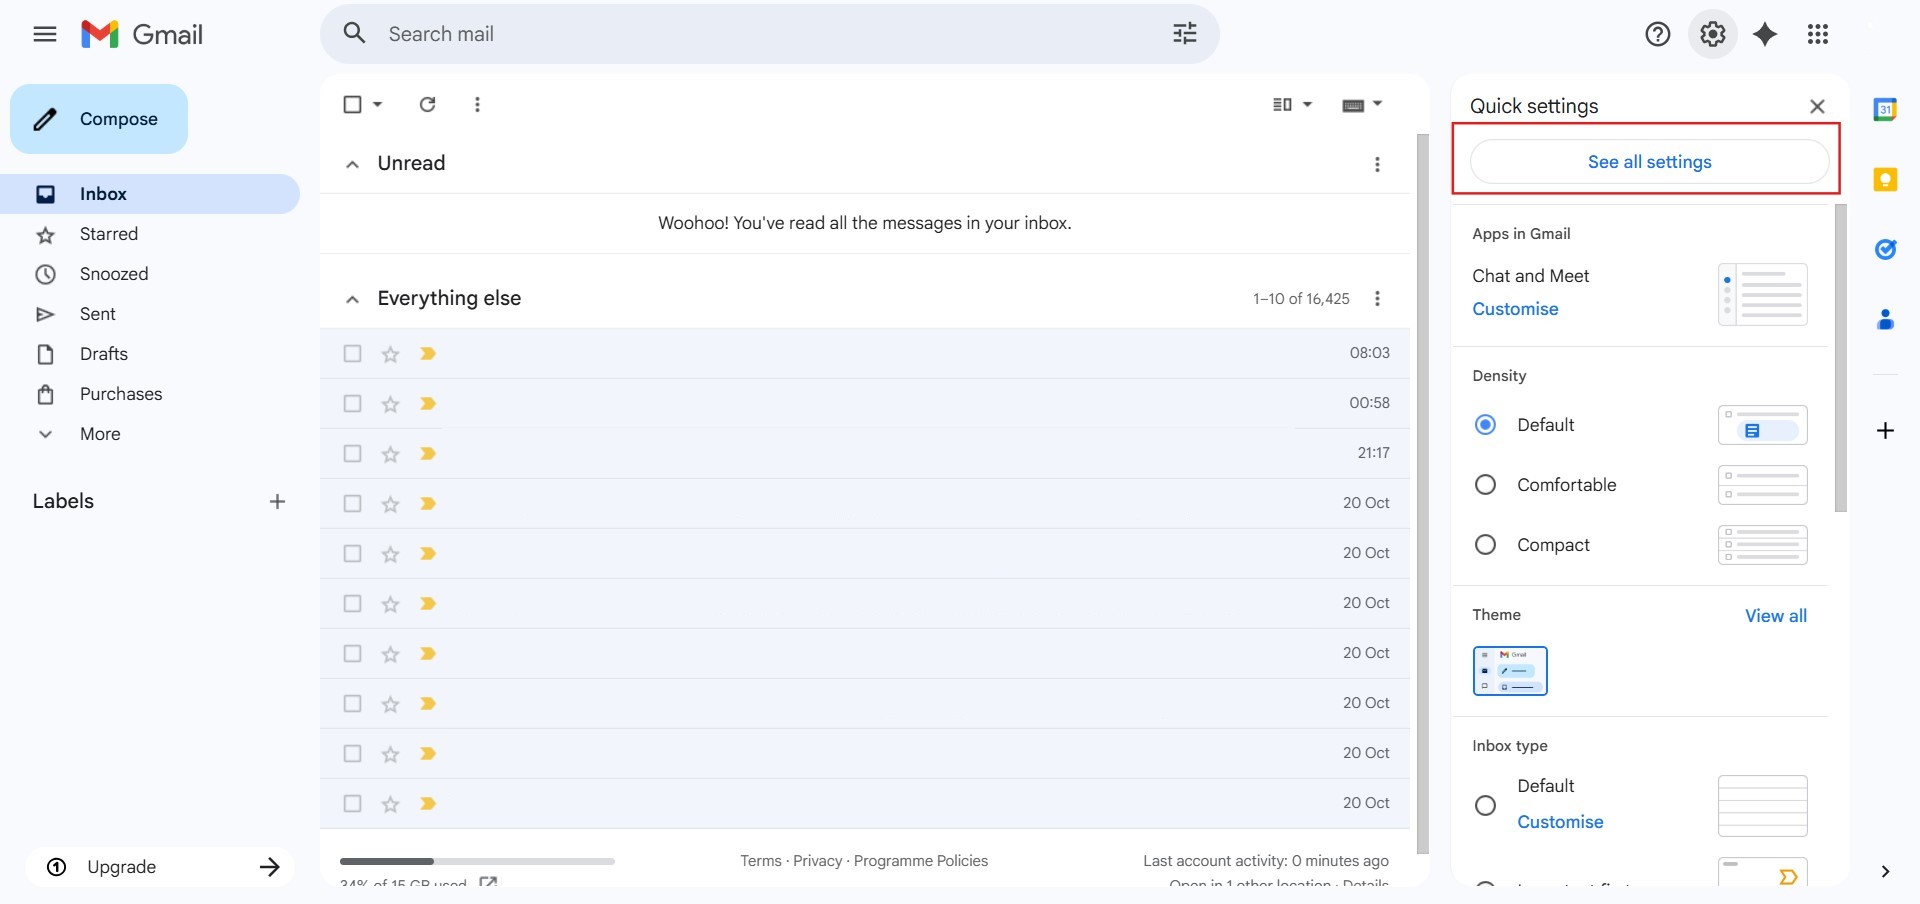
Step 2: Navigate to All Settings
- After clicking “setting,” proceed to select See all Settings.
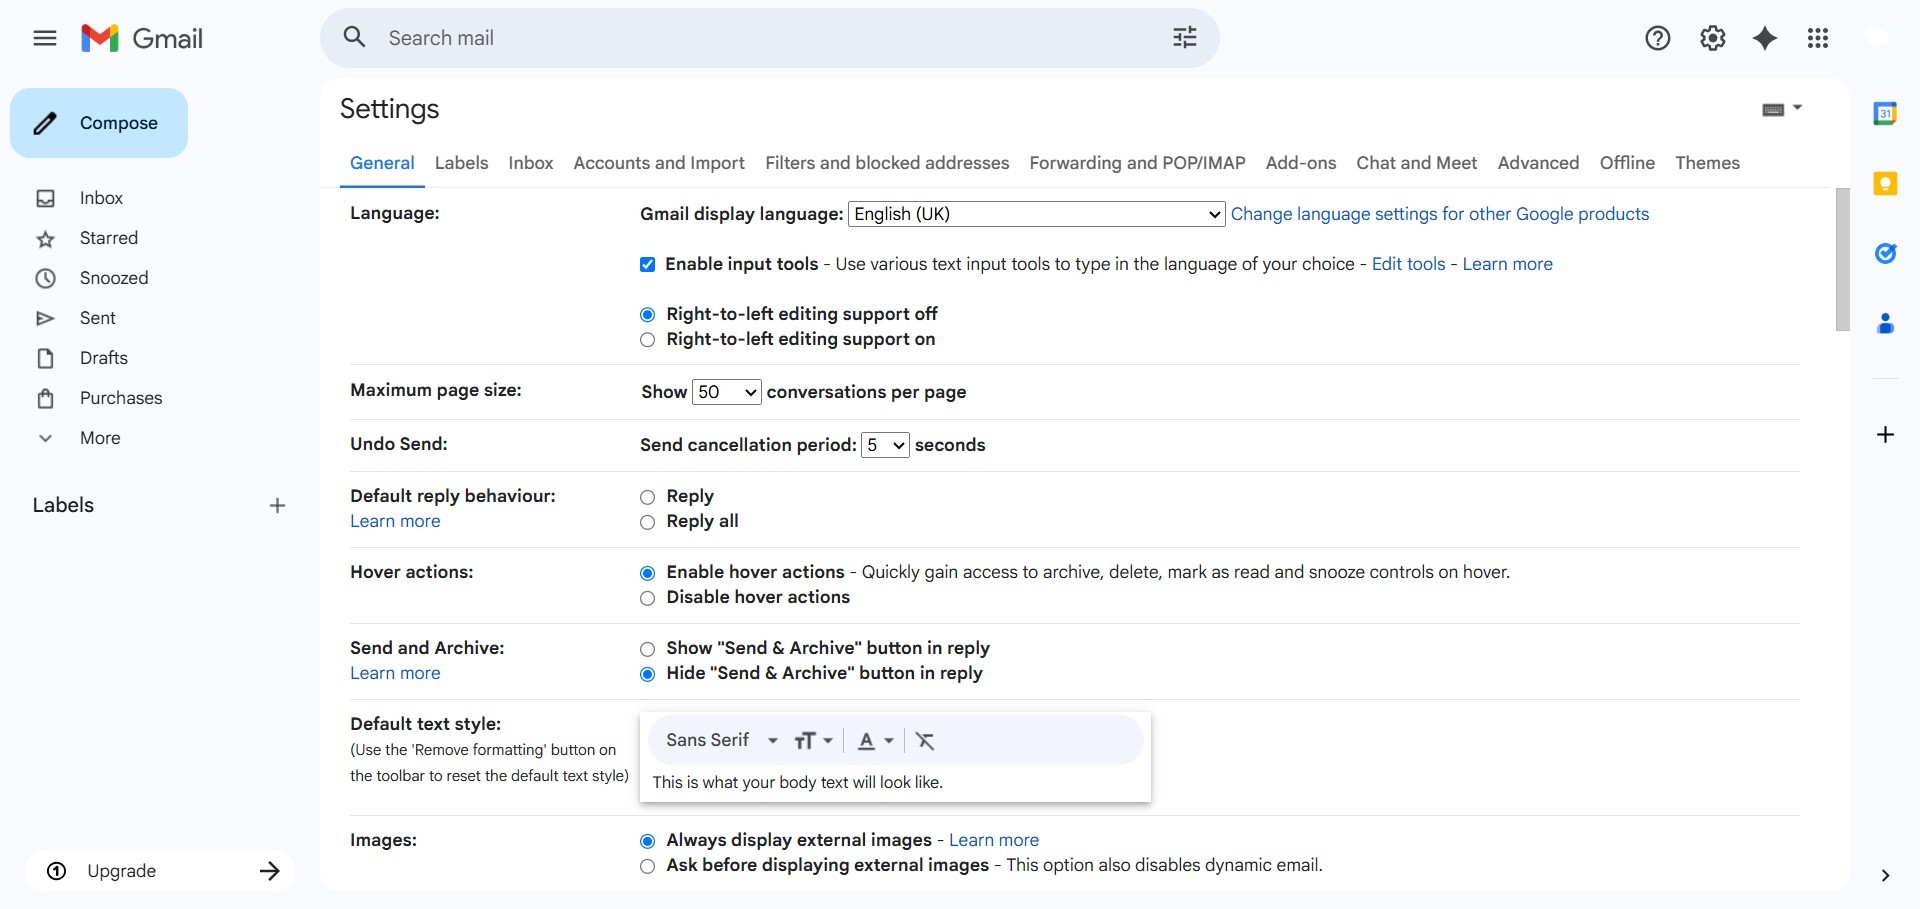
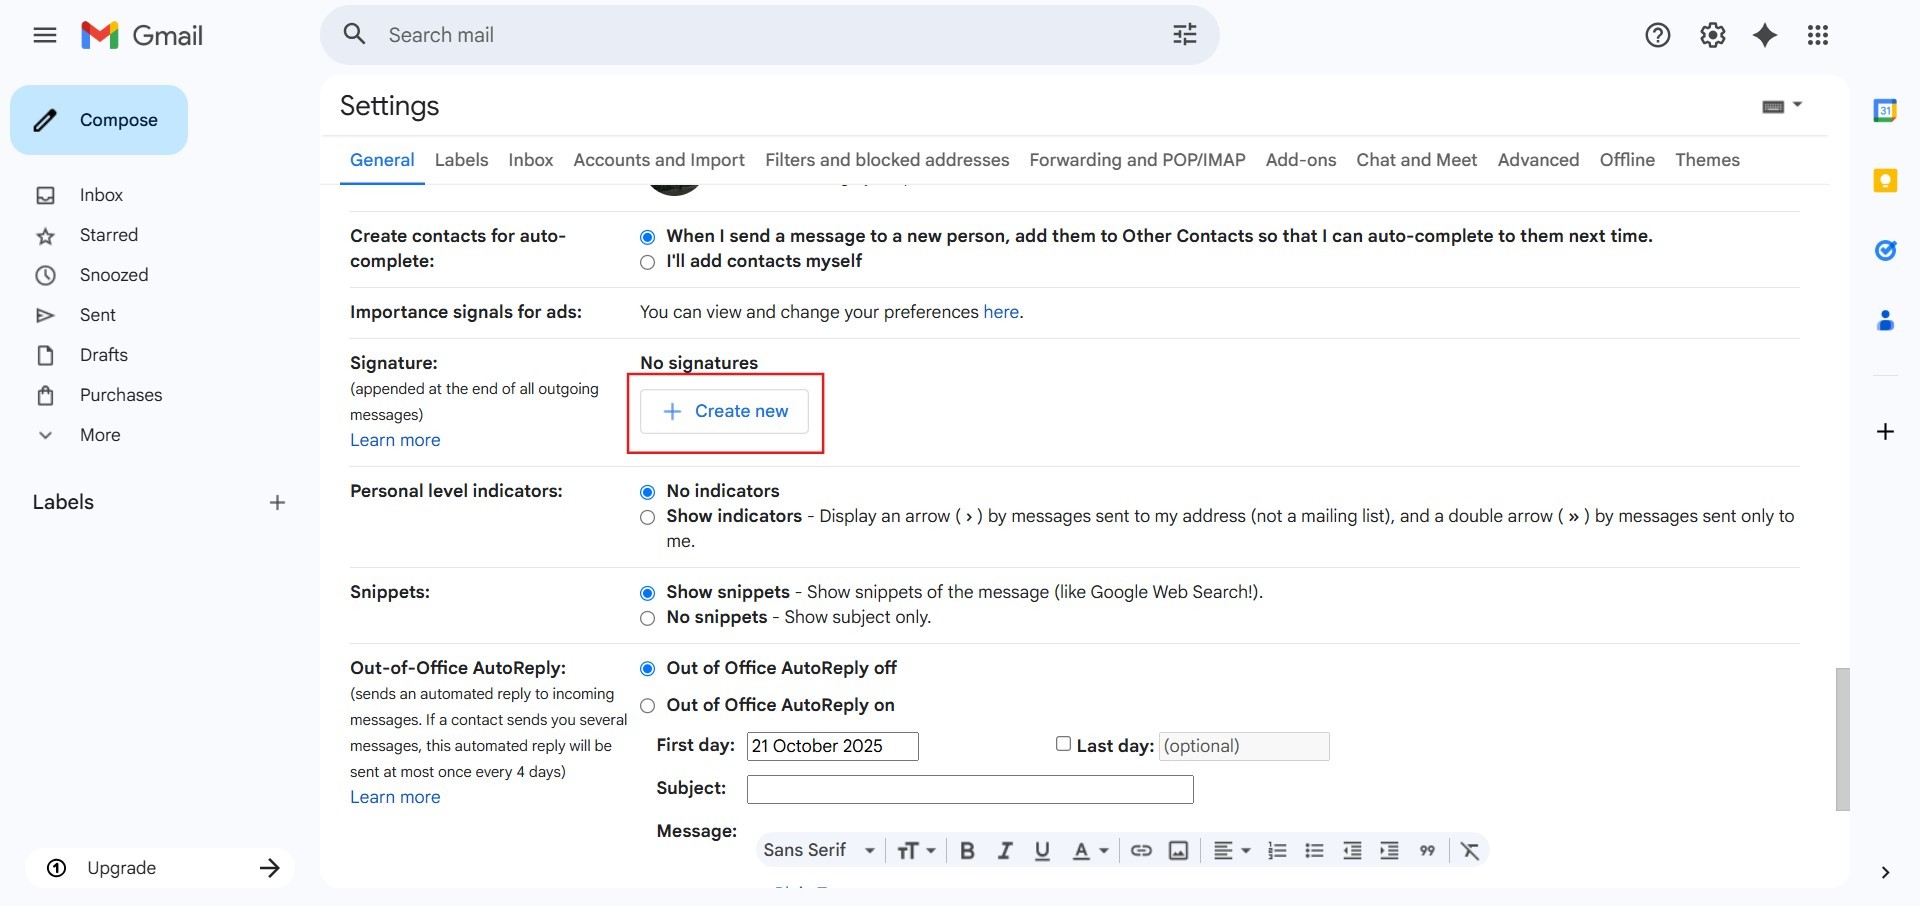
Step 3: Locate the Signature Section
- You must Scroll down the settings page to find the Signature section.
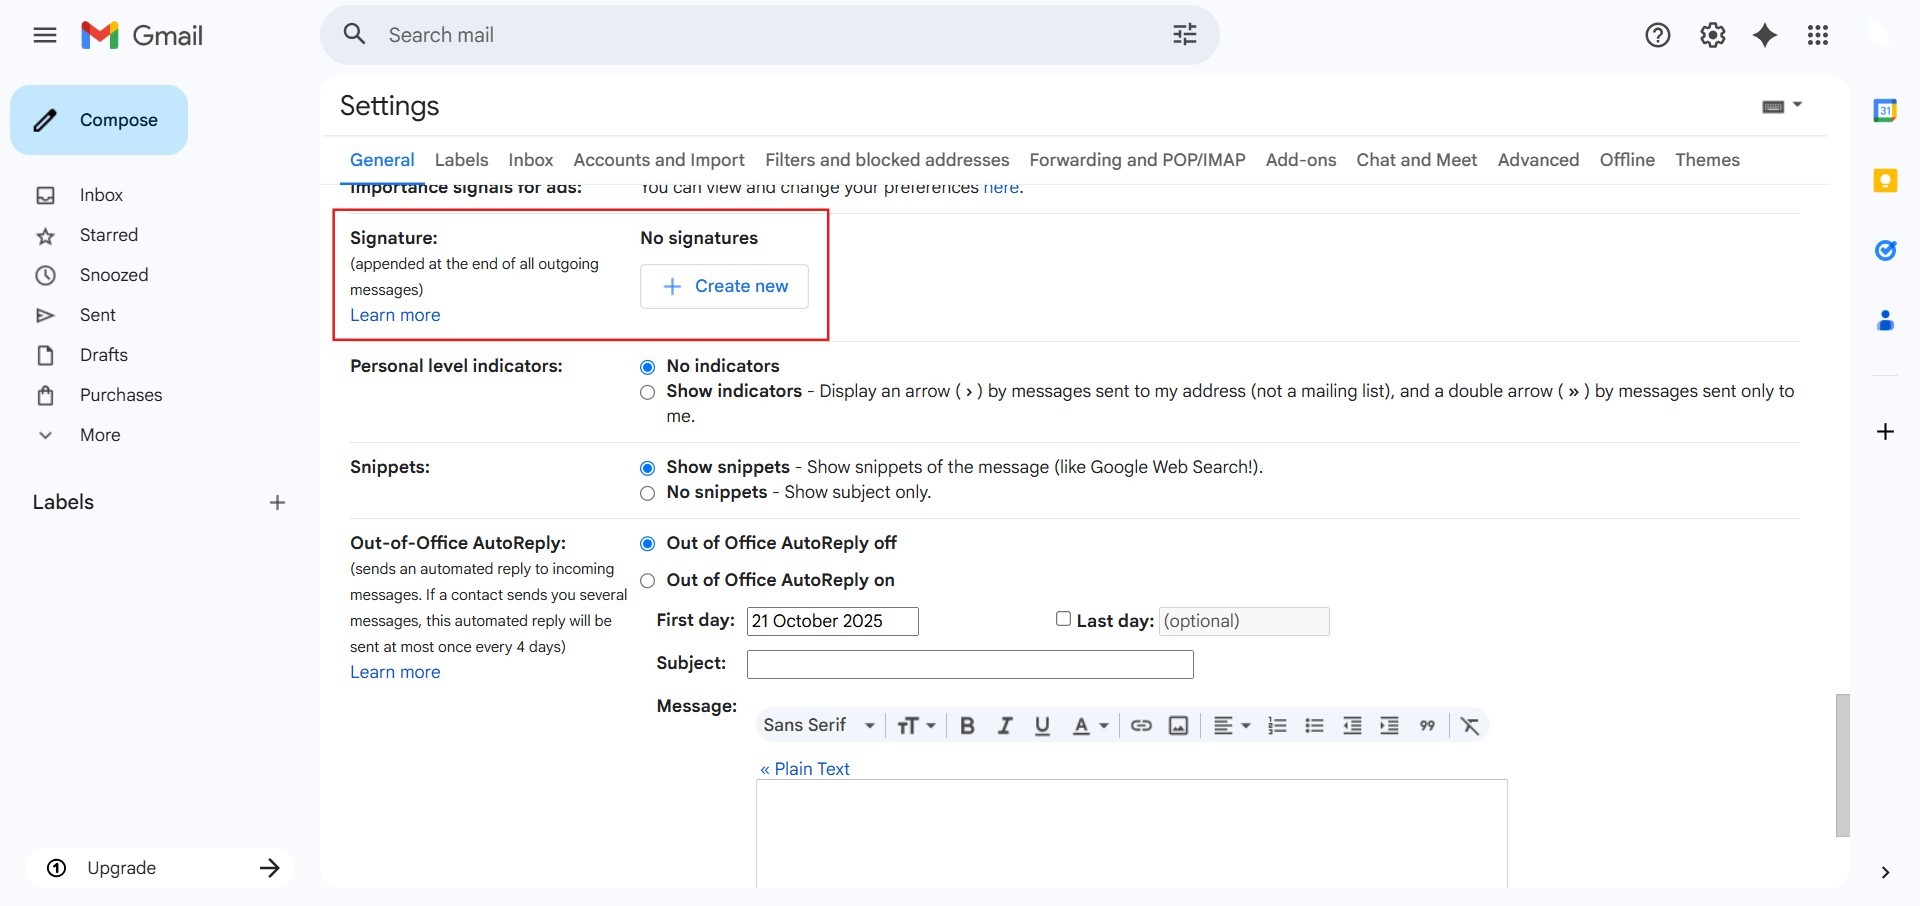
Step 4: Initiate New Signature Creation
- Once in the correct section, Click Create New.
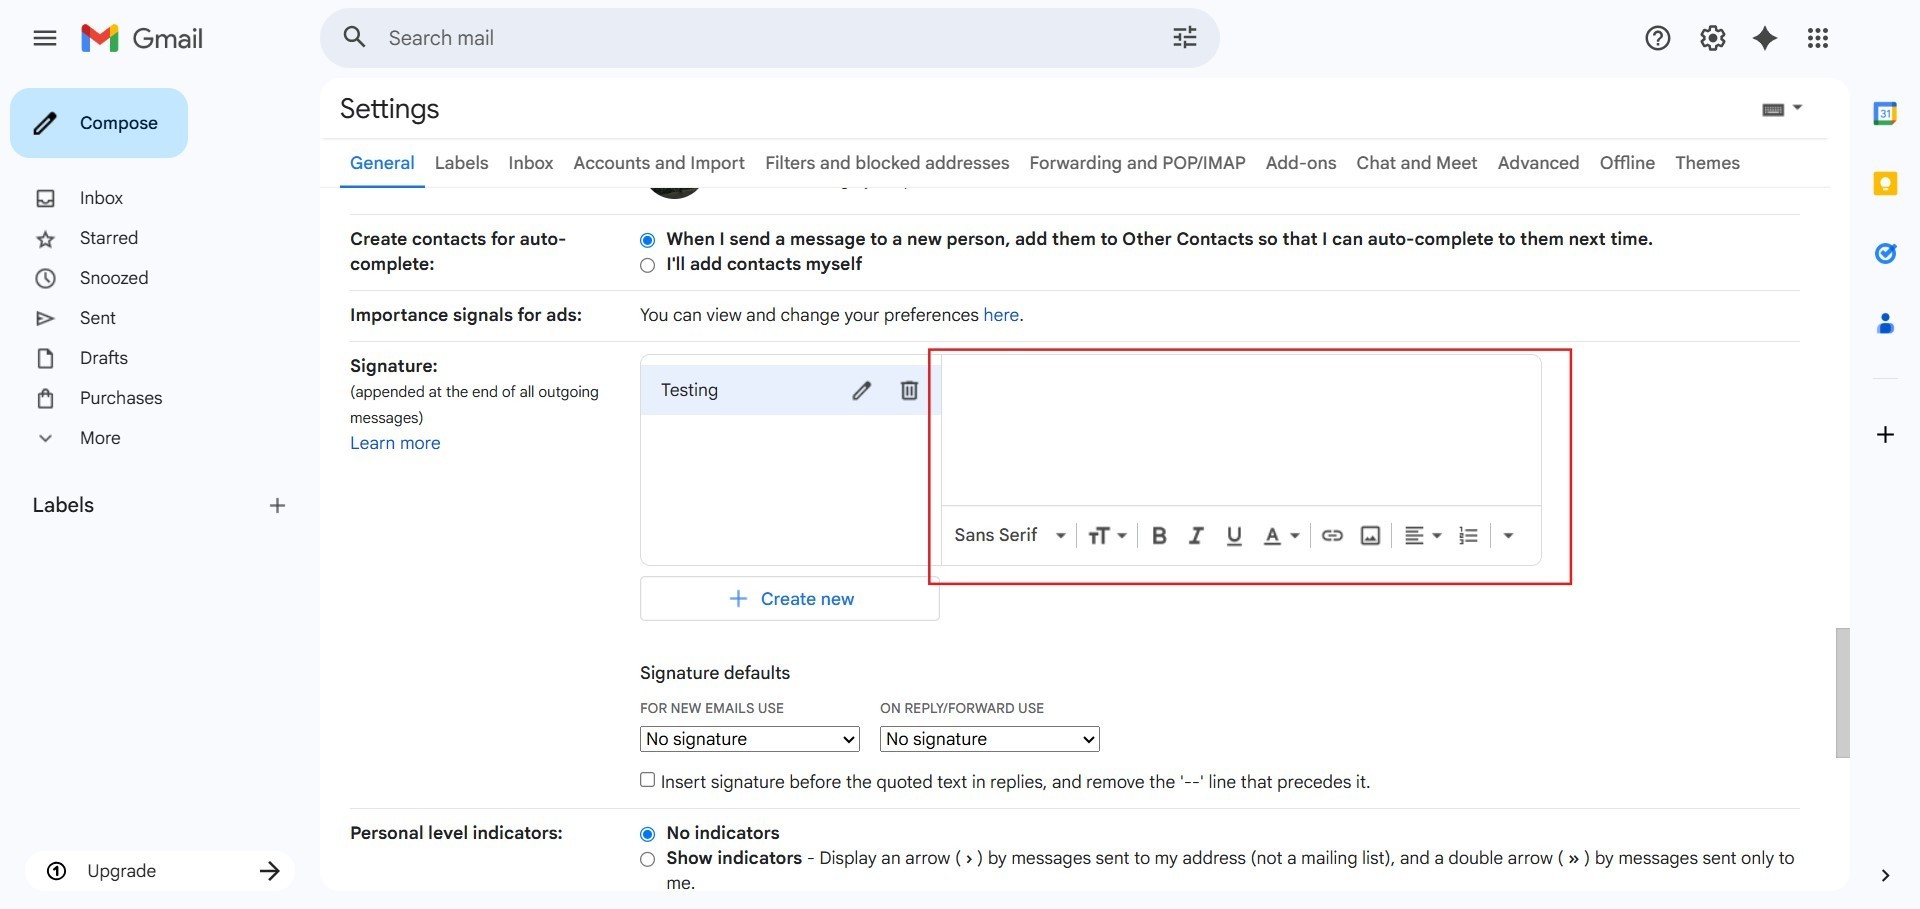
Step 5: Name the Signature
- You will be prompted to Key in Name and Click Create.

Step 6: Enter Signature Content
- Next, you will Key in signature content into the designated field.
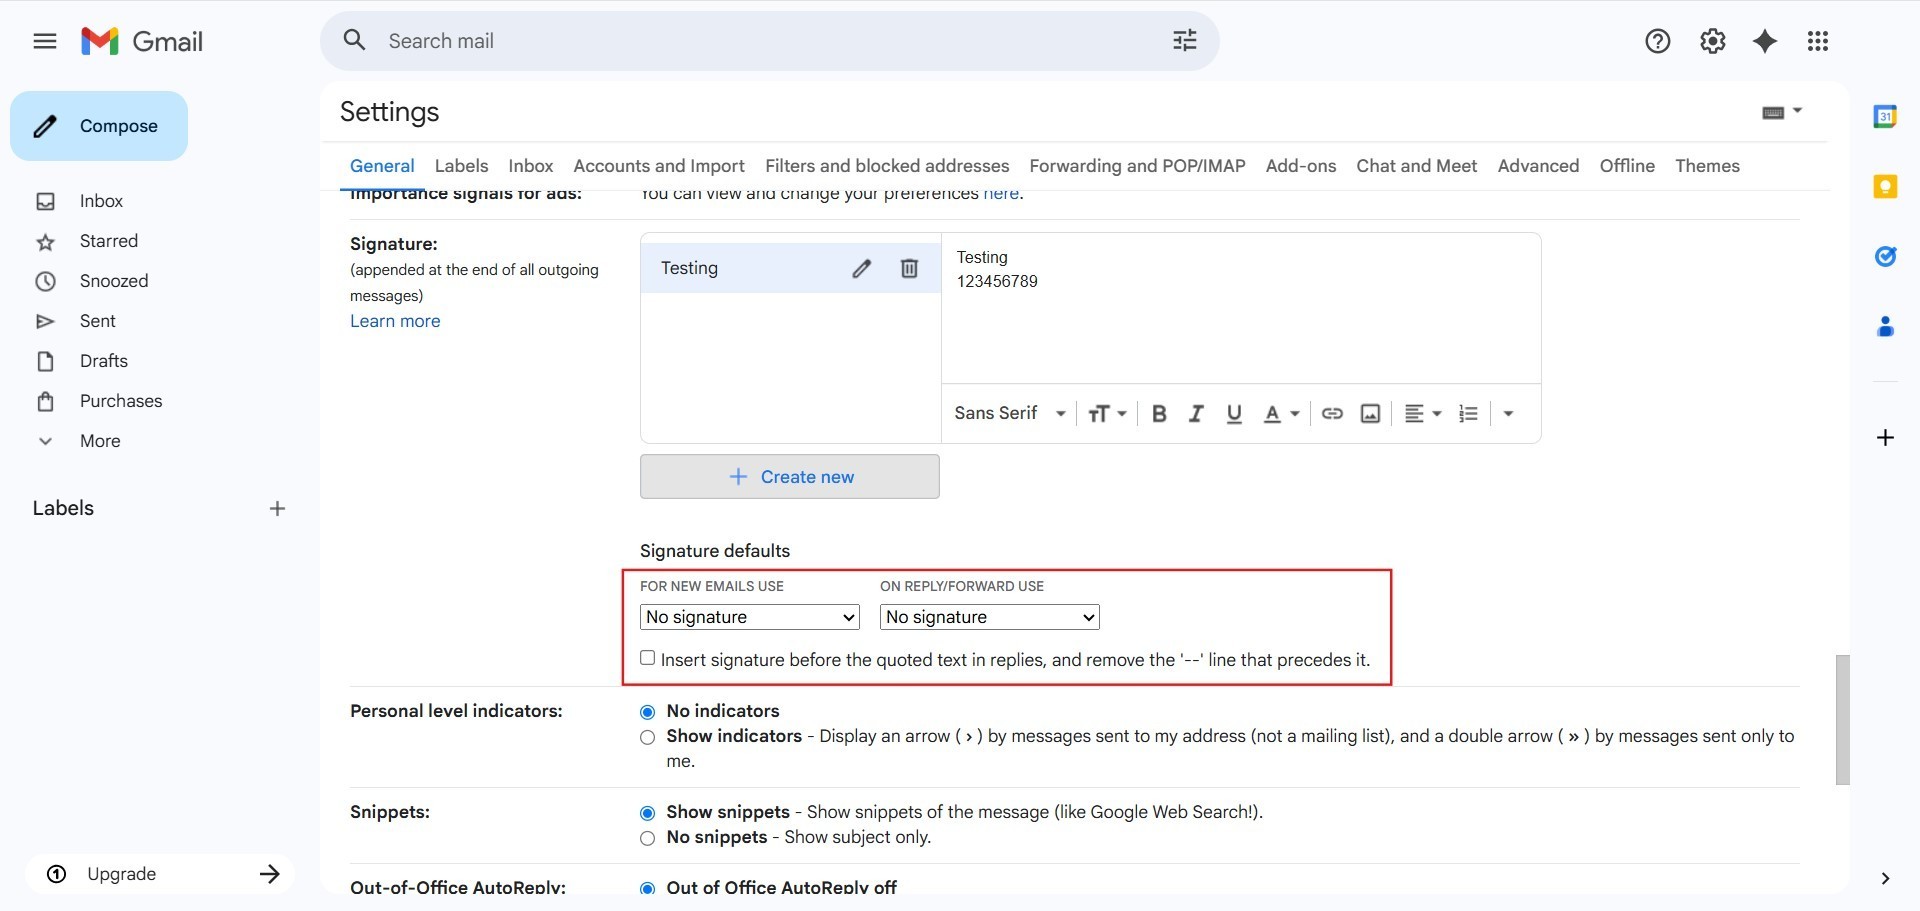
Step 7: Configure Default Usage
- After inputting the content, Configure the signature setting to determine when this signature should be applied to outgoing emails.
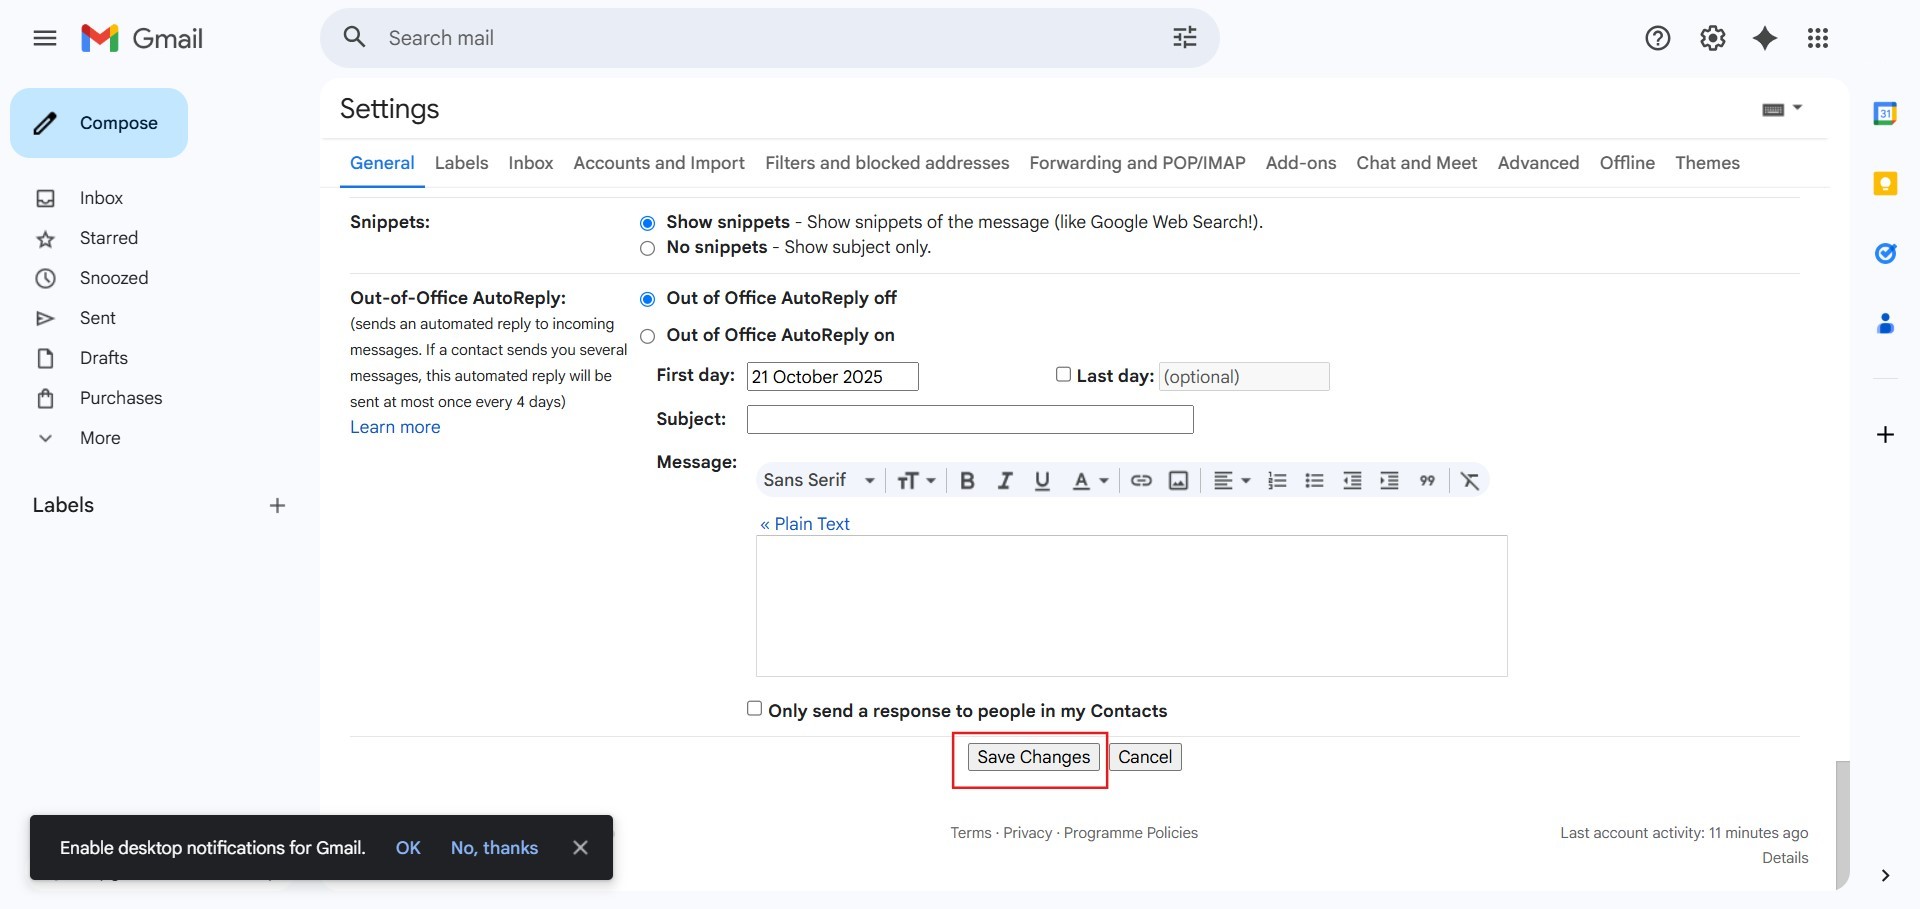
Step 8: Save Changes
- To finalize the setup and activate the new signature, Scroll down and Click save changes.
Step 9: Confirmation
- The successful completion of these steps confirms the new signature has been created and configured in the GMail Web interface.
Conclusion:
Based on the detailed procedure outlined, the successful establishment of the email signature marks the conclusion of the configuration process.
By diligently following the steps—starting with clicking setting, navigating to See all Settings, locating the Signature section, clicking Create New, entering the necessary Name and signature content, and finally, configuring the usage settings—you have successfully customized your outgoing mail environment.