Search Our Database
How to Add Contact with Searching Function in Gmail Web
Introduction:
Adding new entries to your address book while using Gmail Web is a streamlined process that utilizes a built-in searching function to quickly locate individuals. This feature is managed through the Contacts sidebar located on the right side of the interface, which allows you to find and save people you have previously interacted with without navigating away from your inbox.
By selecting the search button within this specialized panel, you can enter a specific user name to pinpoint a target profile from your email history. Once the correct individual is identified, you can permanently store their details in your directory by choosing the “Save contact” option, which triggers a success notification once the information is safely recorded.
Prerequisites:
- You must be signed into a valid Google account to access your personal mailing interface.
- You must have the Gmail platform open in a supported web browser to view the Contacts sidebar.
- You should have the user name or email address of the individual you wish to search for within your interaction history.
Step-by-step Guide:
Step 1: Click Contact Icon
- From your Gmail inbox, locate and select the Contacts icon in the right-side panel.
![]()
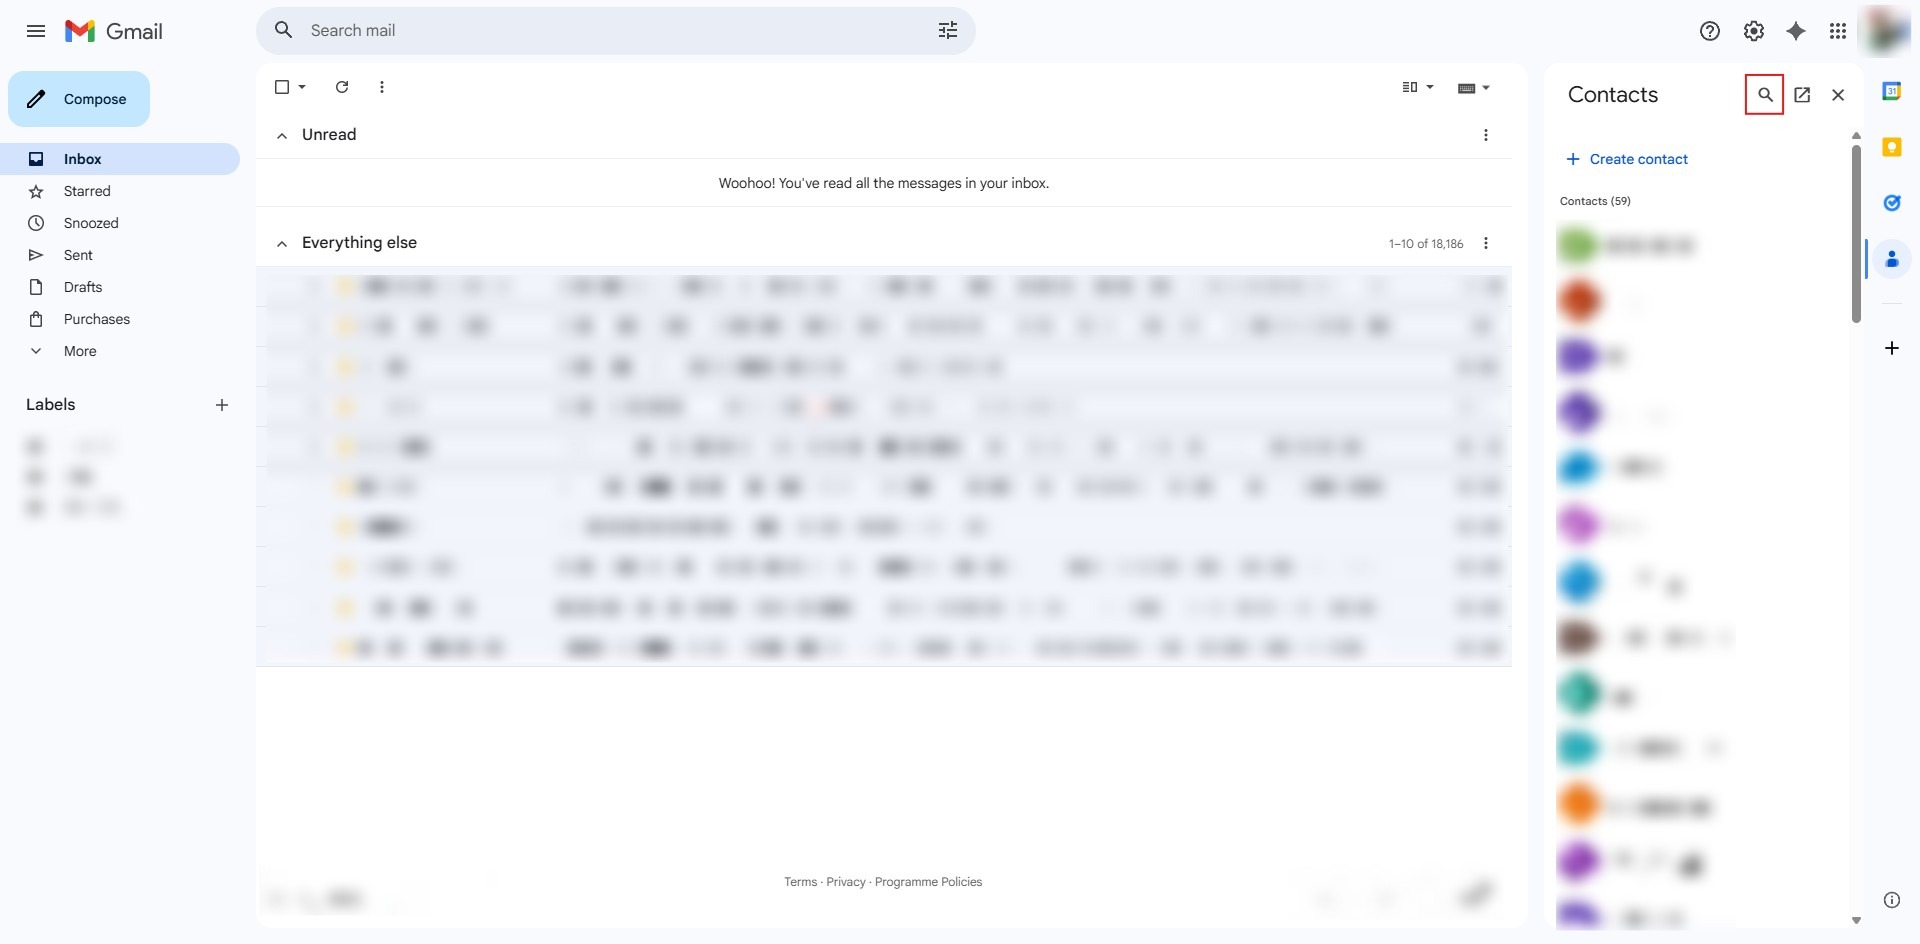
Step 2: Click Search Button
- In the Contacts sidebar that appears, select the Search button (magnifying glass) at the top.
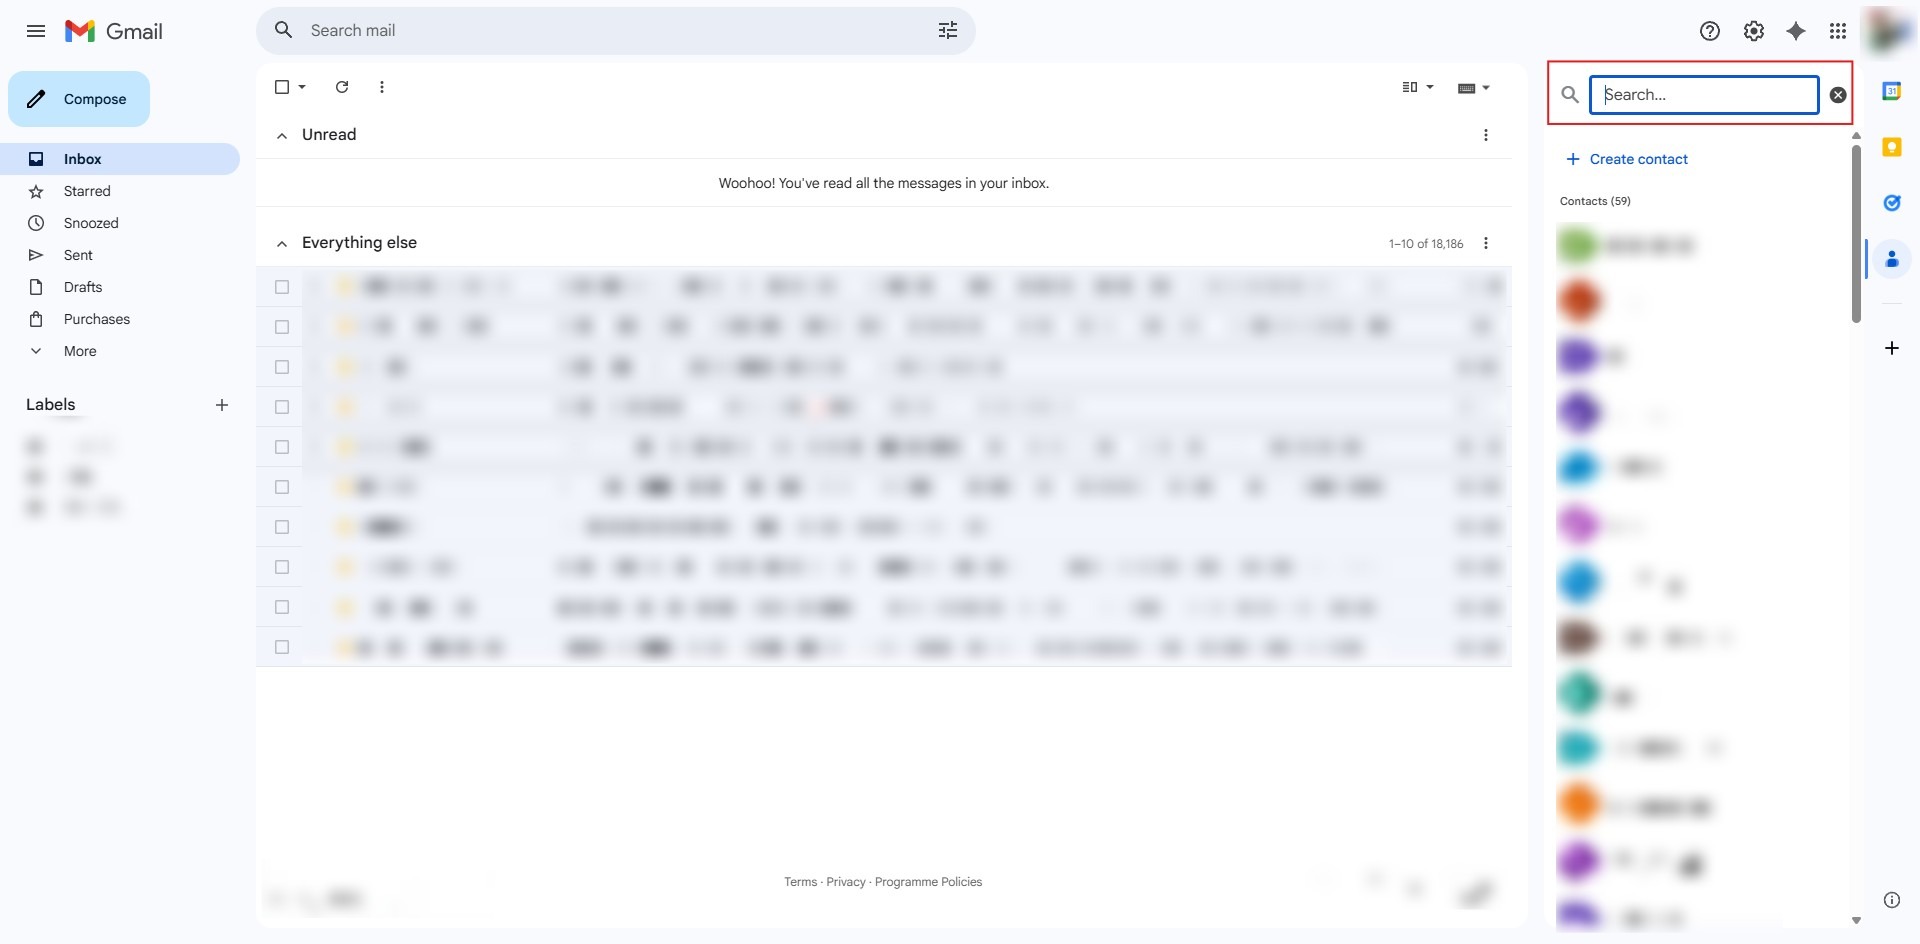
Step 3: Key in User Name
- Type the name or email address of the person you want to find in the search bar.
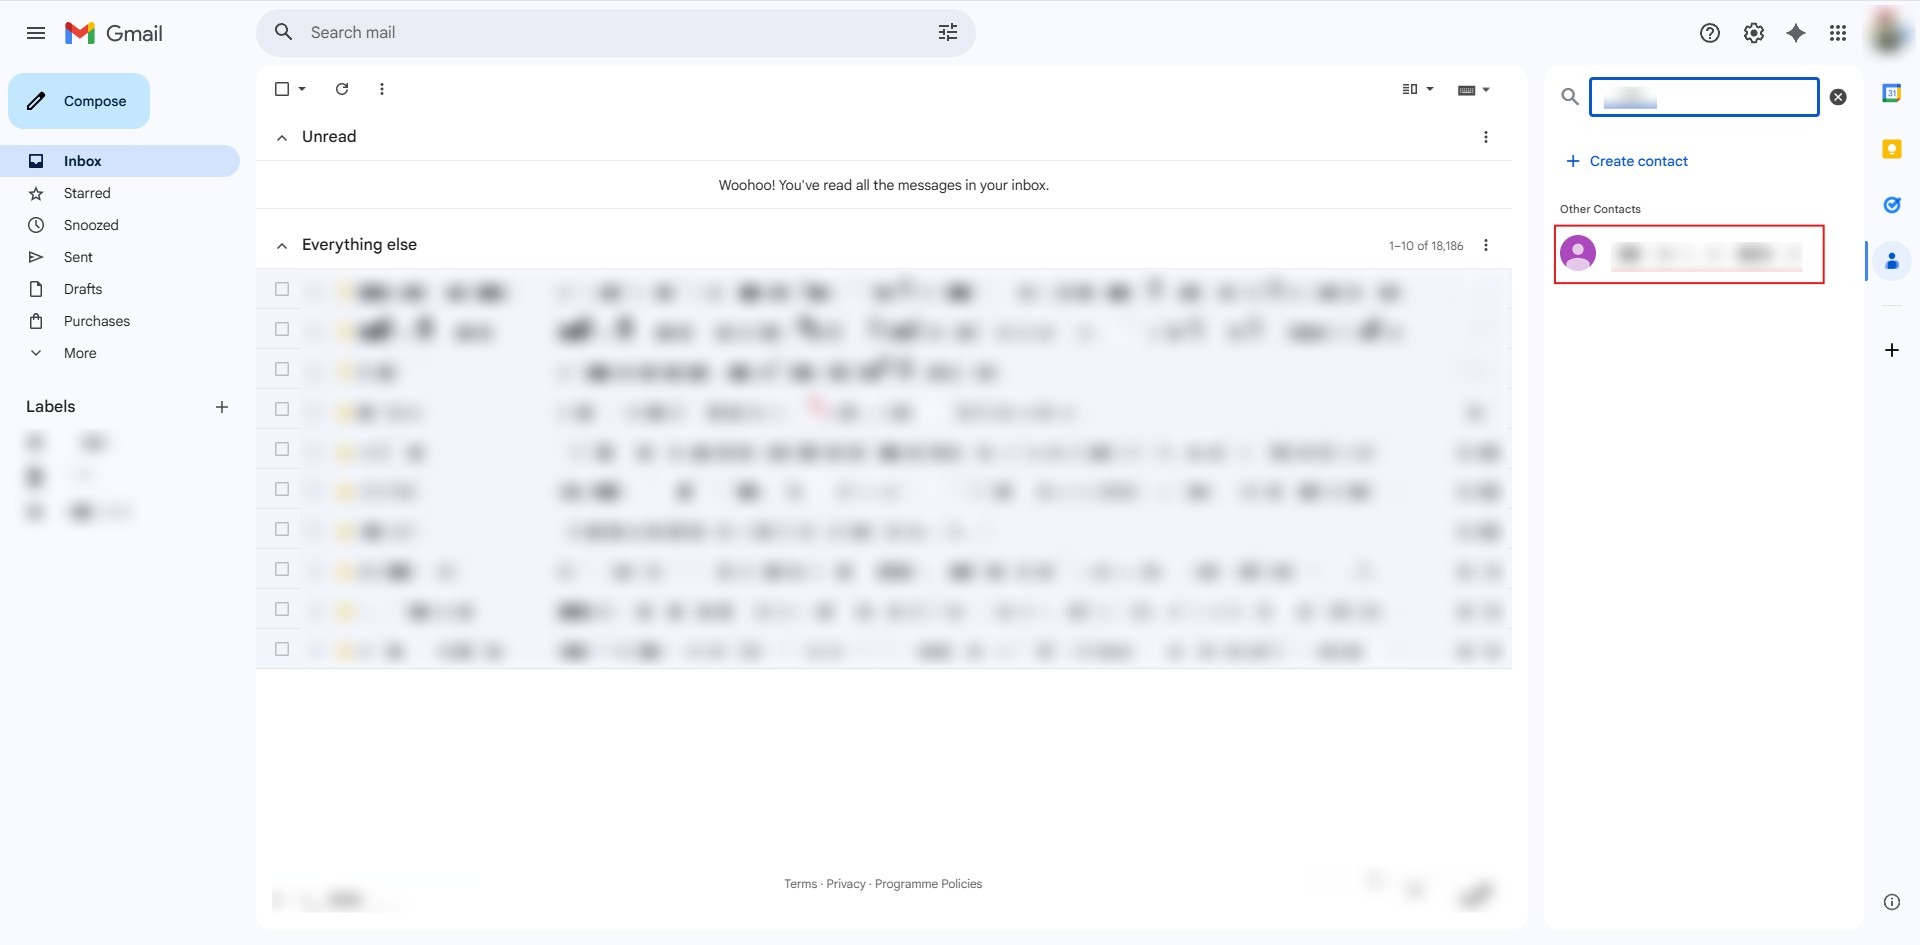
Step 4: Click to Target
- Browse the results (typically found under “Other Contacts”) and click on the specific individual to open their details.
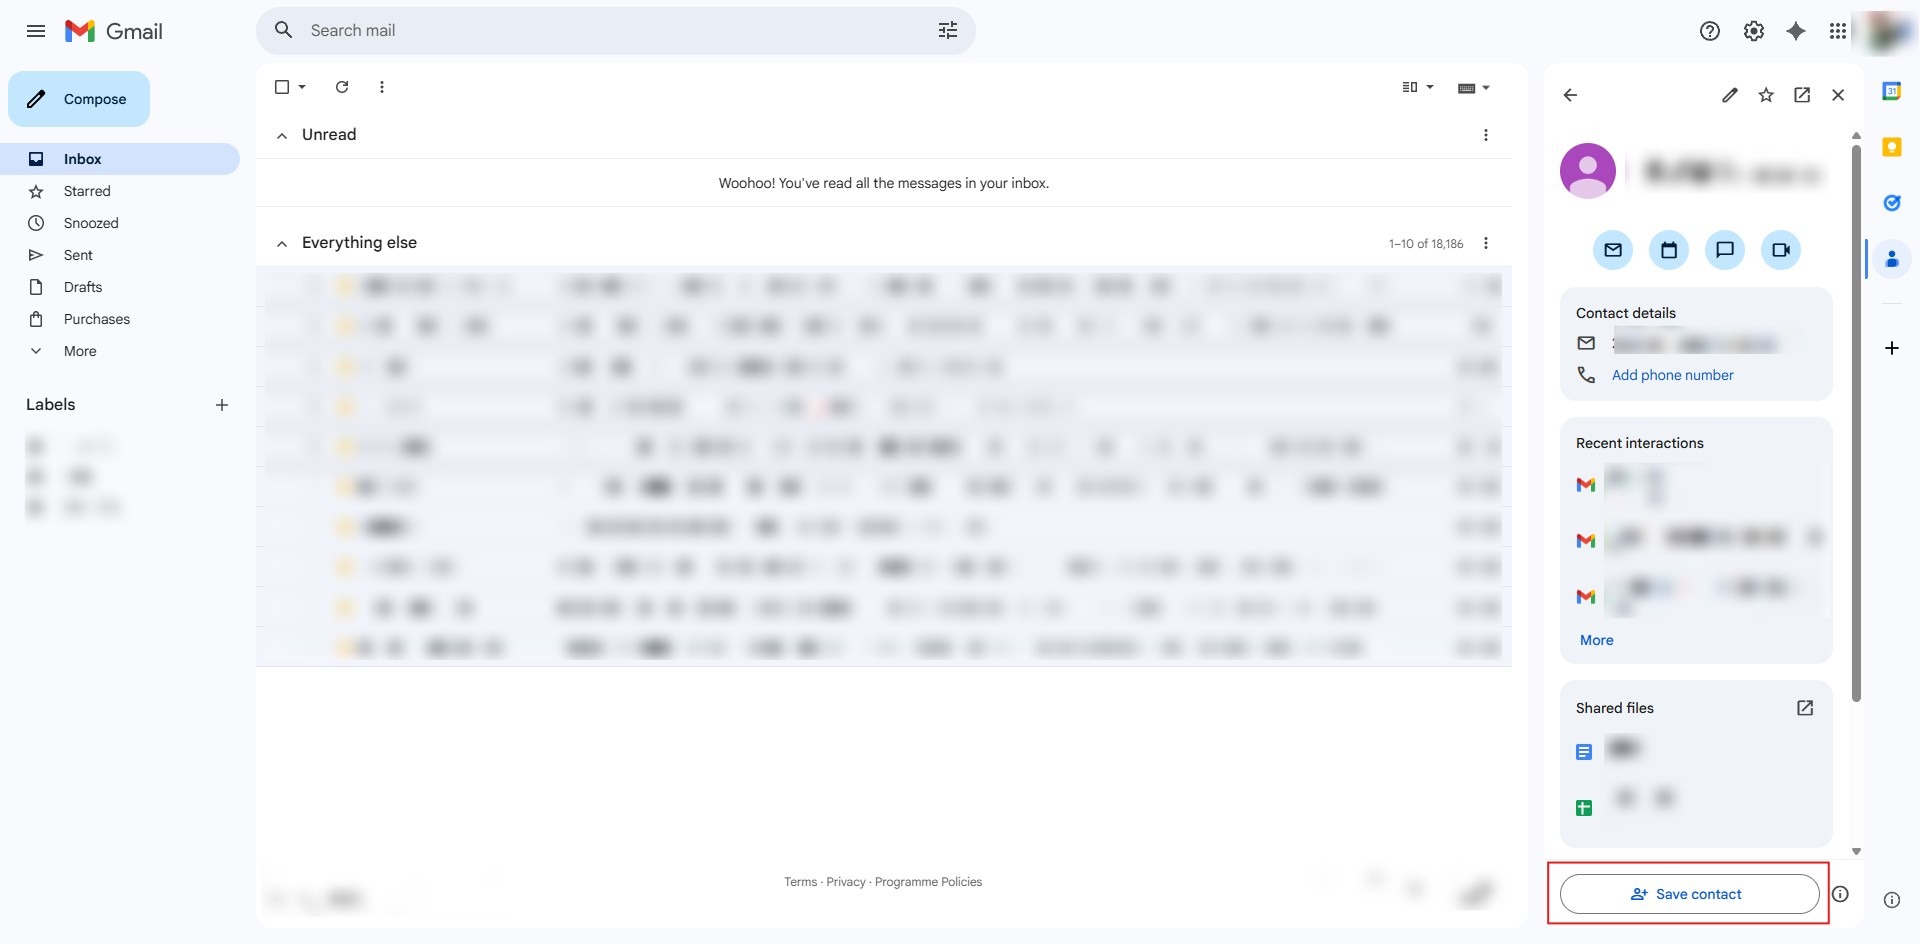
Step 5: Click Save Contact
- Select the “Save contact” button located at the bottom of the individual’s profile panel.
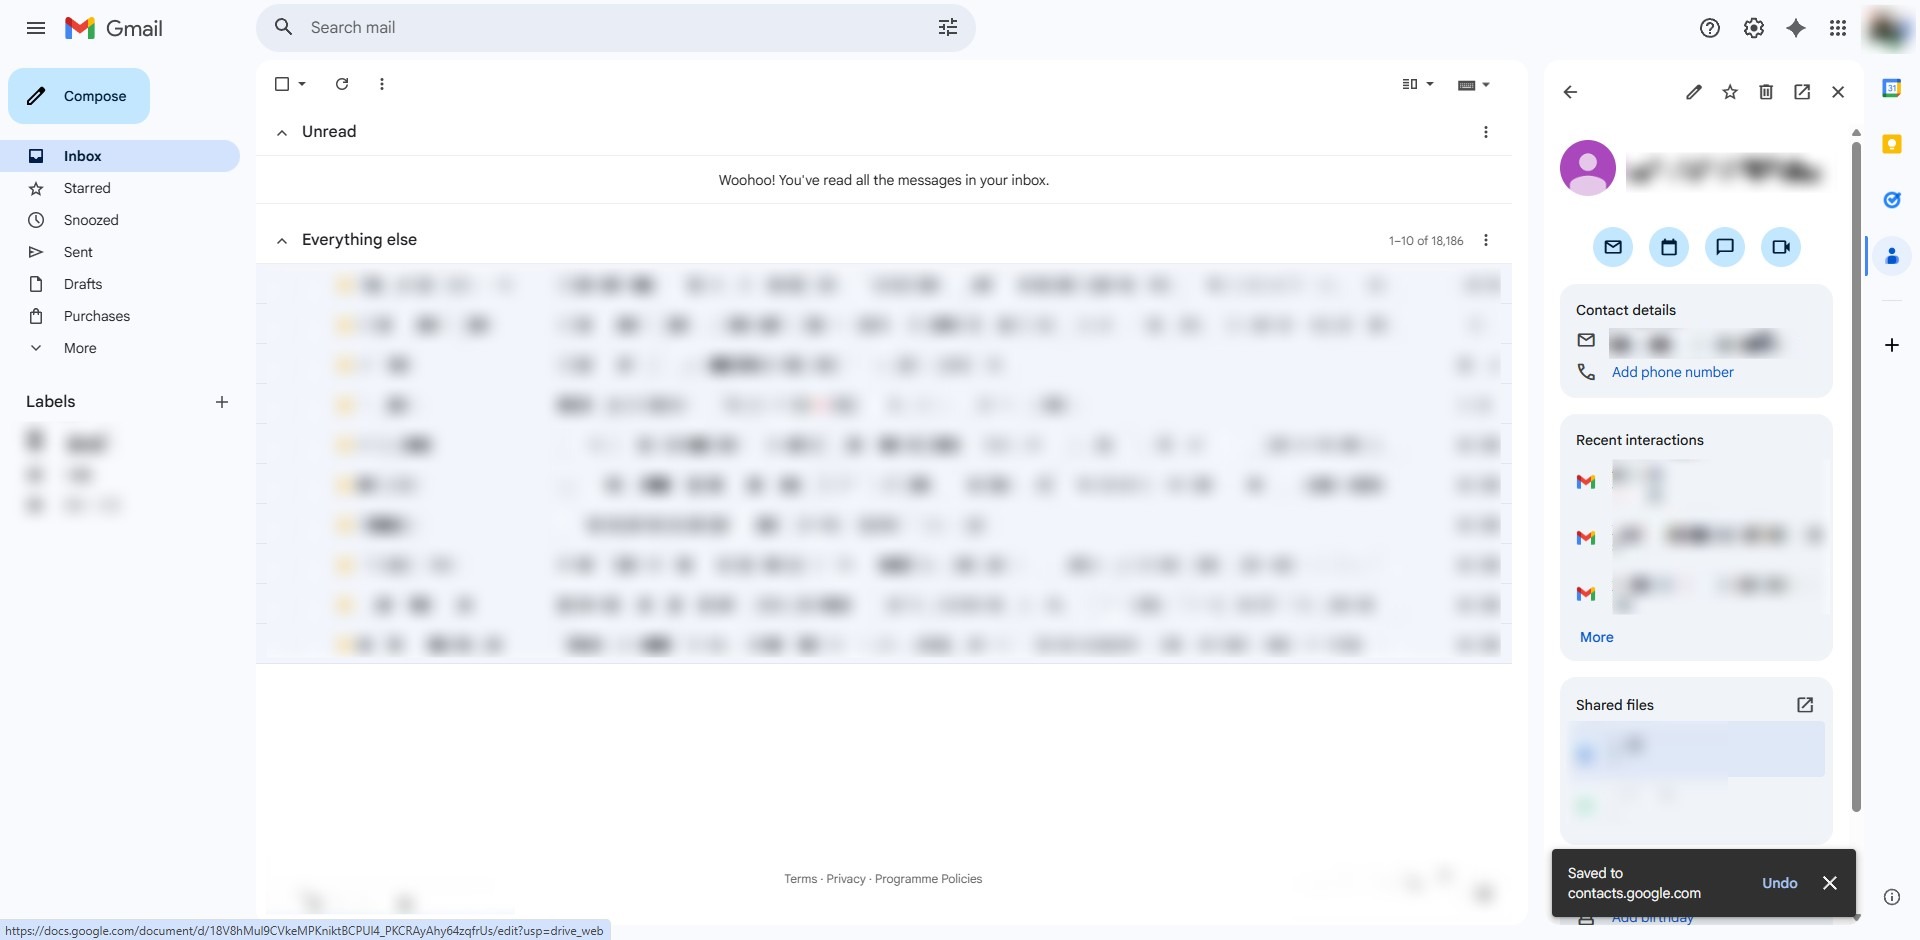
Step 6: Success
- A confirmation notification will appear at the bottom of the screen once the contact is successfully recorded.
Conclusion:
In conclusion, utilizing the searching function in the Gmail Web sidebar provides an efficient way to manage and expand your address book without leaving your inbox. By engaging the Contact icon, identifying a specific individual through the search button, and selecting “Save contact,” you can ensure that important details are permanently recorded in your directory. The process is finalized when the system displays a success notification, confirming that the individual has been successfully added to your contact list.