Search Our Database
Generating a CSR with cPanel & WHM Control Panel
Introduction
Creating a Certificate Signing Request (CSR) is a crucial step in obtaining an SSL certificate for your website. A CSR contains encrypted information about your website and is necessary for certificate issuance. The process to generate a CSR differs slightly between cPanel (end-user control panel) and WHM (administrator control panel). This knowledge base (KB) guide provides a step-by-step process for both.
Prerequisites
- Access to cPanel or WHM with appropriate permissions.
- Basic knowledge of SSL certificates and their importance for website security.
cPanel
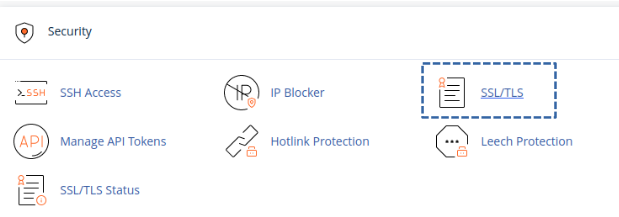
1. Login to cPanel and scroll down to the Security Section and select SSL/TLS.
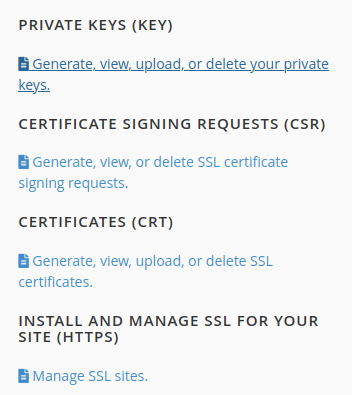
2. in the SSL/TLS Manager, select Private Keys.
3. Enter the description and click Generate.

4. You will be shown the Private Key and it’s information. Click the link at the bottom and return to SSL/TLS Manager.
5. select Certificate Signing Request (CSR). For Key*, choose the same as previously described.
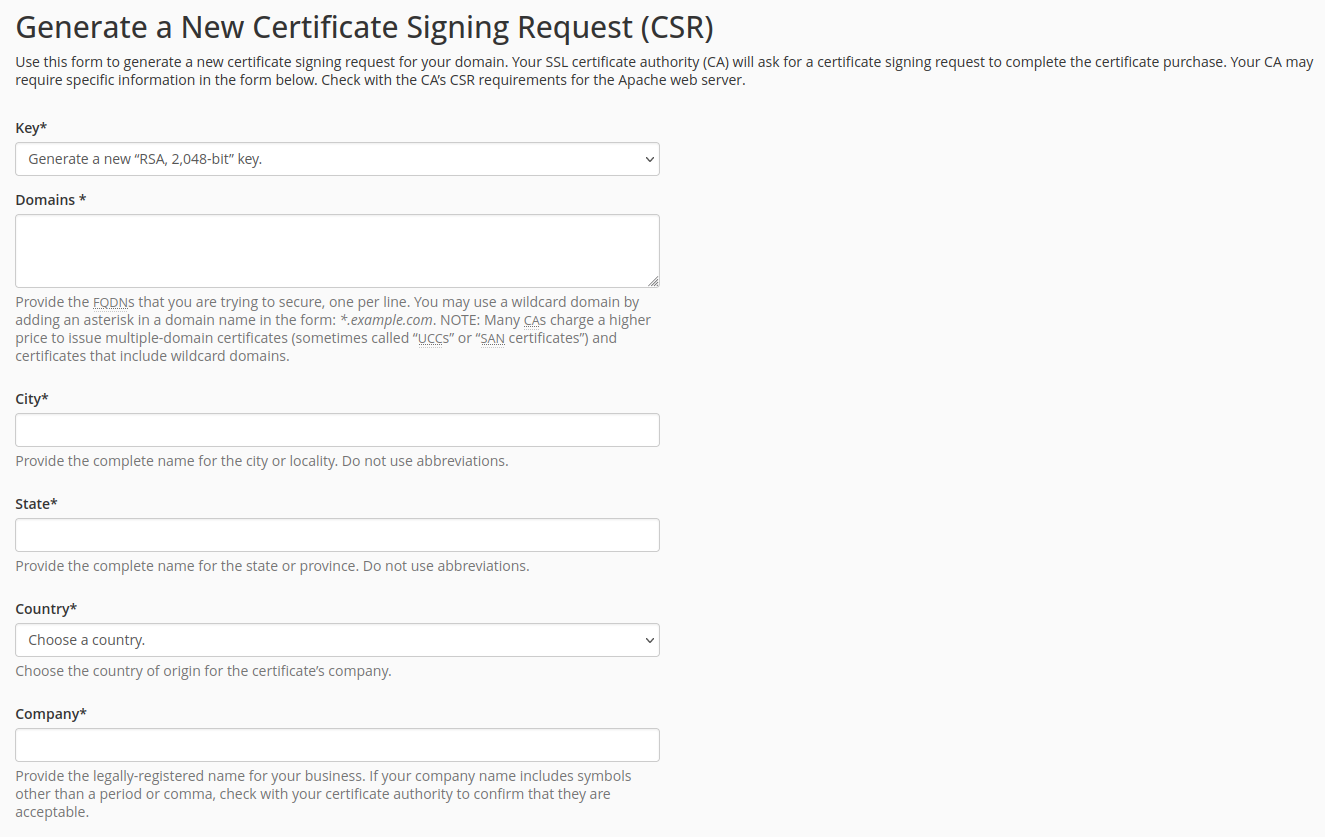
6. Fill in domain name:
- Single domain: www.domain.com
- Sub domain: subdomain.domain.com
- Wildcard Domain: *.domain.com
Fill in necessary details such as City, State, Country, Company, Company Division (e.g. IT) & Email. Passphrase can be left empty and proceed to Generate.
7. Once created, the system will generate a CSR code for you. copy the entire contents of the CSR code in your PC (e.g. Text Editor, Notepad), including the —–BEGIN CERTIFICATE REQUEST—– and —–END CERTIFICATE REQUEST—– lines.
WHM
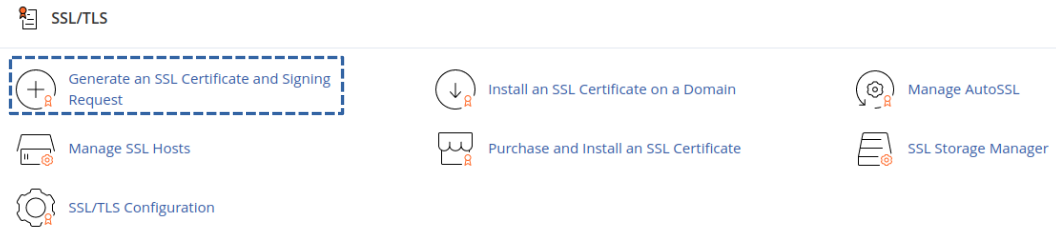
1. Login to WHM and scroll down to the SSL/TLS Section and select Generate an SSL Certificate and Signing Request
2. similar to cPanel, fill in the certificate information such as City, State, Country, Company, Company Division (e.g. IT) & Email. Passphrase can be left empty and proceed to Create.
Note: if you would like to receive a copy of the generated certificate, key and CSR, check the box in the contact information and enter your email address. just in case if you happen to accidentally close the tab or window before the whole process is completed.

3. once created, the system has successfully generated the CSR and private key. Copy the entire contents of the CSR code in your PC, including the —–BEGIN CERTIFICATE REQUEST—– and —–END CERTIFICATE REQUEST—– lines.
Conclusion
After generating the CSR, you are ready to request an SSL Certificate from a Certificate Authority (CA). Ensure that all information in the CSR is accurate and secure the private key associated with the CSR.
For additional assistance or if you encounter any issues, please contact our support team at support@ipserverone.com.