Search Our Database
Create a website using WordPress Management via cPanel
Introduction
This guide walks you through creating a website using WordPress Management in cPanel—from launching the installer to accessing your new site. It includes screenshots for a smoother experience.
Prerequisites
- Access to your cPanel account.
- A domain name pointing to your hosting.
- Basic familiarity with cPanel dashboard.
Steps to Create a Website
Step 1: Log in to cPanel
Access cPanel via your hosting dashboard or by visiting:
. Once inside, locate the WordPress Management under Domains section.
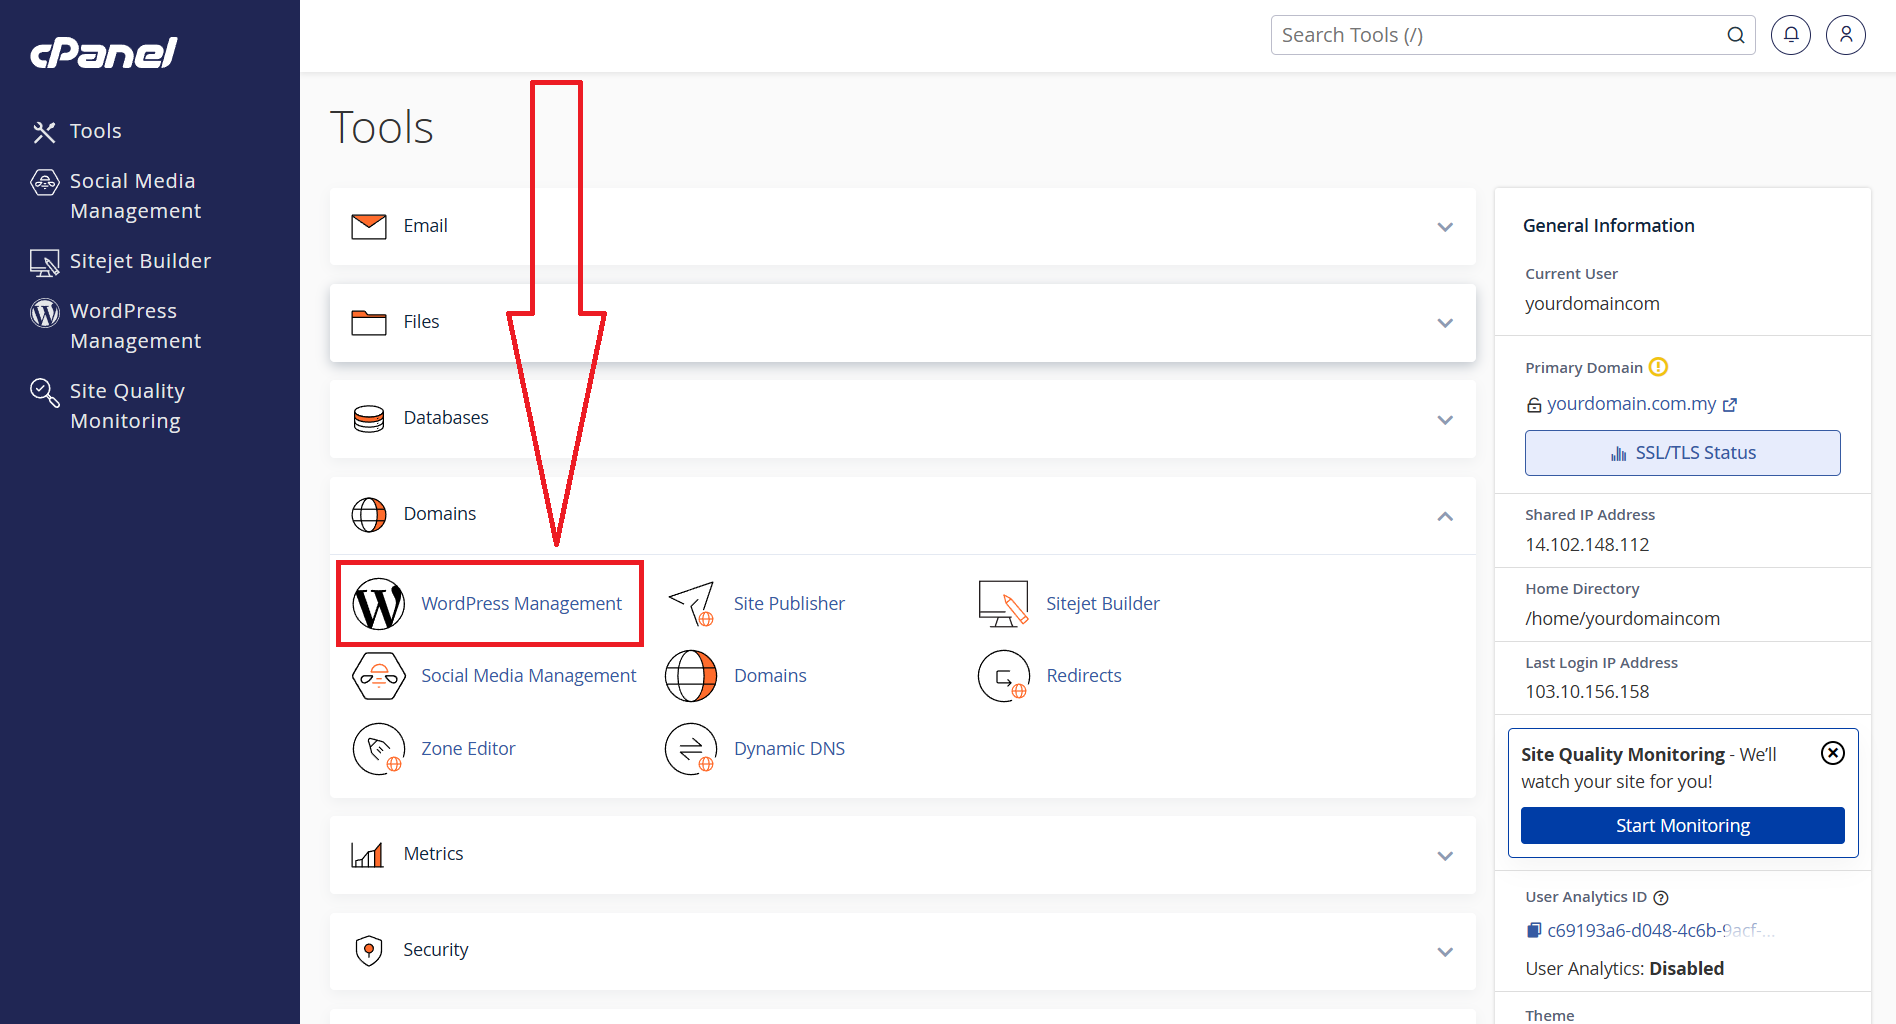
Step 2: Launch the WordPress Installer
Click the WordPress Management icon to open the installer interface. You’ll see the button Install WordPress. Proceed to click it.

Step 3: Fill Installation Details
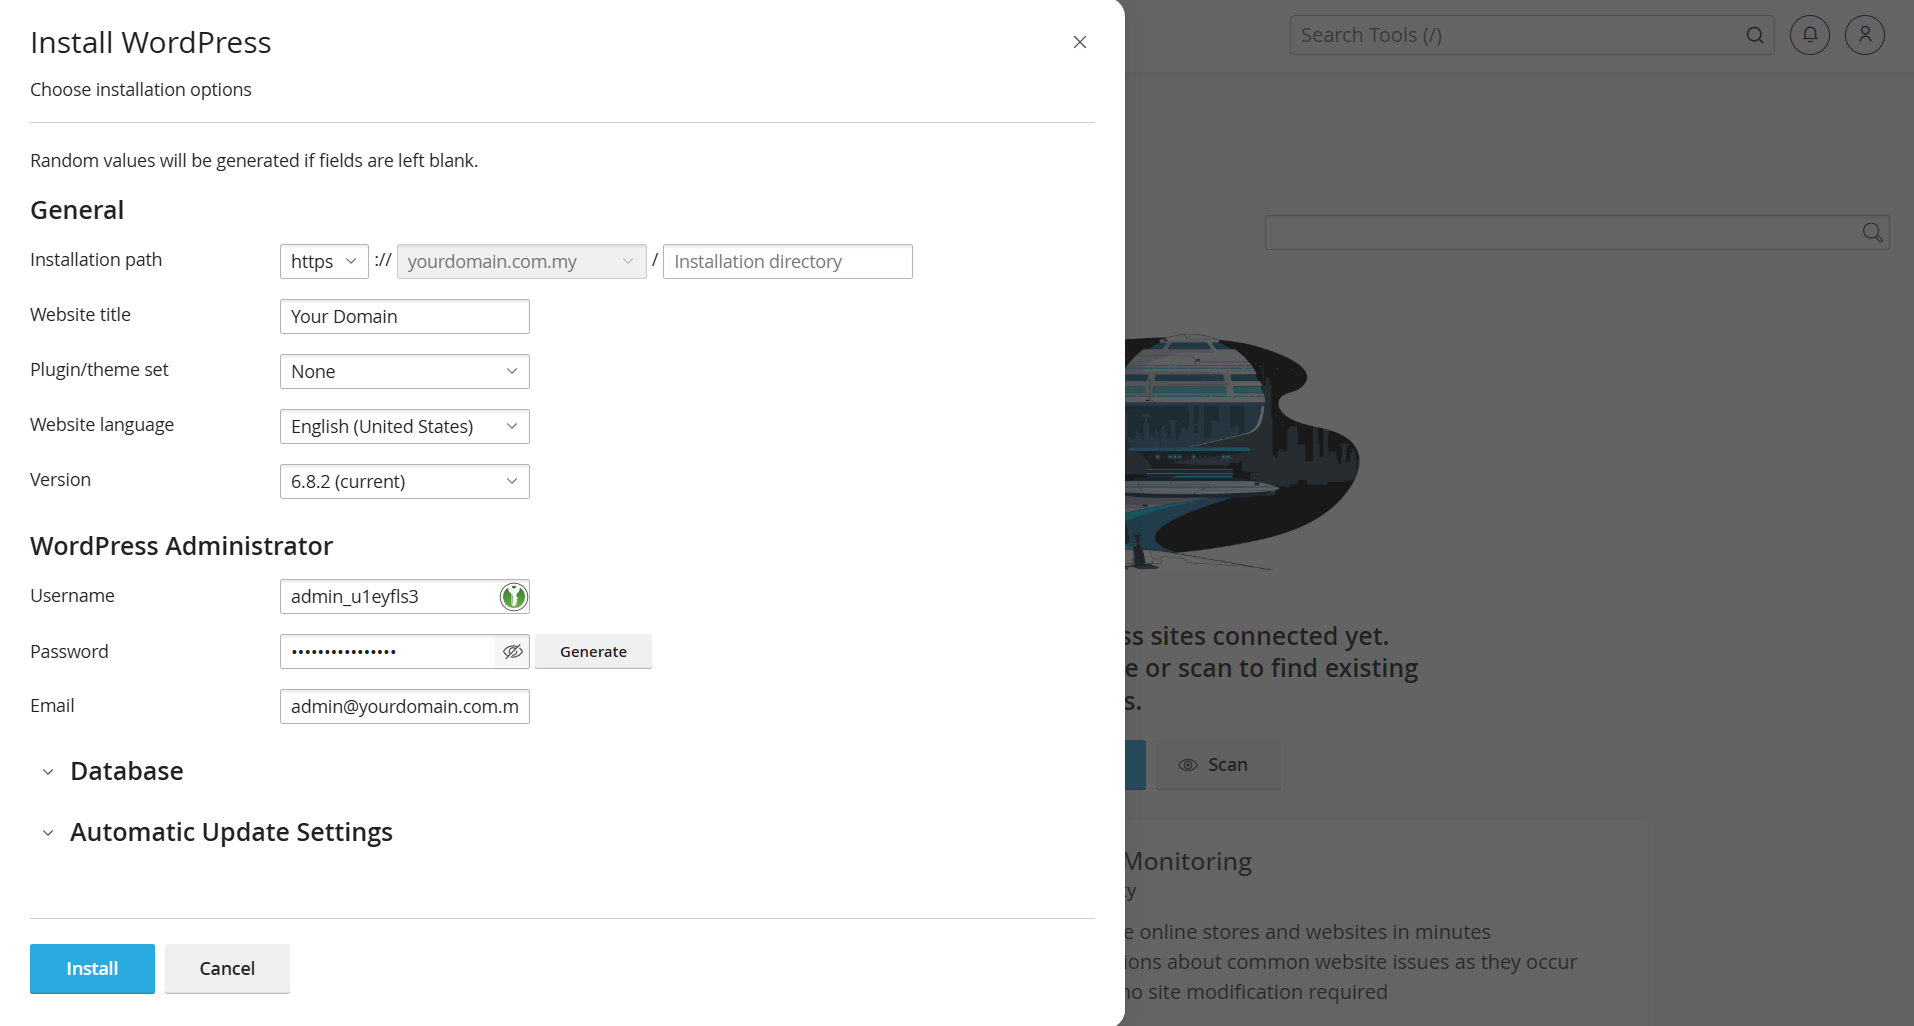
Fill in the form with details such as:
- Domain/URL: Select where to install (root or subdirectory).
- Site Name & Description: Provide your basic site info.
- Admin Credentials: Set up username, password, and email.
- Optionally choose language, plugins, or theme.
- Enable auto-updates if available.
Step 4: Complete Installation
Click Install and wait for the process to finish.
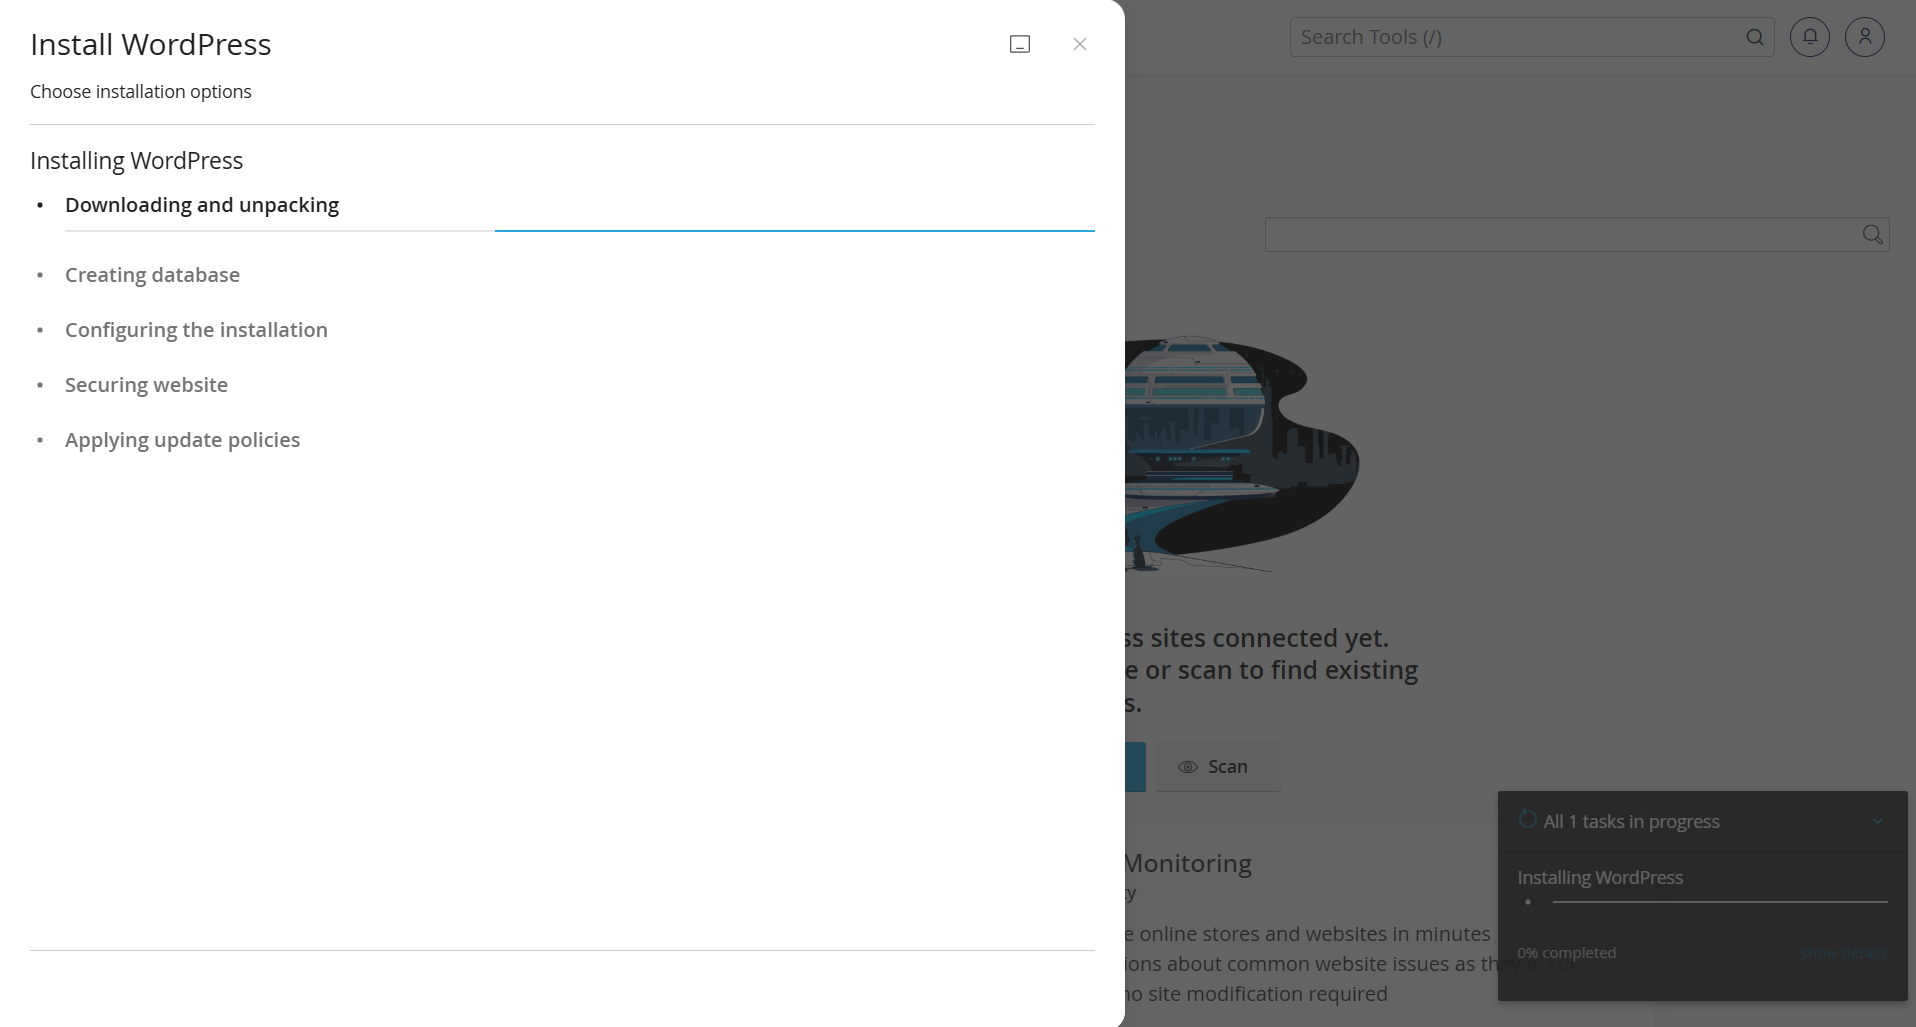
Once done, you’ll receive confirmation information and links to your live site and WP admin area.
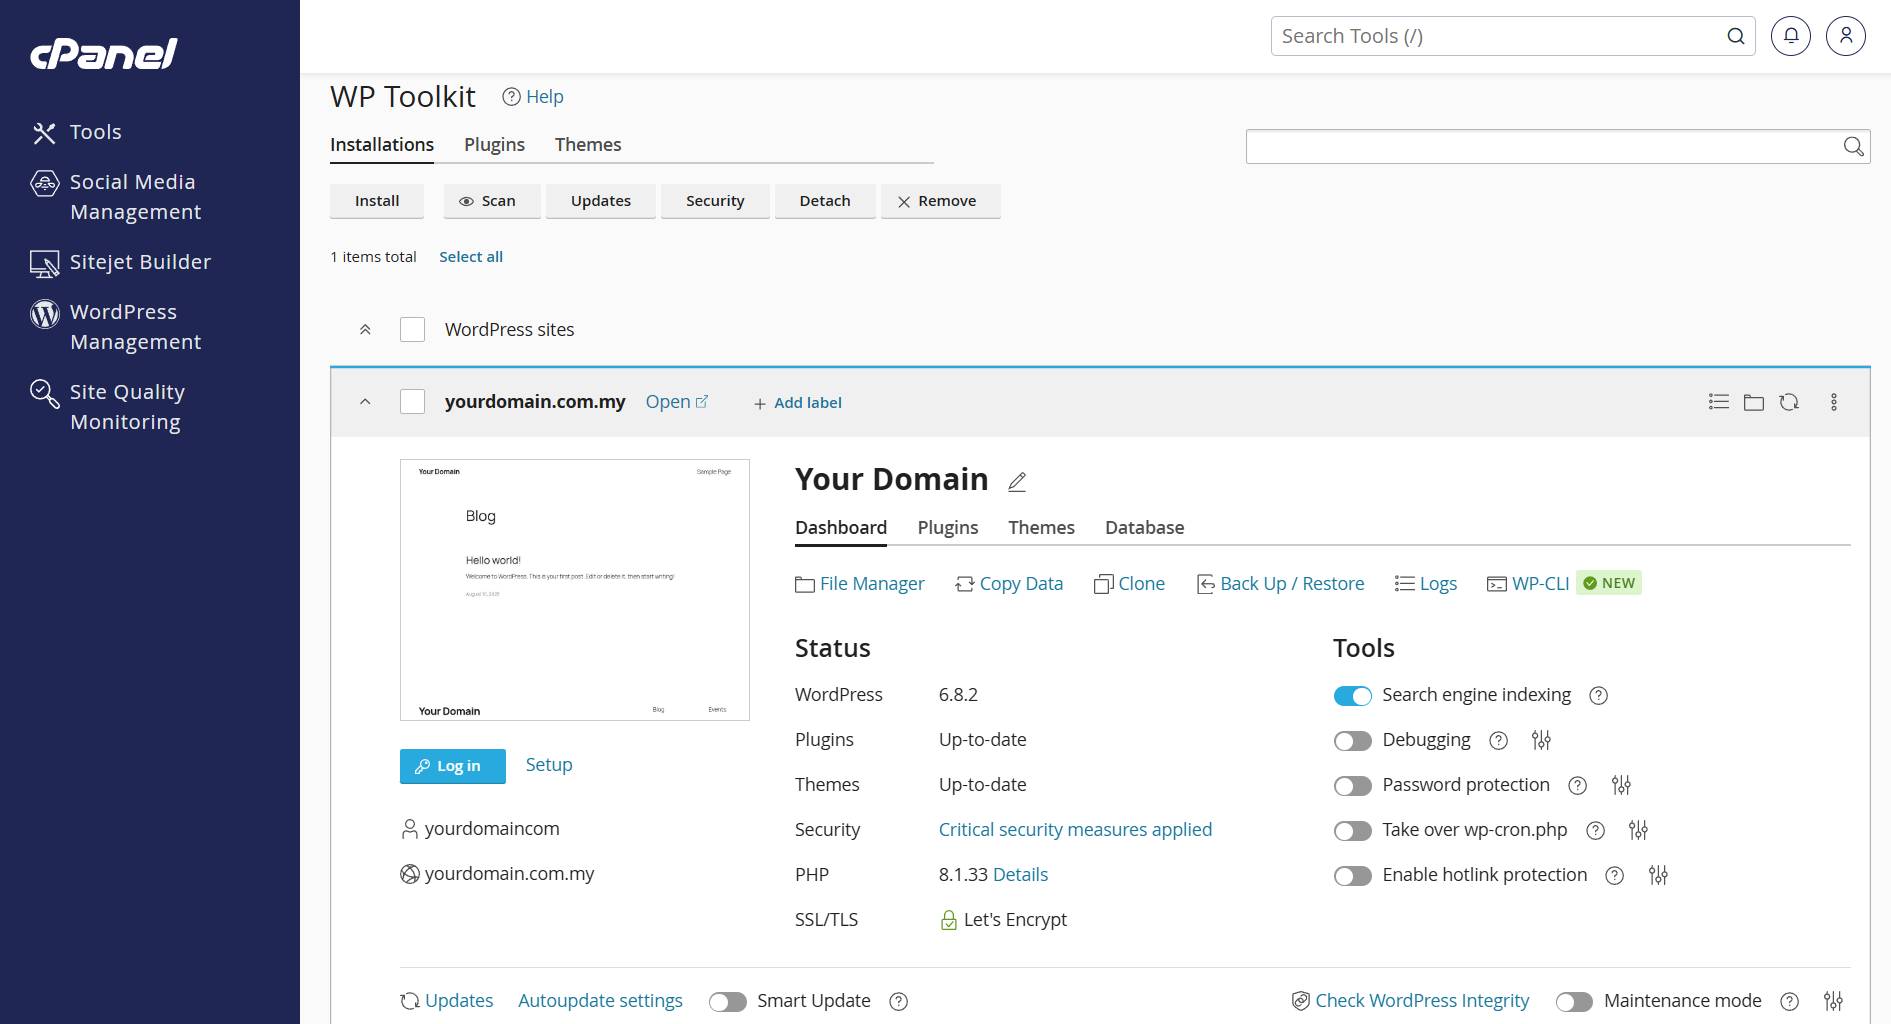
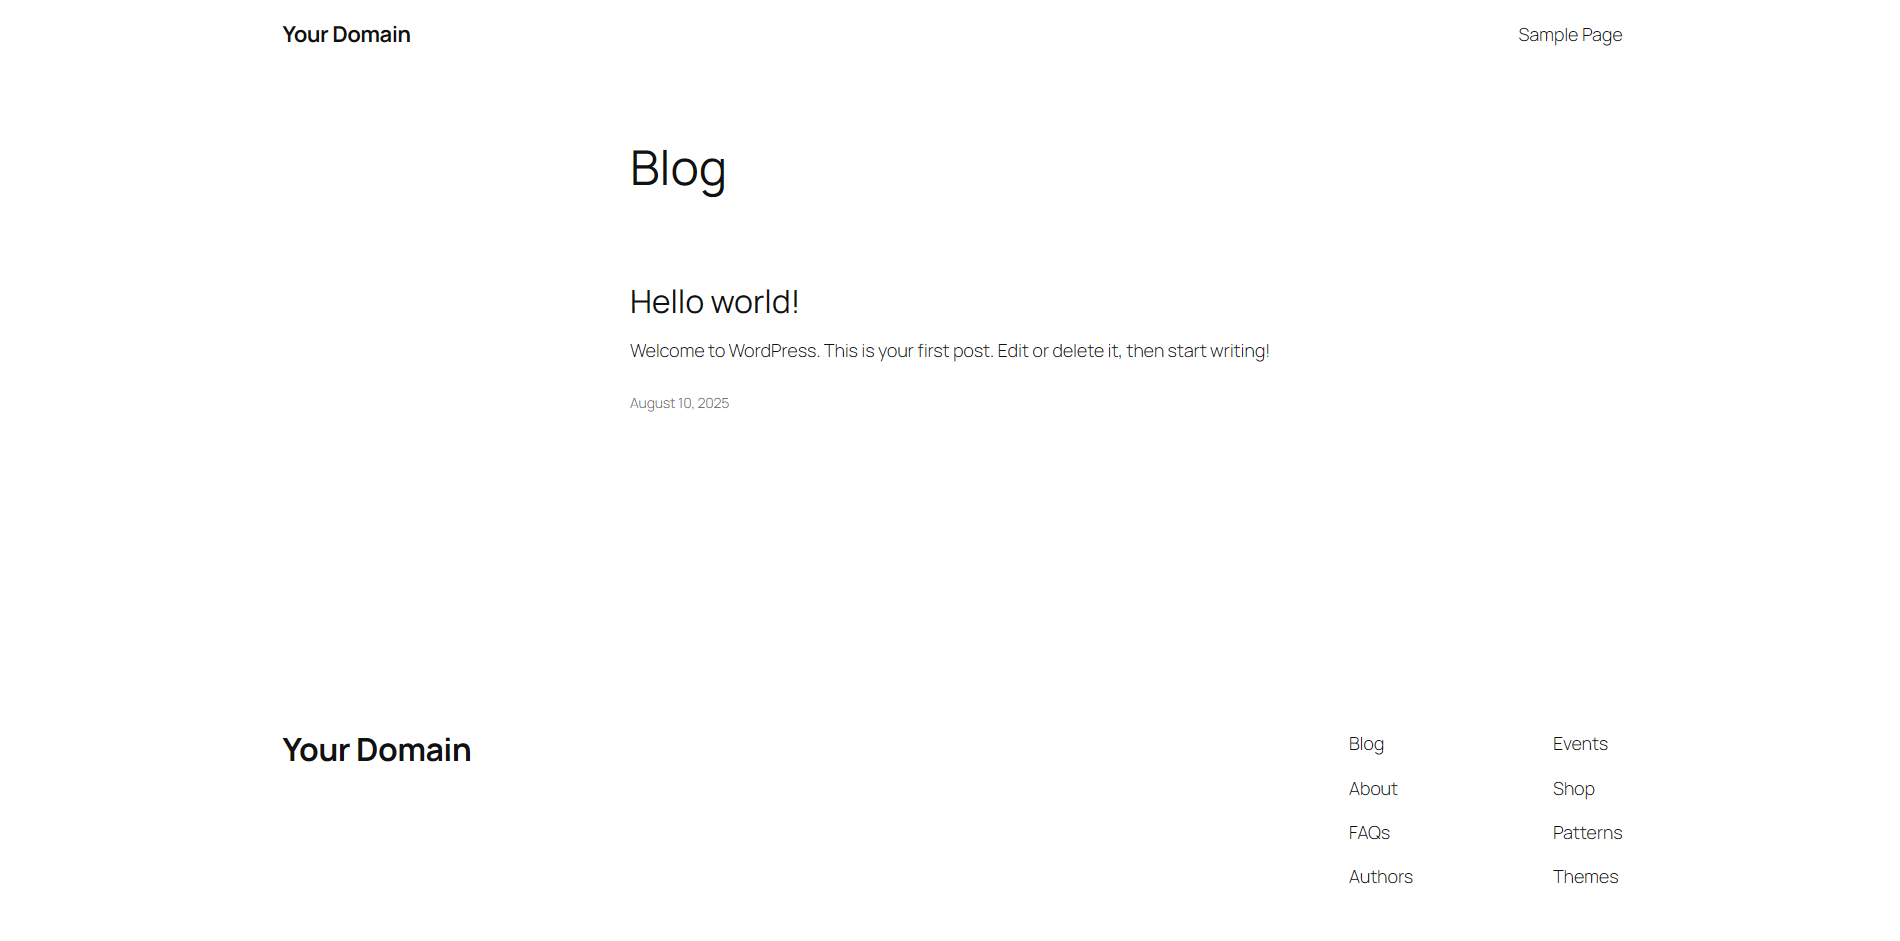
You’ll be able to view your website now.
Conclusion
You’ve successfully created your website using WordPress Management in cPanel with clear visual guidance. You can now log in via `yourdomain.com/wp-admin` to customize the theme, install plugins, and begin publishing content.
Should you have any inquiries about the guidelines, please feel free to open a ticket through your portal account or contact us at support@yourdomain.com. We’ll be happy to assist you further.