Search Our Database
Replace HDD for Software RAID in Windows Server
When detecting a disk status as “Unhealthy”, it is wise to perform replacement and sync the data to the new HDD to prevent loss of data in the future.
Step 1: Open Windows Power Shell, type “diskmgmt.msc” (without quote marks) and press Enter to open up Disk Management Tools window.
Step 2: Right-click on the RAID partition that is part of the failed disk and selects “Remove Mirror…”.
Step 3: Shut down the server, replace the failed HDD and then boot up the server.
Step 4: Open Disk Management Tools again, right-click on the remaining RAID partition and select “Add Mirror…”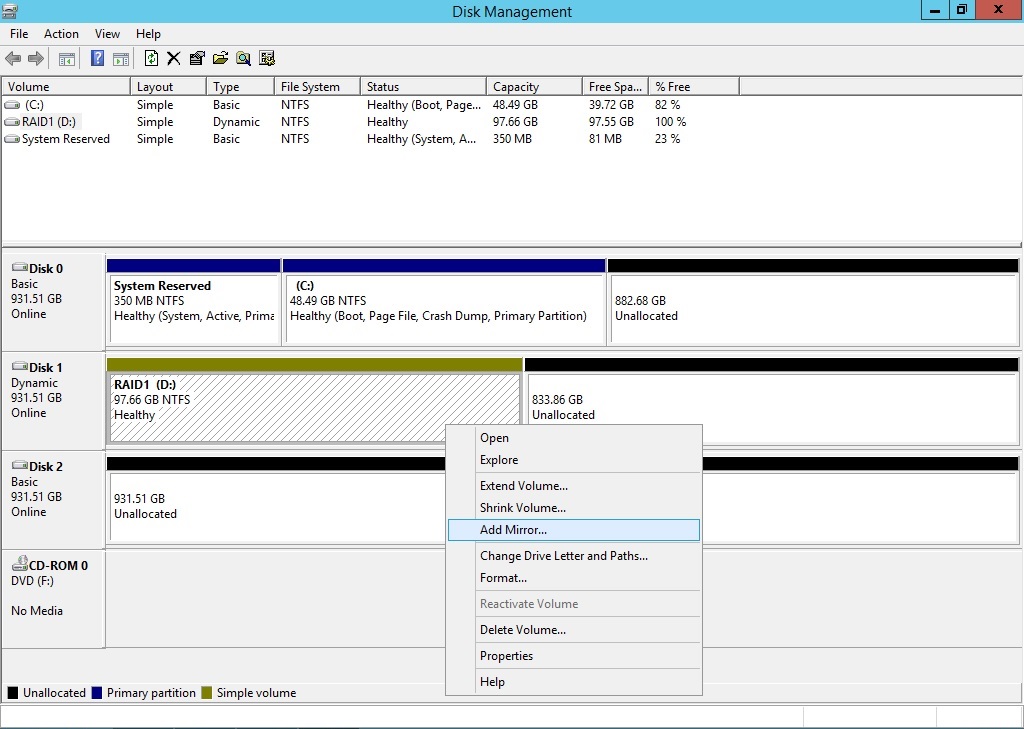
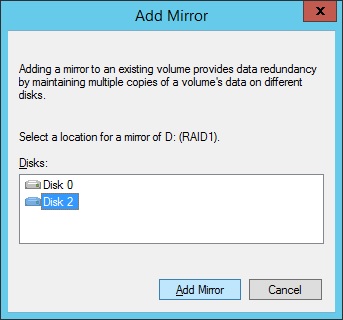
Step 5: Choose which disk you wish to create the RAID partition on and click the “Add Mirror…” button.
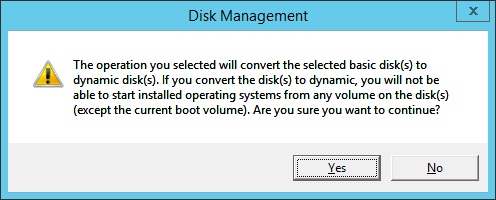
Step 6: A pop-up warning regarding conversion from basic disk(s) to dynamic disc(s) will appear. Ignore it and click “Yes” to continue.
Step 7: The RAID partition in disk 1 will be mirrored to disk 2. It will now perform a resynchronization of the two RAID partitions.
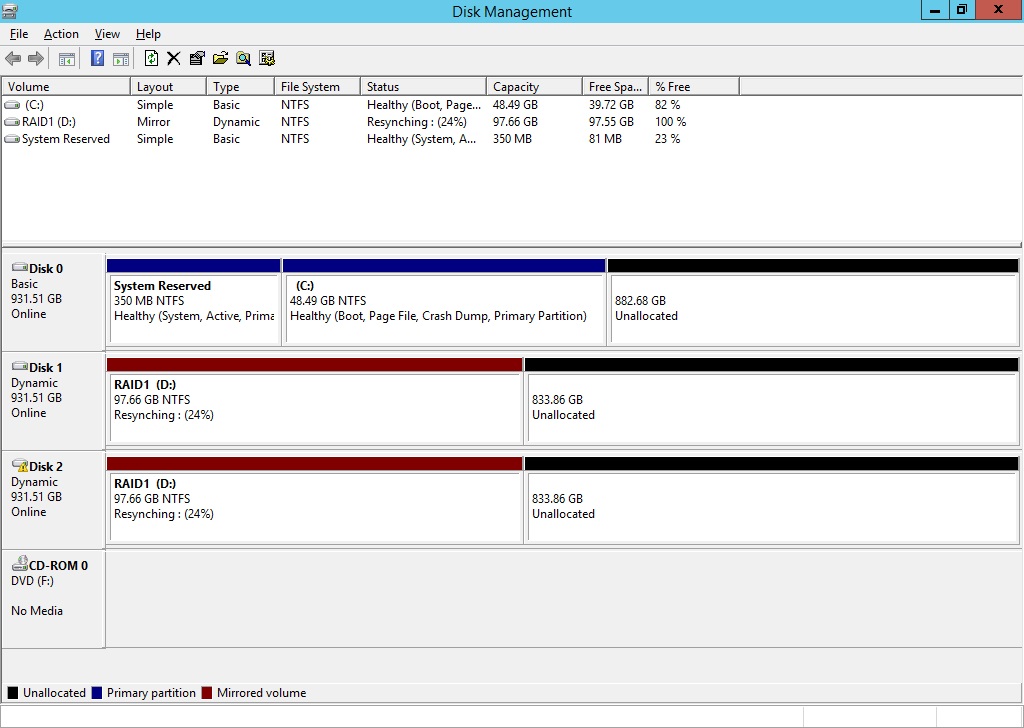
After the resync process is done, check on the HDD’s health to ensure that the process is a success.