Search Our Database
How to mount the backup partitions of Acronis Backups
For servers that implement their local backup using Acronis, the server administrator may refer to steps below on mounting the backup partitions.
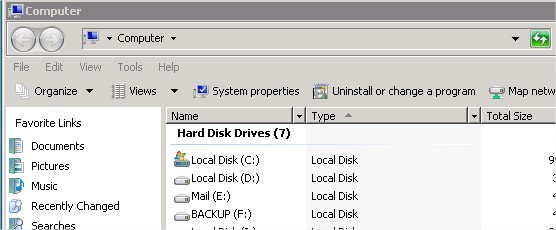
1.) First, remote desktop into the server and go into “My Computer” to view the list of hard drives partitions. The hard drives partitions might be different from each server depending on the server specifications and functionality. A server using Acronis as the backup method, there will be another partition ‘BACKUP’.
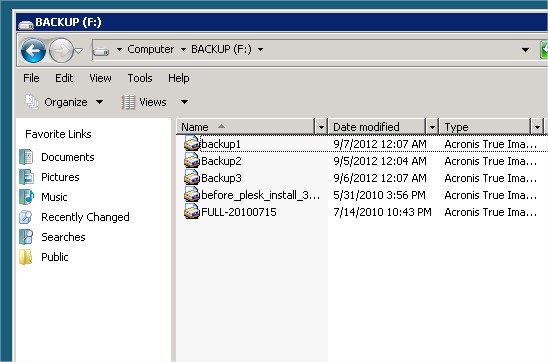
2.) Go into the ‘BACKUP’ partition and you’ll see a list of backup folders, and look at the date modified of each of the backup folders, which usually it means the date of the backup generated.
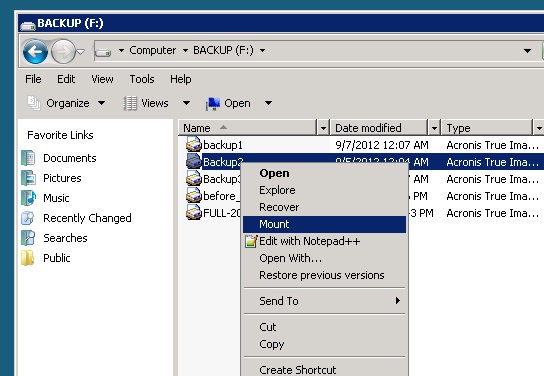
3.) Select on the backup folder whereby the date is the one you are looking for, and then right-click on it. Click on the ‘mount’ option and see if it is able to be mounted.
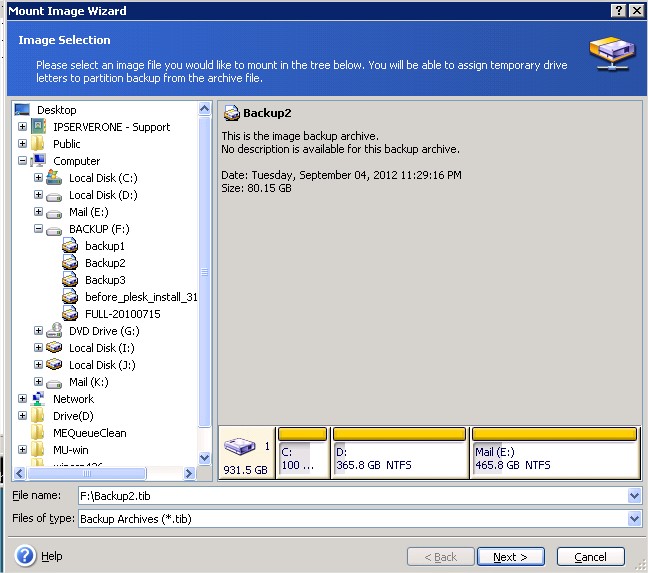
4.) On the ‘Mount Image Wizard’, check if the backup folder is the one that you want to mount and then click next.
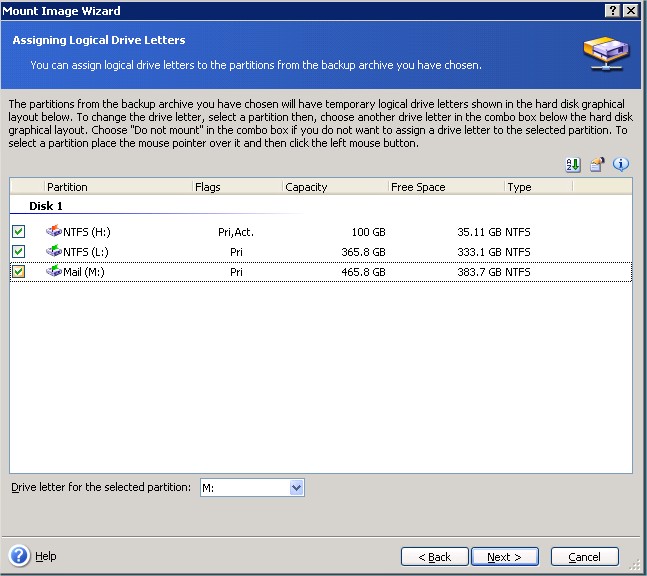
5.) Next, check on the box for the backup partitions that you want to mount, select all if you are not sure about the directory of the files sited and click next.
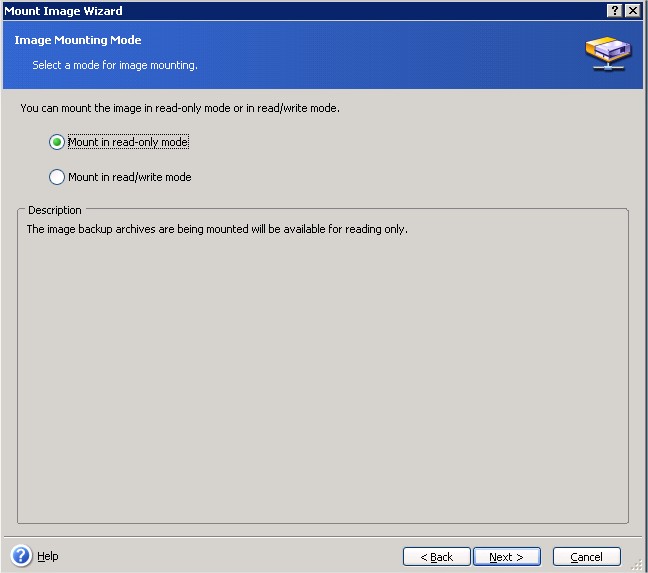
6.) On the next page, given 2 options of the files’ mode. Since you are going to copy the files from backup rather than writing something into it, select the ‘Read-Only Mode’.
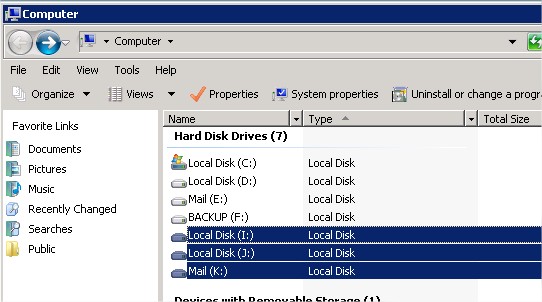
7.) Click on proceed after done with every settings and you’ll see the newly mounted partitions.