Search Our Database
How to Delete a Filter in Gmail Web
Introduction:
Deleting a filter in Gmail Web is a practical way to refine your inbox management by removing outdated or unnecessary rules. The process begins by accessing the settings gear icon and clicking the “See all settings” button to open the full configuration menu. From there, users navigate to the “Filters and blocked addresses” tab, which displays the list of active filters. By locating the specific rule you wish to remove and clicking the “Delete” option next to it, you can quickly discard unwanted logic from your account. The removal is finalized by clicking the “OK” button to confirm the action.
Prerequisites:
- User must possess a fully registered and active Gmail account.
- The procedure explicitly requires accessing the Gmail Web interface.
- You must have an existing filter configuration currently listed within the “Filters and blocked addresses” settings tab.
Step-by-step Guide:
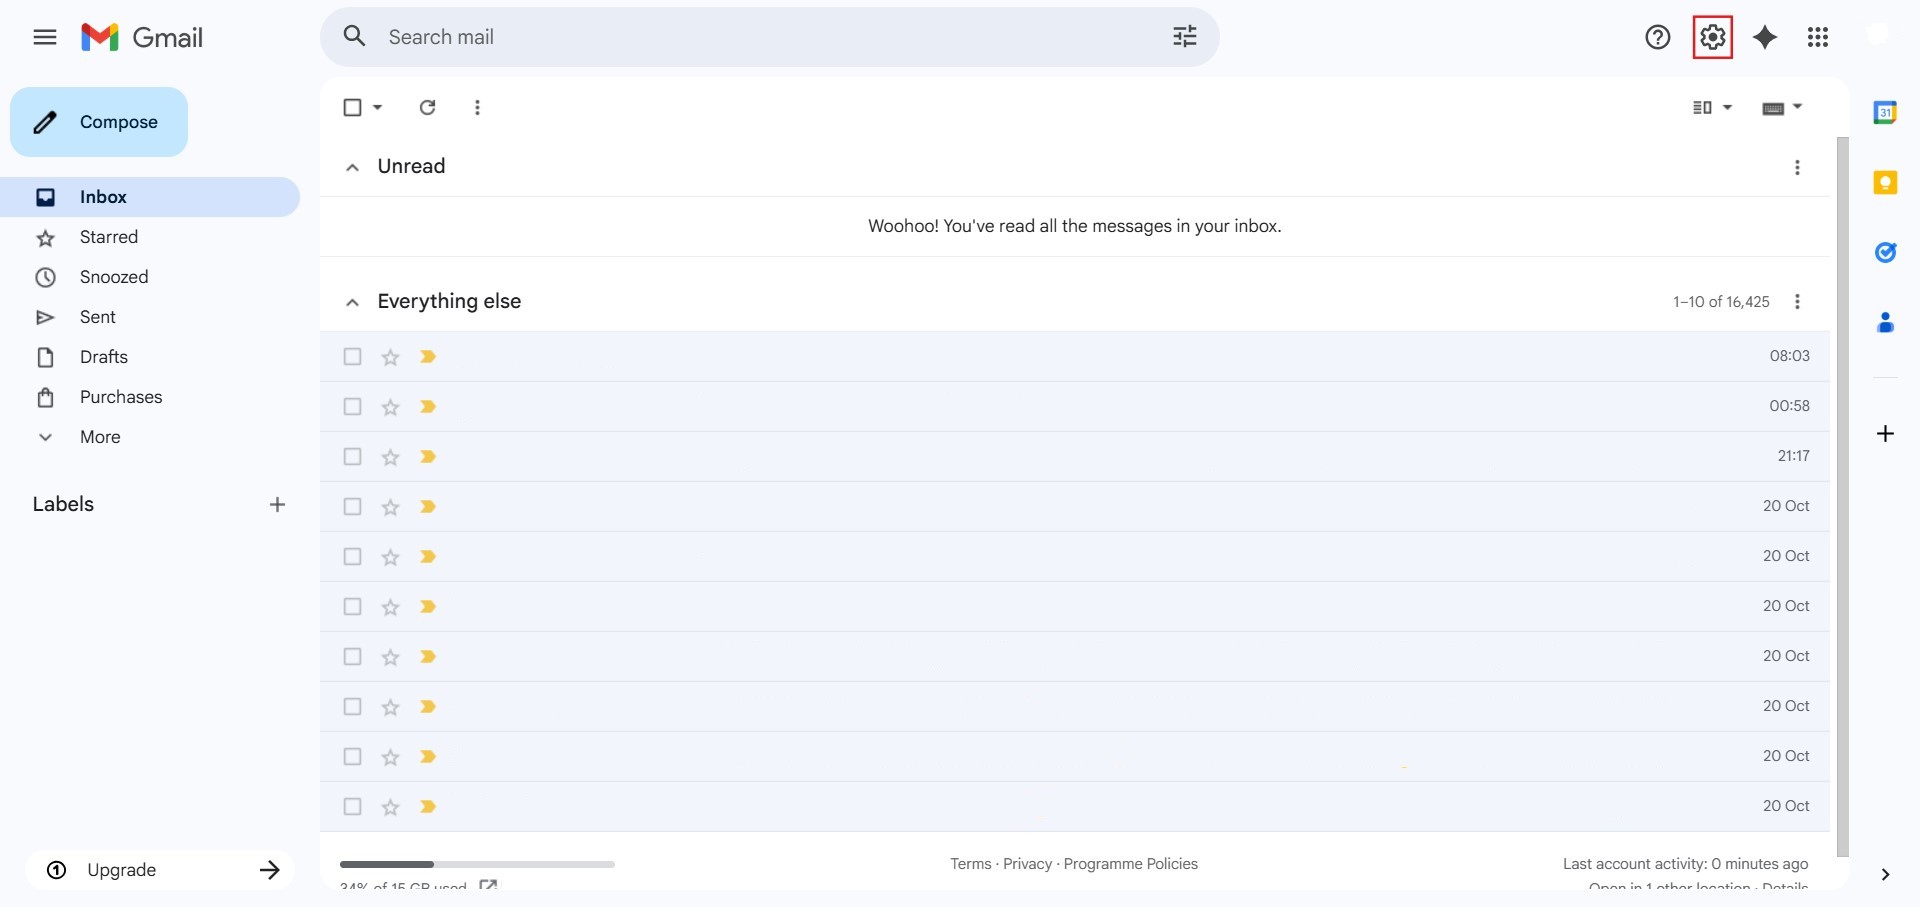
Step 1: Access Settings
- The initial action required is to Click setting.
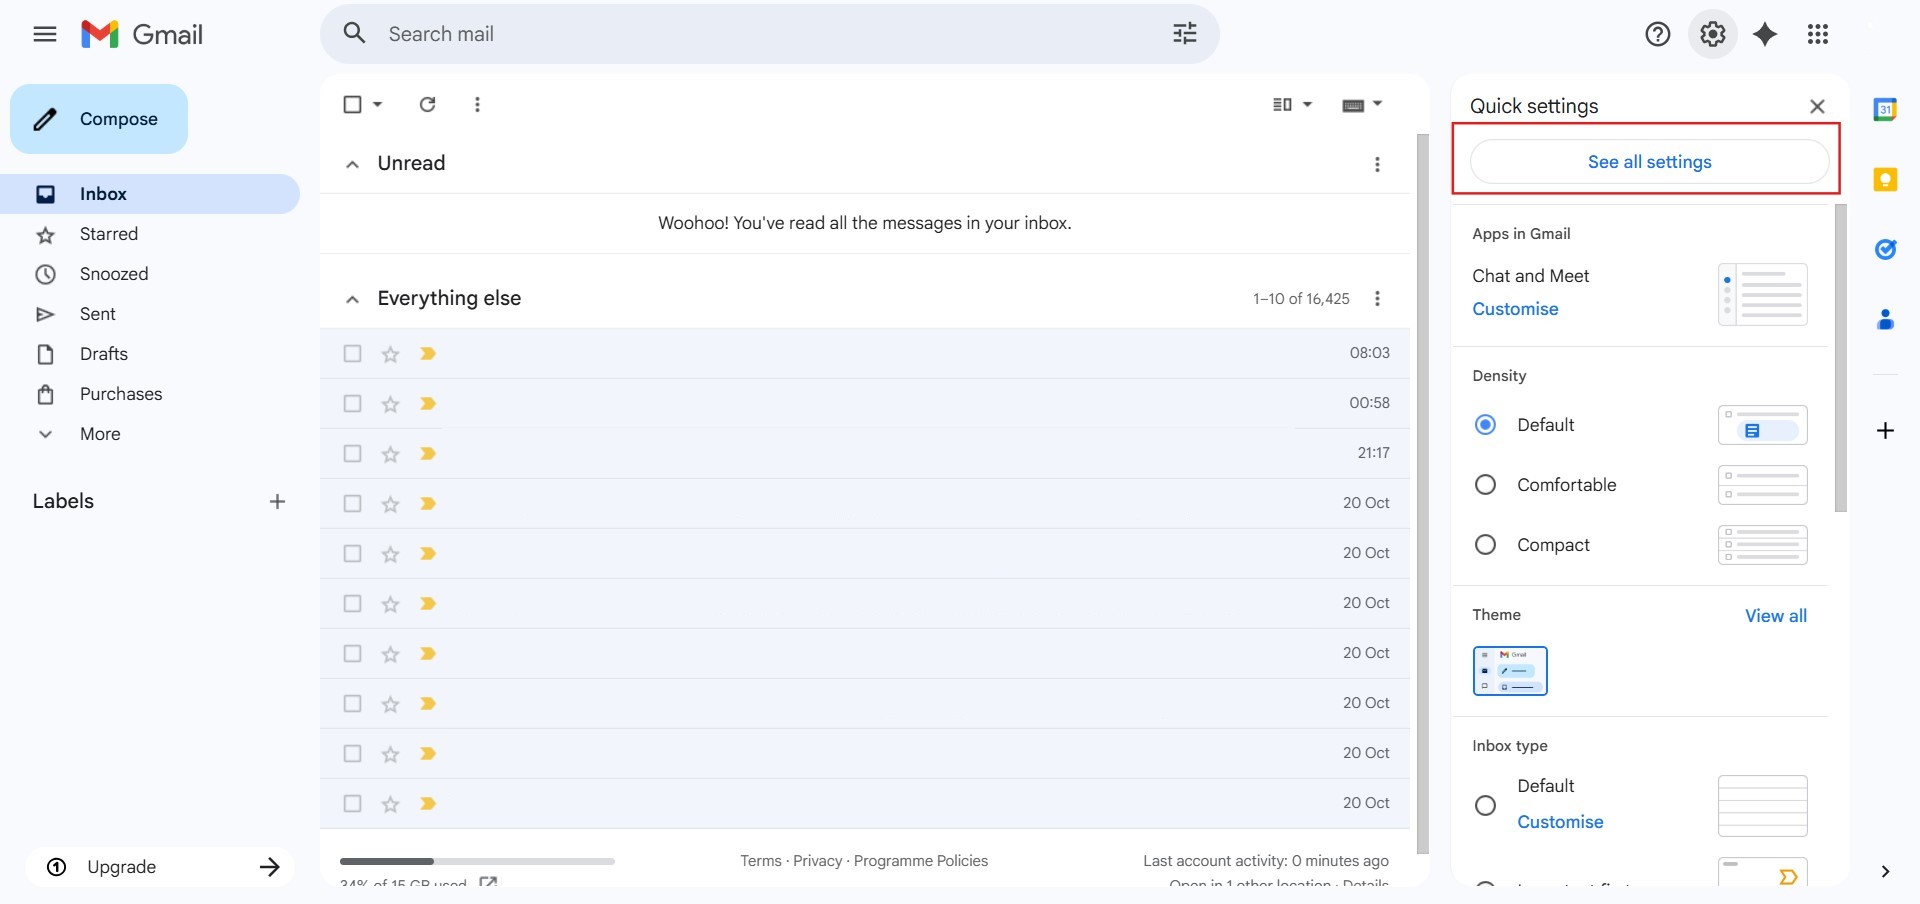
Step 2: Navigate to All Settings
- After clicking “setting,” proceed to select See all Settings.
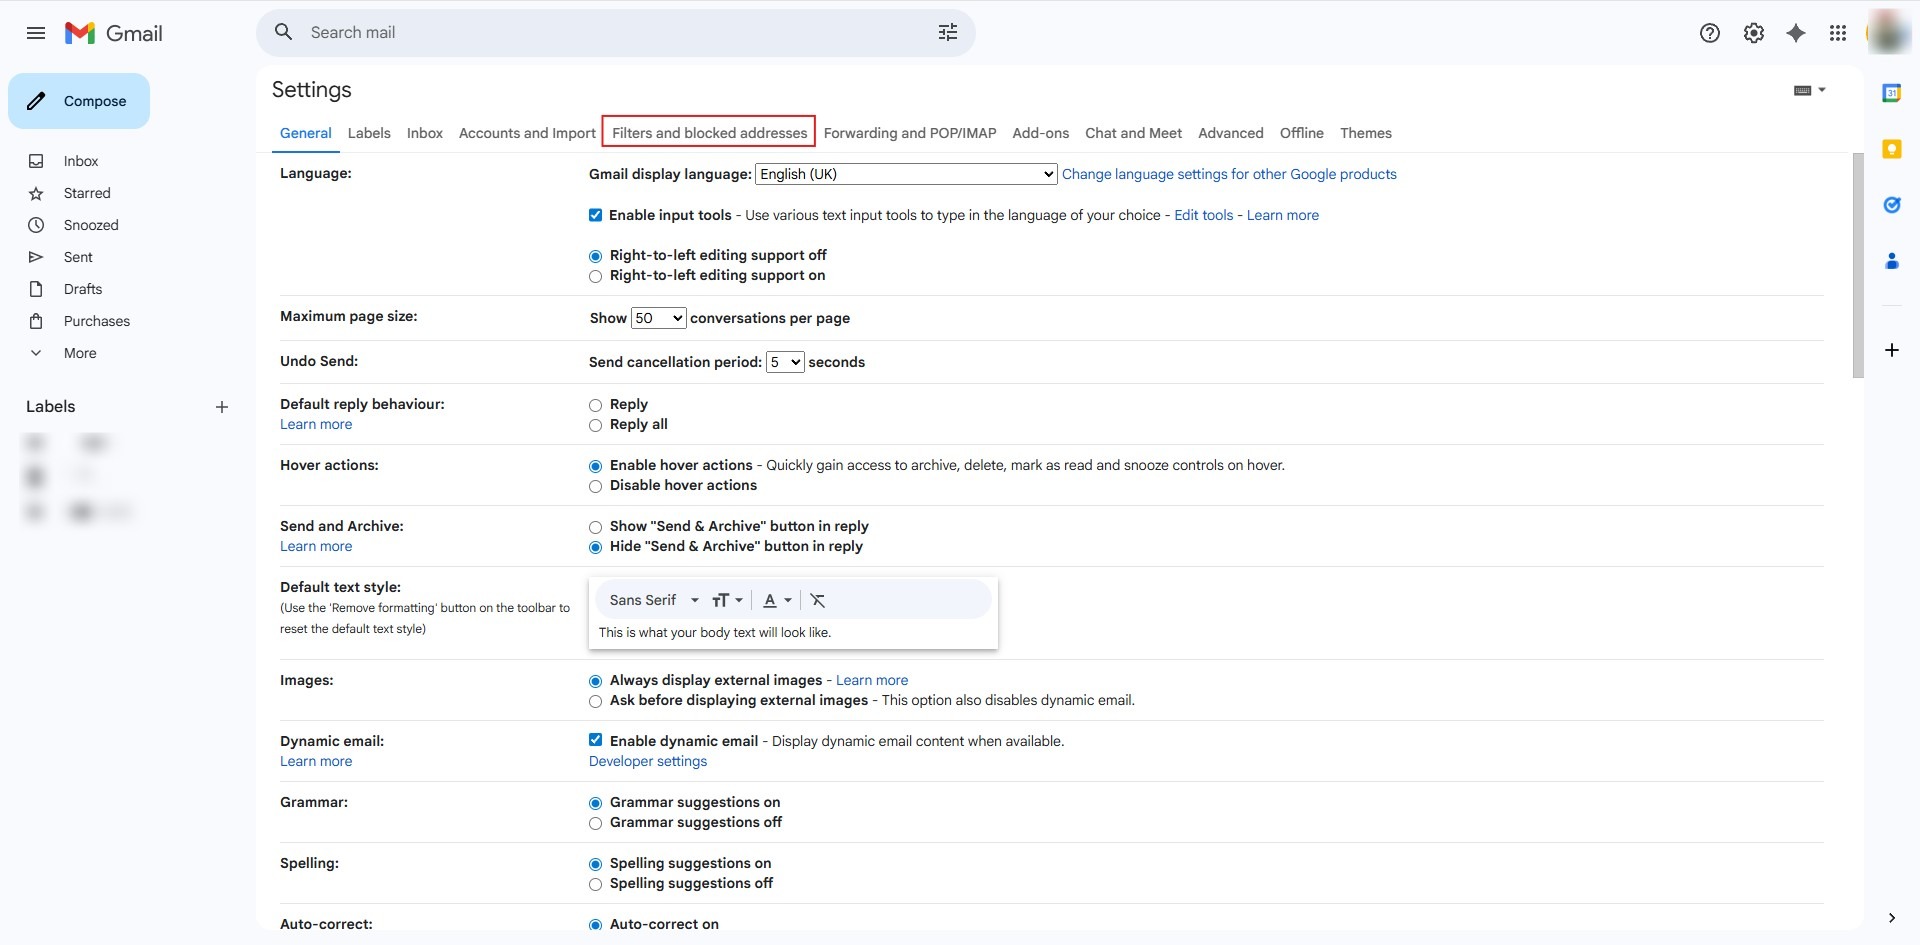
Step 3: Navigate to Filters
- Click on the “Filters and blocked addresses” tab at the top of the settings page.
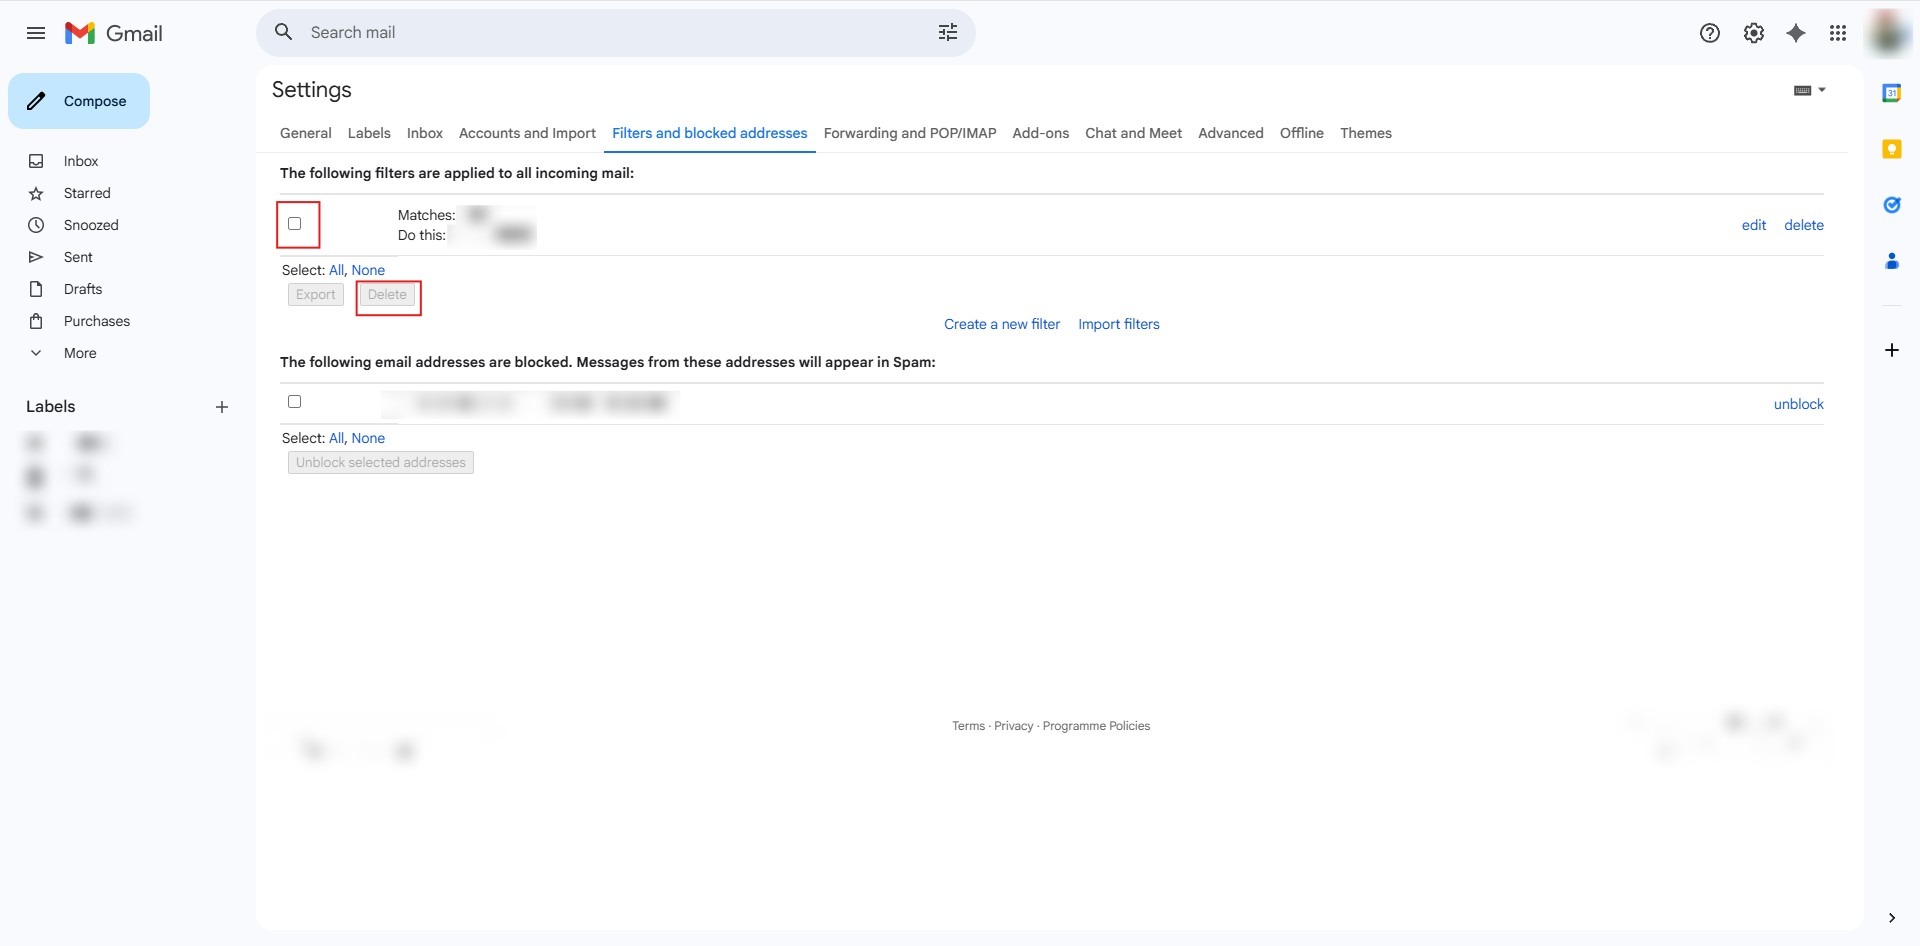
Step 4: Delete Target Filter
- Locate the specific filter you wish to remove and click the Delete link next to the rule.
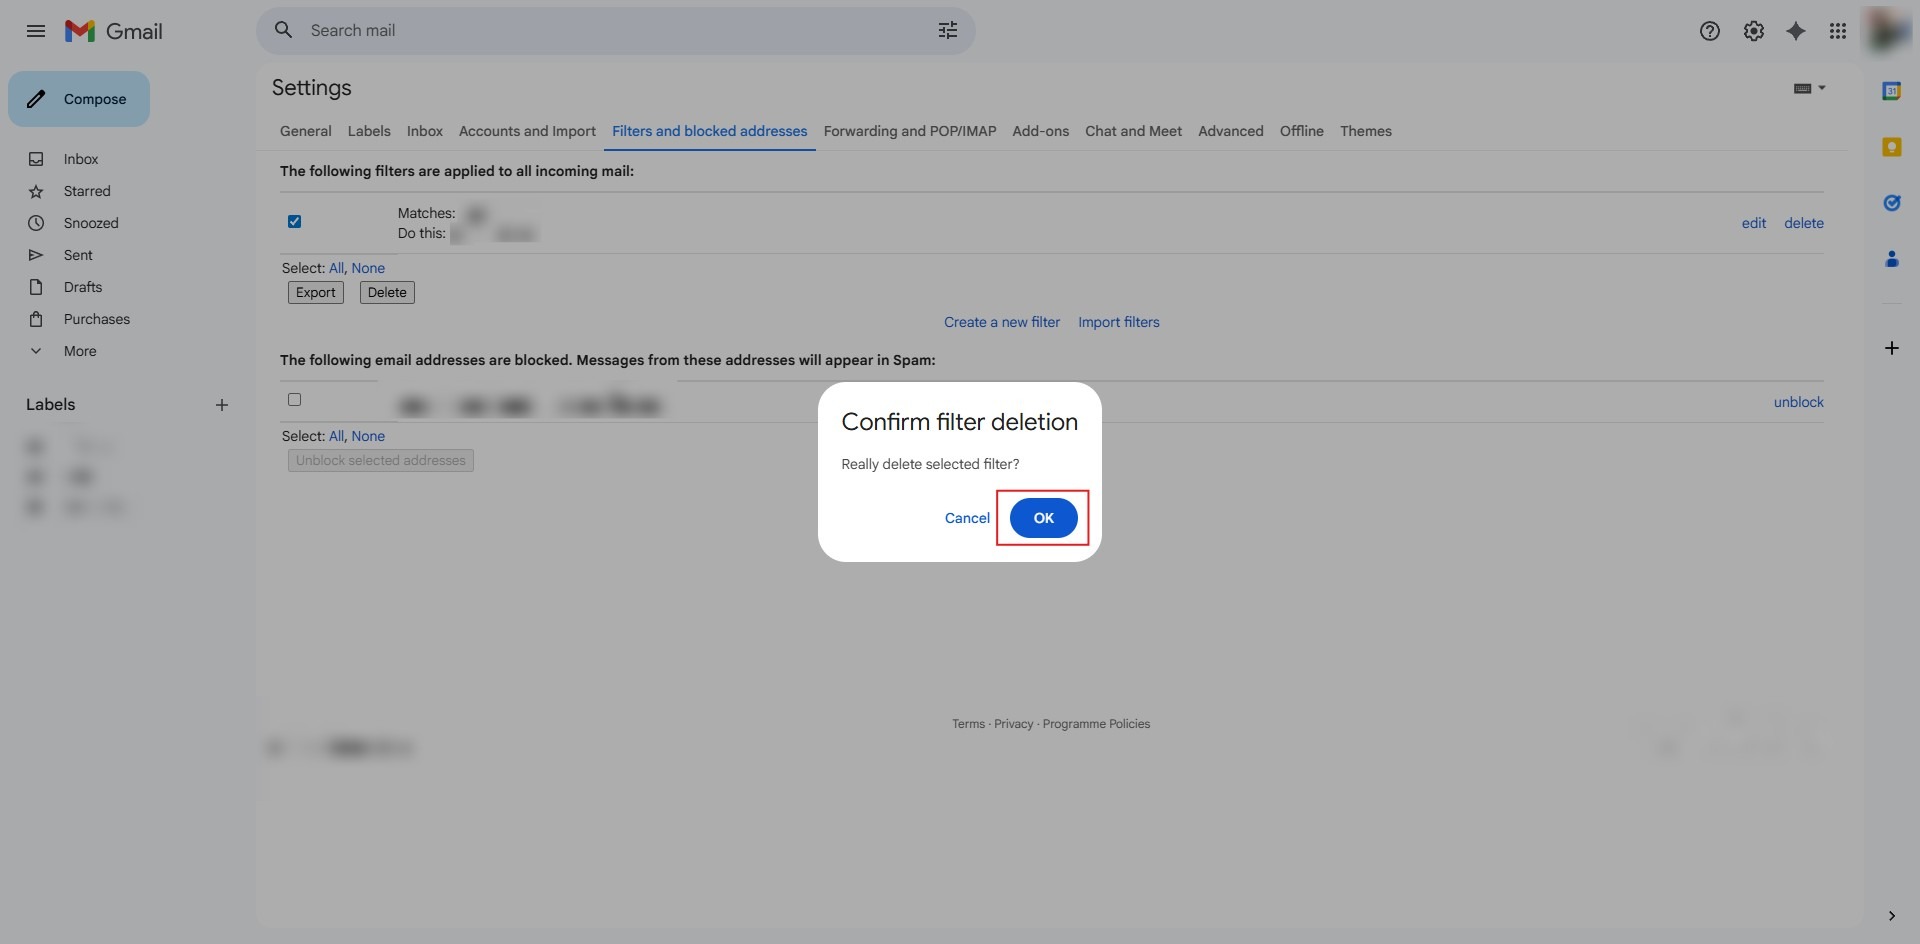
Step 5: Confirm Deletion
- Click the OK button to confirm the deletion action.
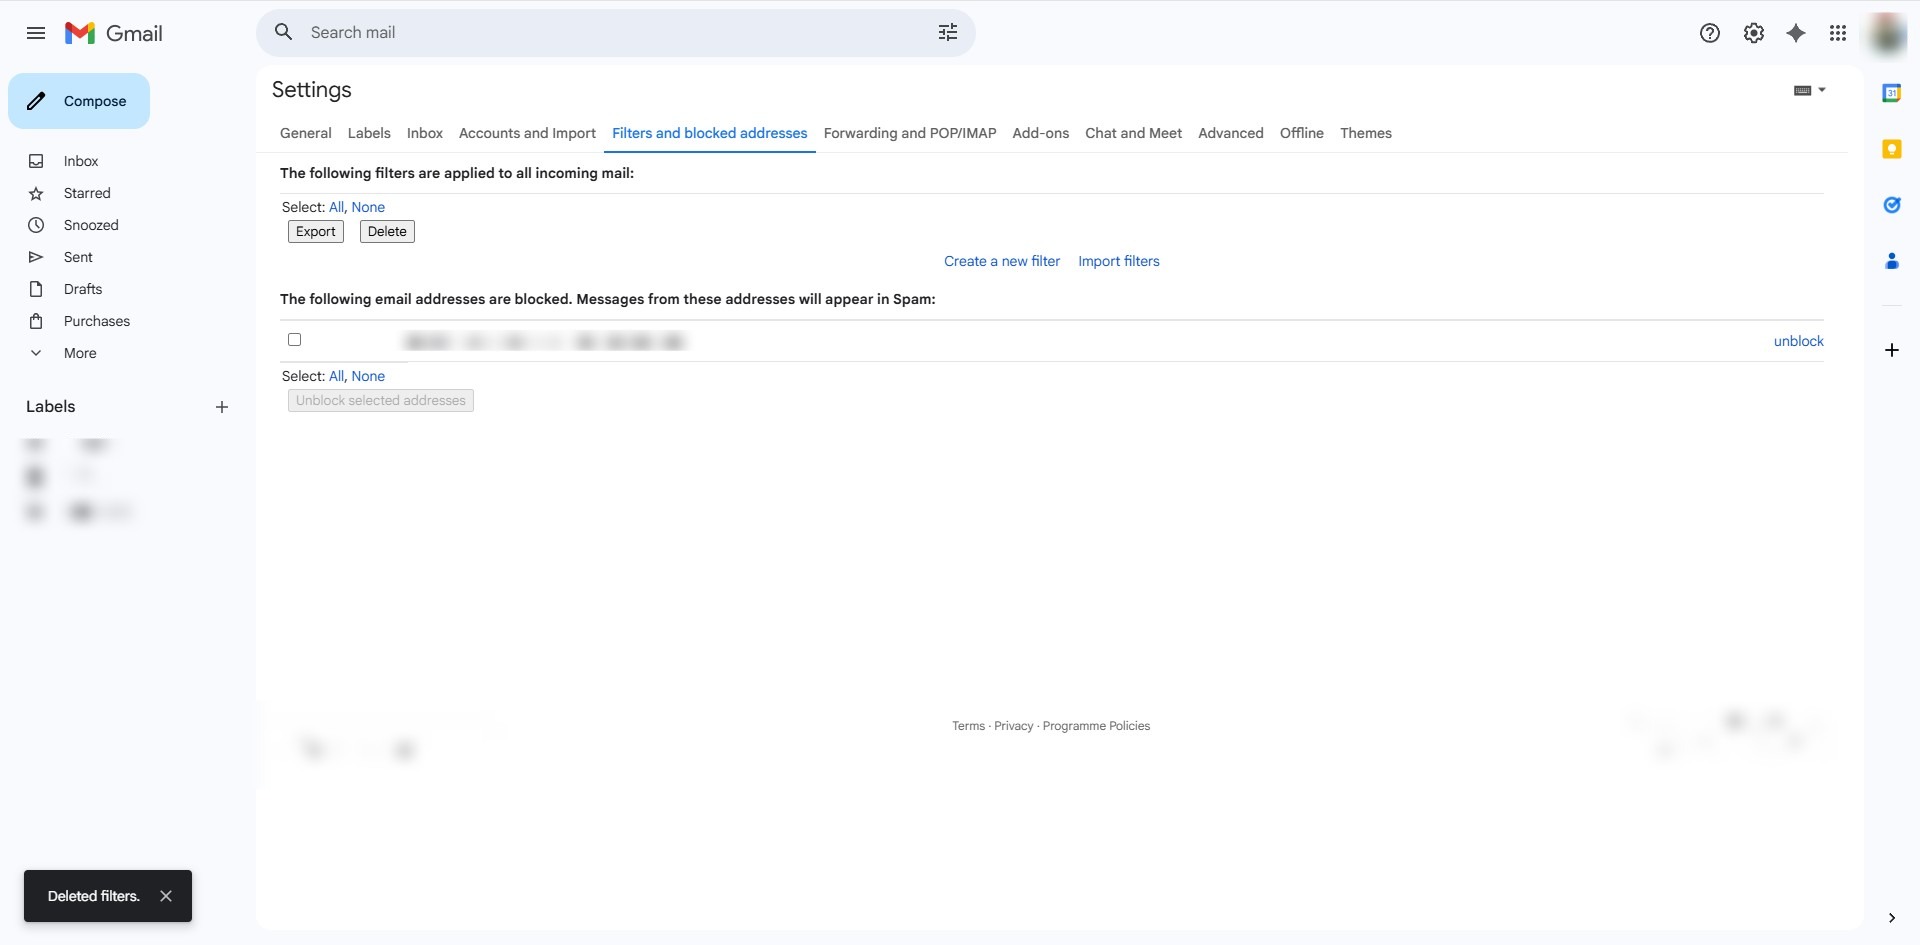
Step 6: Verify Removal
- The process is complete, and the filter is successfully removed from your list.
Conclusion:
In summary, deleting a filter in Gmail Web is a definitive action that ensures your inbox automation remains relevant by removing obsolete rules. By navigating to the ‘Filters and Blocked Addresses’ tab within the full settings menu, users can identify and discard specific configurations using the ‘Delete’ link. The process is finalized with a mandatory confirmation prompt, guaranteeing that the rule is permanently removed and will no longer process incoming messages.