Search Our Database
How to Add Contact with Existing Email in Gmail Web
Introduction:
Adding a new contact in Gmail Web can be performed directly from an existing email thread, allowing you to bypass manual data entry by using the sender’s current information . This method begins by locating the specific email that contains the target individual and accessing the Contacts icon located in the side panel . Once you select the target user from the participants identified in the thread, you can finalize the process by clicking “Save contact” to ensure their details are recorded in your directory . The process is complete when the system displays a success notification at the bottom of the interface .
Prerequisites:
- You must have a received or sent email thread that contains the contact information of the target individual.
- The Gmail interface must be open in a web browser, and you must be able to view and click the Contact Icon in the right-side panel.
Step-by-step Guide:
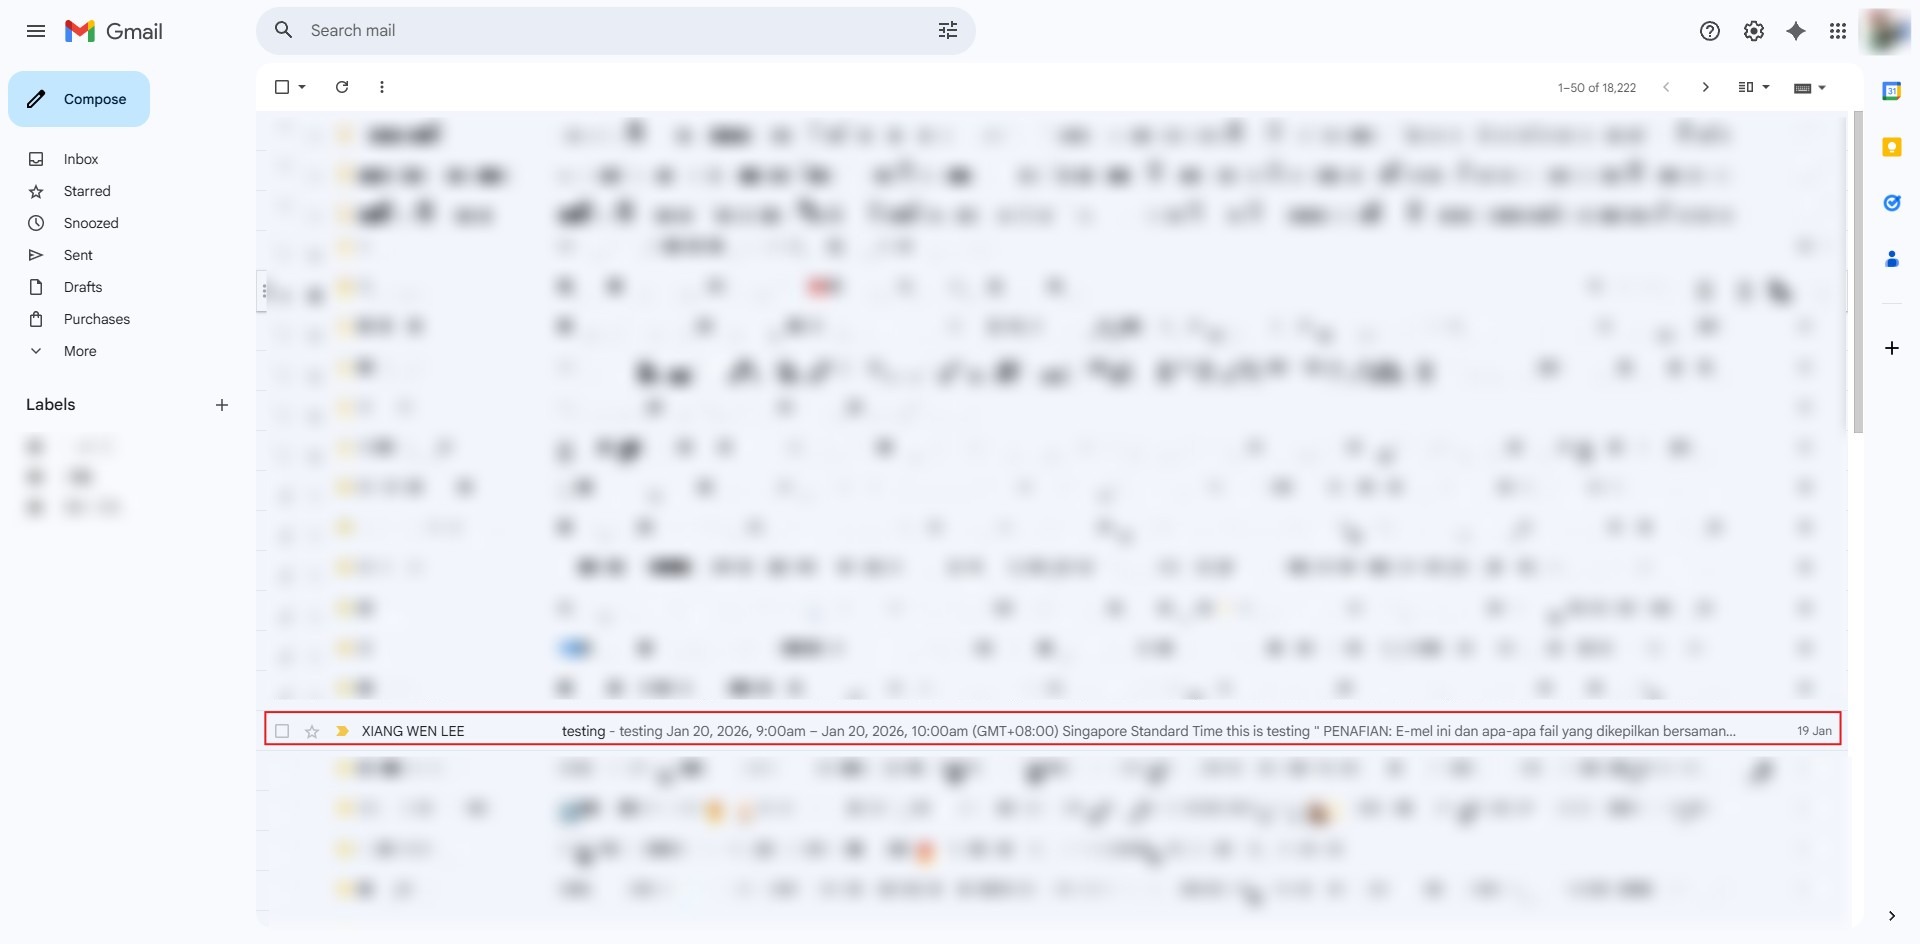
Step 1: Locate Email
- Navigate through your inbox to find and open the specific email containing the individual you wish to add.
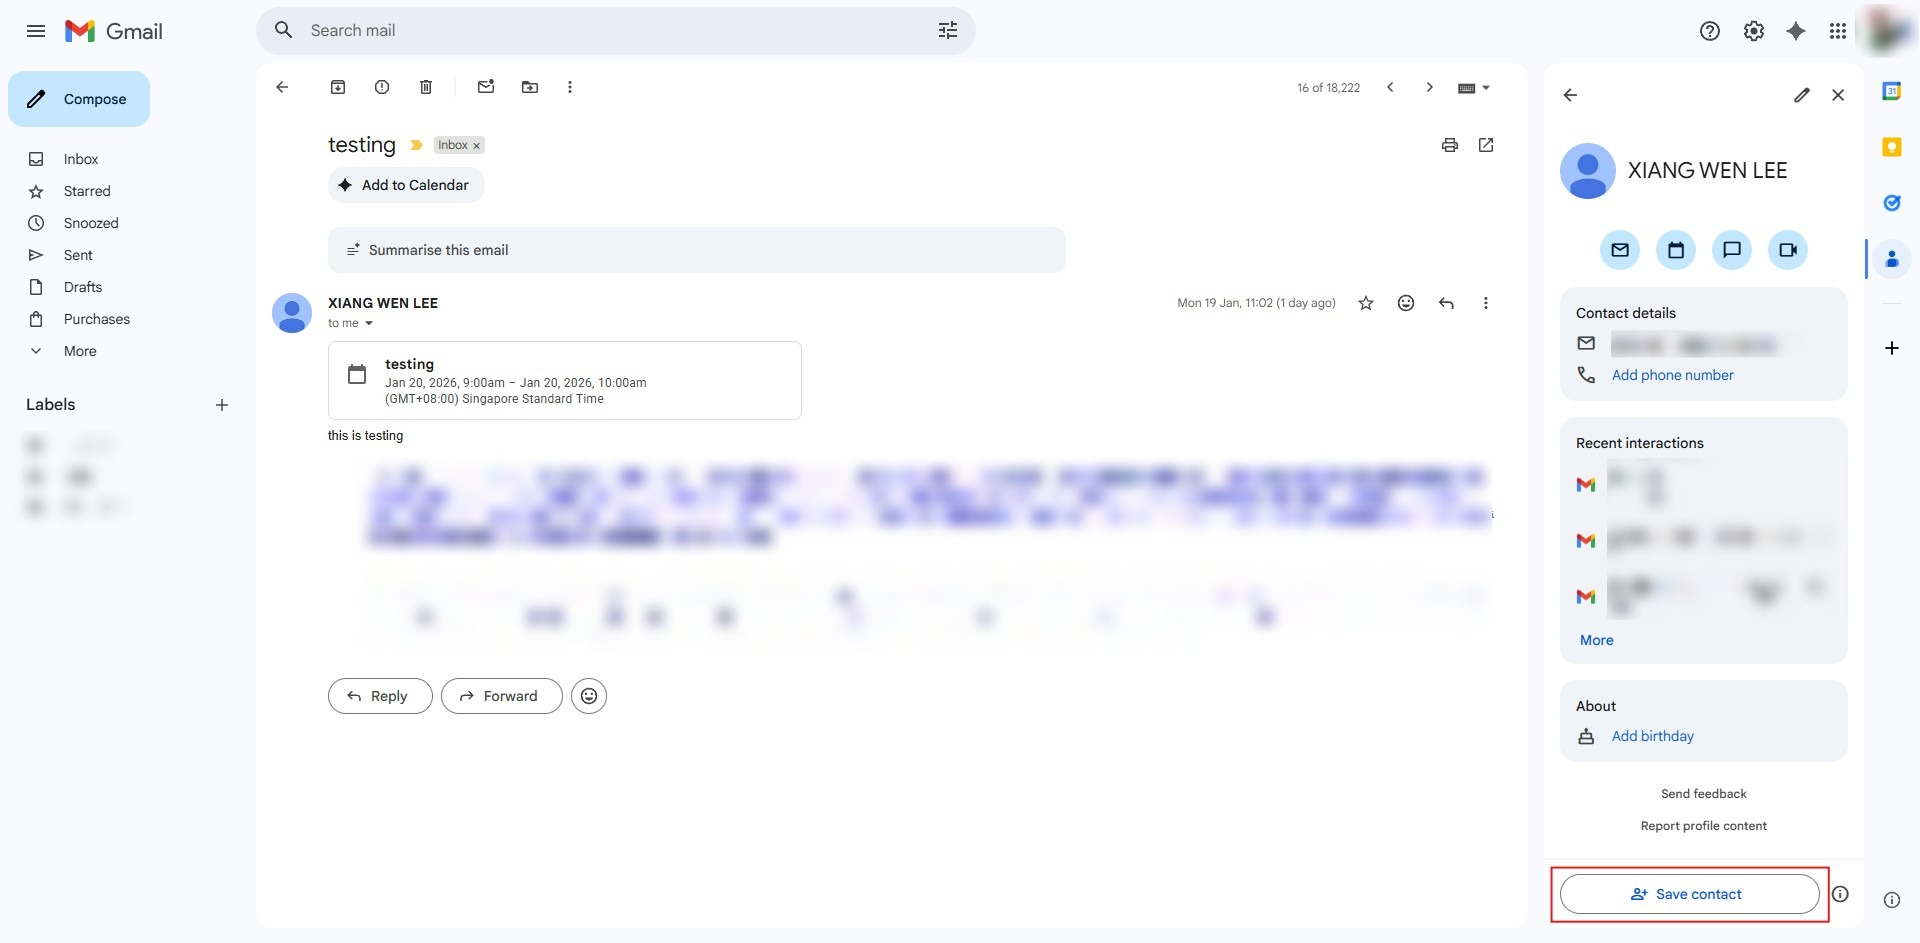
Step 2: Click Contact Icon
- Select the Contact icon found in the vertical sidebar on the right side of the screen.
![]()
Step 3: Select Target User
- Under the “In this thread” section of the sidebar, click on the specific person you intend to save.

Step 4: Click Save Contact
- Finalize the process by clicking the “Save contact” button located at the bottom of the user’s information pane.
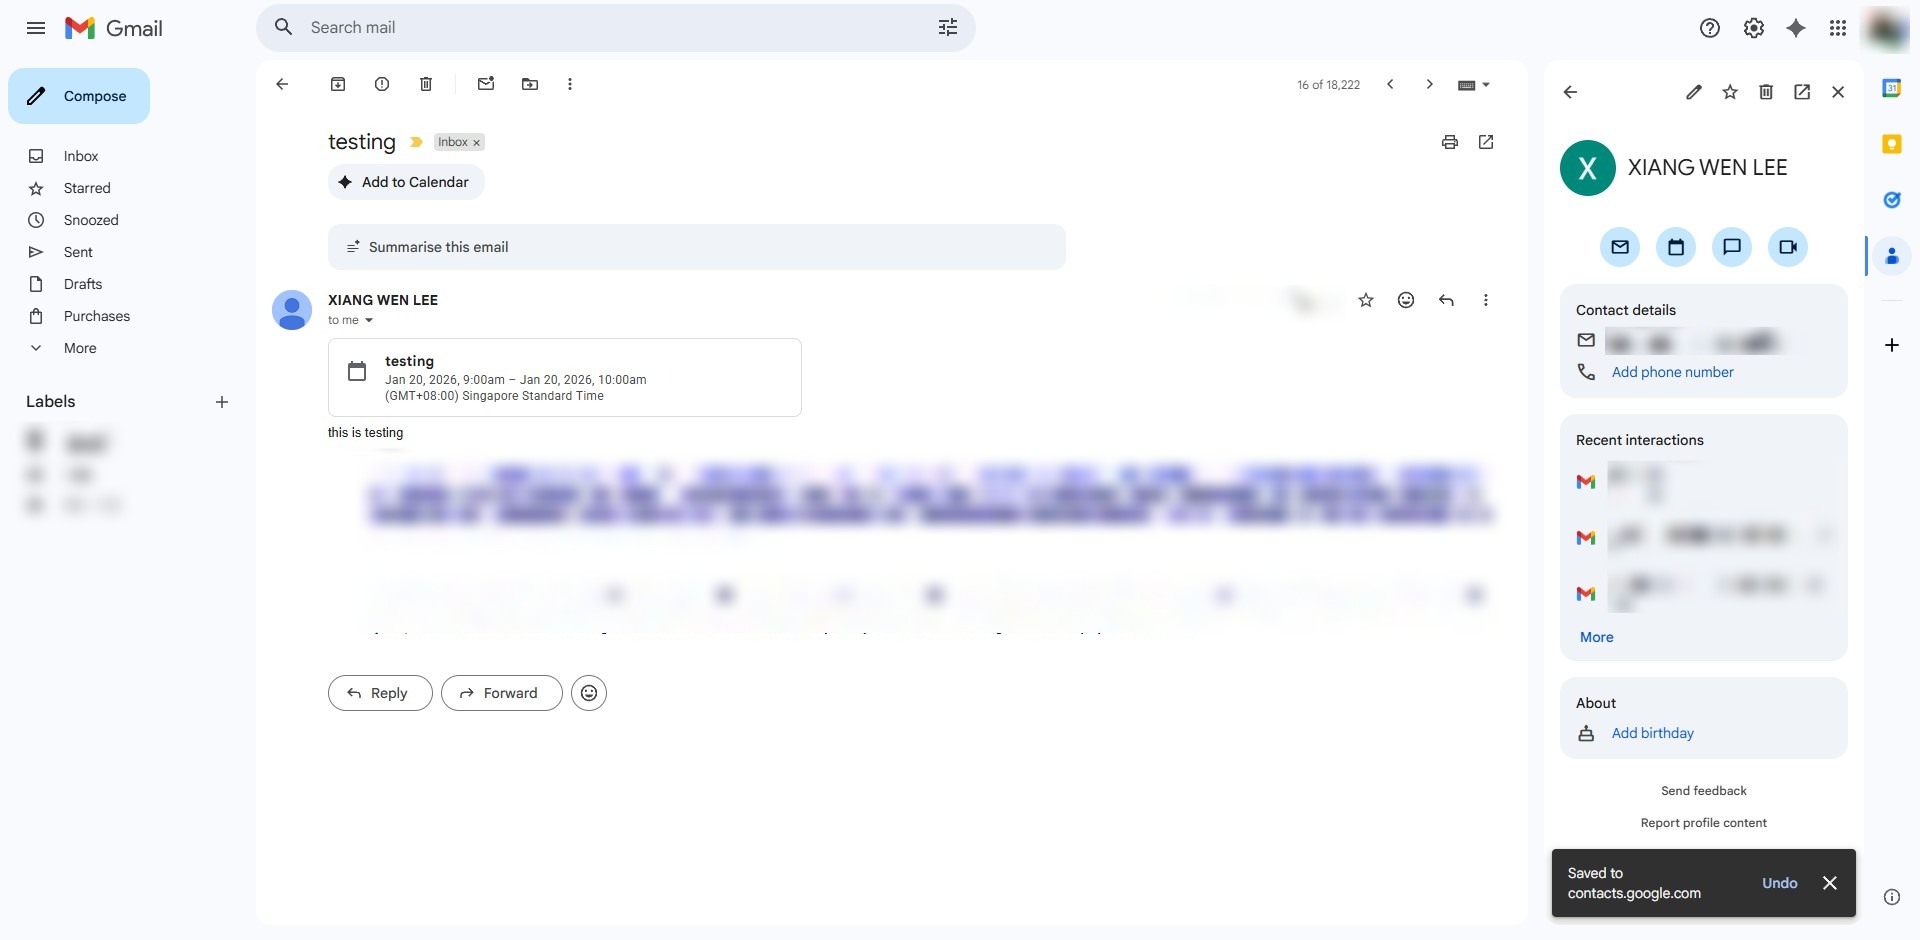
Step 5: Confirmation
- The entry is successfully recorded once a success notification appears at the bottom of the interface.
Conclusion:
In conclusion, adding a new contact from an existing email thread in Gmail Web is a highly efficient method for capturing sender details without manual entry. By navigating to the target email and using the Contact icon in the sidebar, you can easily select the intended individual from the “In this thread” section. The process is finalized once you click “Save contact,” which triggers a success notification at the bottom of the screen to confirm the entry is secured in your directory.