Search Our Database
How to Add New Contact(s) in Gmail App
Introduction:
Managing your professional and personal directory within the Gmail App is a straightforward process that allows you to store new information directly from your mobile device. By accessing the app’s main menu via the three horizontal lines icon, you can navigate to the “Contacts” section to begin creating a new entry. This feature enables you to record vital information, including the person’s first name, surname, and email details, before officially adding them to your list by tapping “Save”.
Prerequisites:
- You must be signed into the Gmail application on your mobile device to ensure the contact is saved to the correct profile.
- You should have the target individual’s basic details ready, specifically their first name, surname, and email address, which are the primary fields for a new entry.
- You should have the user name or email address of the individual you wish to search for within your interaction history.
- You must have the Google Contacts application installed on your mobile device.
Step-by-step Guide:
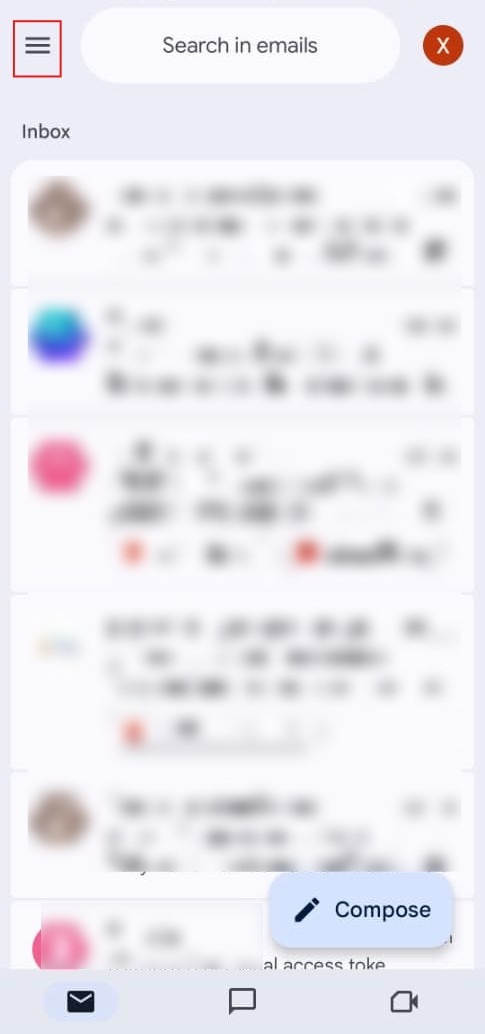
Step 1: Tap Menu Icon
- From your Gmail inbox, tap the three horizontal lines (menu icon) located in the top-left corner of the screen.
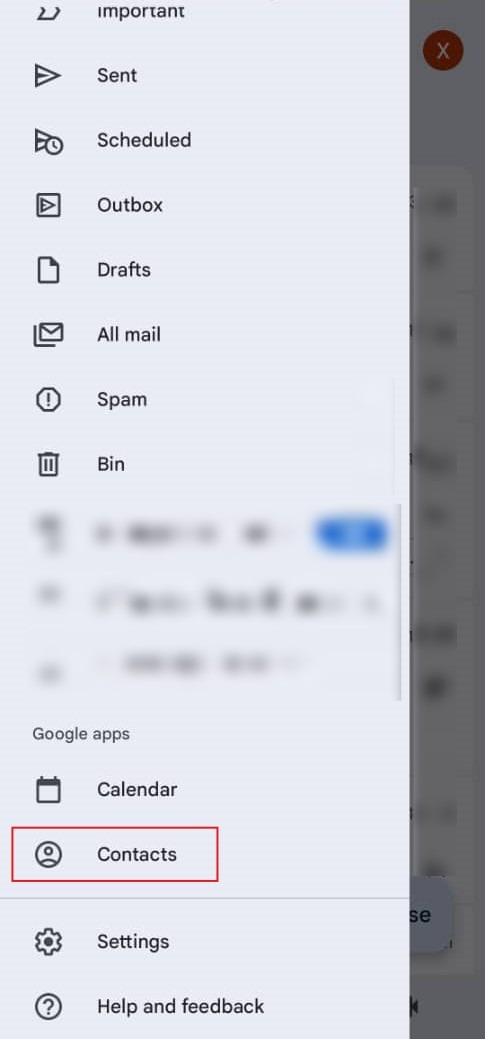
Step 2: Select Contacts
- Scroll down through the sidebar menu to the “Google apps” section and tap on “Contacts.”
Step 3: Enter Details
- On the “Create contact” screen, key in the individual’s information, specifically their First name, Surname, and Email address.
- Once the information is entered, tap the “Save” button at the top of the interface.

Step 4: Confirmation
- The process is successful once the app displays the saved contact profile.

Conclusion:
In conclusion, adding a new contact through the Gmail App is an efficient process that involves navigating the side menu via the three horizontal lines icon and selecting the Contacts option under the Google apps section. By entering key details such as the individual’s first name, surname, and email address and tapping “Save,” you can immediately expand your directory. The process is finalized once the application displays the newly created contact profile, confirming a successful entry.