Search Our Database
How to Add Email Forward Address on Gmail Web
Introduction:
Managing high-performance infrastructure like NovaCloud instances, GPU Servers, and Bare Metal Servers requires seamless communication to ensure operational continuity. By configuring Email Forward Settings on Gmail Web, you can automatically redirect incoming messages—such as billing invoices, critical service updates, and support ticket notifications—to a single, centralized address. This automation eliminates the need to manually monitor multiple inboxes, allowing you to focus on the strategic management of your virtual data centers and business goals.
Handled directly within the “Forwarding and POP/IMAP” tab of your Gmail settings, this feature is designed with rigorous security in mind. To prevent unauthorized mail hijacking, the process requires multi-step verification; this includes a prompt where Google will verify your identity before sending a request, followed by a specific confirmation URL that must be authorized by the recipient address.
Prerequisites:
- User must possess a fully registered and active Gmail account.
- The procedure explicitly requires accessing the Gmail Web interface.
- You must have a secondary, active email address to serve as the forwarding destination.
Step-by-step Guide:
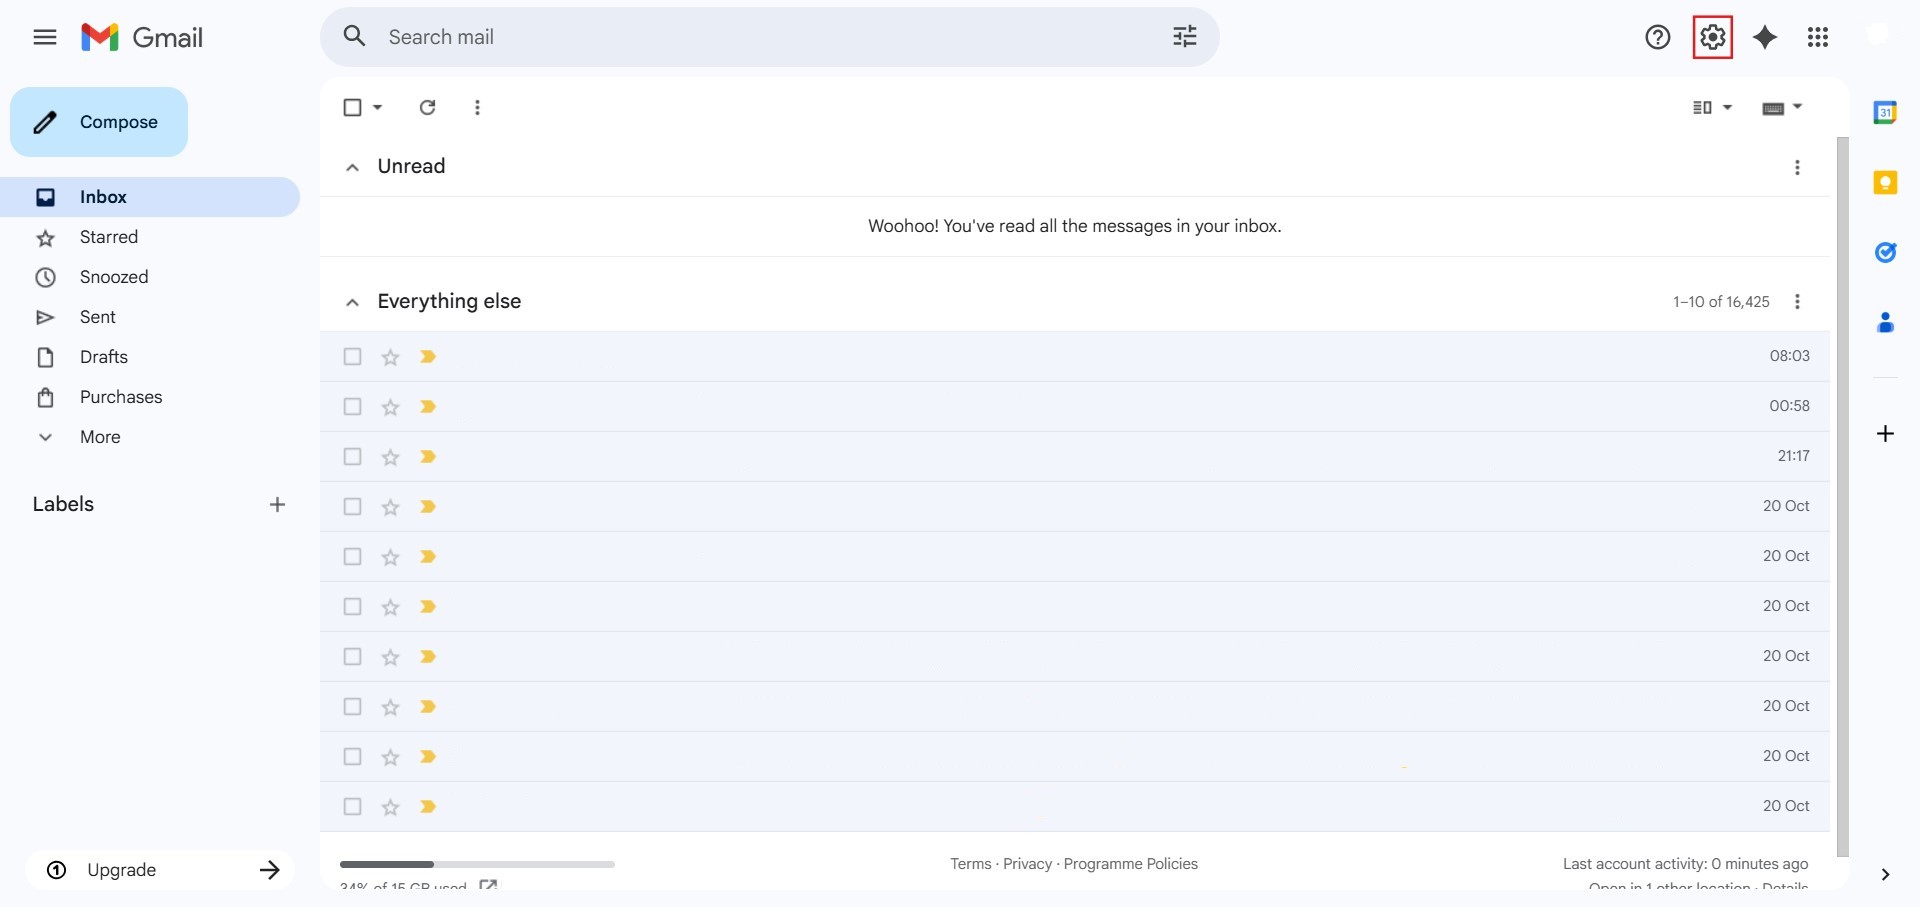
Step 1: Access Settings
- The initial action required is to Click setting.
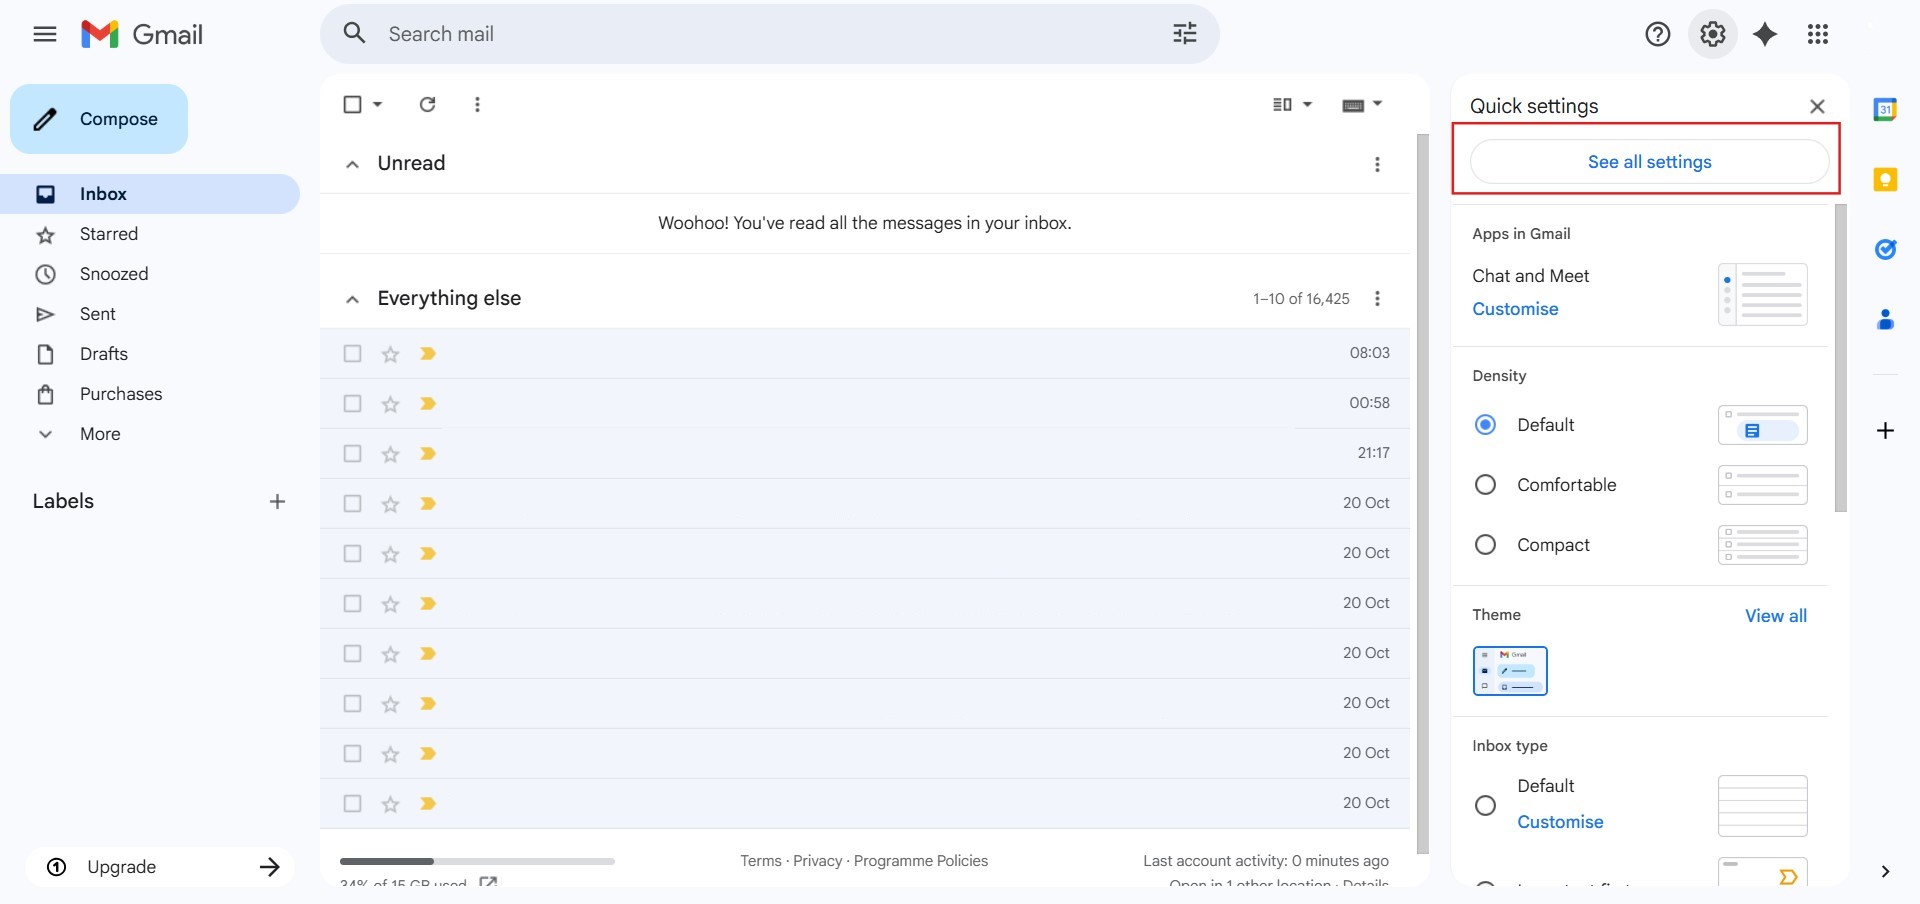
Step 2: Navigate to All Settings
- After clicking “setting,” proceed to select See all Settings.
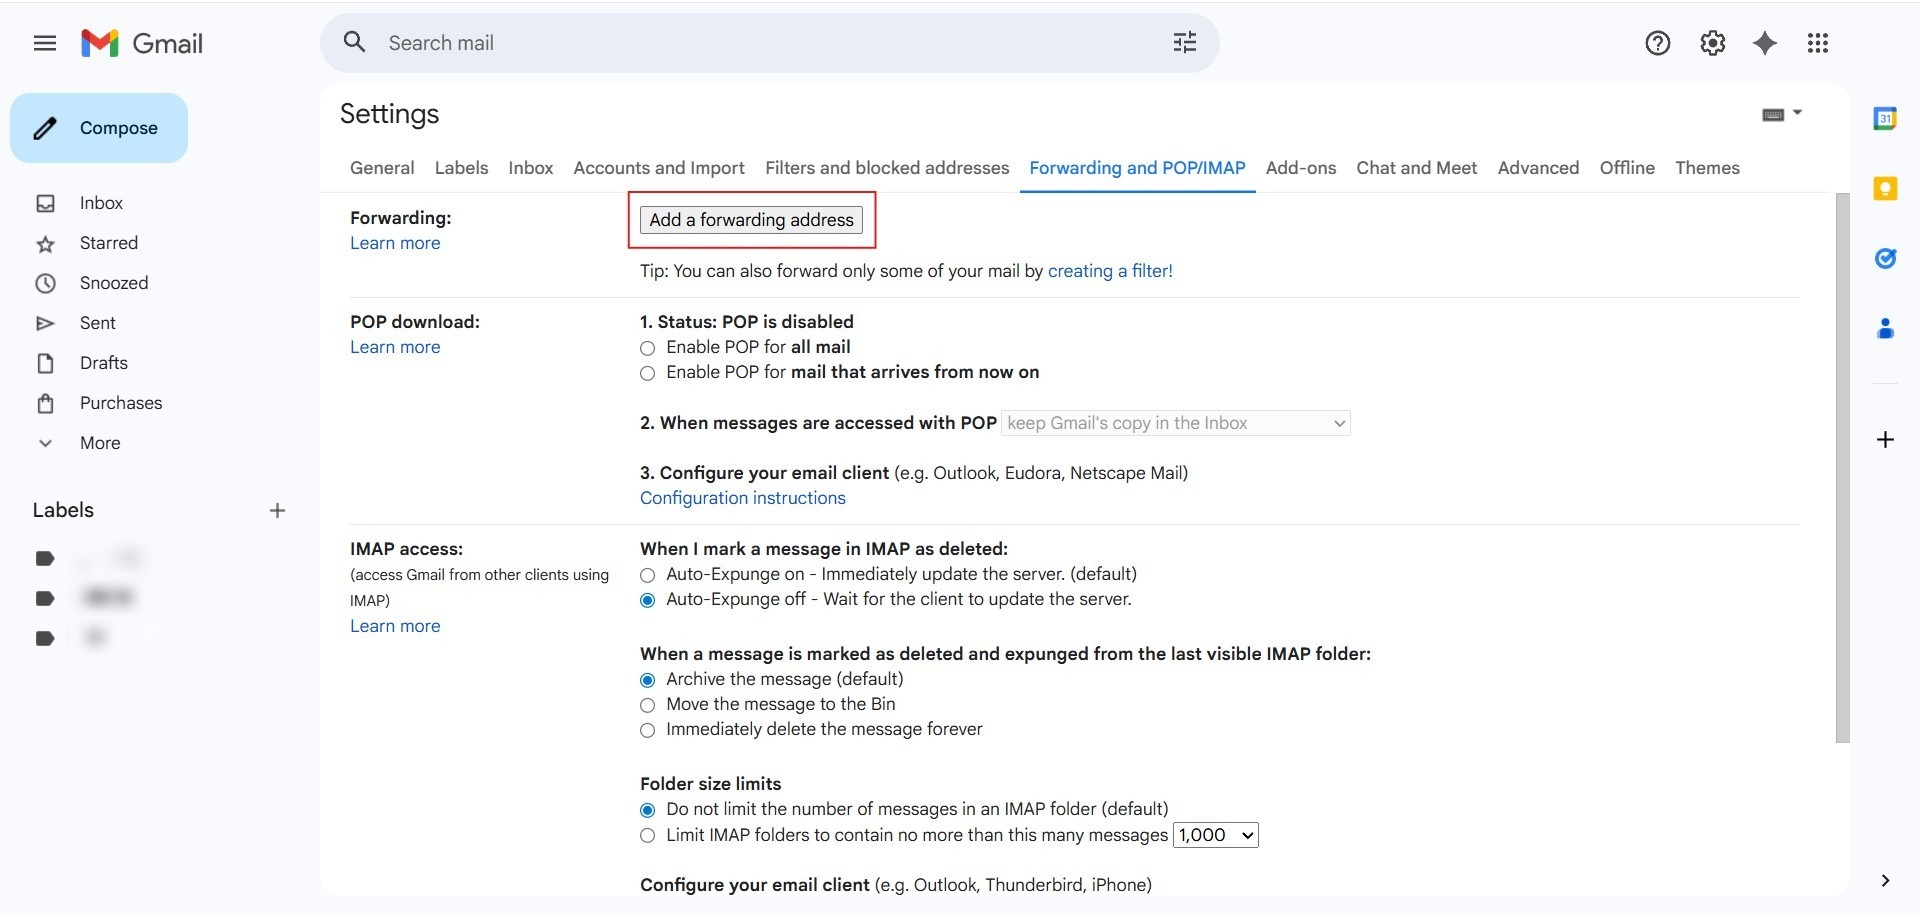
Step 3: Navigate to Forwarding and POP/IMAP
- Click on the tab labeled “Forwarding and POP/IMAP” located in the top menu bar of the settings page.

Step 4: Initiate Forwarding
- Click the button to “Add a forwarding address”.
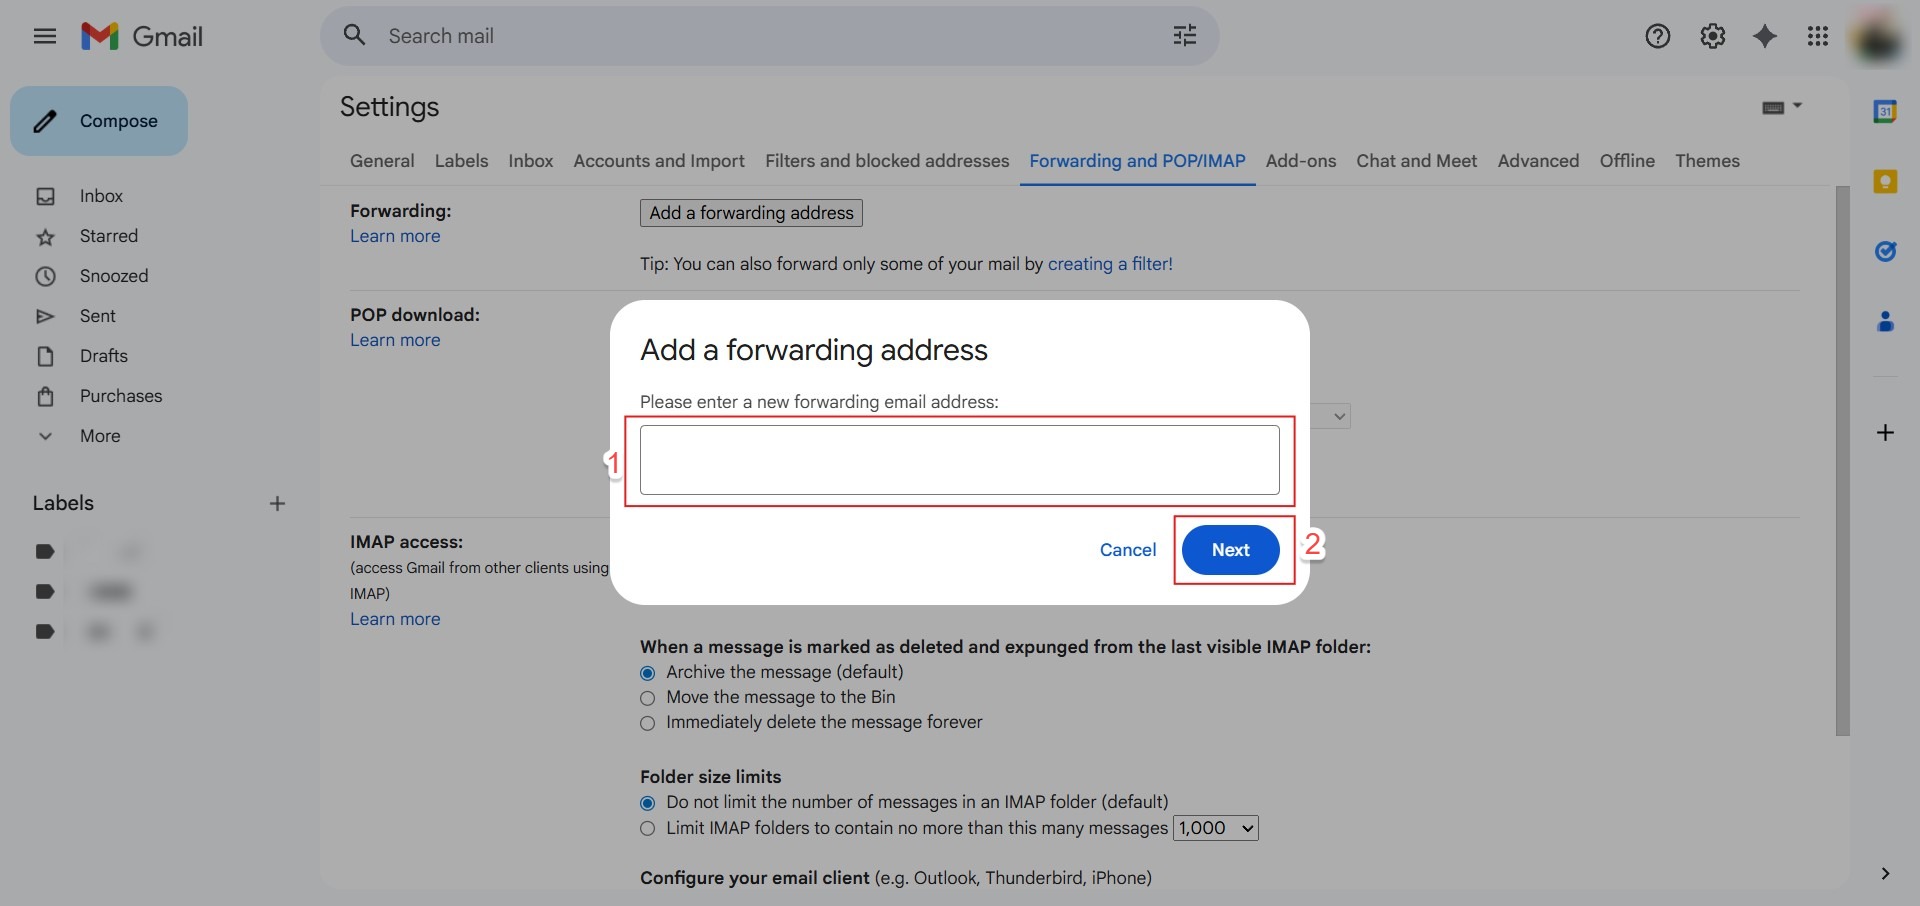
Step 5: Enter Destination
- Key in the forwarding address and click “Next”.
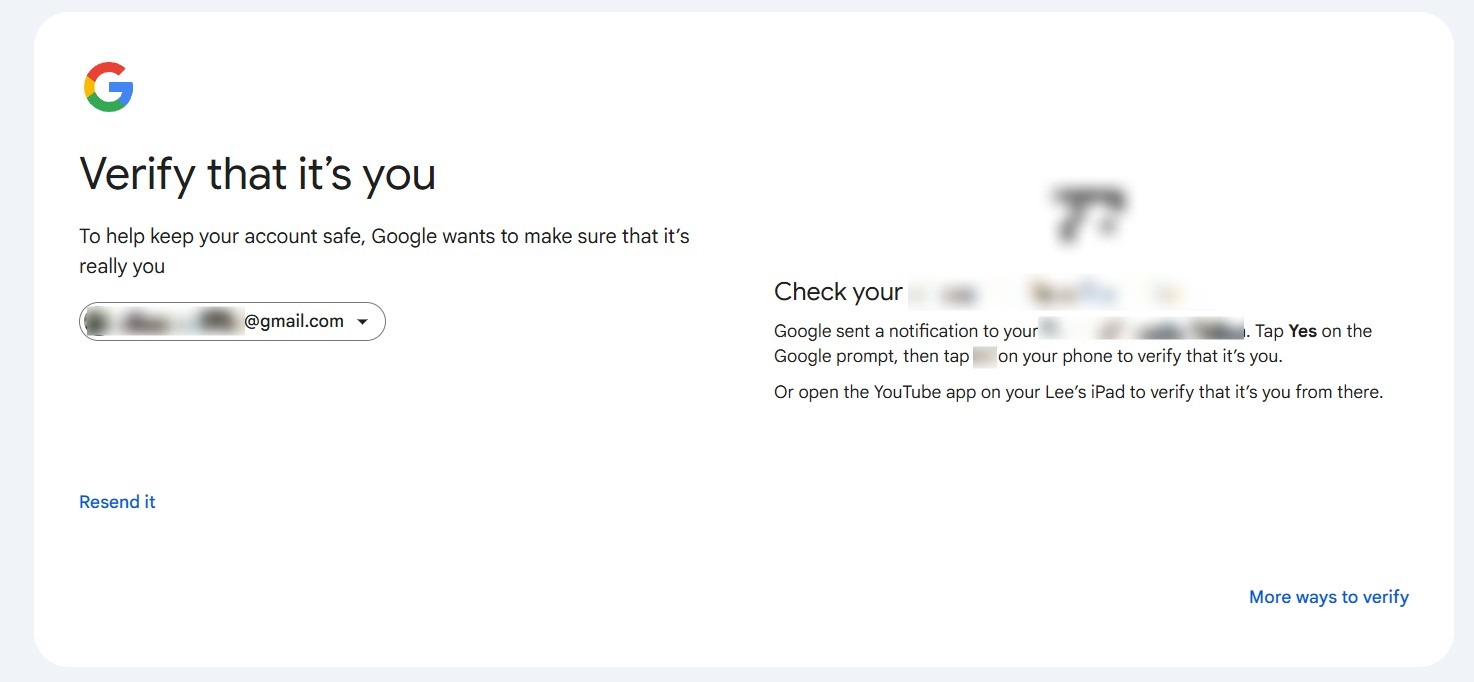
Step 6: Authorize Request
- At this stage, Google will verify that it’s you by prompting for secondary security check to ensure the request is authorized by the account owner.
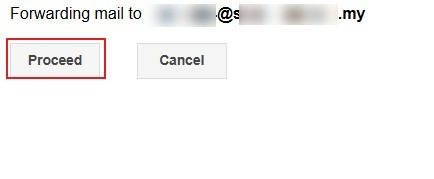
- A pop-up will appear; click “Proceed” to allow Gmail to send a verification request to the destination.
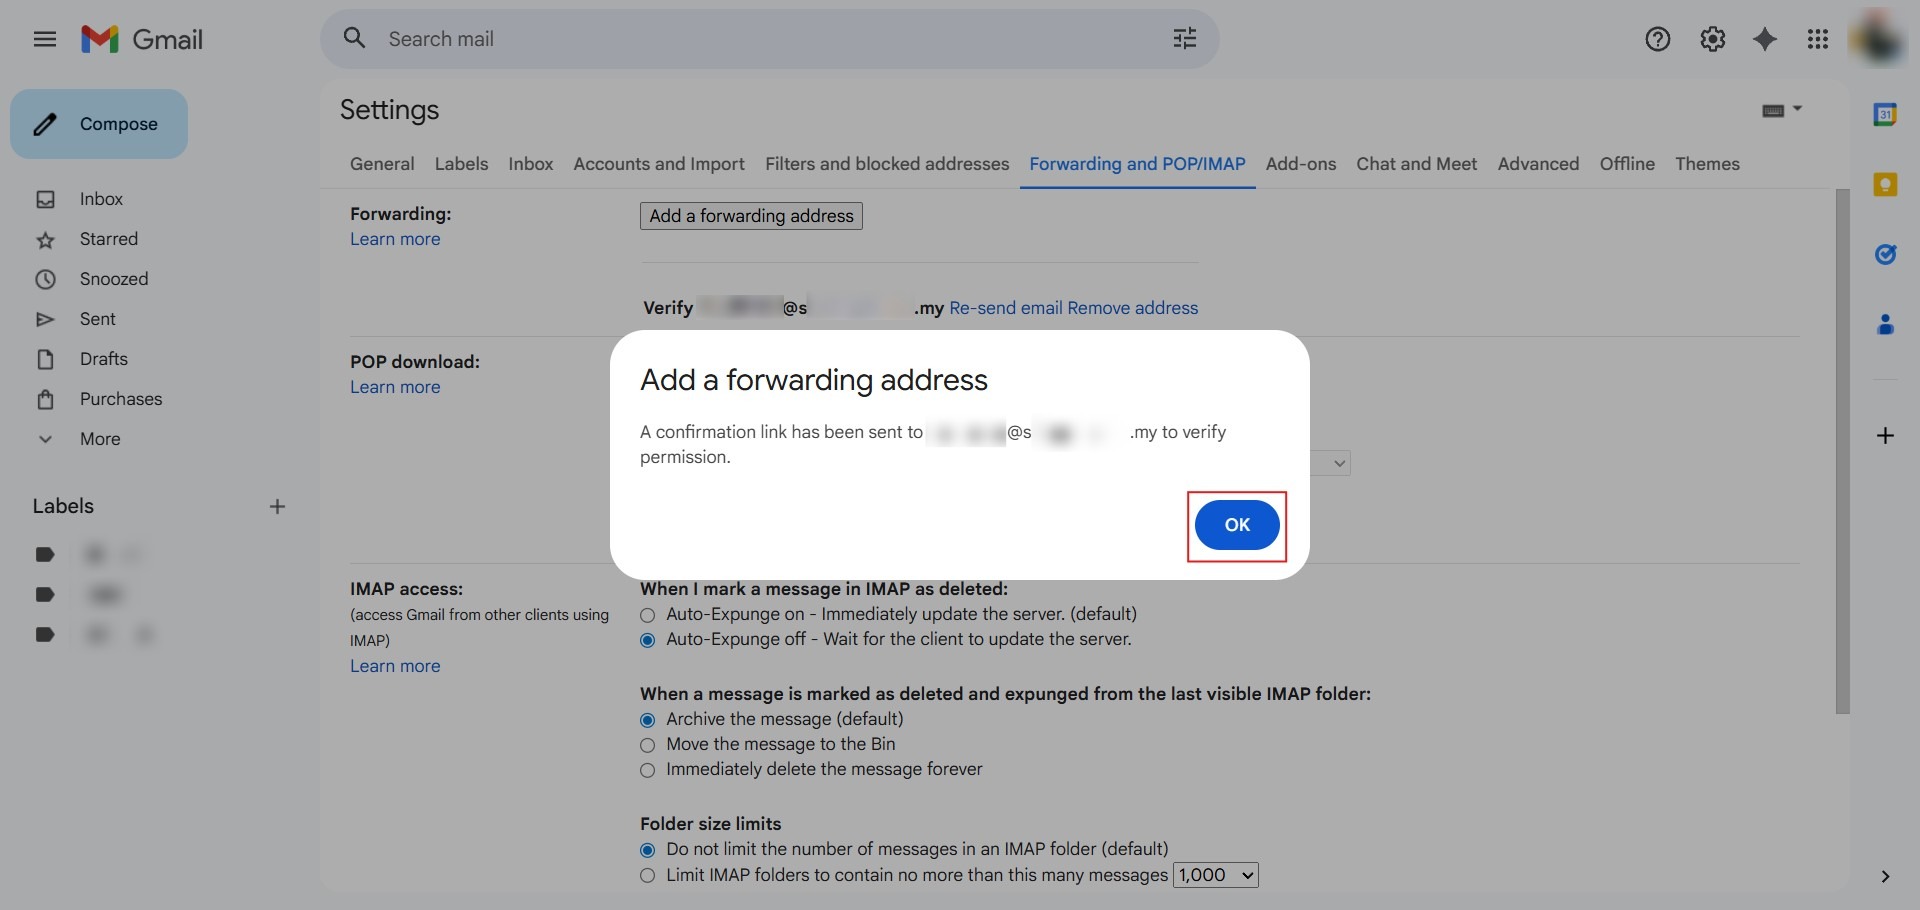
Step 7: Confirm Dialog
- Click “OK” on the notification informing you that a verification code has been sent.
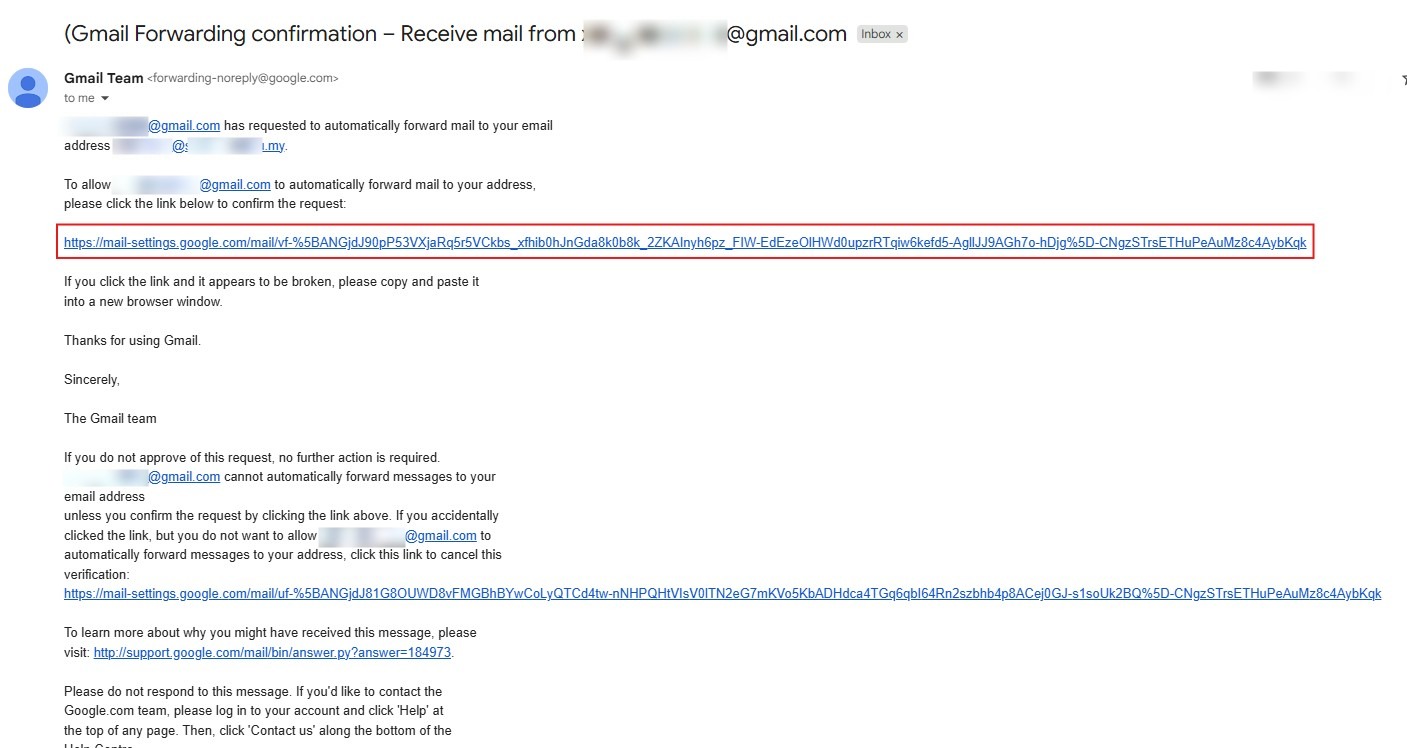
Step 8: Verify Recipient
- Access the destination inbox, locate the email from Gmail, and click the included URL to confirm the verification.
Step 9: Final Confirmation
- On the confirmation page that opens, click the “Confirm” button to authorize the redirection.

Step 10: Verification Success
- A success message will appear, and your Gmail account is now linked for automatic redirection.

Conclusion:
By successfully completing these steps, you have established a reliable link for your professional communications.
To ensure the long-term effectiveness of this setup, keep the following in mind:
- Security Validation: The multi-step verification protocol, which requires clicking a unique URL in the destination inbox, is a vital security checkpoint that prevents unauthorized mail routing.