Search Our Database
How to Add Mail Signature on Ipad OS
Introduction:
Establishing a professional and consistent identity in digital communication is essential for both business and personal interactions. For users managing their email on mobile devices, iPad OS offers a built-in feature to create and manage custom Mail Signatures, allowing you to automatically append contact information, disclaimers, or personalized closings to every message sent from your device.
By leveraging the settings within the Mail app on your iPad, you can ensure that your outgoing communications maintain a polished appearance regardless of your location. This guide provides a concise walkthrough on how to navigate the iPad OS interface to access and edit your email signature, empowering you to personalize your mobile emailing experience effectively.
Prerequisites:
- Configured Email Account: At least one active email account must be successfully set up and signed in within the native iPadOS Mail app.
- iPadOS Device: You must have an iPad device running a compatible version of iPadOS.
- Settings Access: You must have unrestricted access to the device’s Settings application to navigate the Apps management page.
- Prepared Signature Content: It is recommended to have your desired text, contact details, or links pre-prepared to be typed or pasted into the signature editor.
Step-by-step Guide:
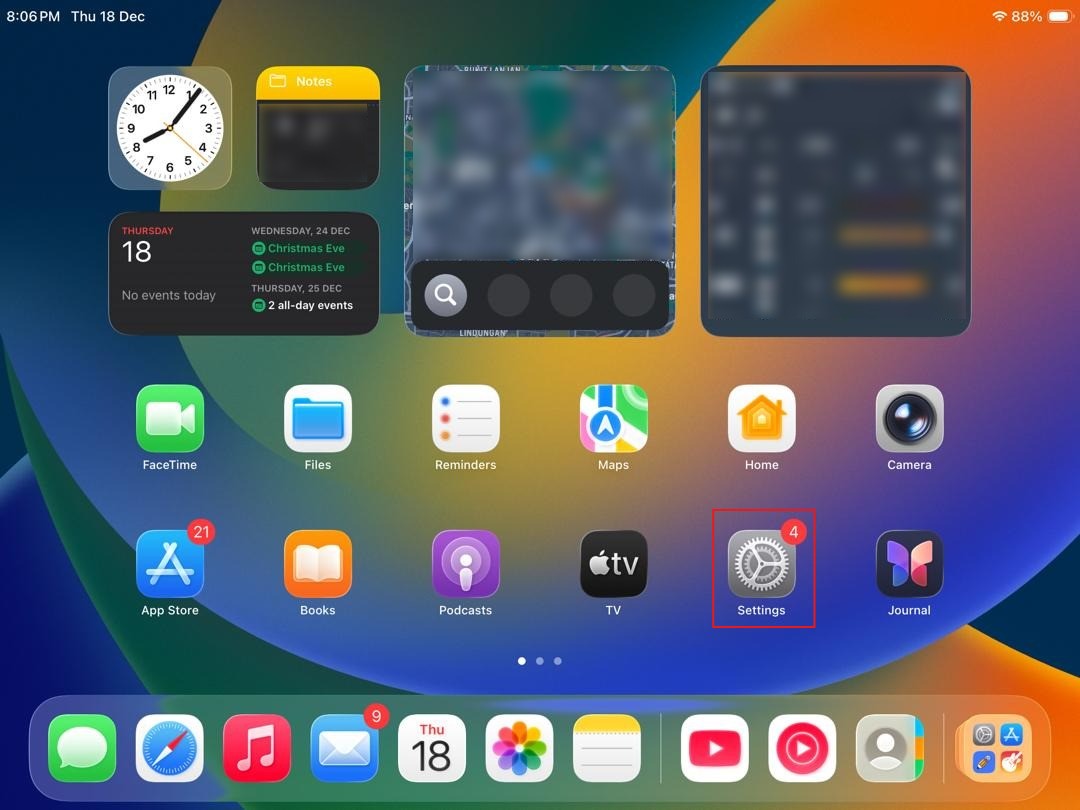
Step 1: Open Setting
- Locate and tap the Settings icon on your iPad home screen.
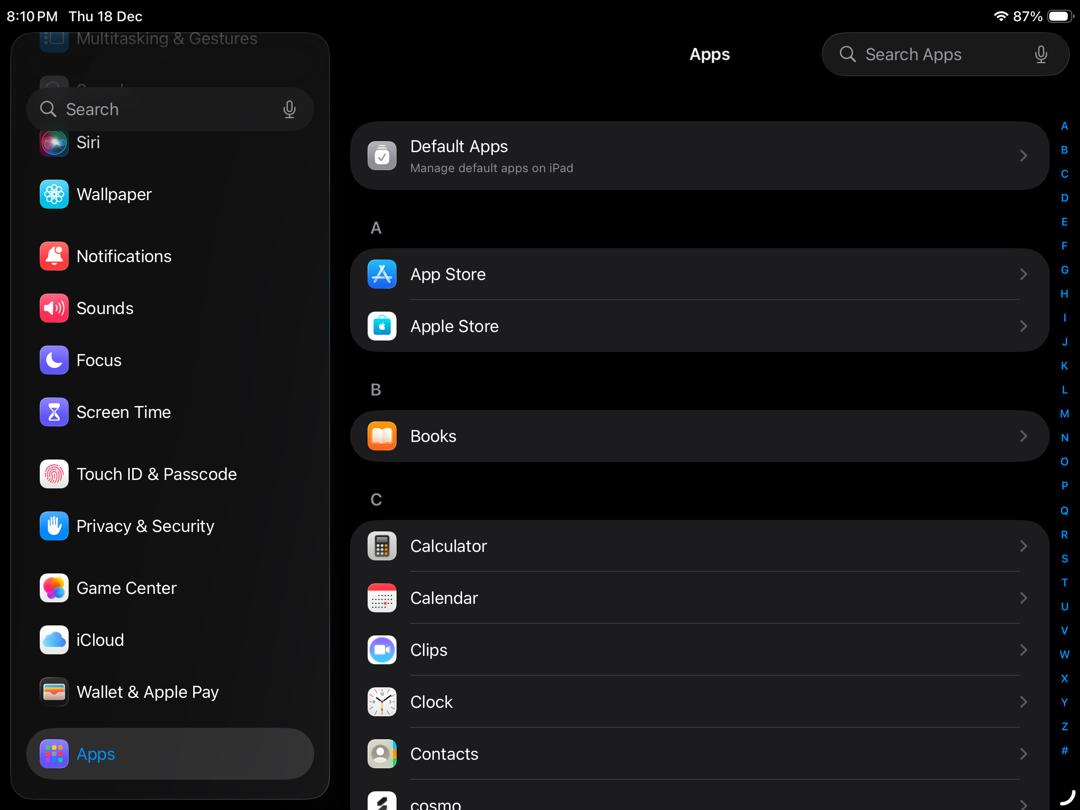
Step 2: Go to Apps Page
- Navigate through the settings menu to locate the Apps management section.
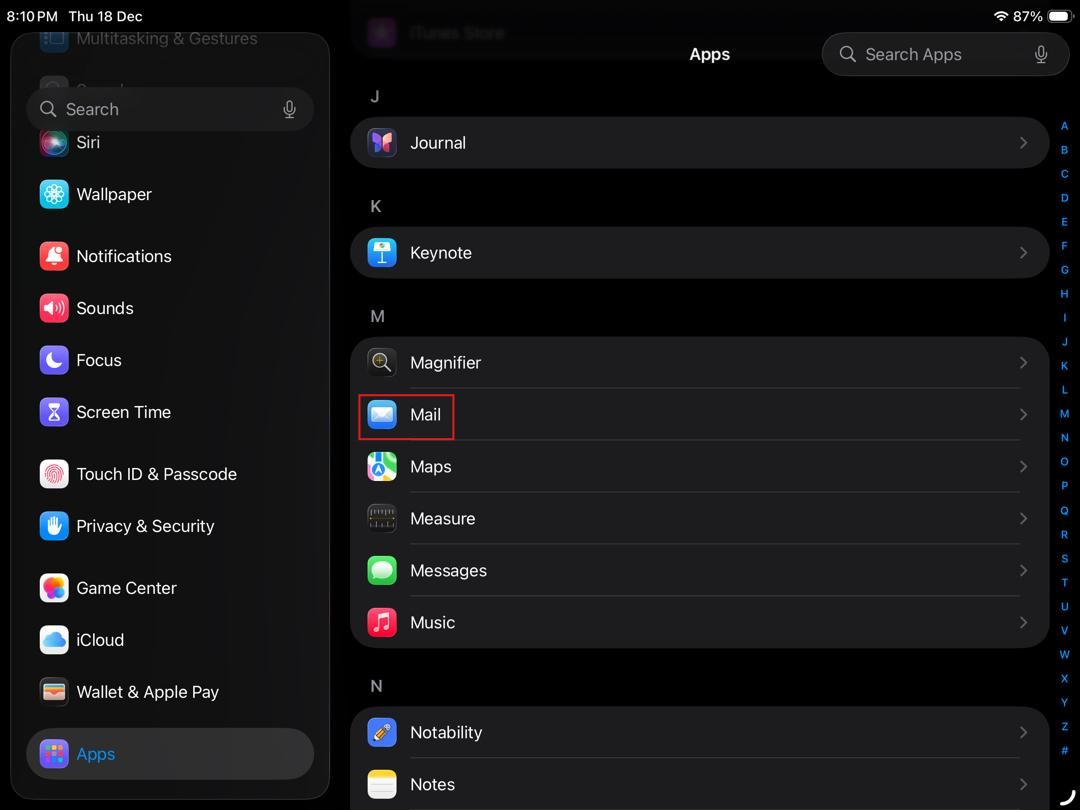
Step 3: Choose Mail App
- From the list of installed applications, select the Mail app to access its specific configurations.
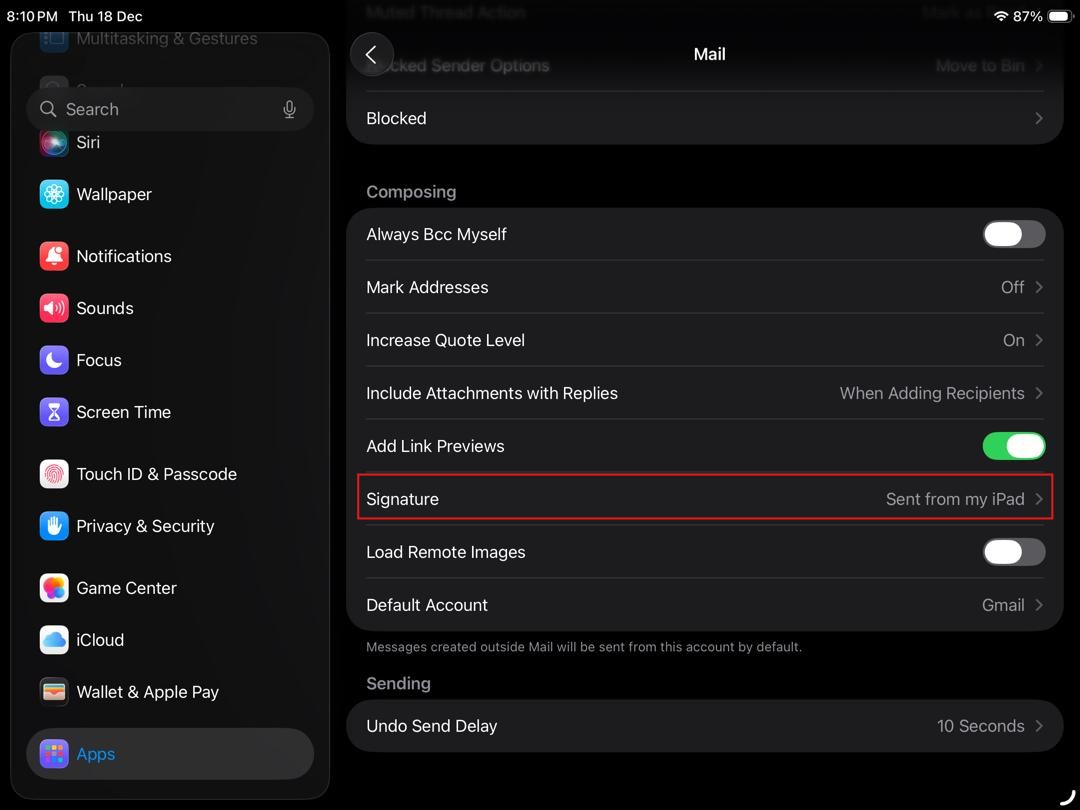
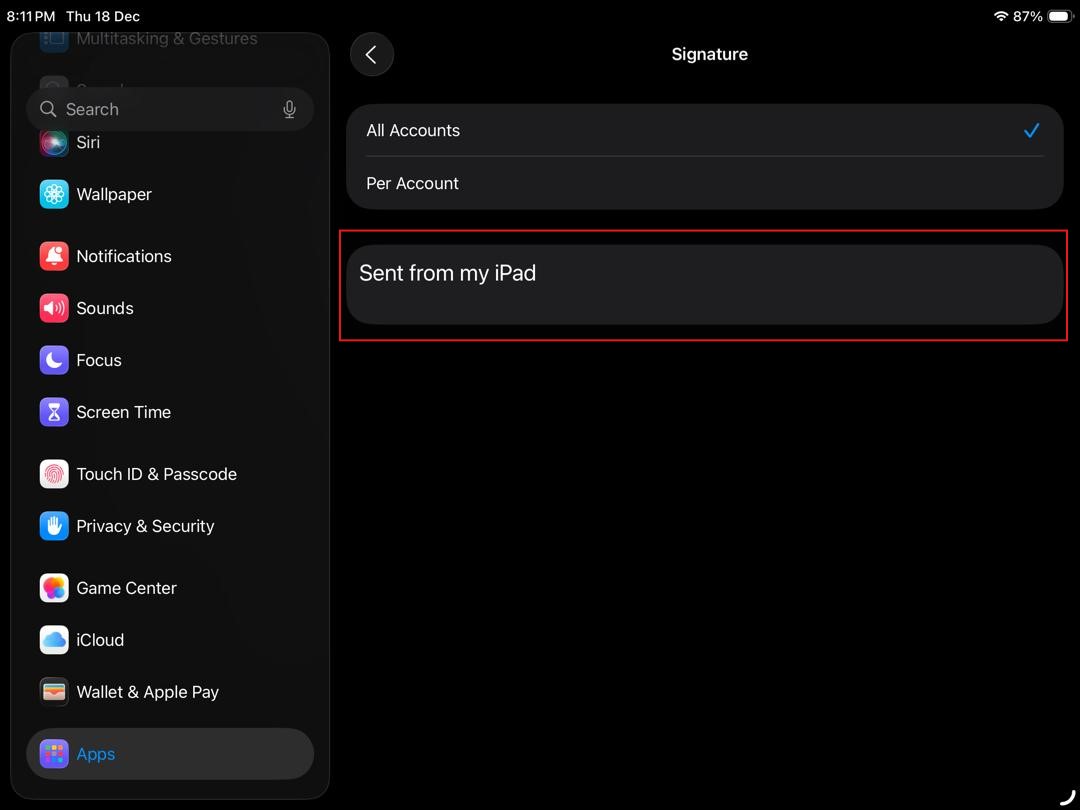
Step 4: Choose Signature
- Scroll within the Mail settings to find and select the Signature option.
Step 5: Edit Signature
- Input or paste your desired text, contact information, or links into the editable signature field.
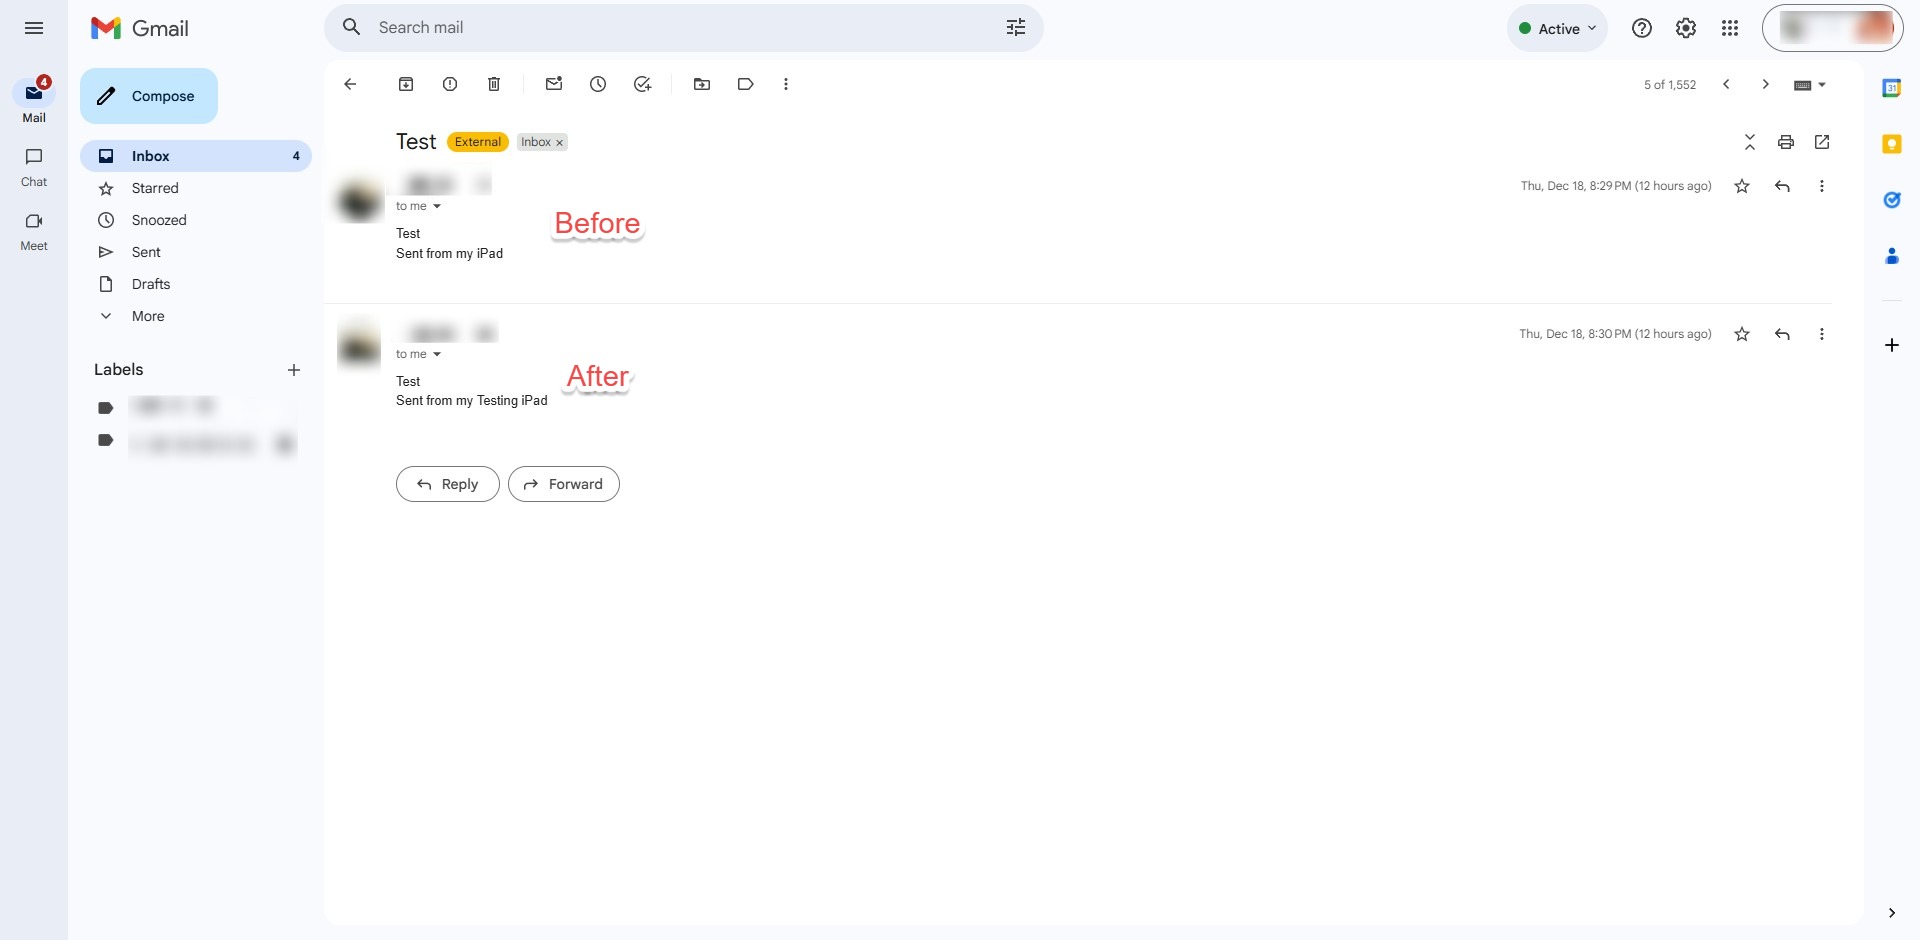
Step 6: Review Result
- Exit the settings to save your changes and verify the final result by drafting a new email.
Conclusion:
By following this guide, you have successfully configured a custom email signature on your iPadOS device. This was achieved by navigating through your device’s Settings to the Mail app and accessing the Signature menu. By entering your personalized information into the editable signature field, you have ensured that every email sent from your iPad maintains a professional and consistent identity.
Maintaining a digital “business card” in your outgoing mail is a fundamental step in mobile professional communication. Should you encounter any issues with your device settings or require further assistance, you can contact the support team at support@ipserverone.com.