Search Our Database
How to Efficiently Find Particular Transactions within the History in Customer Portal
Introduction:
Managing cloud expenditures efficiently requires constant monitoring and quick access to historical spending data. This introduction outlines the process for Customer Portal Users who seek to analyze their financial transactions, typically on a weekly or monthly basis, to gain precise insights into spending by specific category.
The Customer Portal features a dedicated Billing & Payment area where users can review their previous transactions. The key to achieving detailed oversight is navigating to the Transaction History section. While the Overview tab provides an immediate summary of current monthly expenditures broken down by various Charge Types are stored. This capability is crucial for understanding where budget is being allocated within the services utilized.
Prerequisites:
- Active Customer Portal Account.
- Active Utilization of IPSERVERONE Services.
Step-by-step Guide:
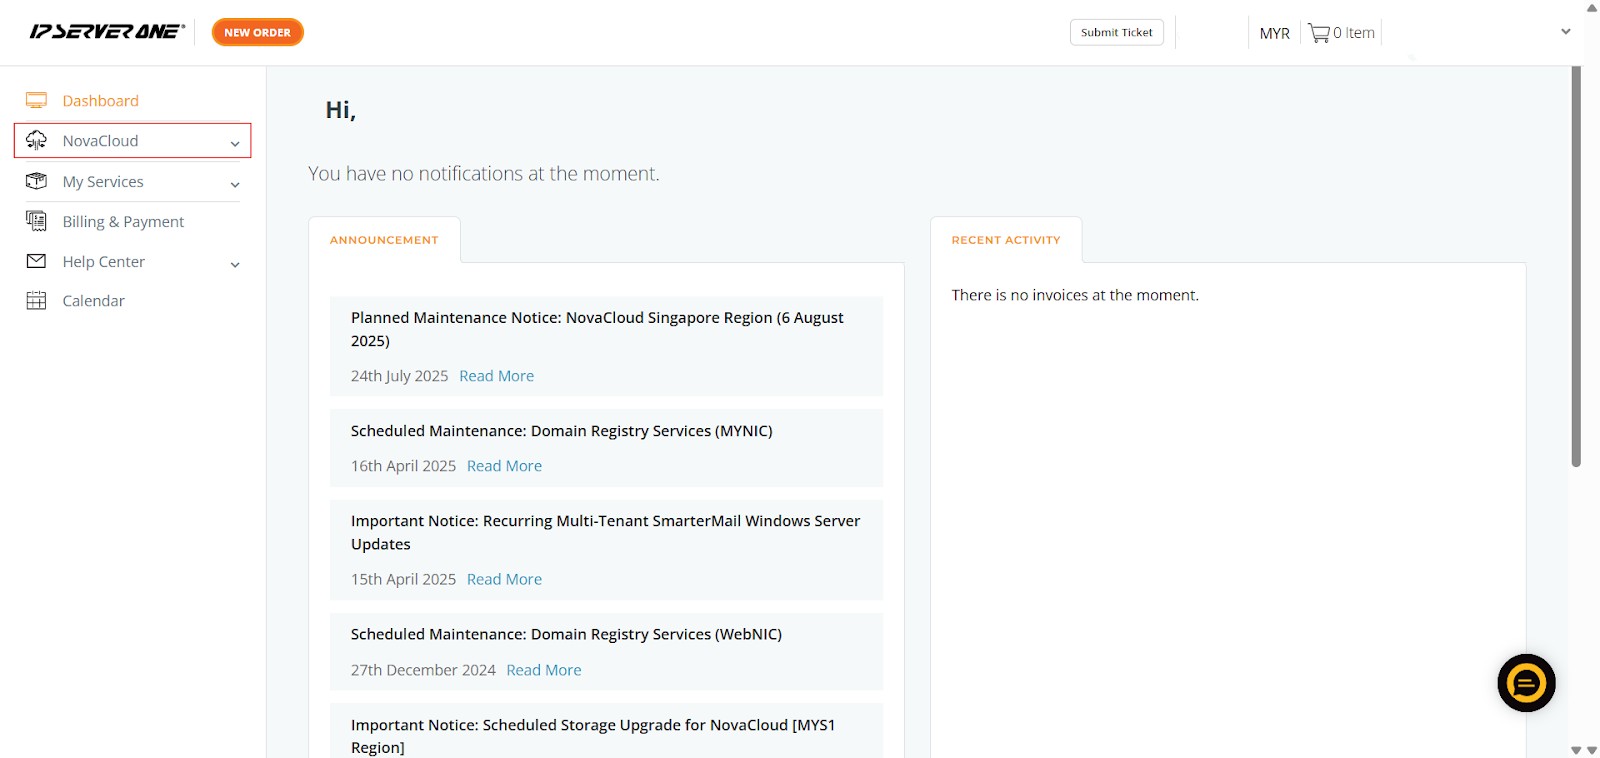
Step 1: Access NovaCloud Services
- On the left-hand navigation menu, locate and click on “NovaCloud”. This section provides access to all your cloud computing resources and services offered under NovaCloud.
Step 2: Navigate to the Transactions Section
- From the expanded NovaCloud menu, scroll down and click on “Transactions”. This action will direct you to the dedicated transaction monitoring interface.
![]()
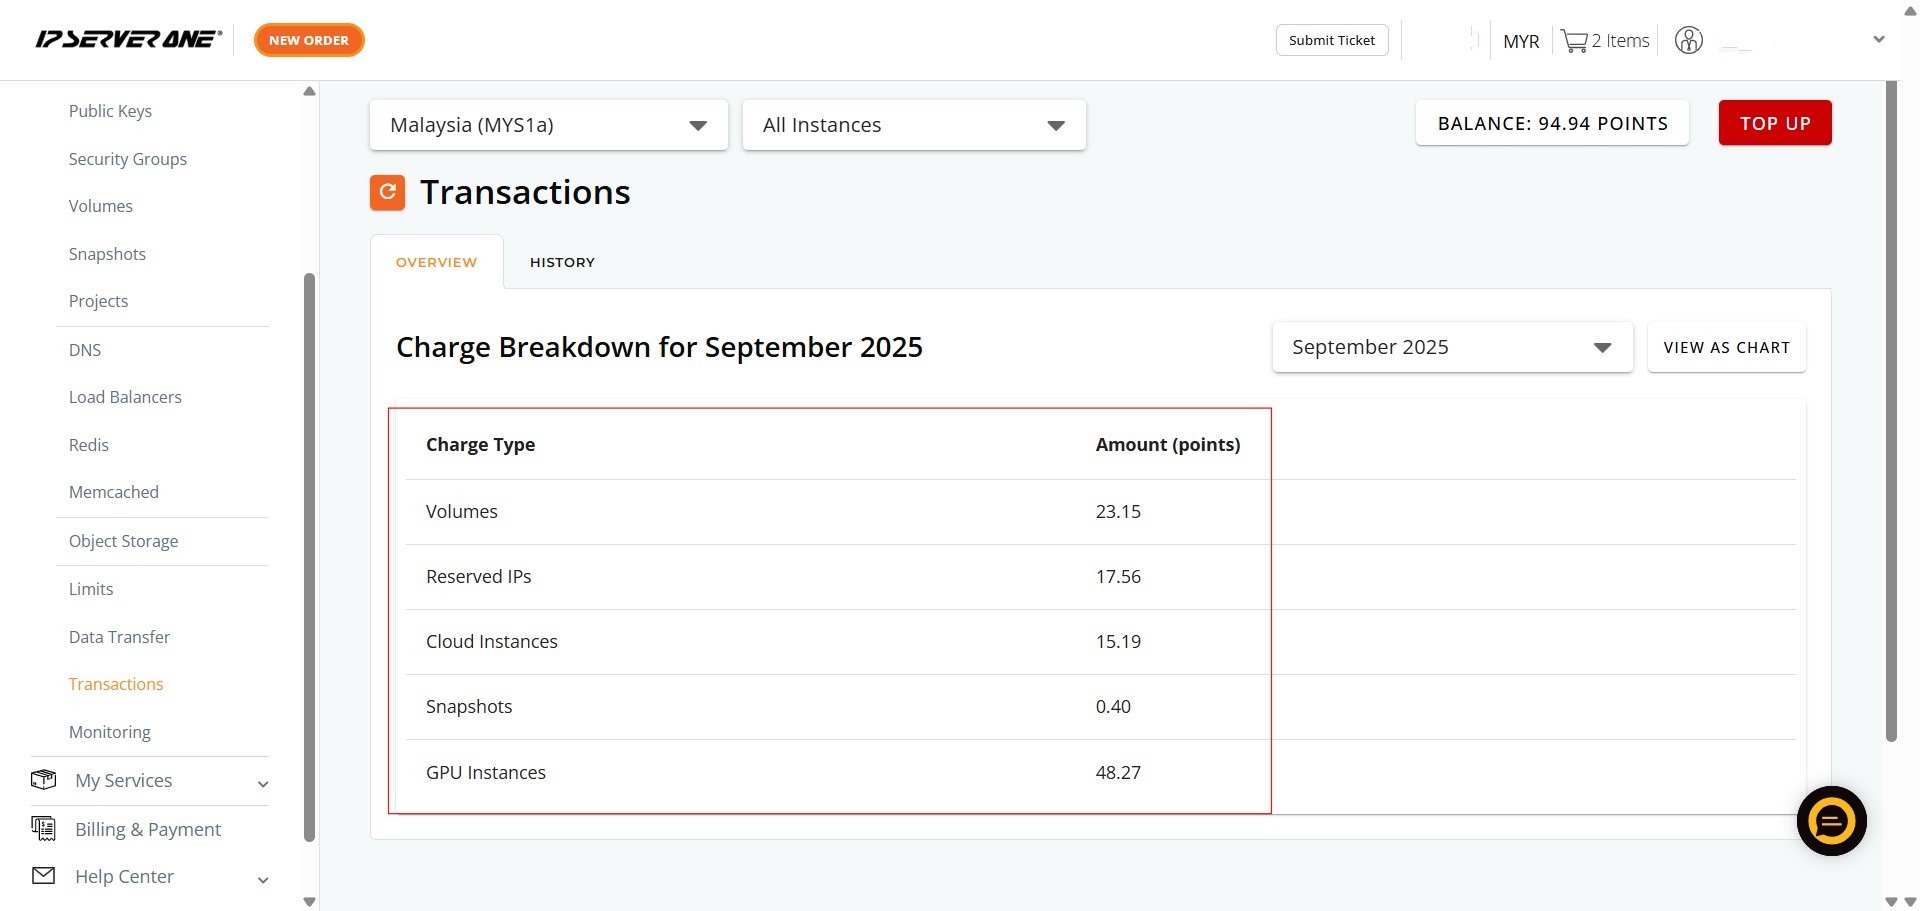
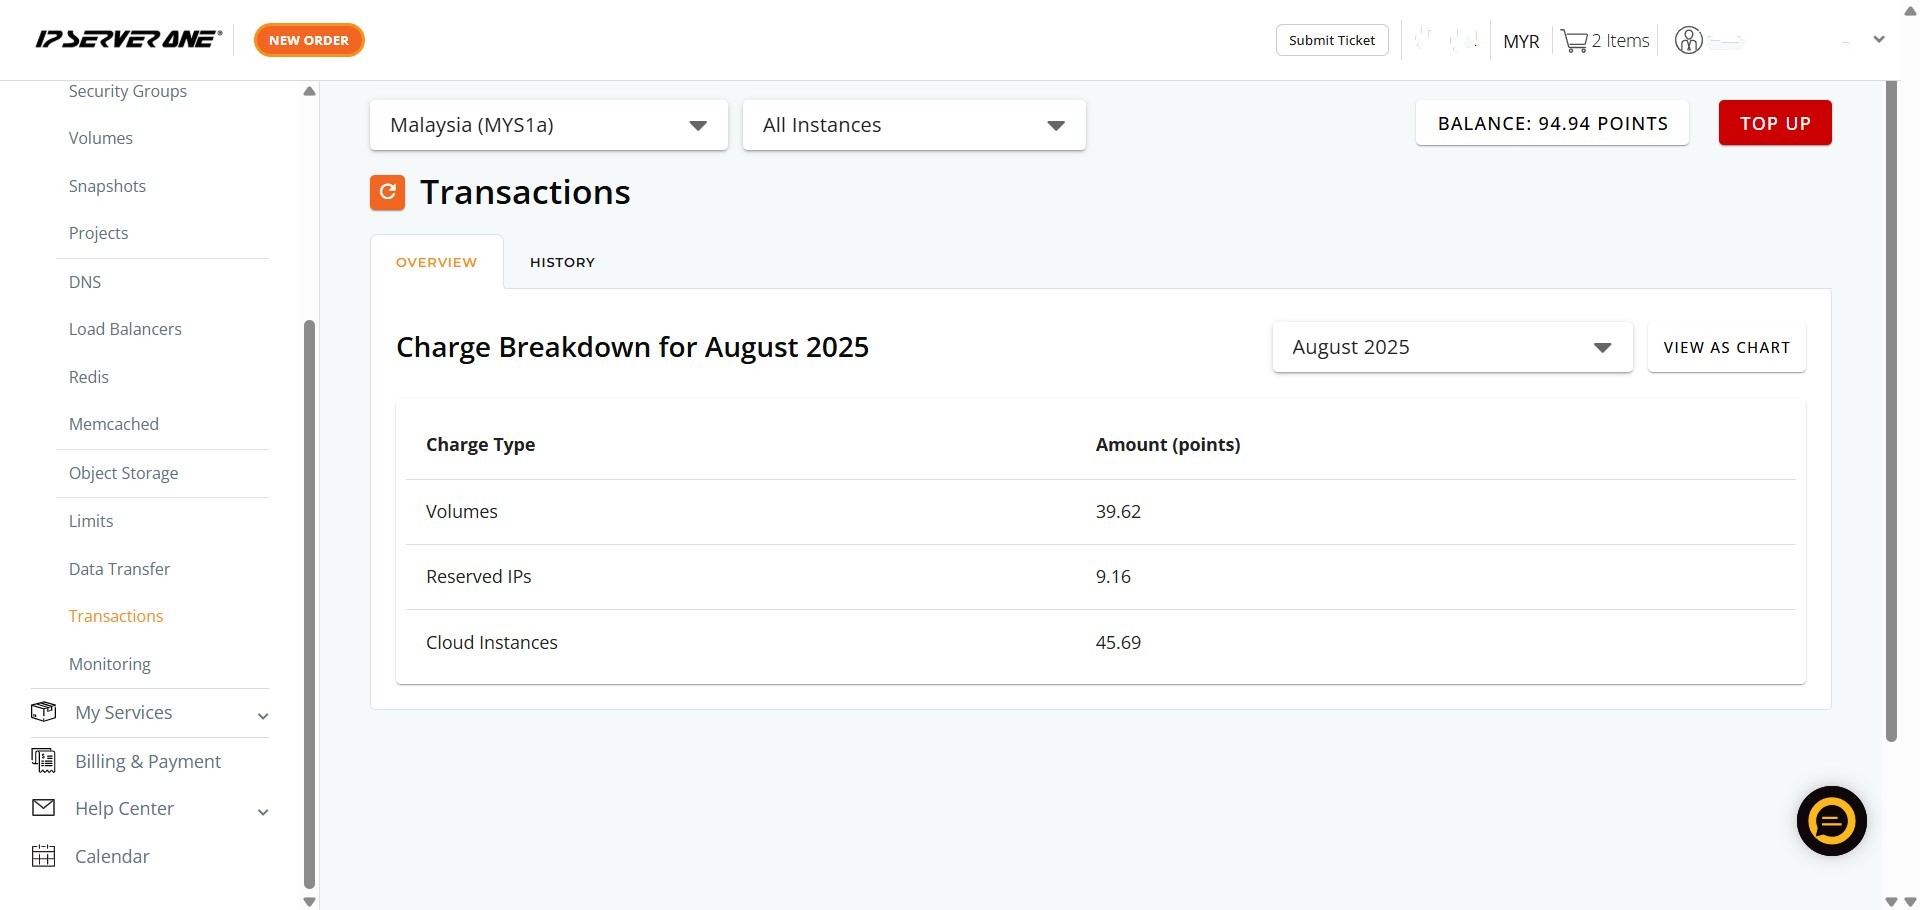
Step 3: Review Your Monthly Transaction Overview
- Upon entering the “Transactions” section, you will automatically be on the “OVERVIEW” tab.
- Here, you will see the “Charge Breakdown for [Current Month]”, which lists various Charge Types (e.g., Volumes, Reserved IPs, Cloud Instances, Snapshots, GPU Instances) and their corresponding Amount (points).
- This provides an immediate summary of your current month’s expenditures
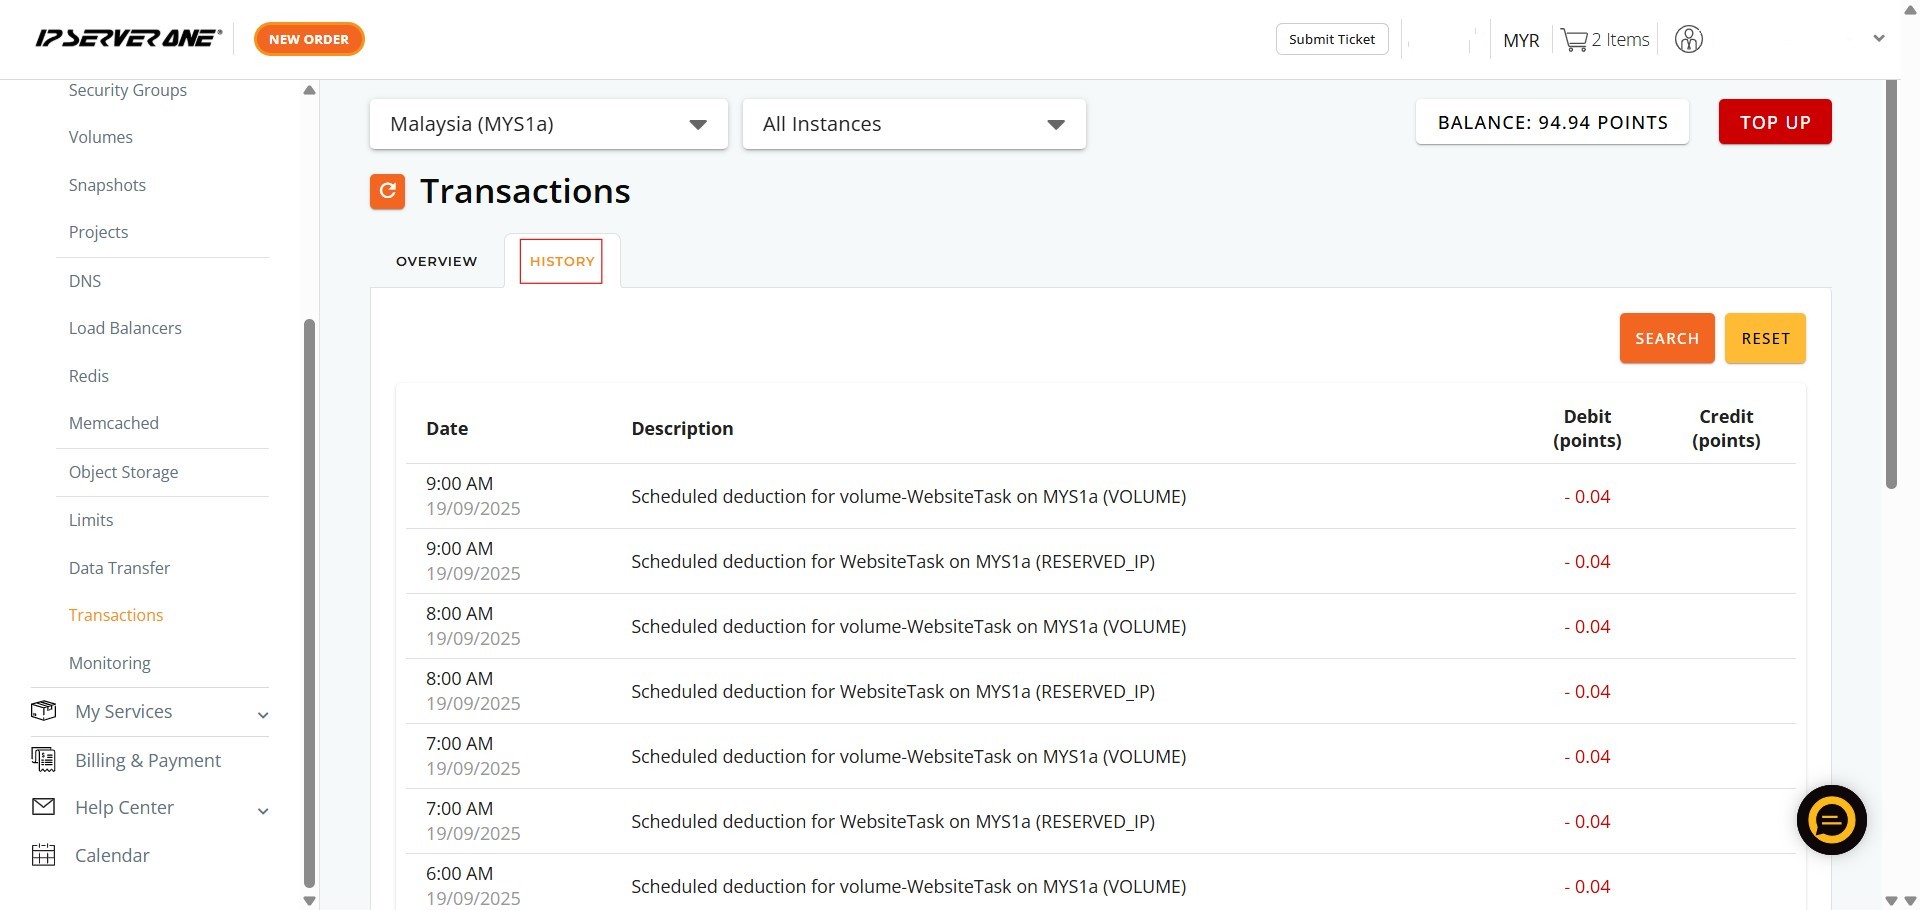
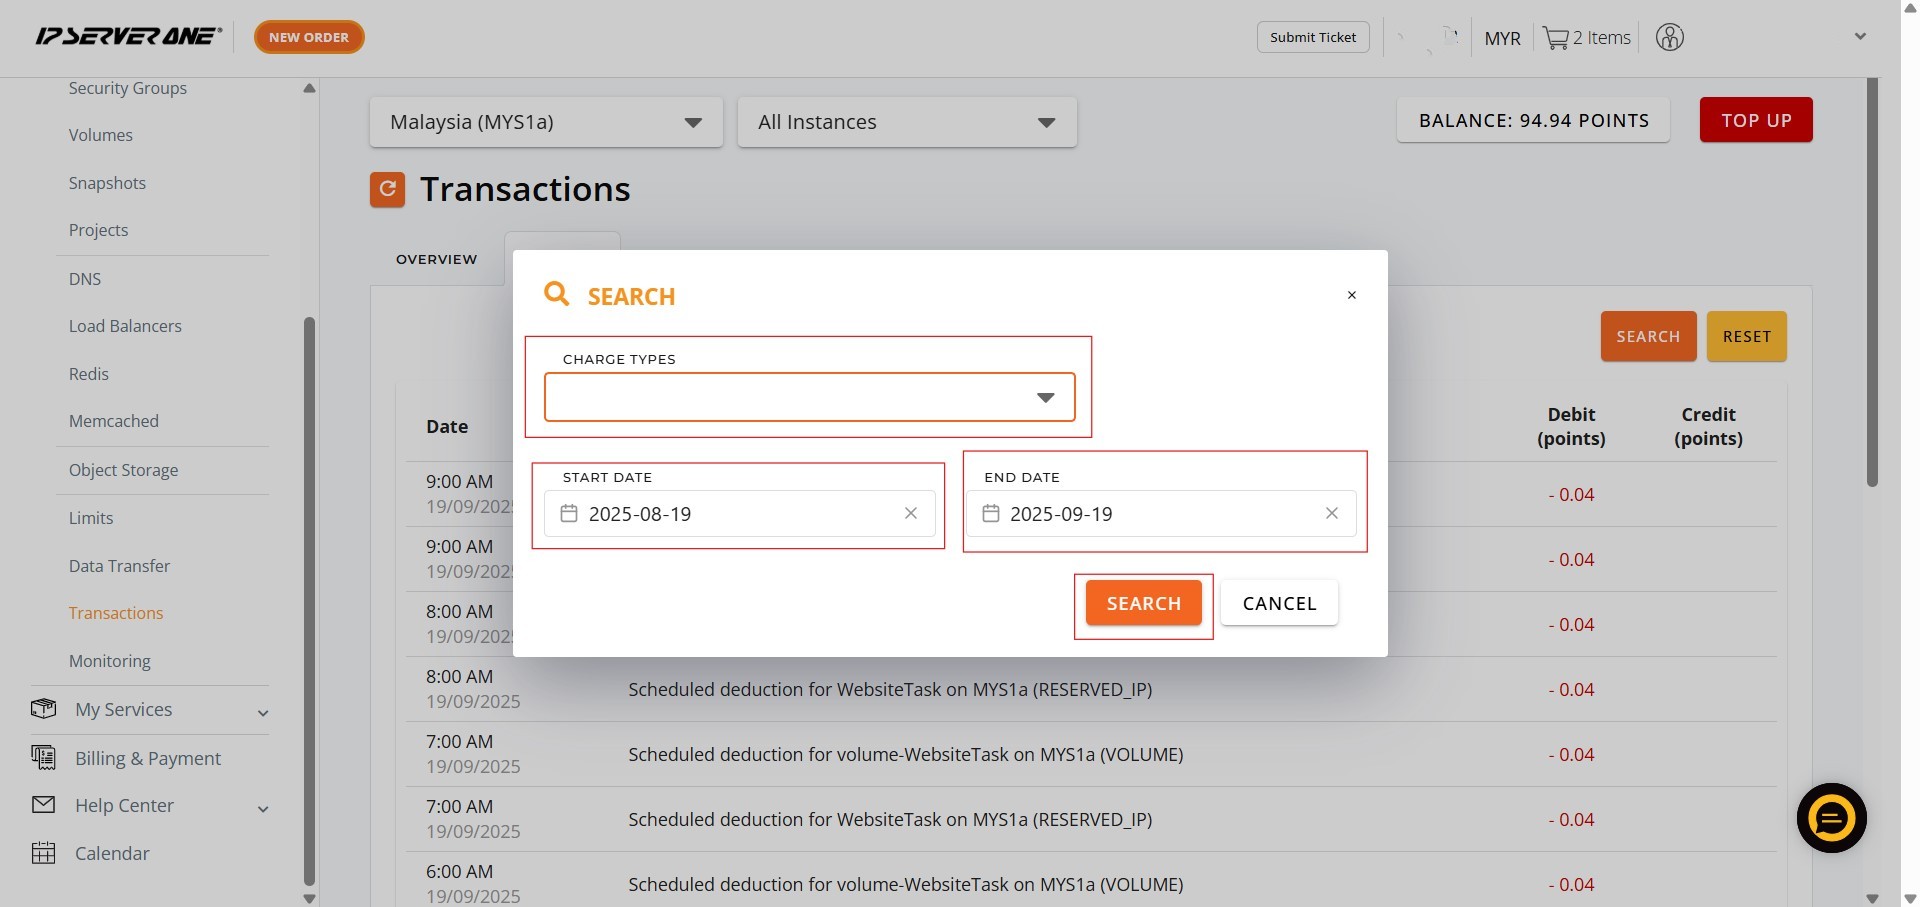
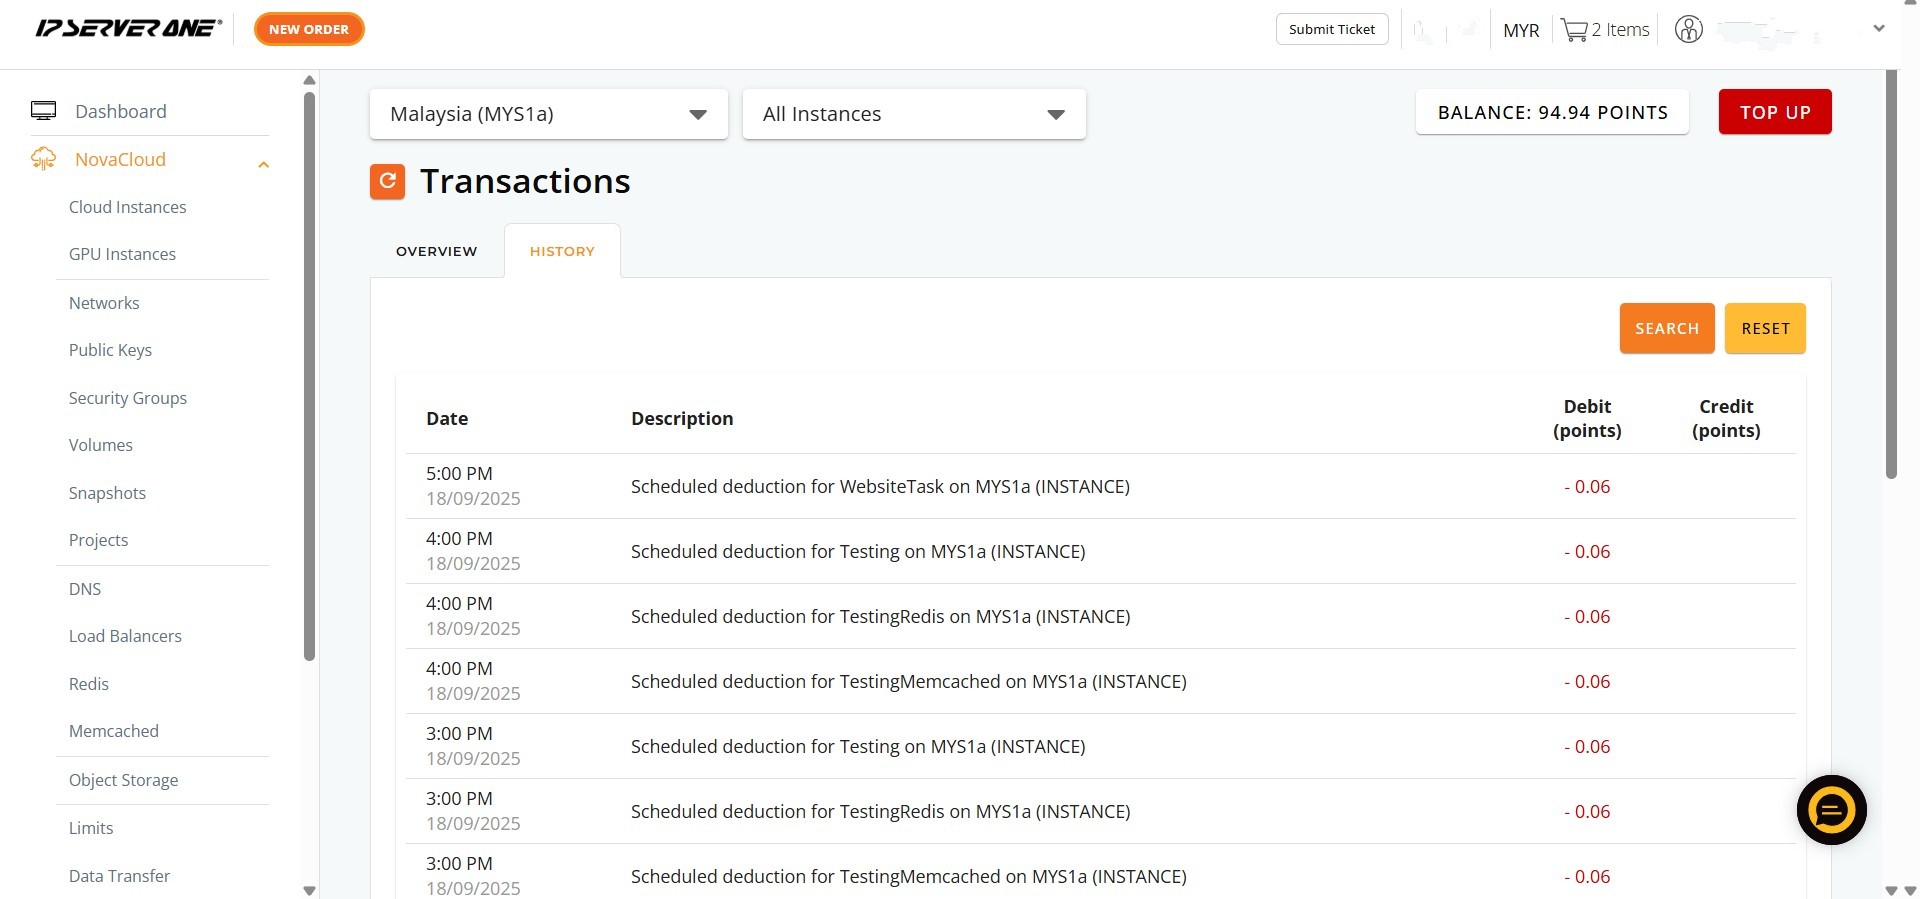
Step 4: Initiate the Search/Filter Function
- On the “History” tab, locate and click the “SEARCH” button on the right side of the transaction table.

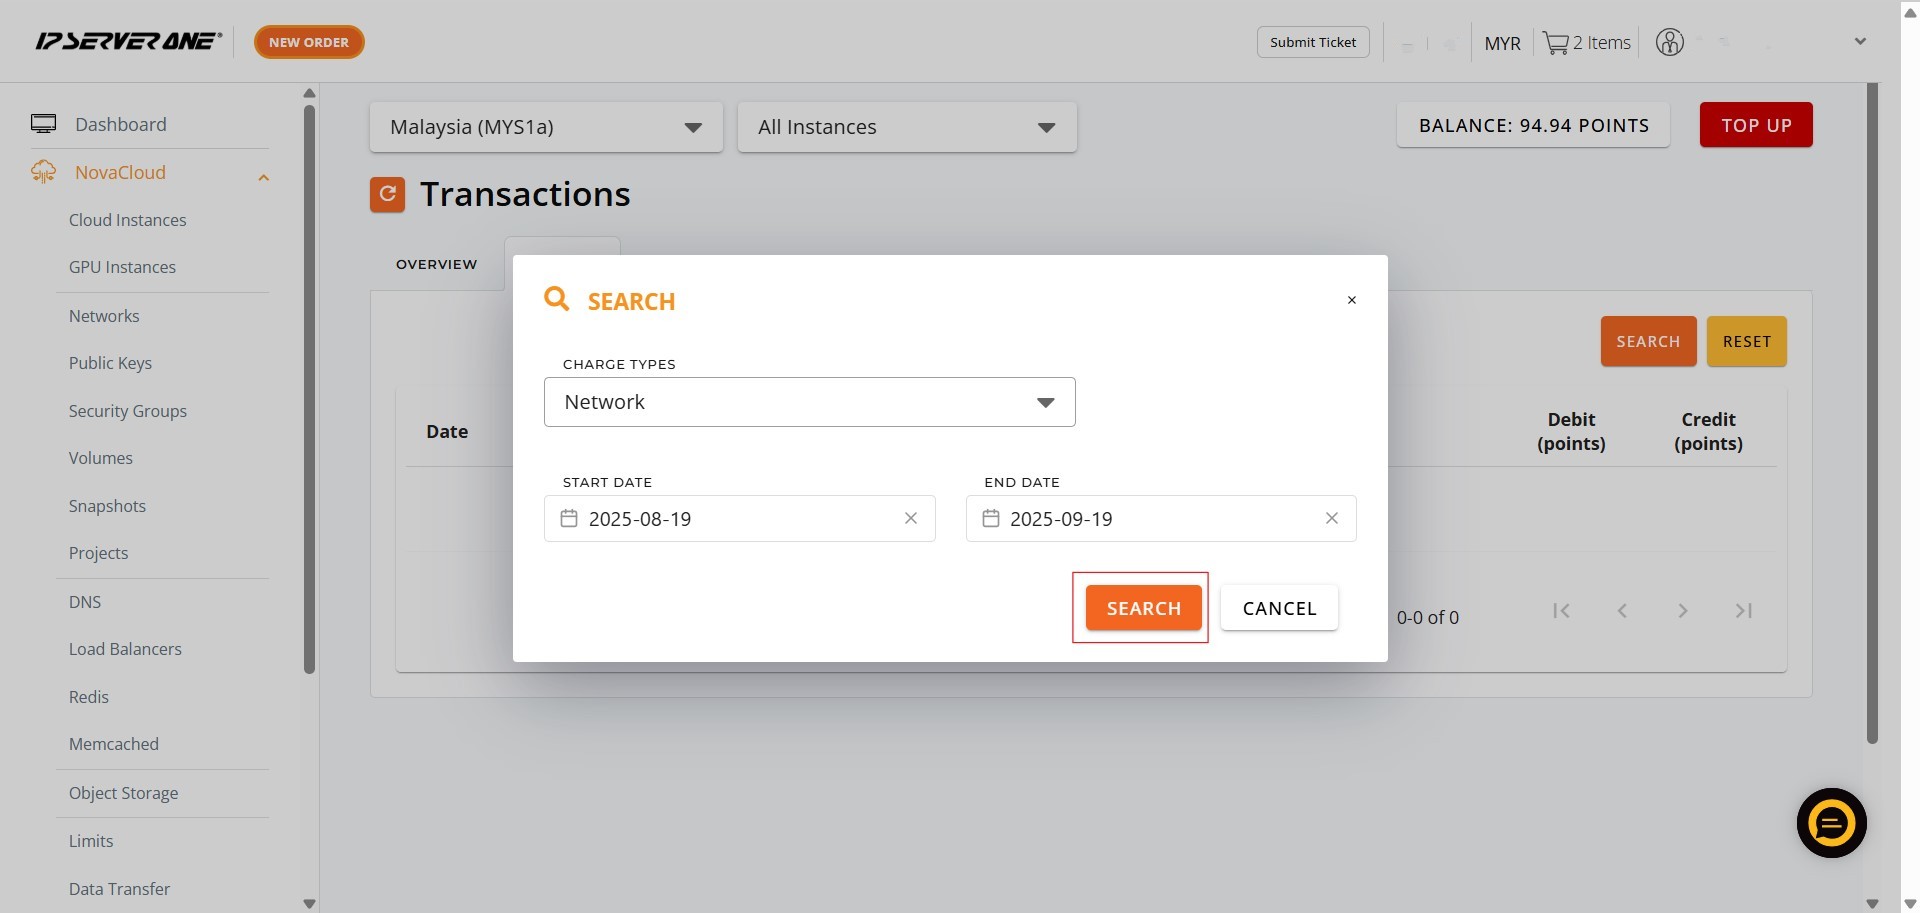
Step 5: Define Search Filters
- In the “SEARCH” pop-up window that appears, you can define your search criteria.
Step 6: Apply Filters to View Records
- Click “SEARCH” to apply the filters you defined and view the relevant transaction records.
Conclusion:
By utilizing the steps outlined, you have successfully leveraged the efficiency tools available in the Customer Portal’s Billing and Payment section. Navigating to the HISTORY tab provides access to a comprehensive list of past transactions, including invoices, proforma invoices, and receipts.
The key to efficient historical review is the ability to filter transactions using the SEARCH function, allowing you to quickly isolate specific records based on the Charge Type, Start Date, and End Date. This mastery of the filtering features ensures that you can rapidly analyze spending patterns and maintain comprehensive financial oversight.
Should you encounter any issues or have any questions, our support team at IPSERVERONE is always here to assist you. Don’t hesitate to reach out to us at support@ipserverone.com for any help you need.