Search Our Database
How to Delete an Email Filter in cPanel
Introduction
This Knowledge Base article provides a simple, step-by-step guide on How to Delete an Email Filter in cPanel. Deleting email filters allows you to remove rules that are no longer needed or relevant for managing your inbox. This helps prevent unwanted automation from affecting incoming emails. Using cPanel, you can safely remove filters while ensuring that other filters and email workflows continue to operate smoothly.
Prerequisite
- Access to your cPanel login page.
Step-by-Step Guide
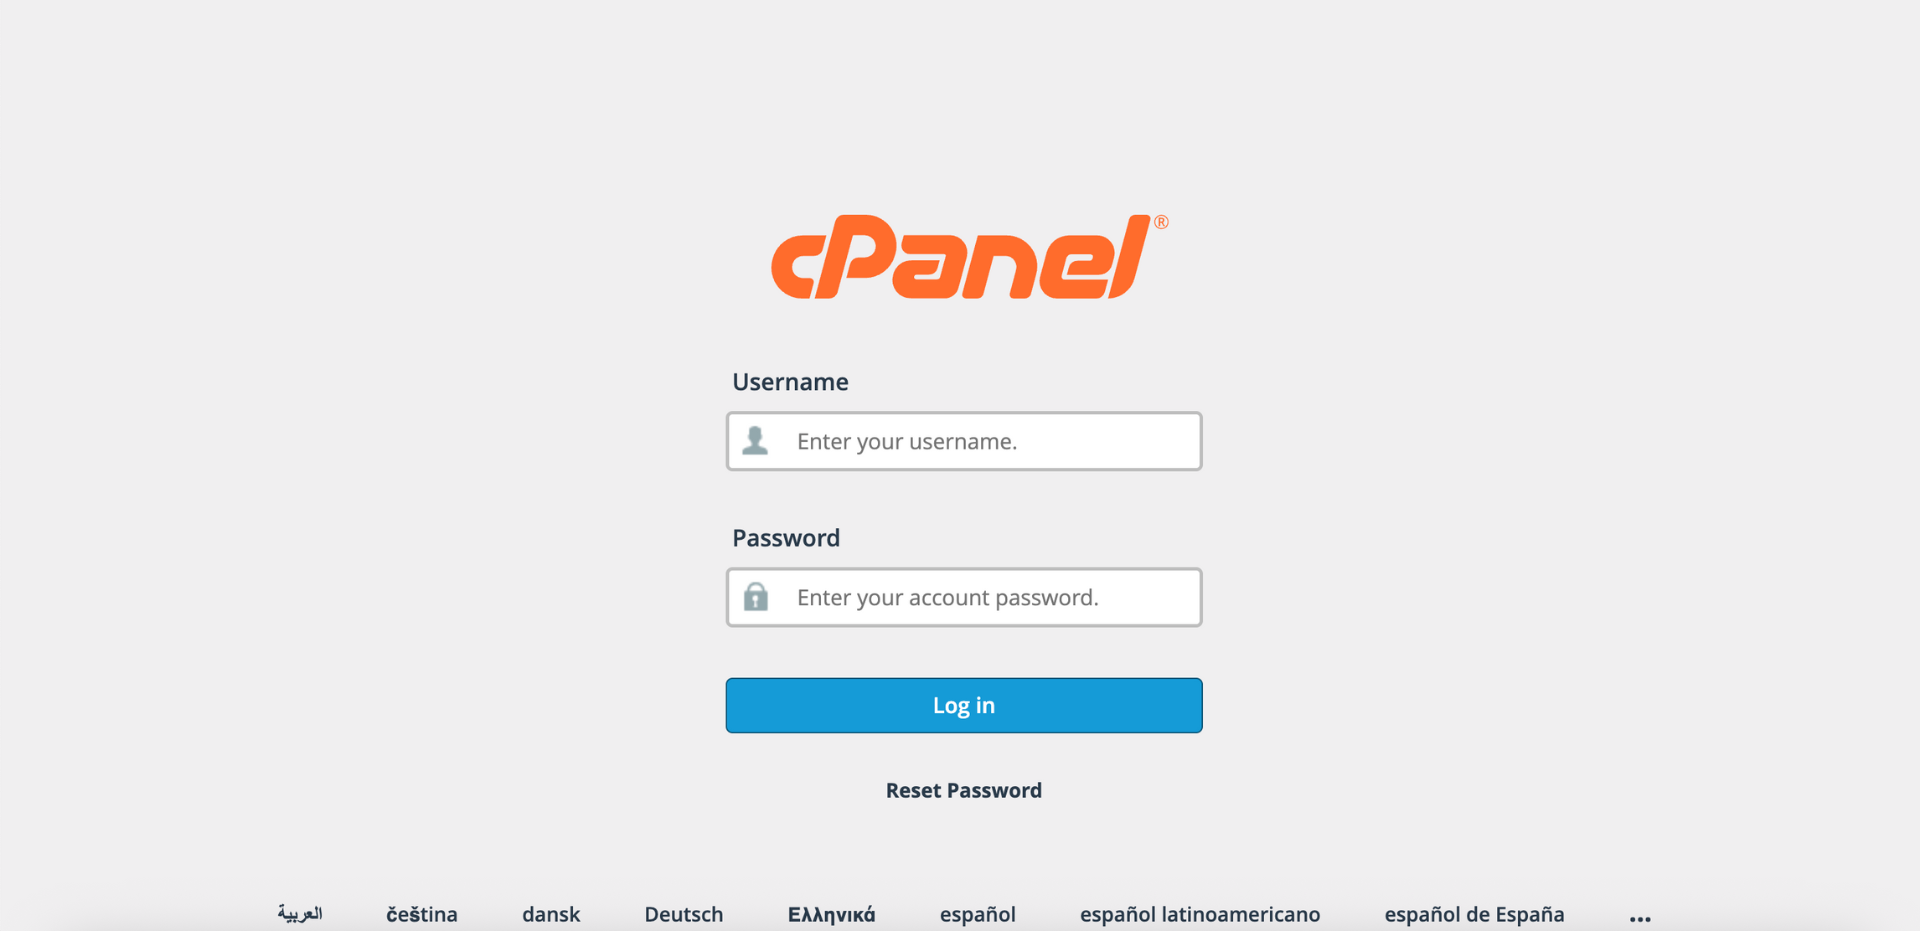
Step 1: Log in to cPanel
-
Access your cPanel account using your username and password.
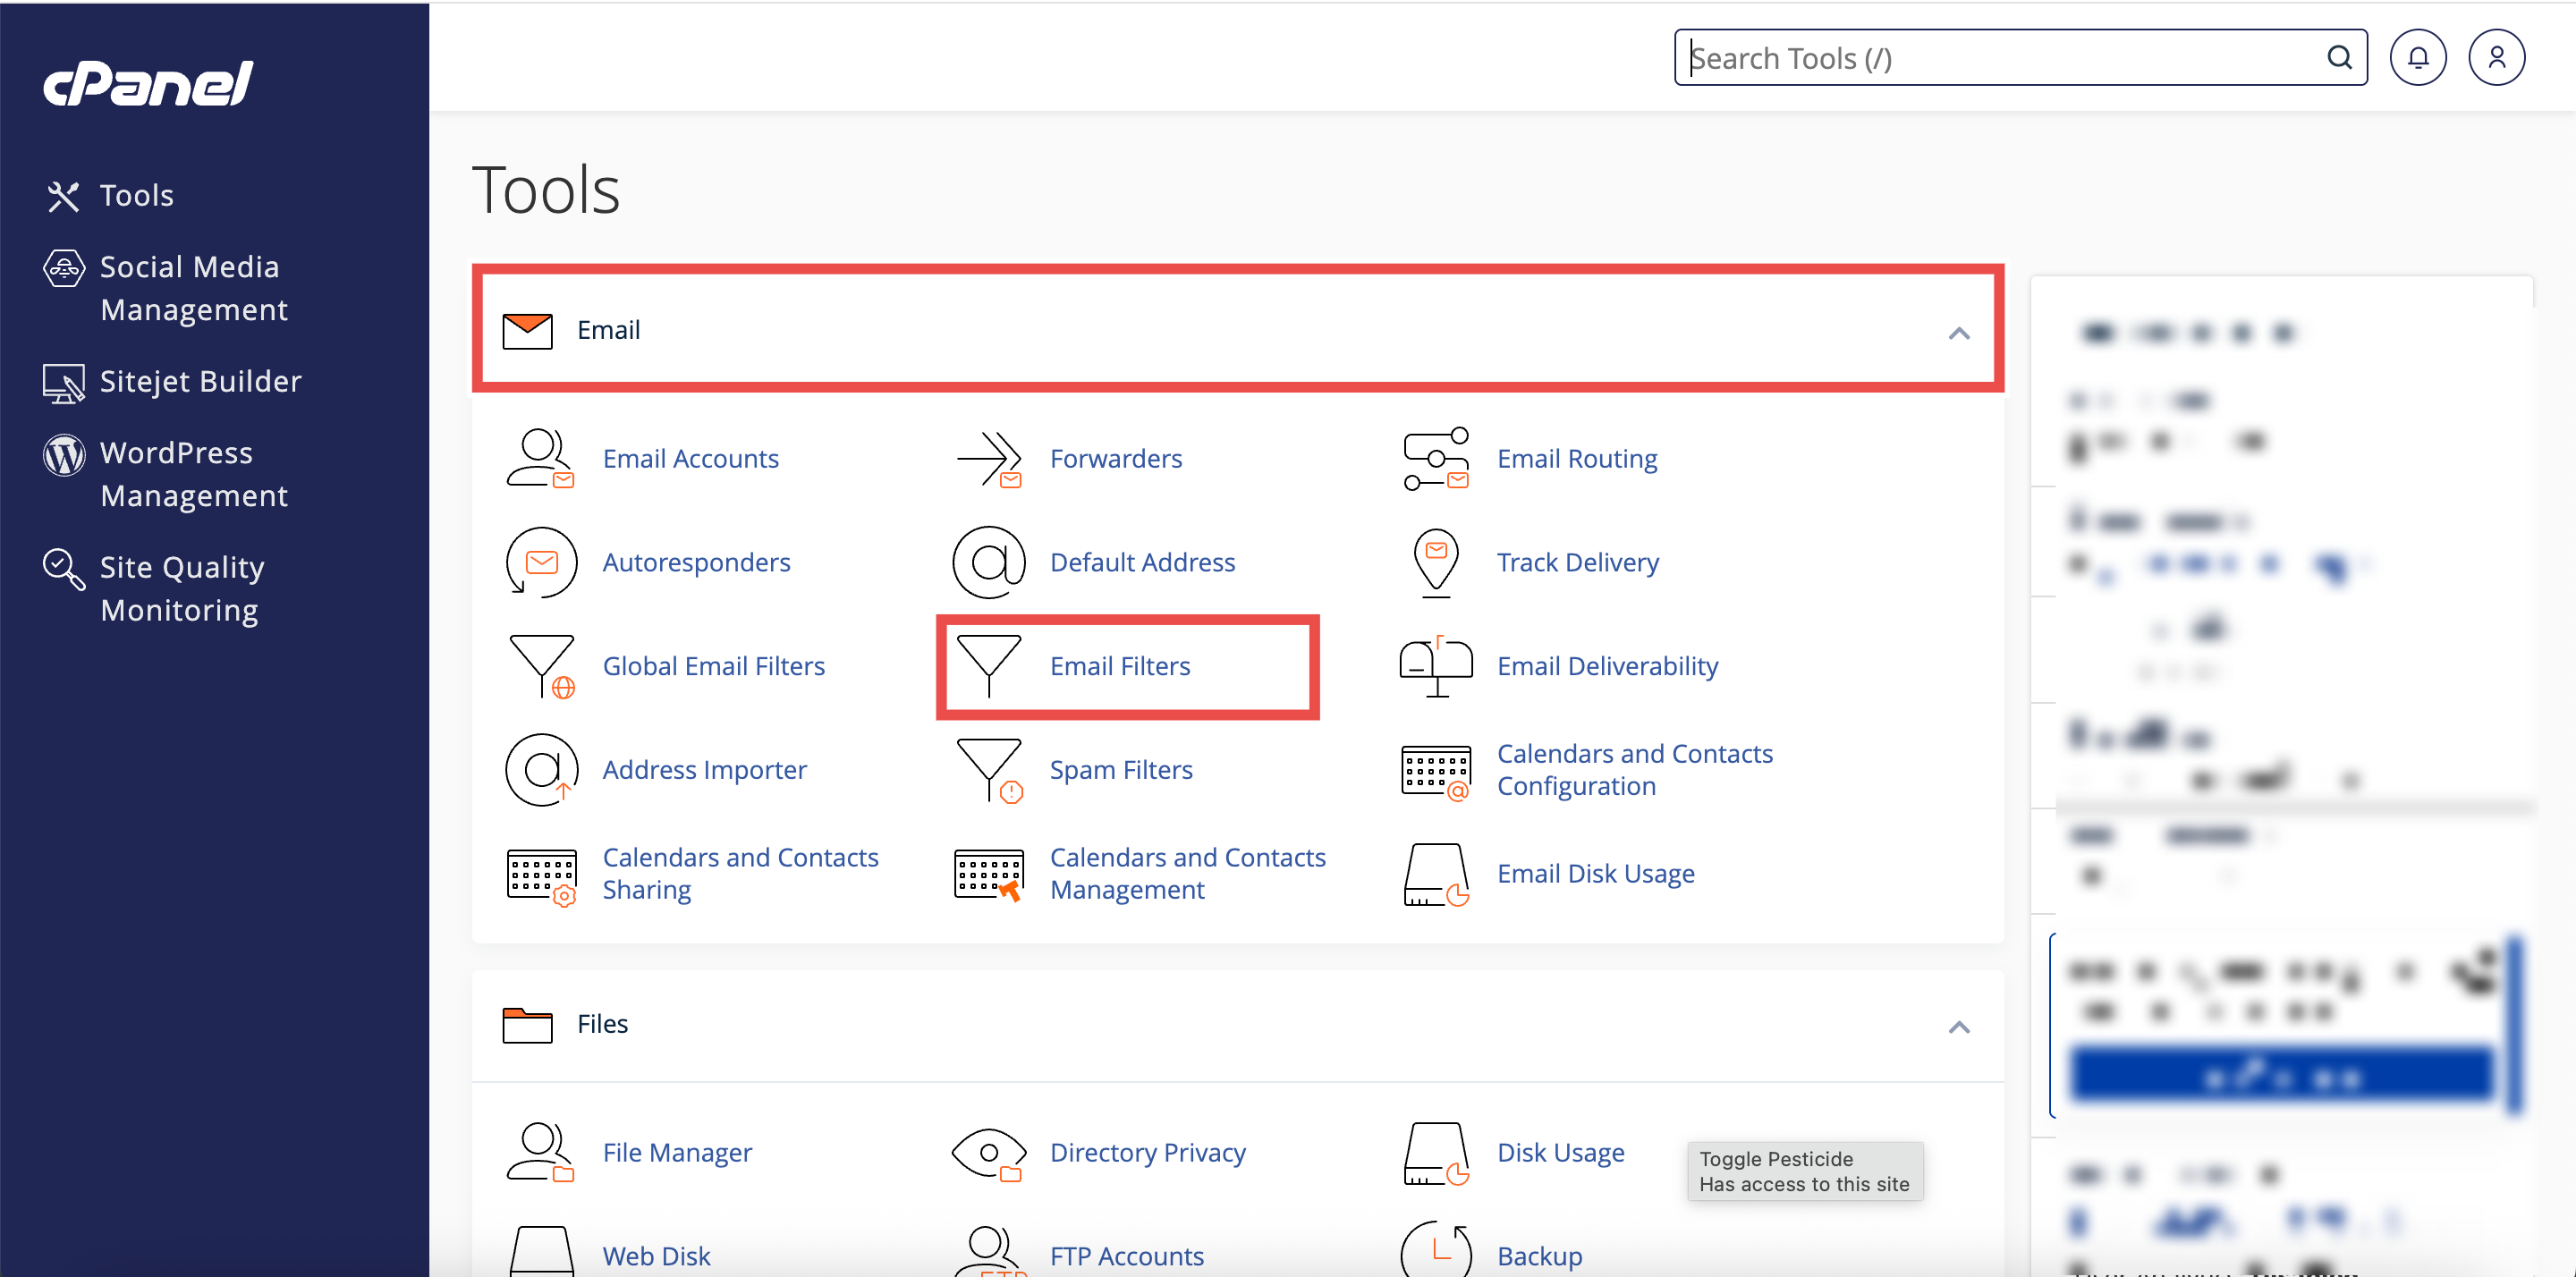
Step 2: Open Email Filters
- In the Home page, under the Email section, click Email Filters.
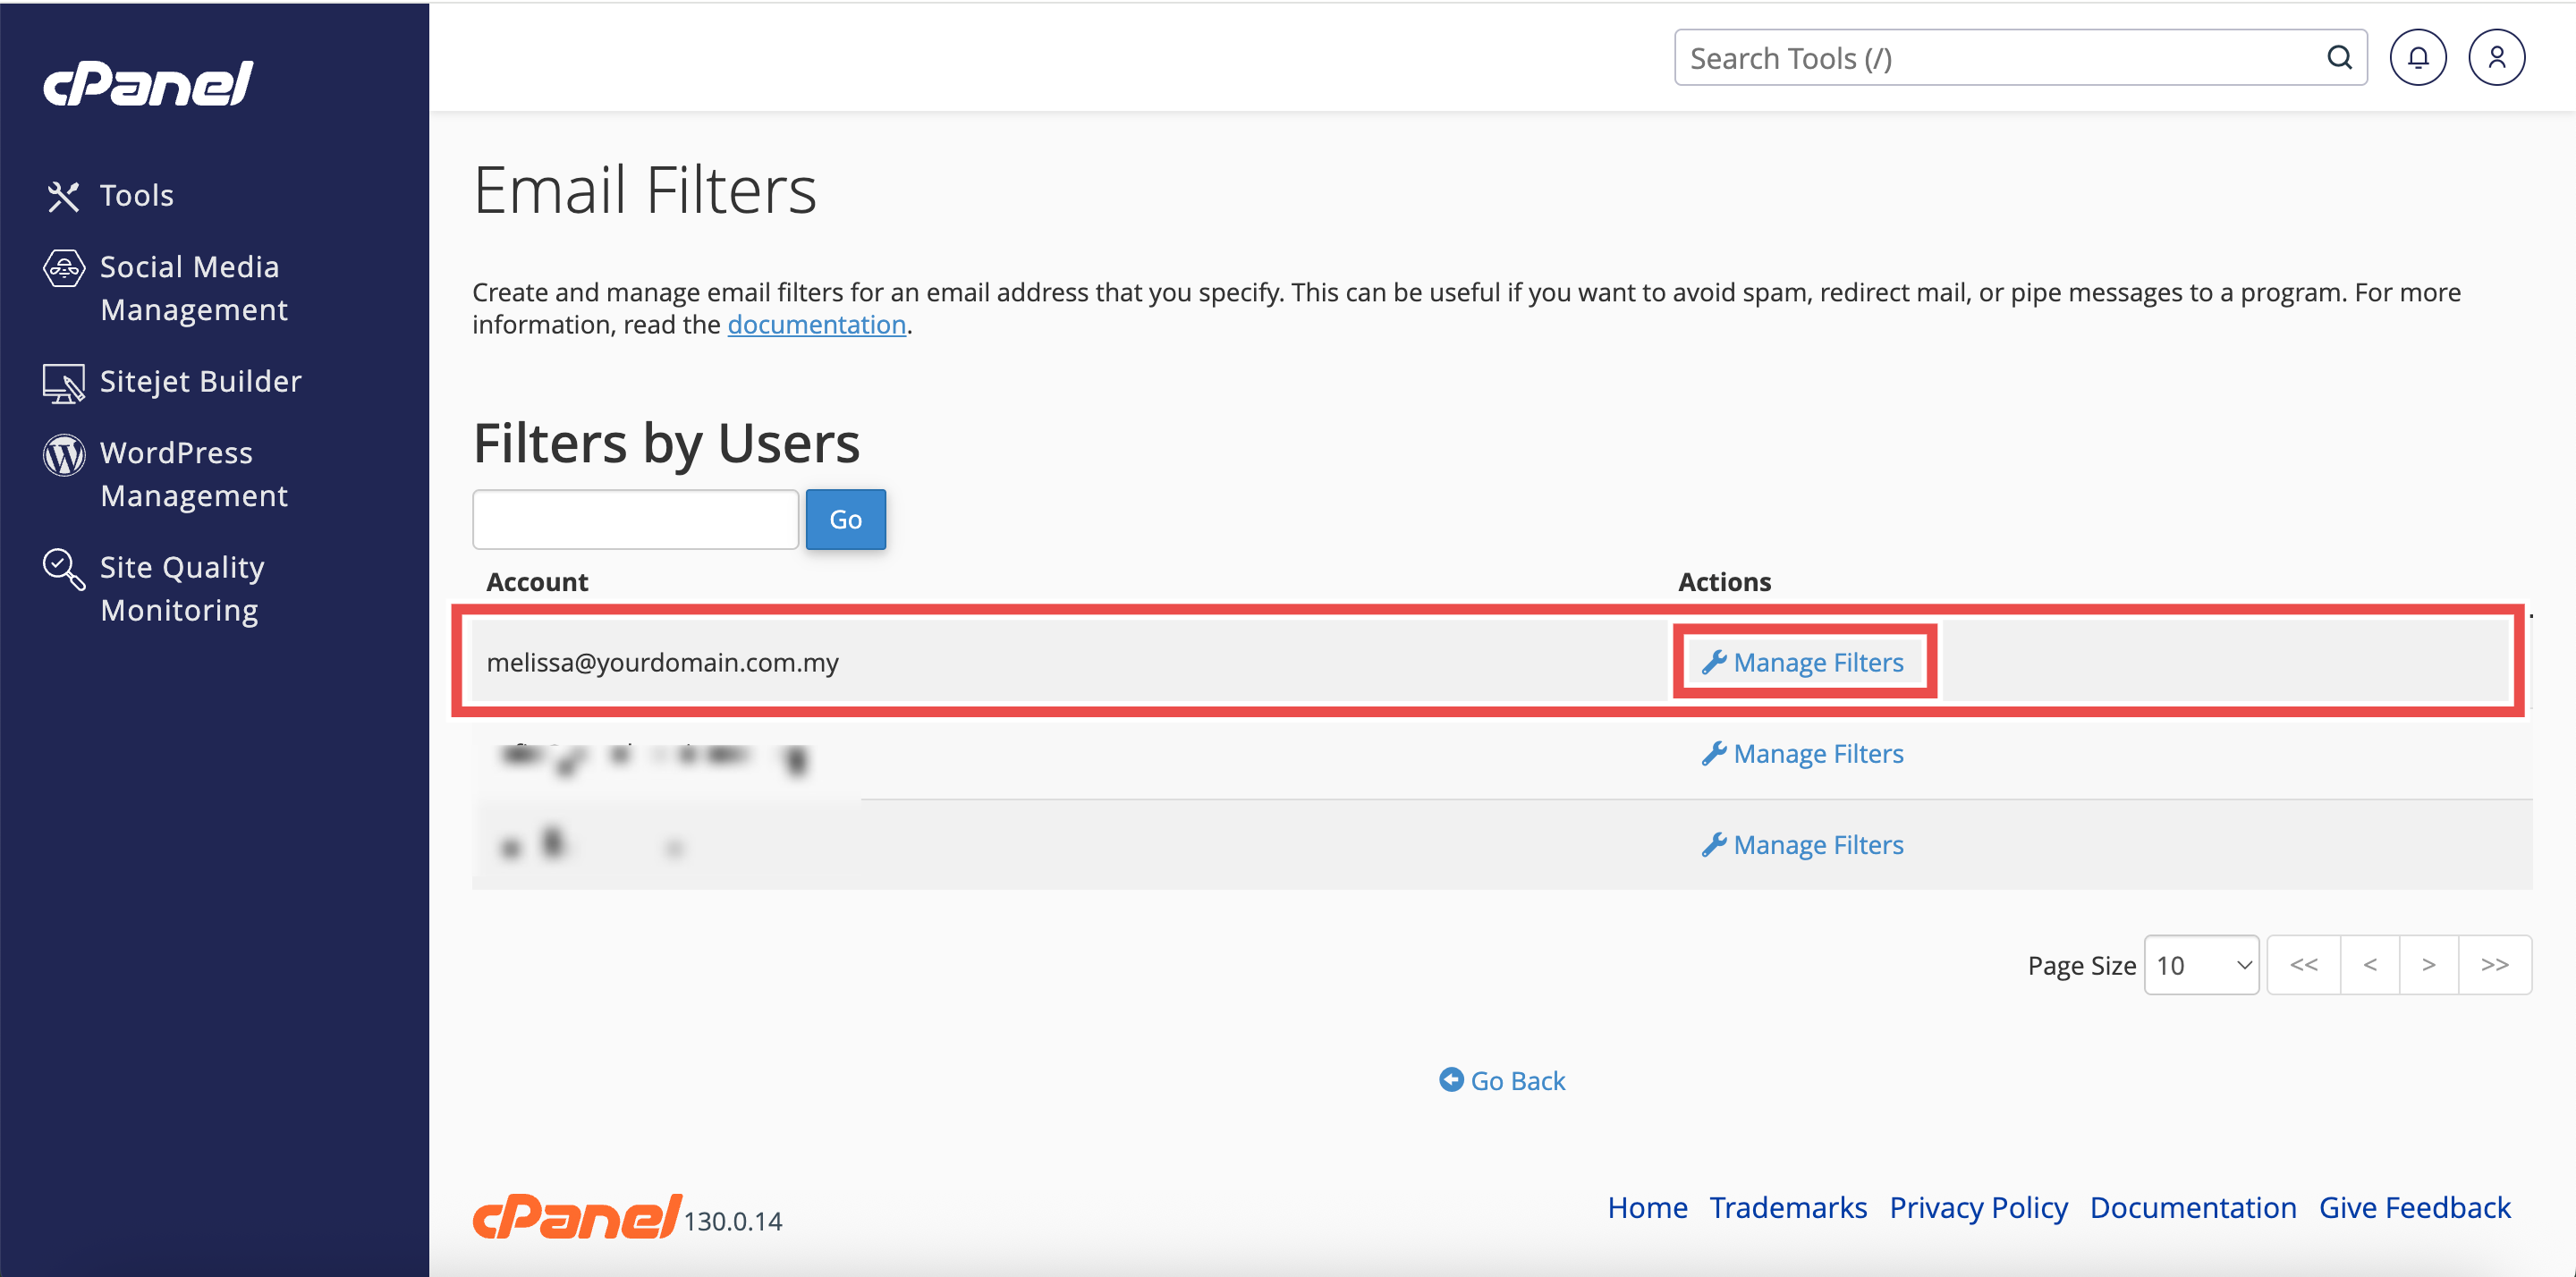
Step 3: Select the Email Account
- In the Filters by Users table, locate the email address that contains the filter you want to delete.
- Click Manage Filters next to that email address.
Step 4: Locate the Filter to Delete
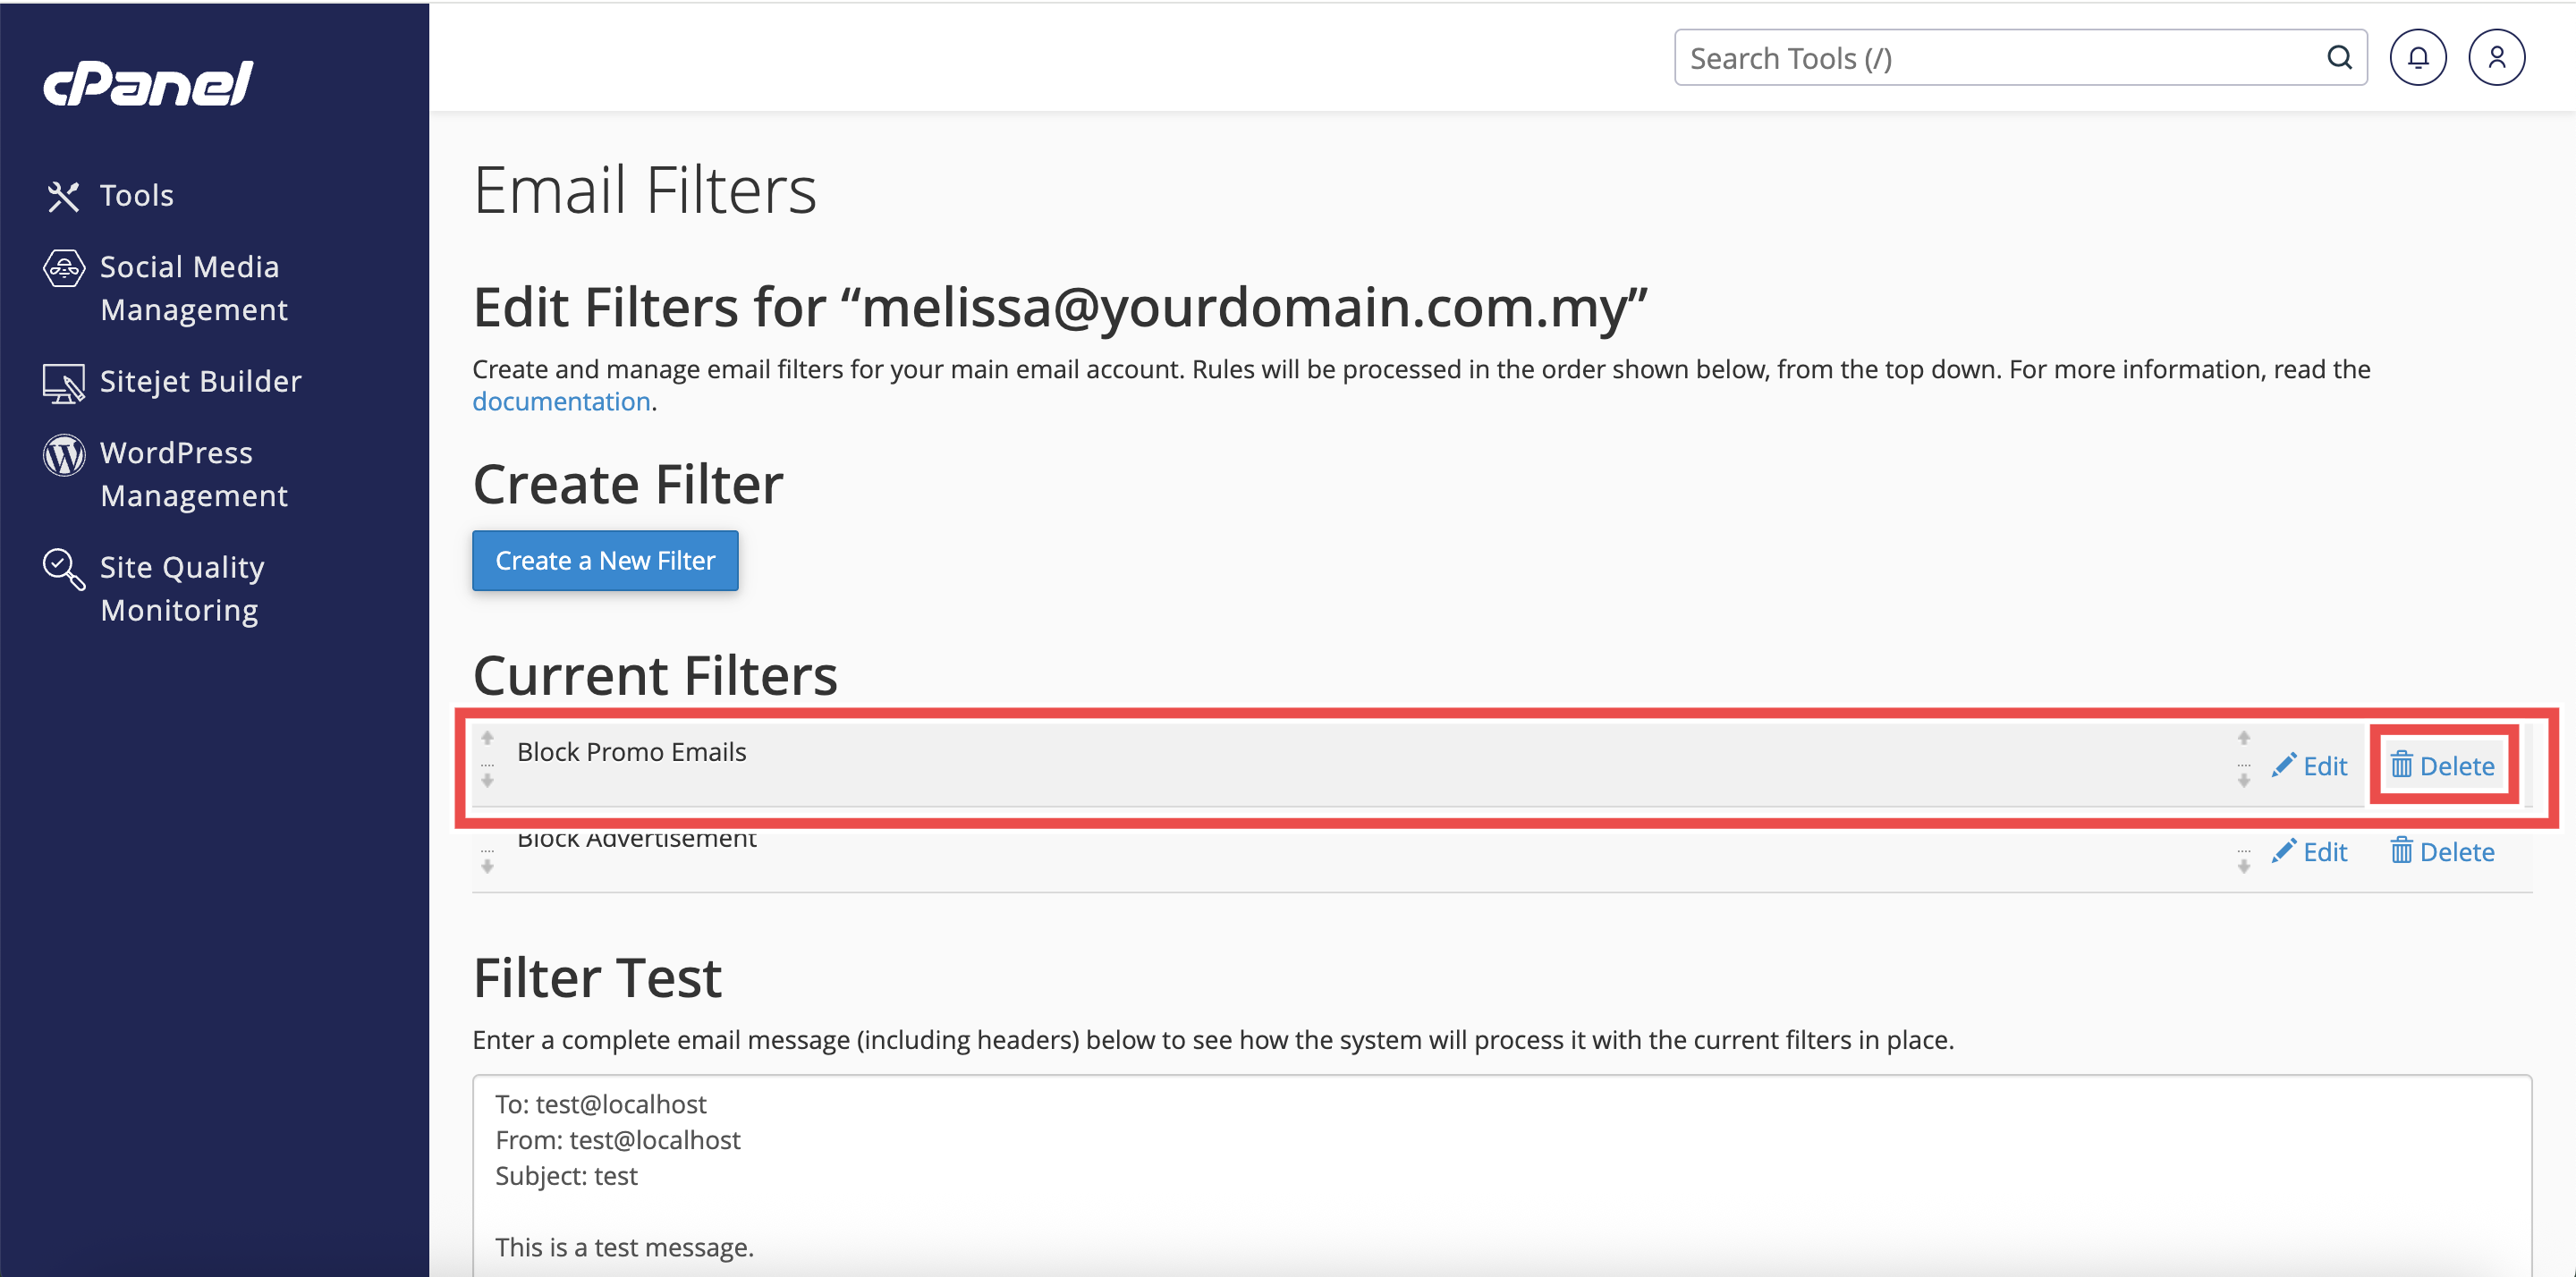
- In the Current Filters table, find the filter you want to remove.
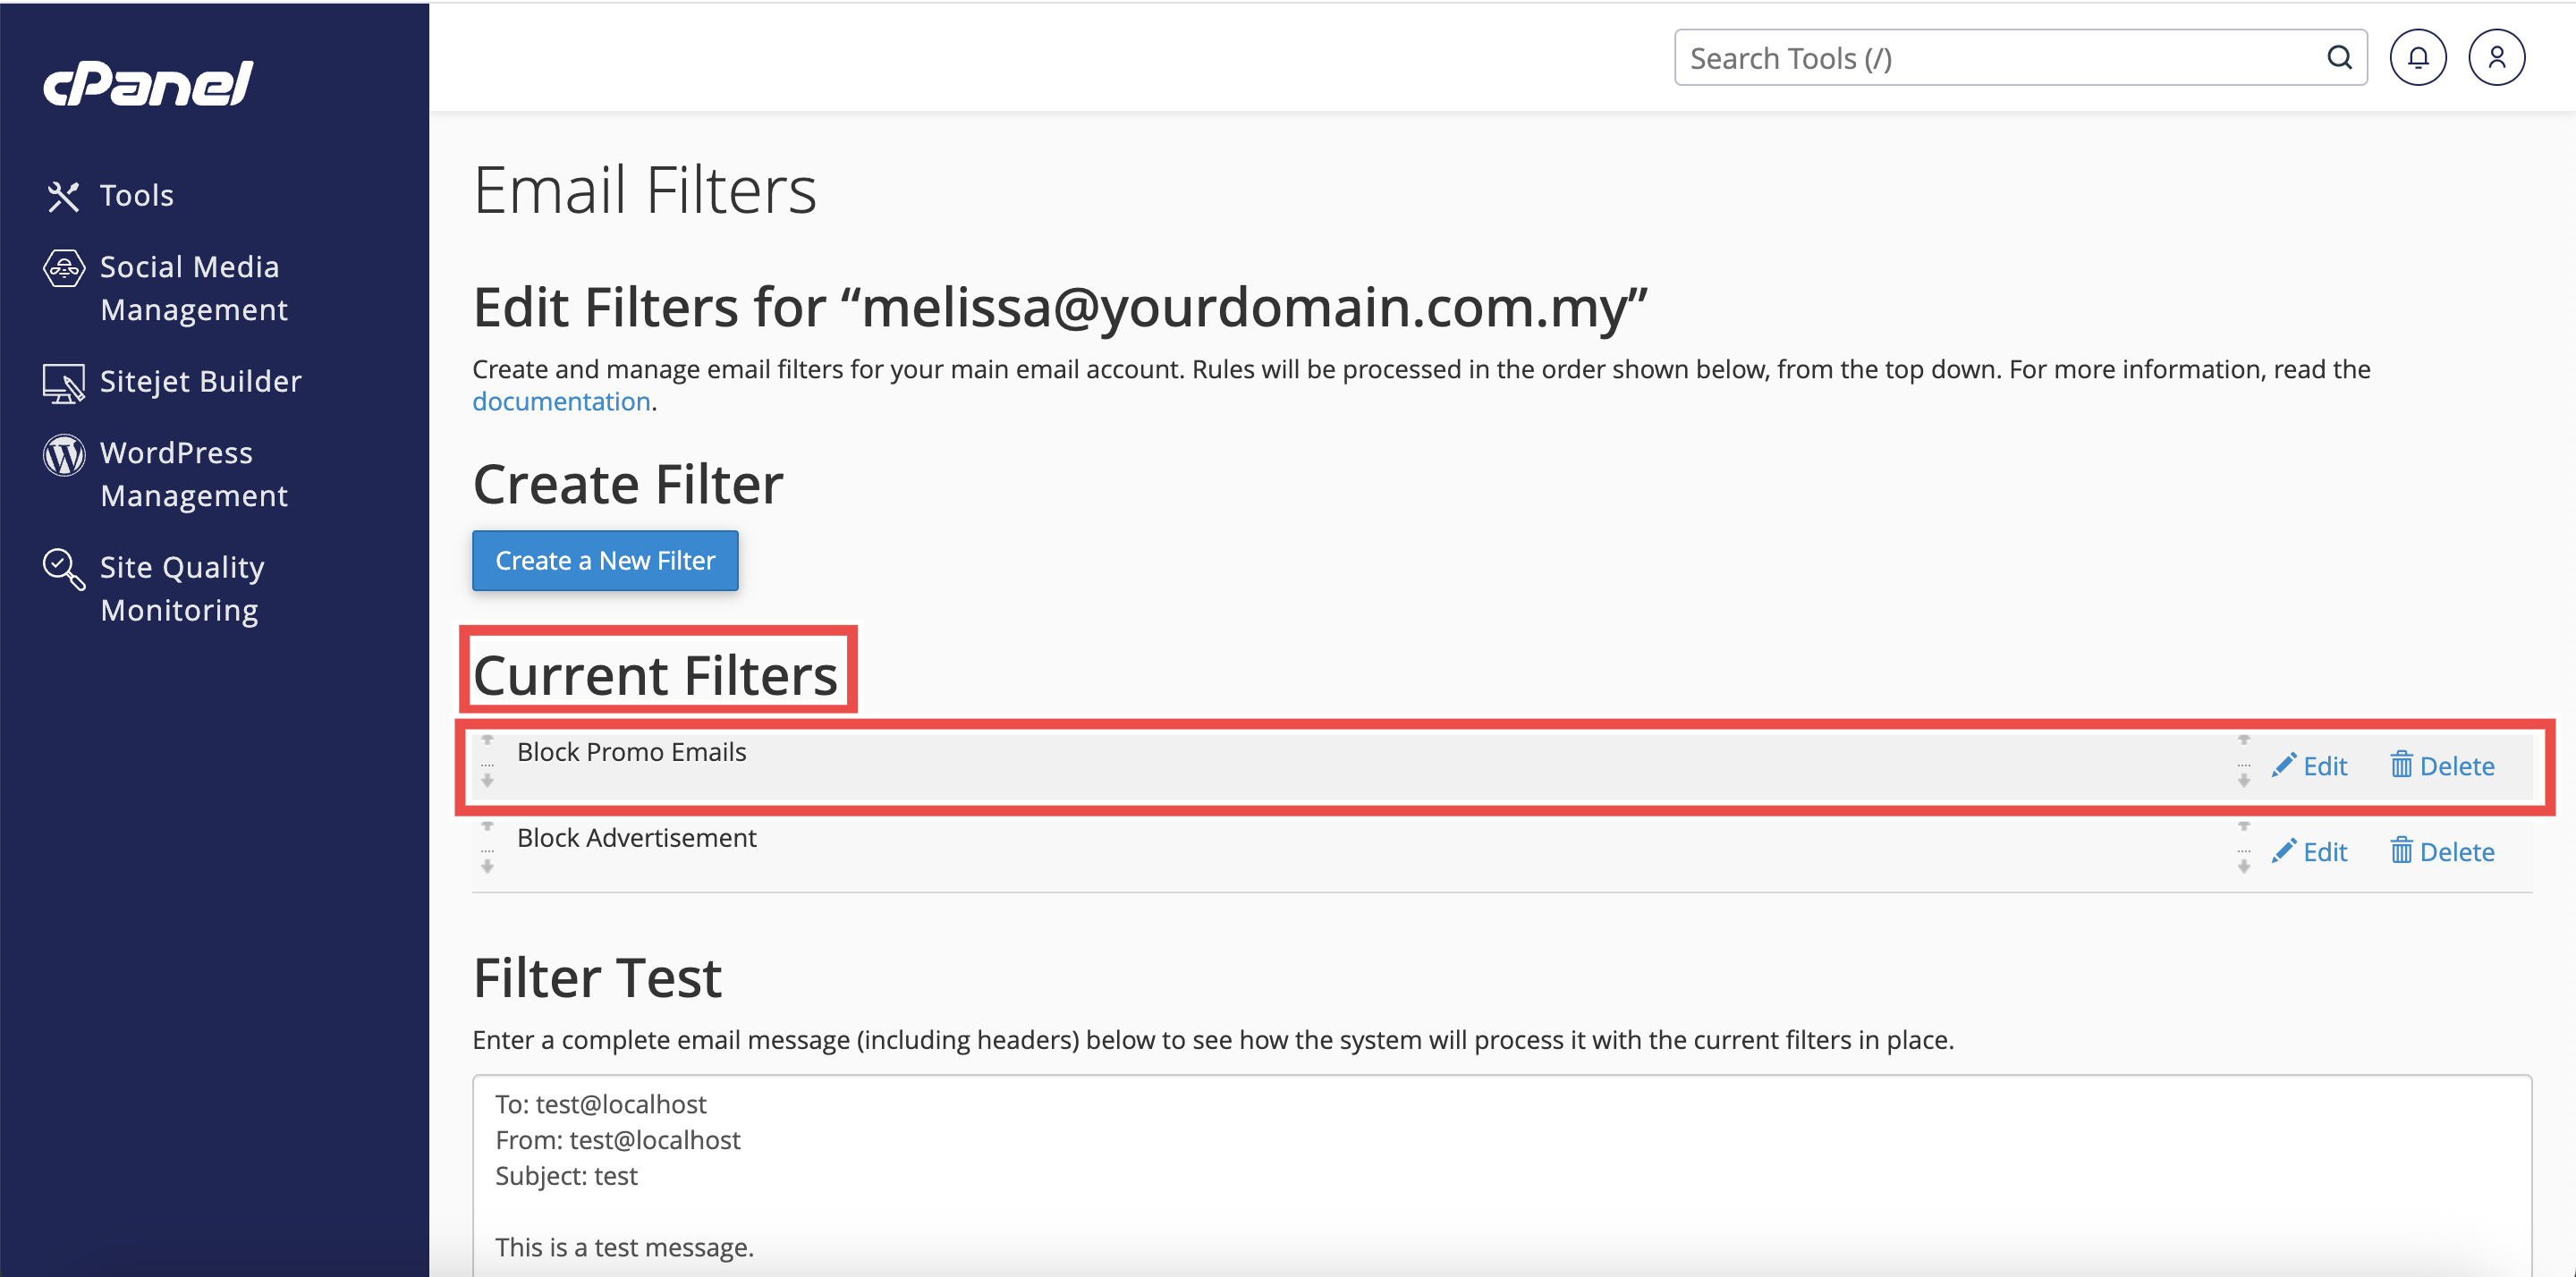
Step 5: Delete the Filter
- Click Delete next to the filter’s name.
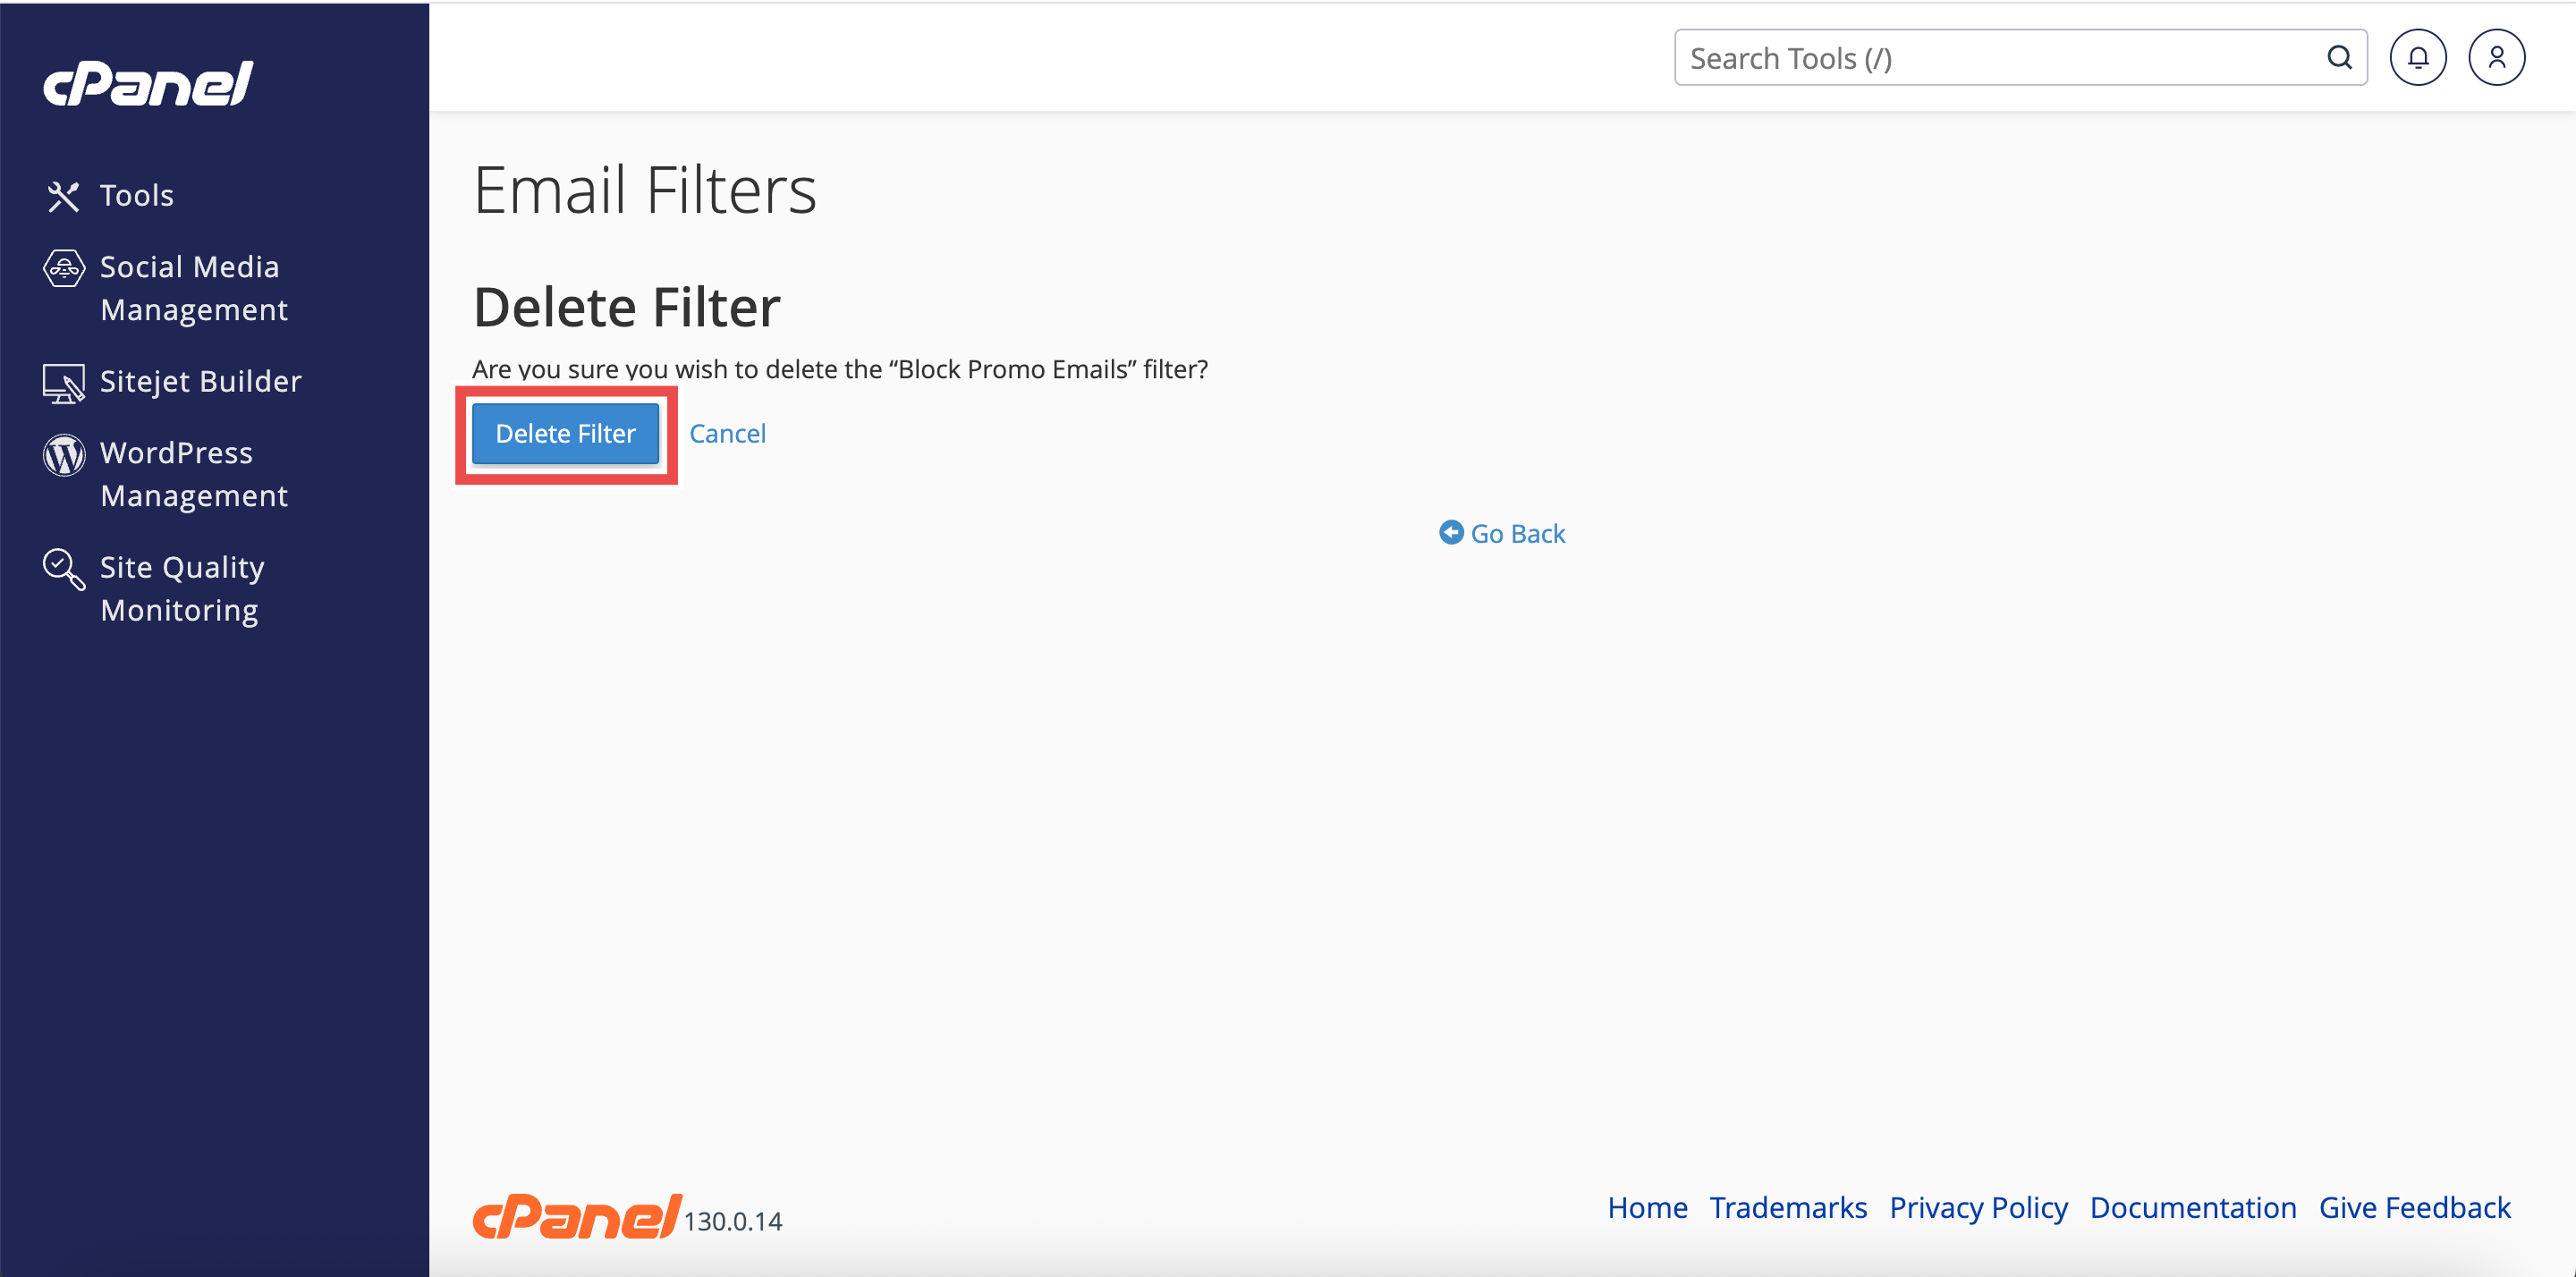
Step 6: Confirm Deletion
- In the confirmation message that appears, click Delete Filter to permanently remove the filter.
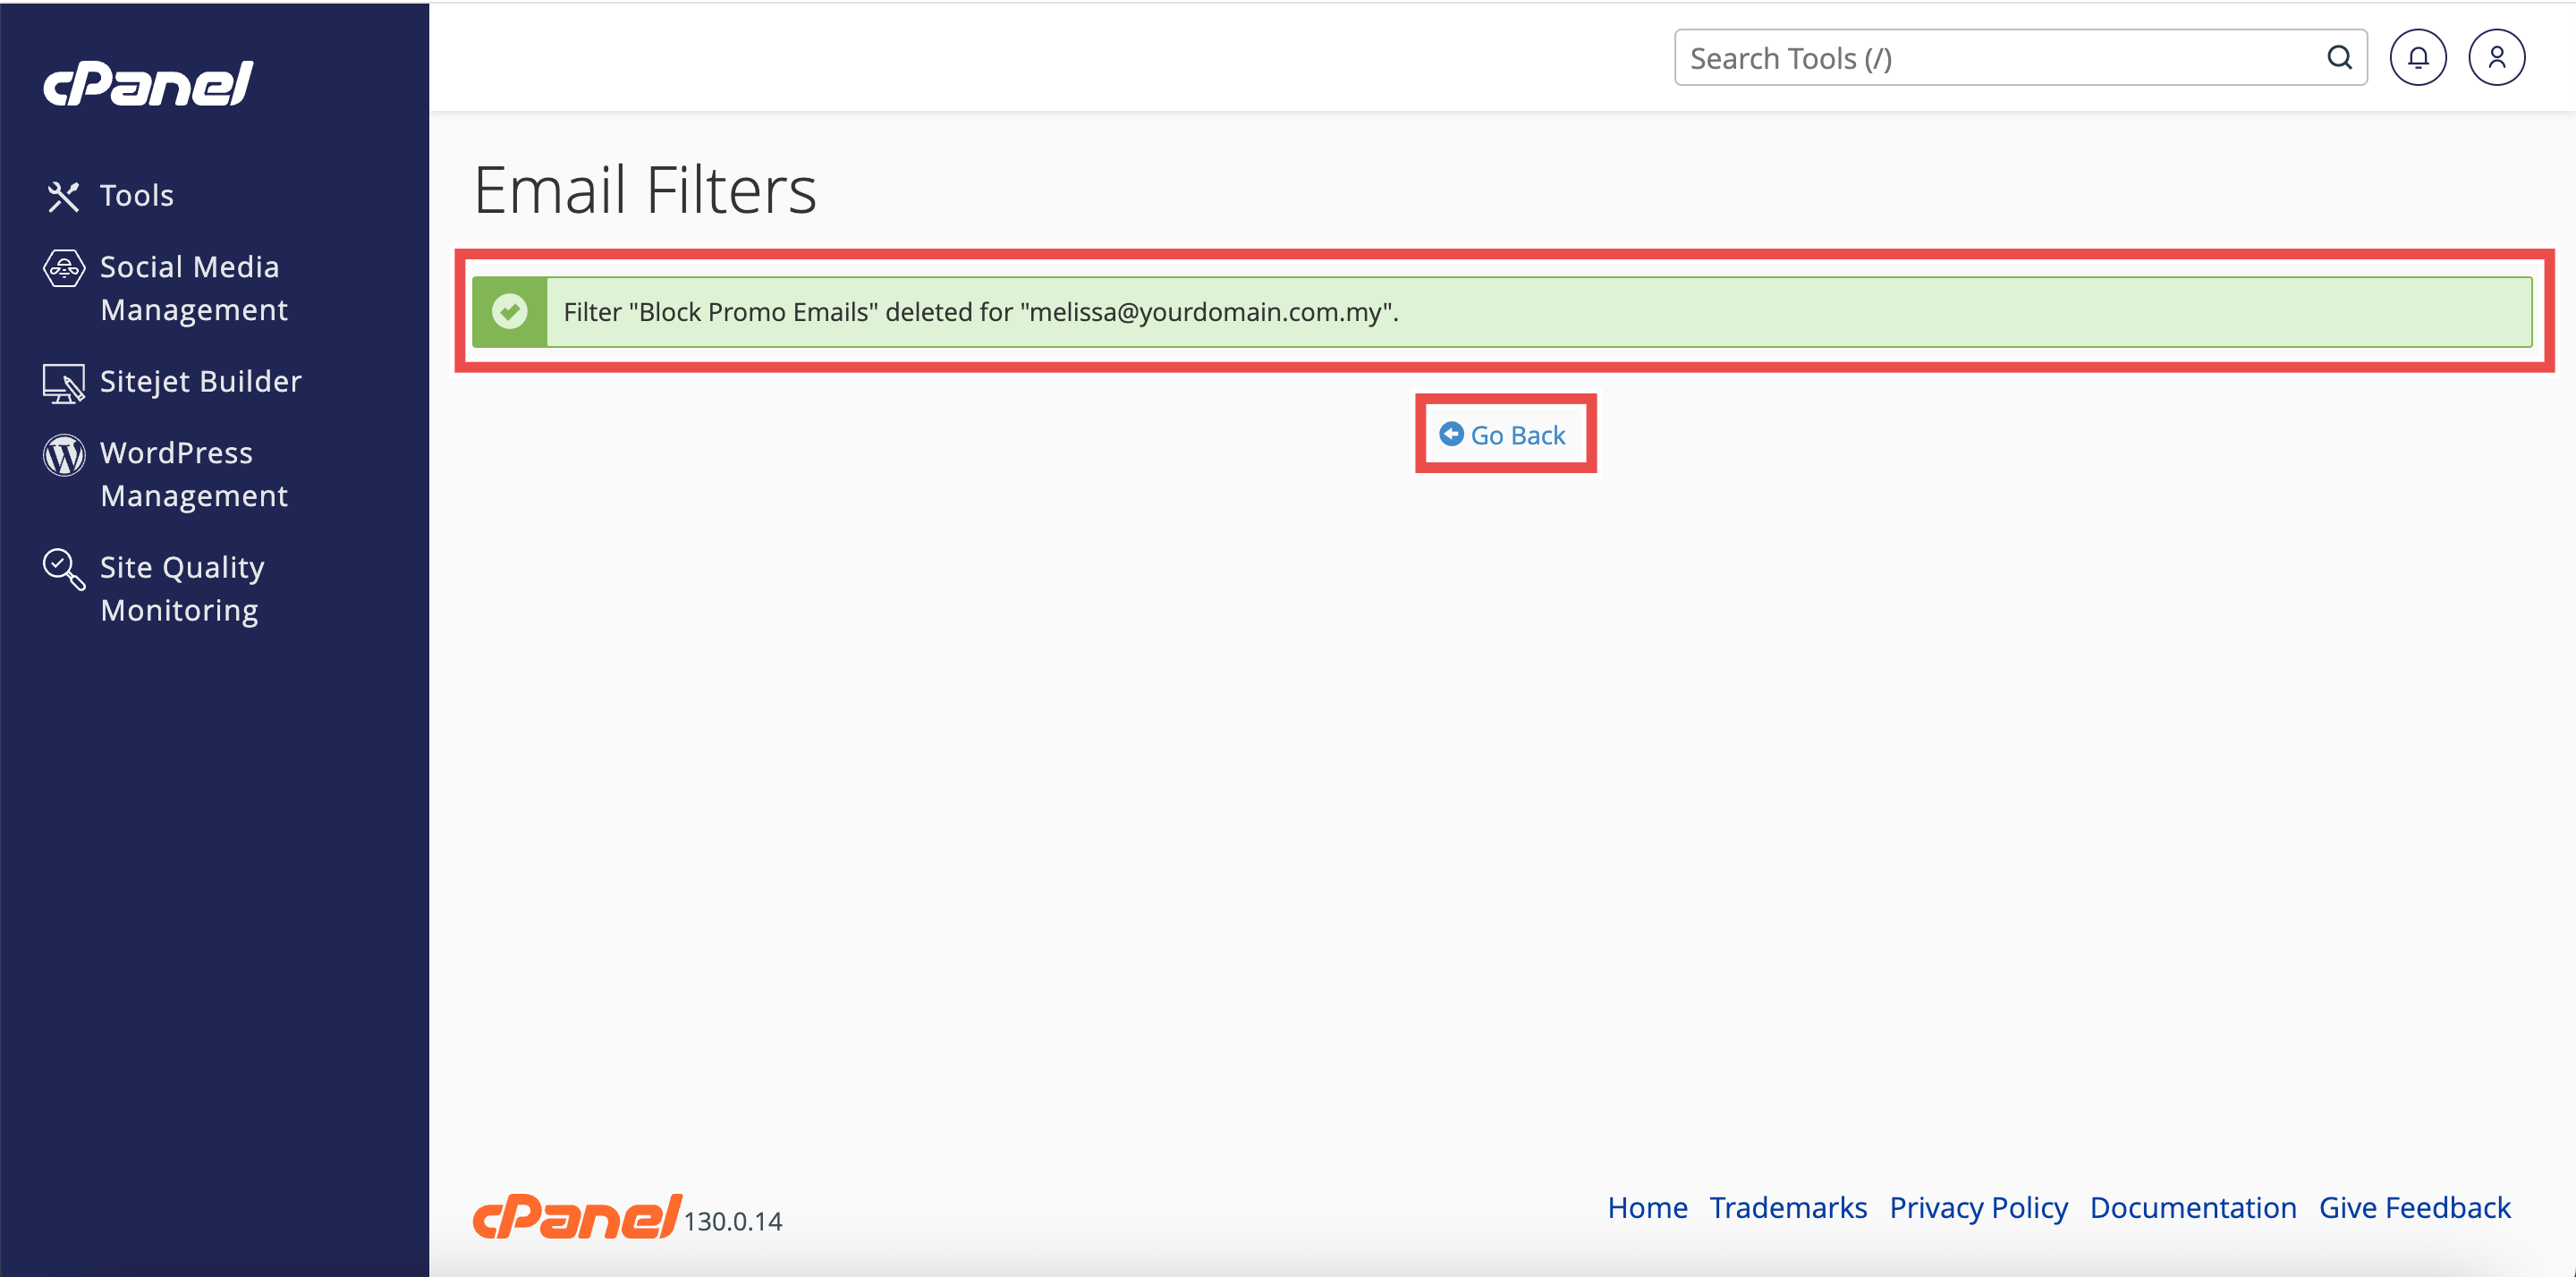
Step 7: Verify Deletion
- A successful message will appear to confirm the deletion of the filter.
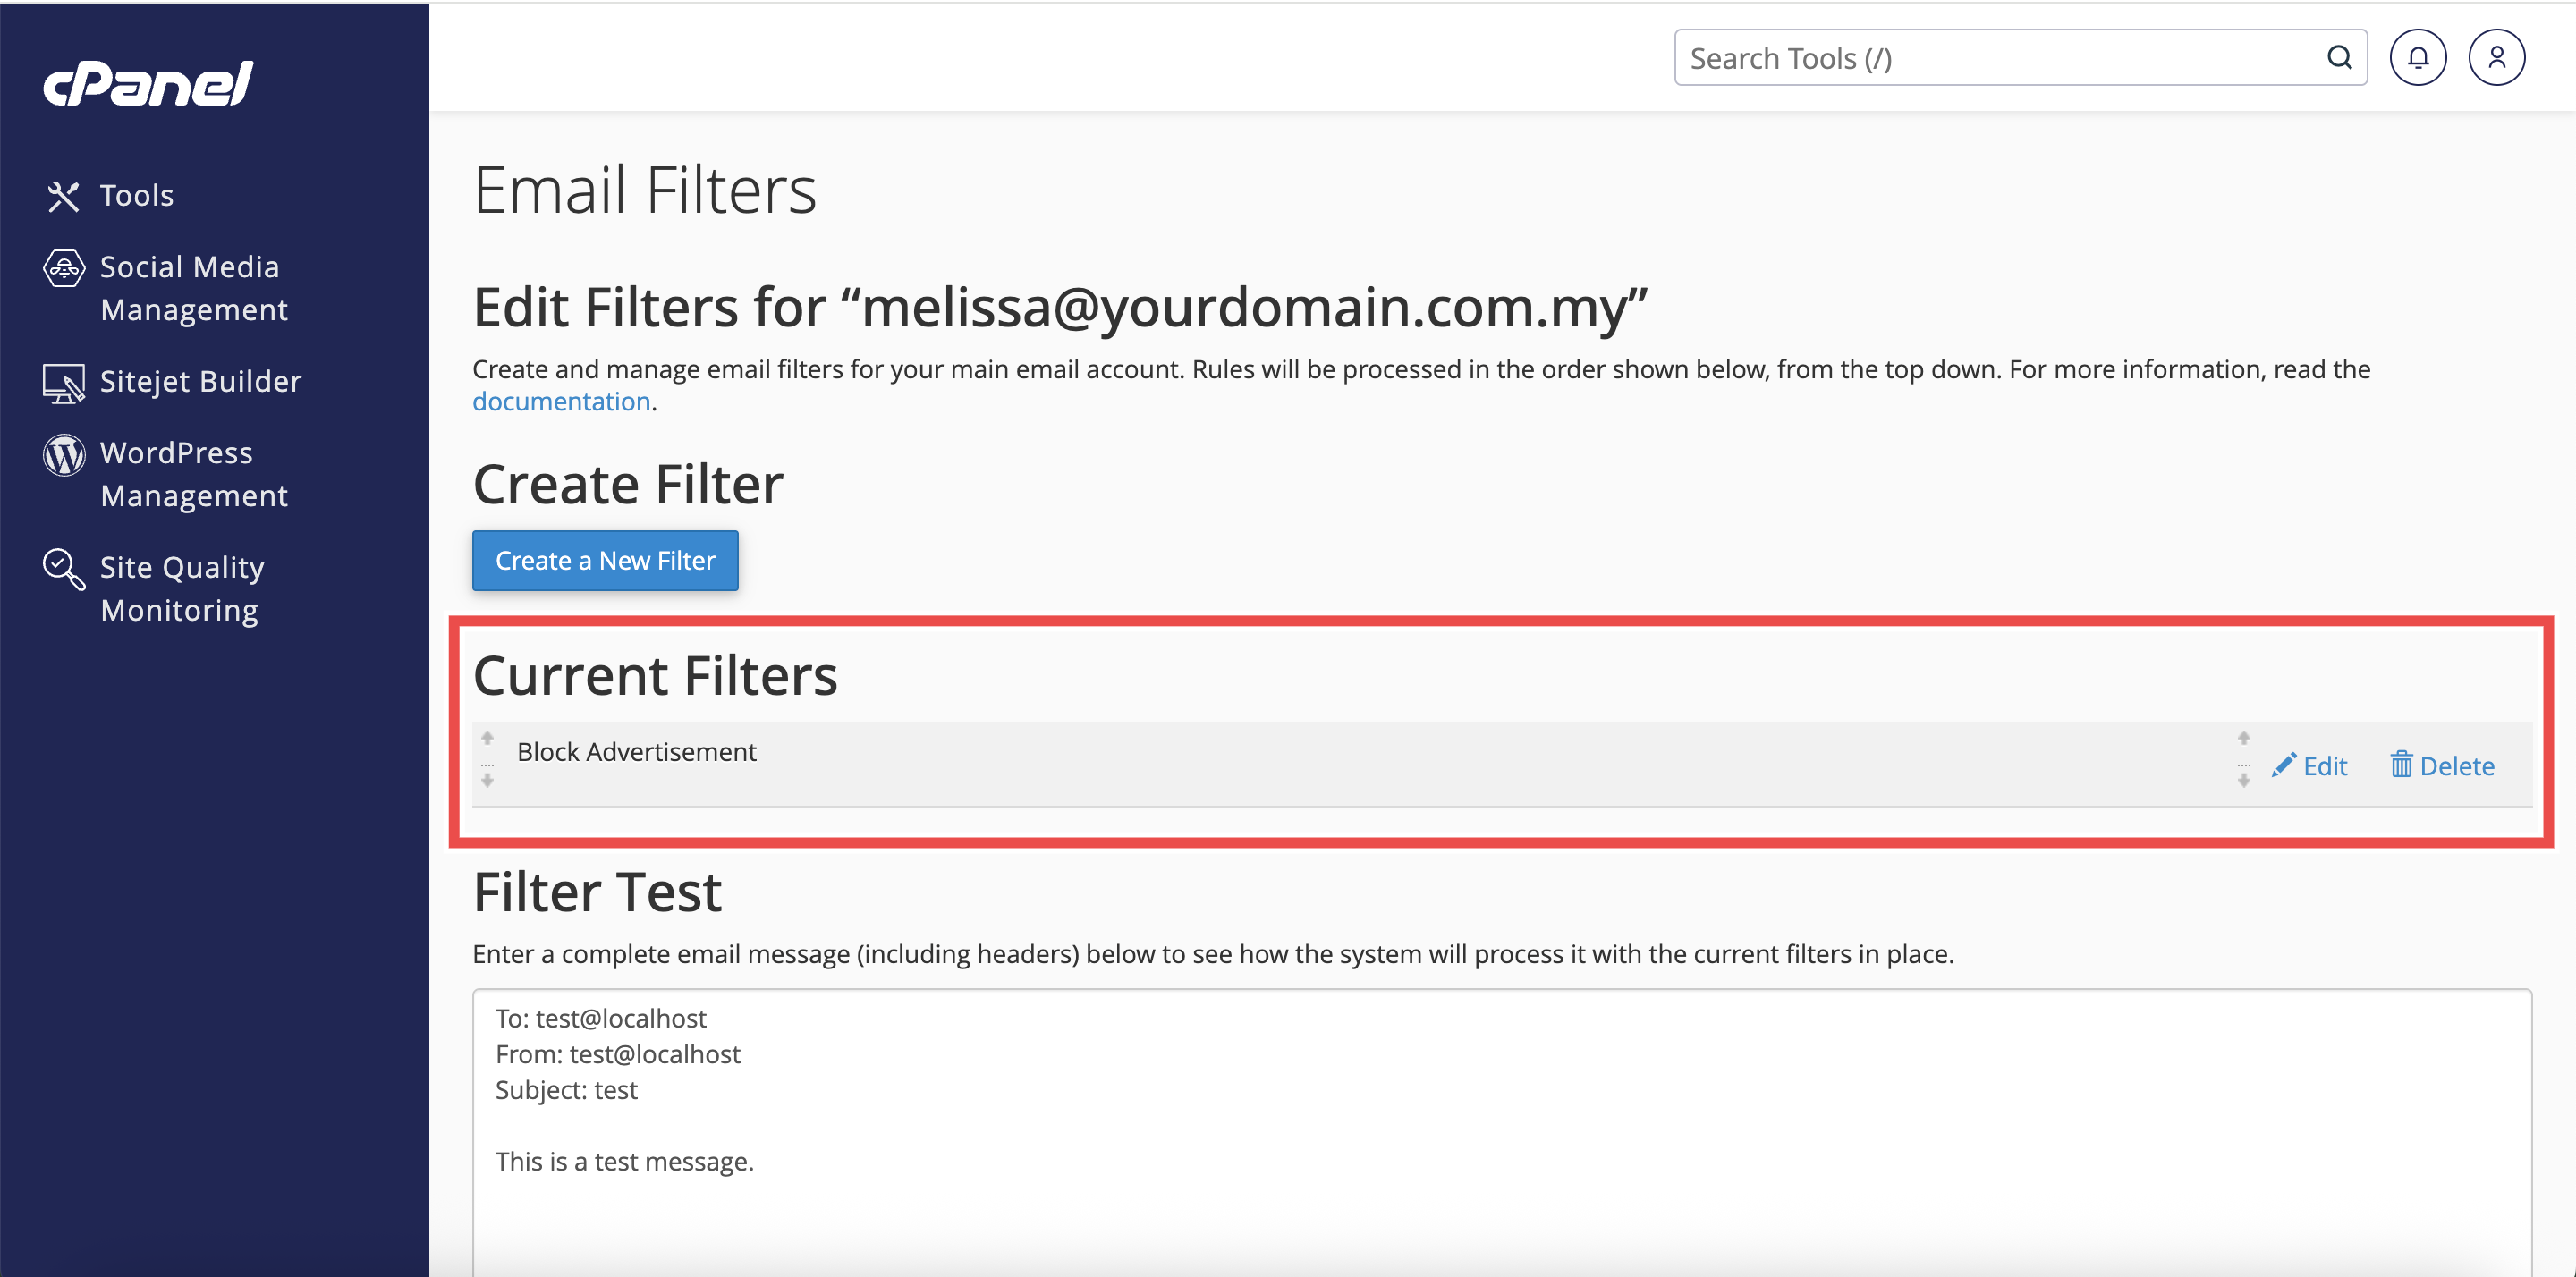
- Click Go Back to check the Current Filters table to ensure the filter no longer appears.
-
If it was the only existing filter, the system will automatically redirect you to the Create Filter page instead of displaying the filter list.
Conclusion
By following these steps, you can easily delete email filters in cPanel, keeping your inbox rules relevant and organized. Regularly reviewing and removing unnecessary filters helps maintain a clean and efficient email workflow.
Should you encounter any issues or have any questions, our support team at IPSERVERONE is always here to assist you. Don’t hesitate to reach out to us at support@ipserverone.com for any help you need.