Search Our Database
How to Add New Cron Job in cPanel
Introduction
This Knowledge Base article provides a simple, step-by-step guide on How to Add New Cron Job in cPanel. Cron jobs allow you to schedule automated tasks, such as running scripts or performing backups, at specific intervals. Using cPanel’s Cron Jobs interface makes it easy to manage these tasks without needing advanced server knowledge.
Prerequisite
- Access to your cPanel login page.
Step-by-Step Guide
Step 1: Log in to cPanel
- Access and log in to your cPanel account using your username and password.
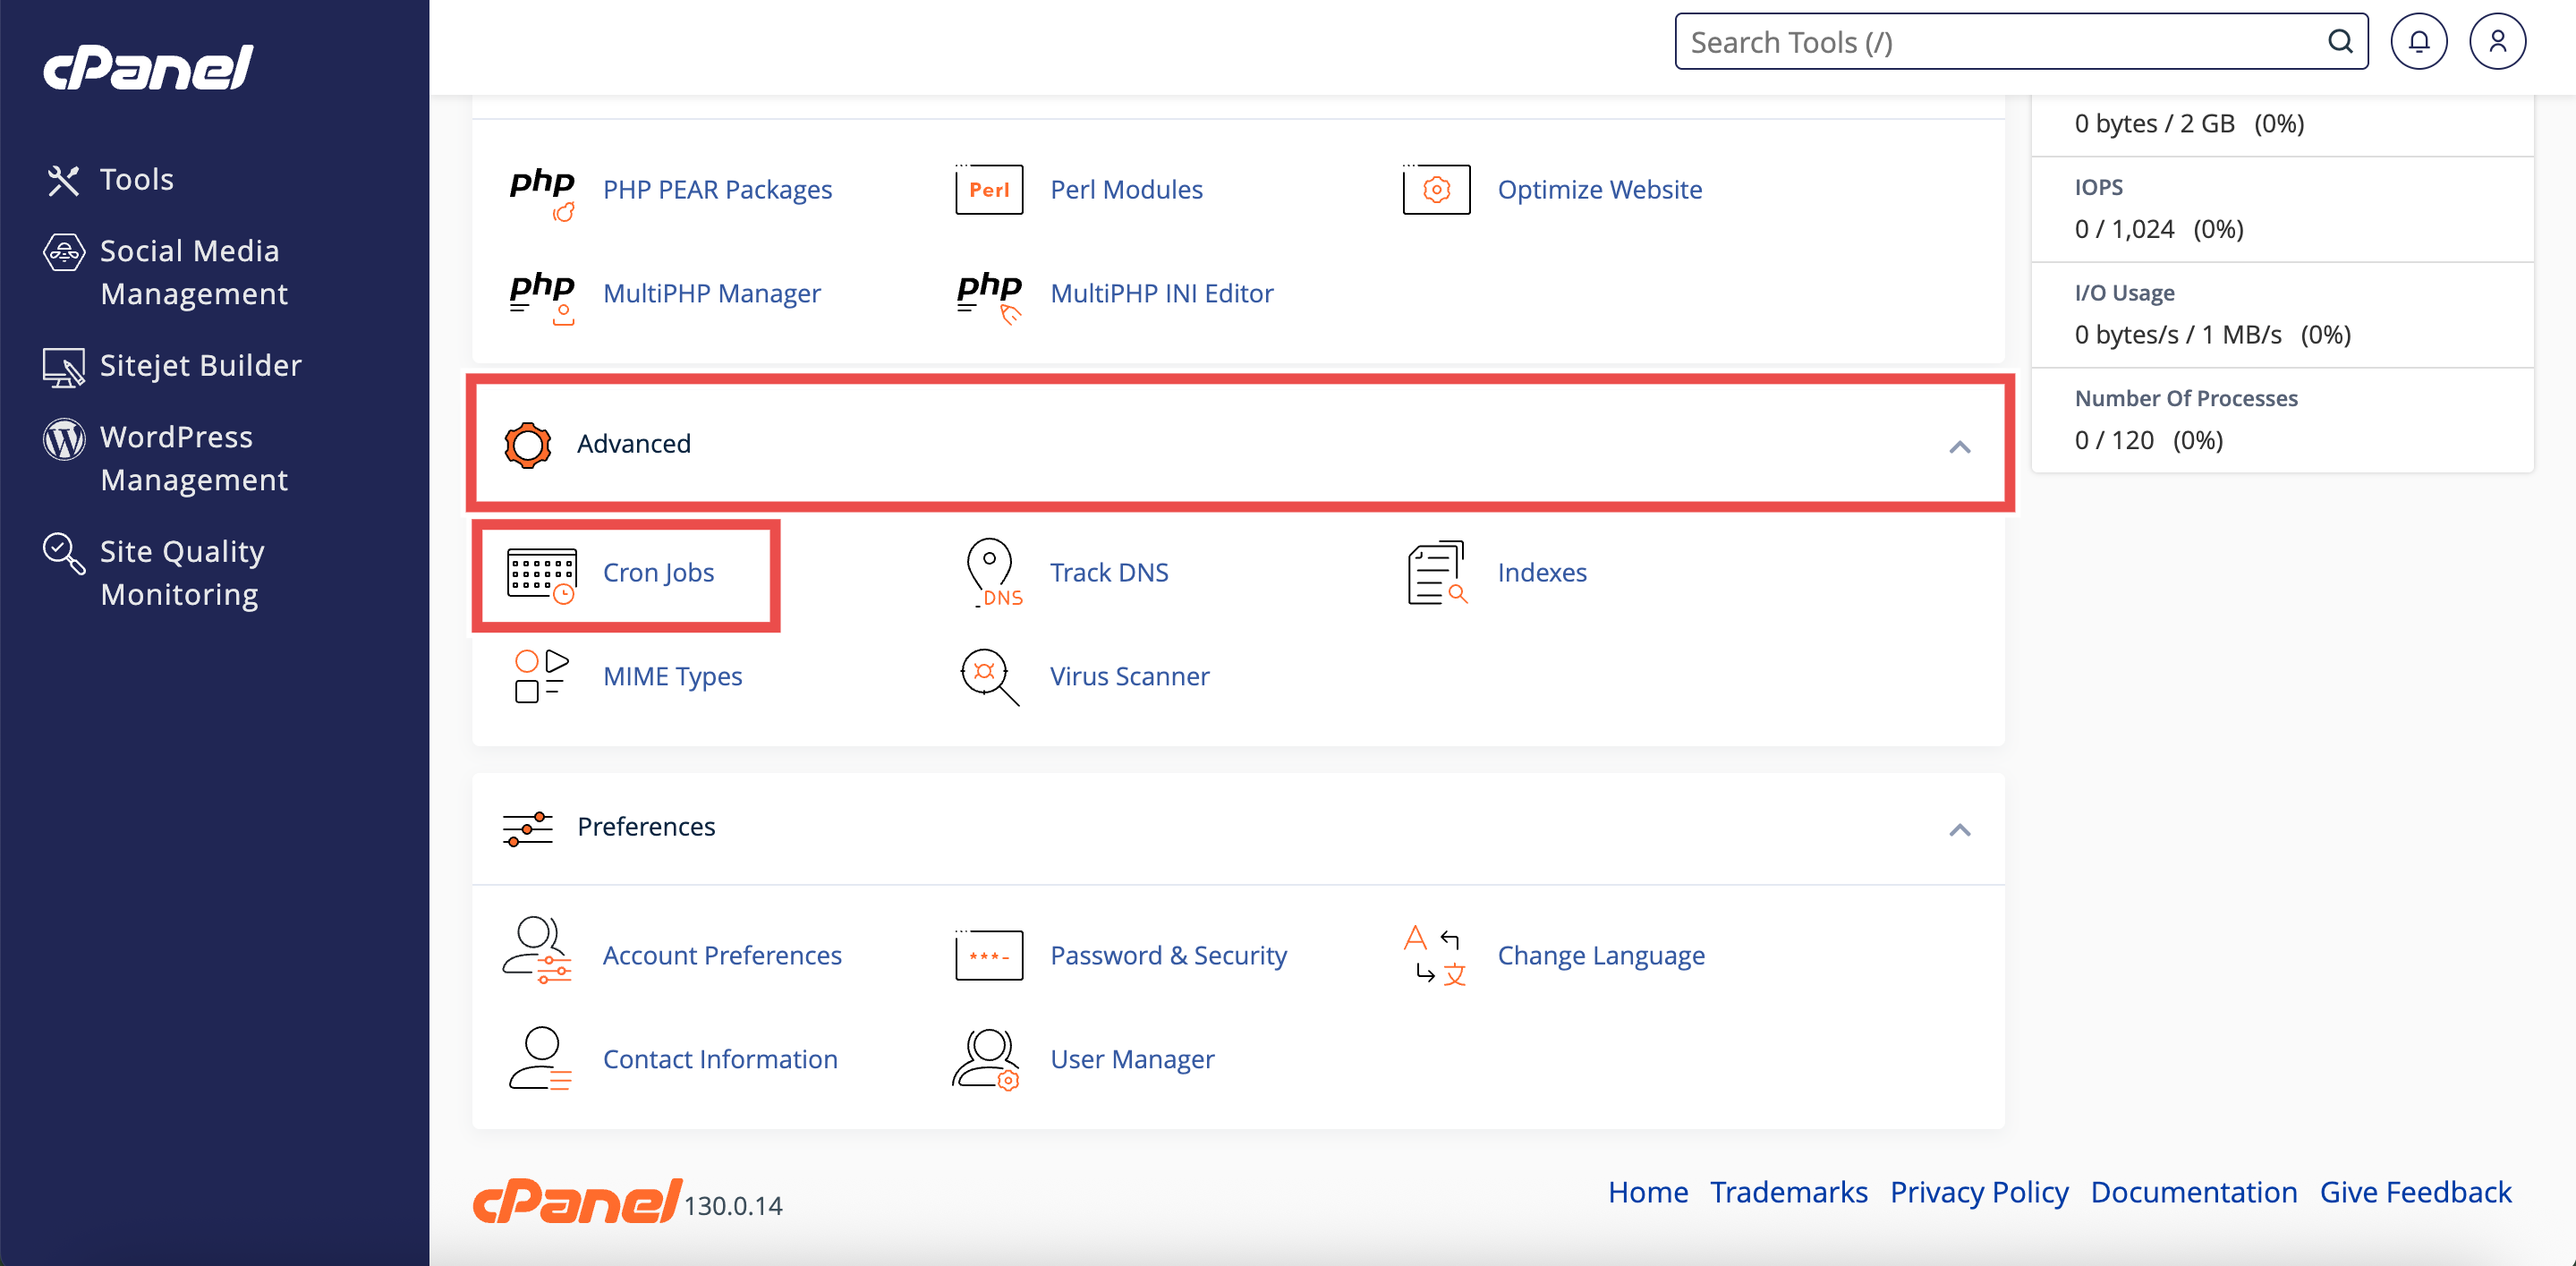
Step 2: Open Cron Jobs
- In the Home page, under Advanced, click Cron Jobs.
Step 3: Locate the Add New Cron Job
- Scroll to Add New Cron Job section under the Cron Email section.
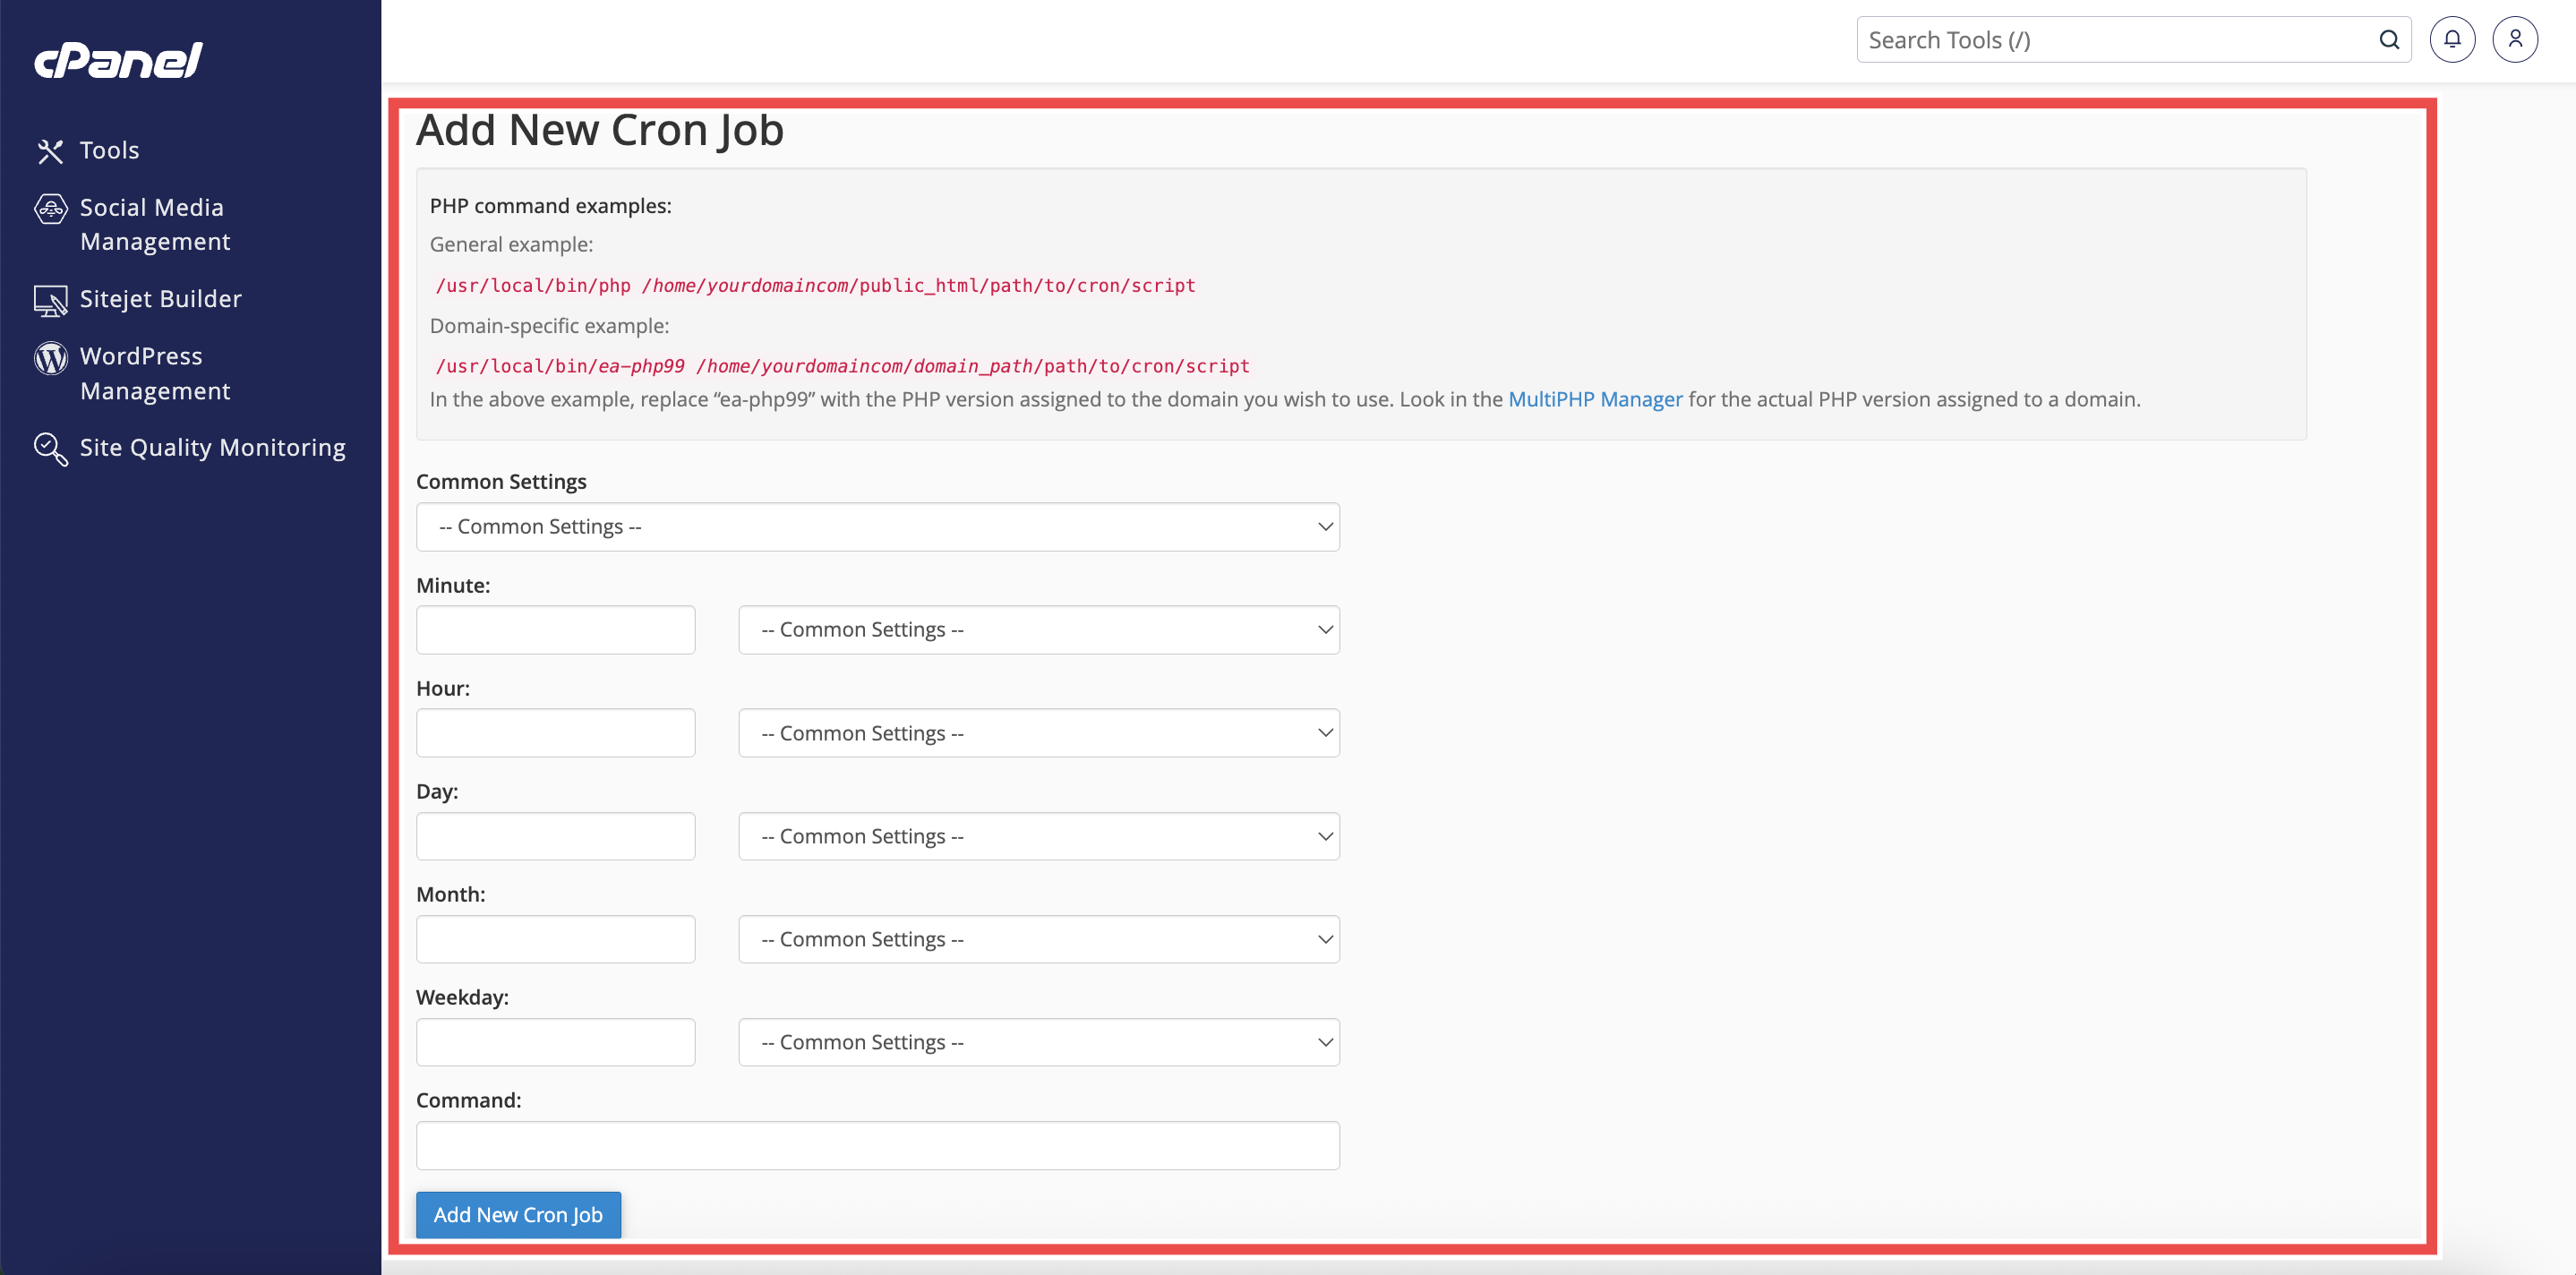
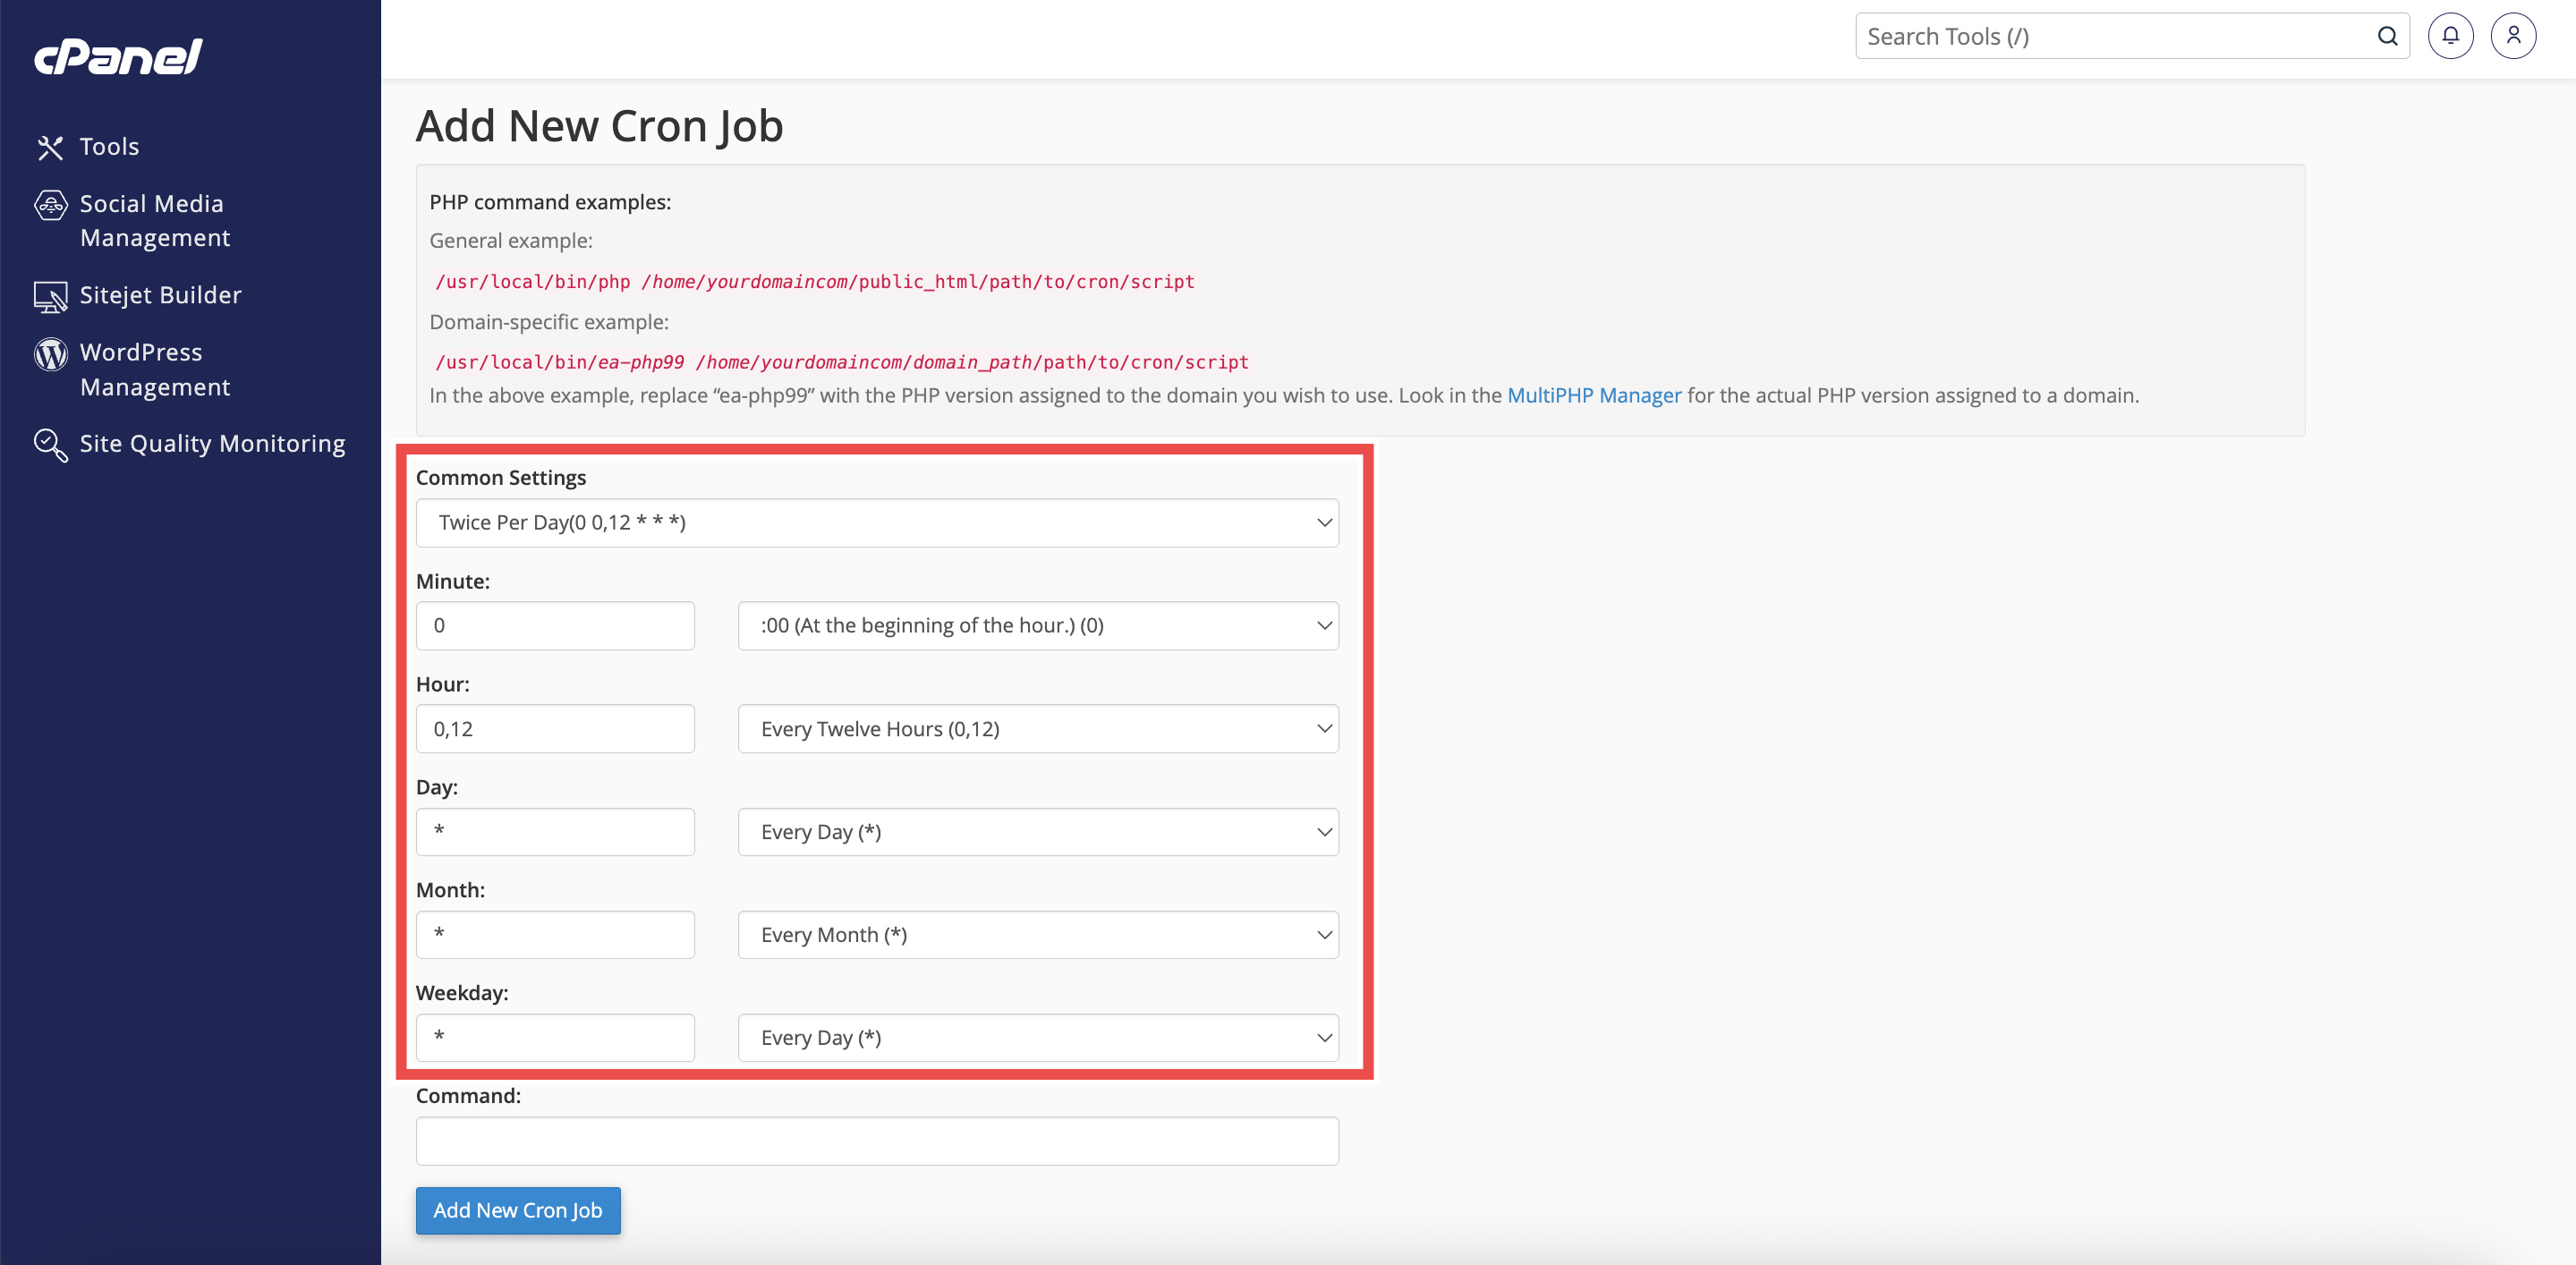
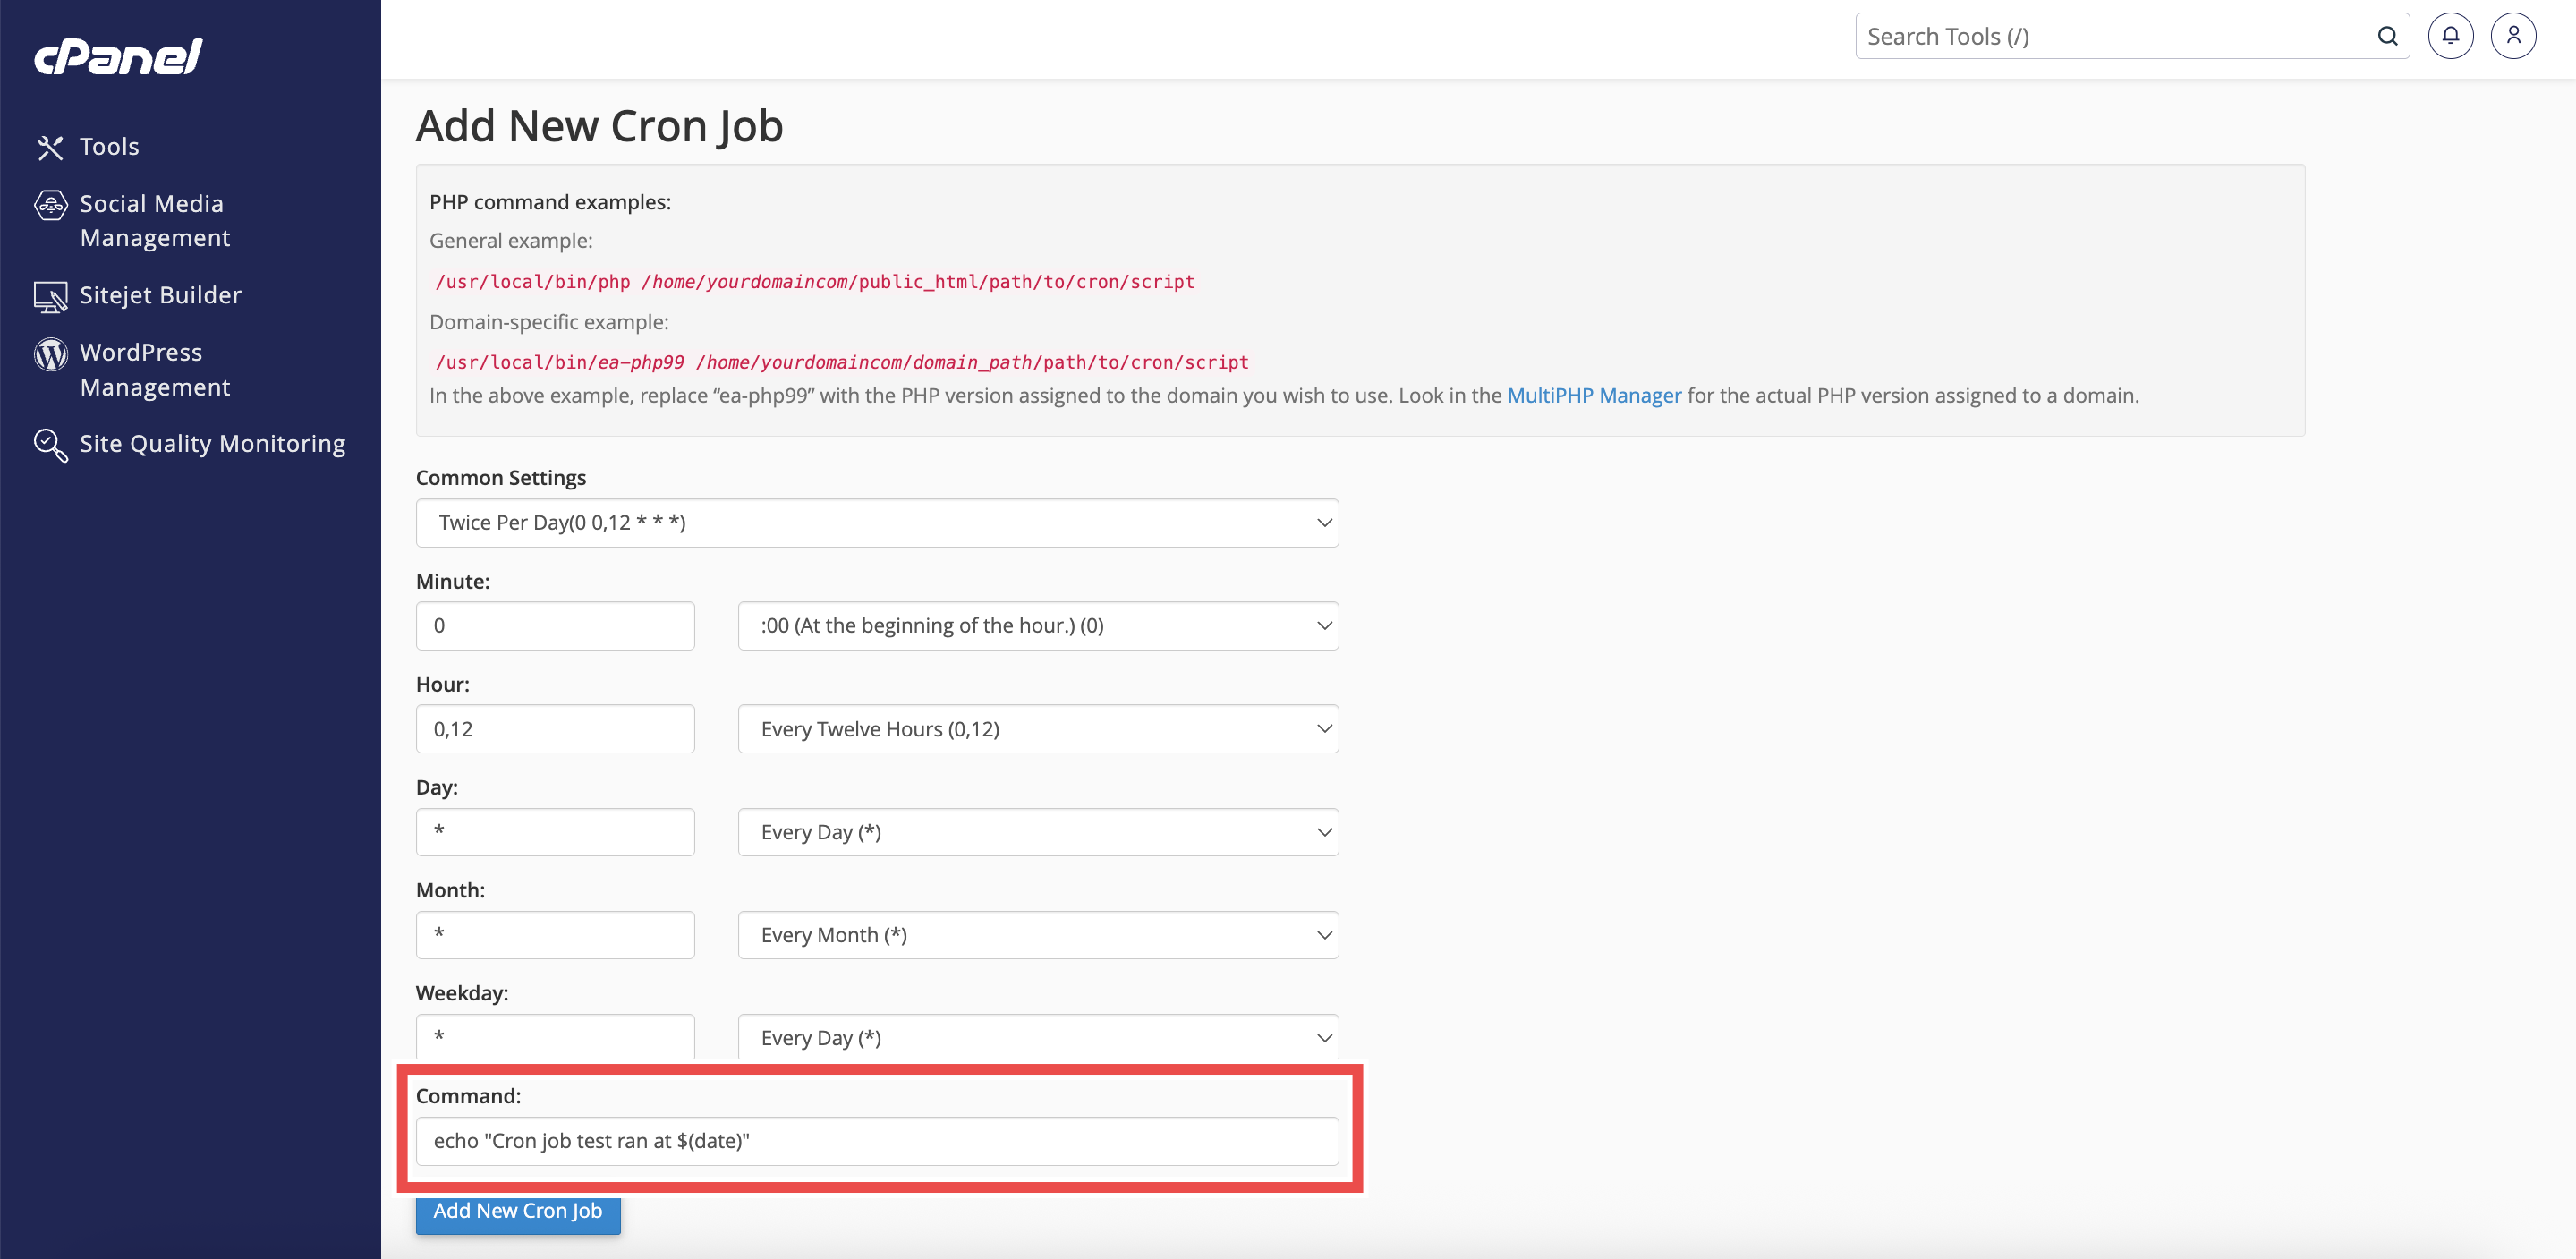
Step 4: Set the Schedule
- Choose how often the cron job will run. Either:
- Use the Common Settings dropdown at the top to quickly select a preset schedule. (For example: “Every Minute” or “Once Per Day”) or
- Manually adjust the Minute, Hour, Day, Month, and Weekday fields to create a custom schedule.

Step 5: Enter the Command
- Type the command or script you want to execute in the Command field.
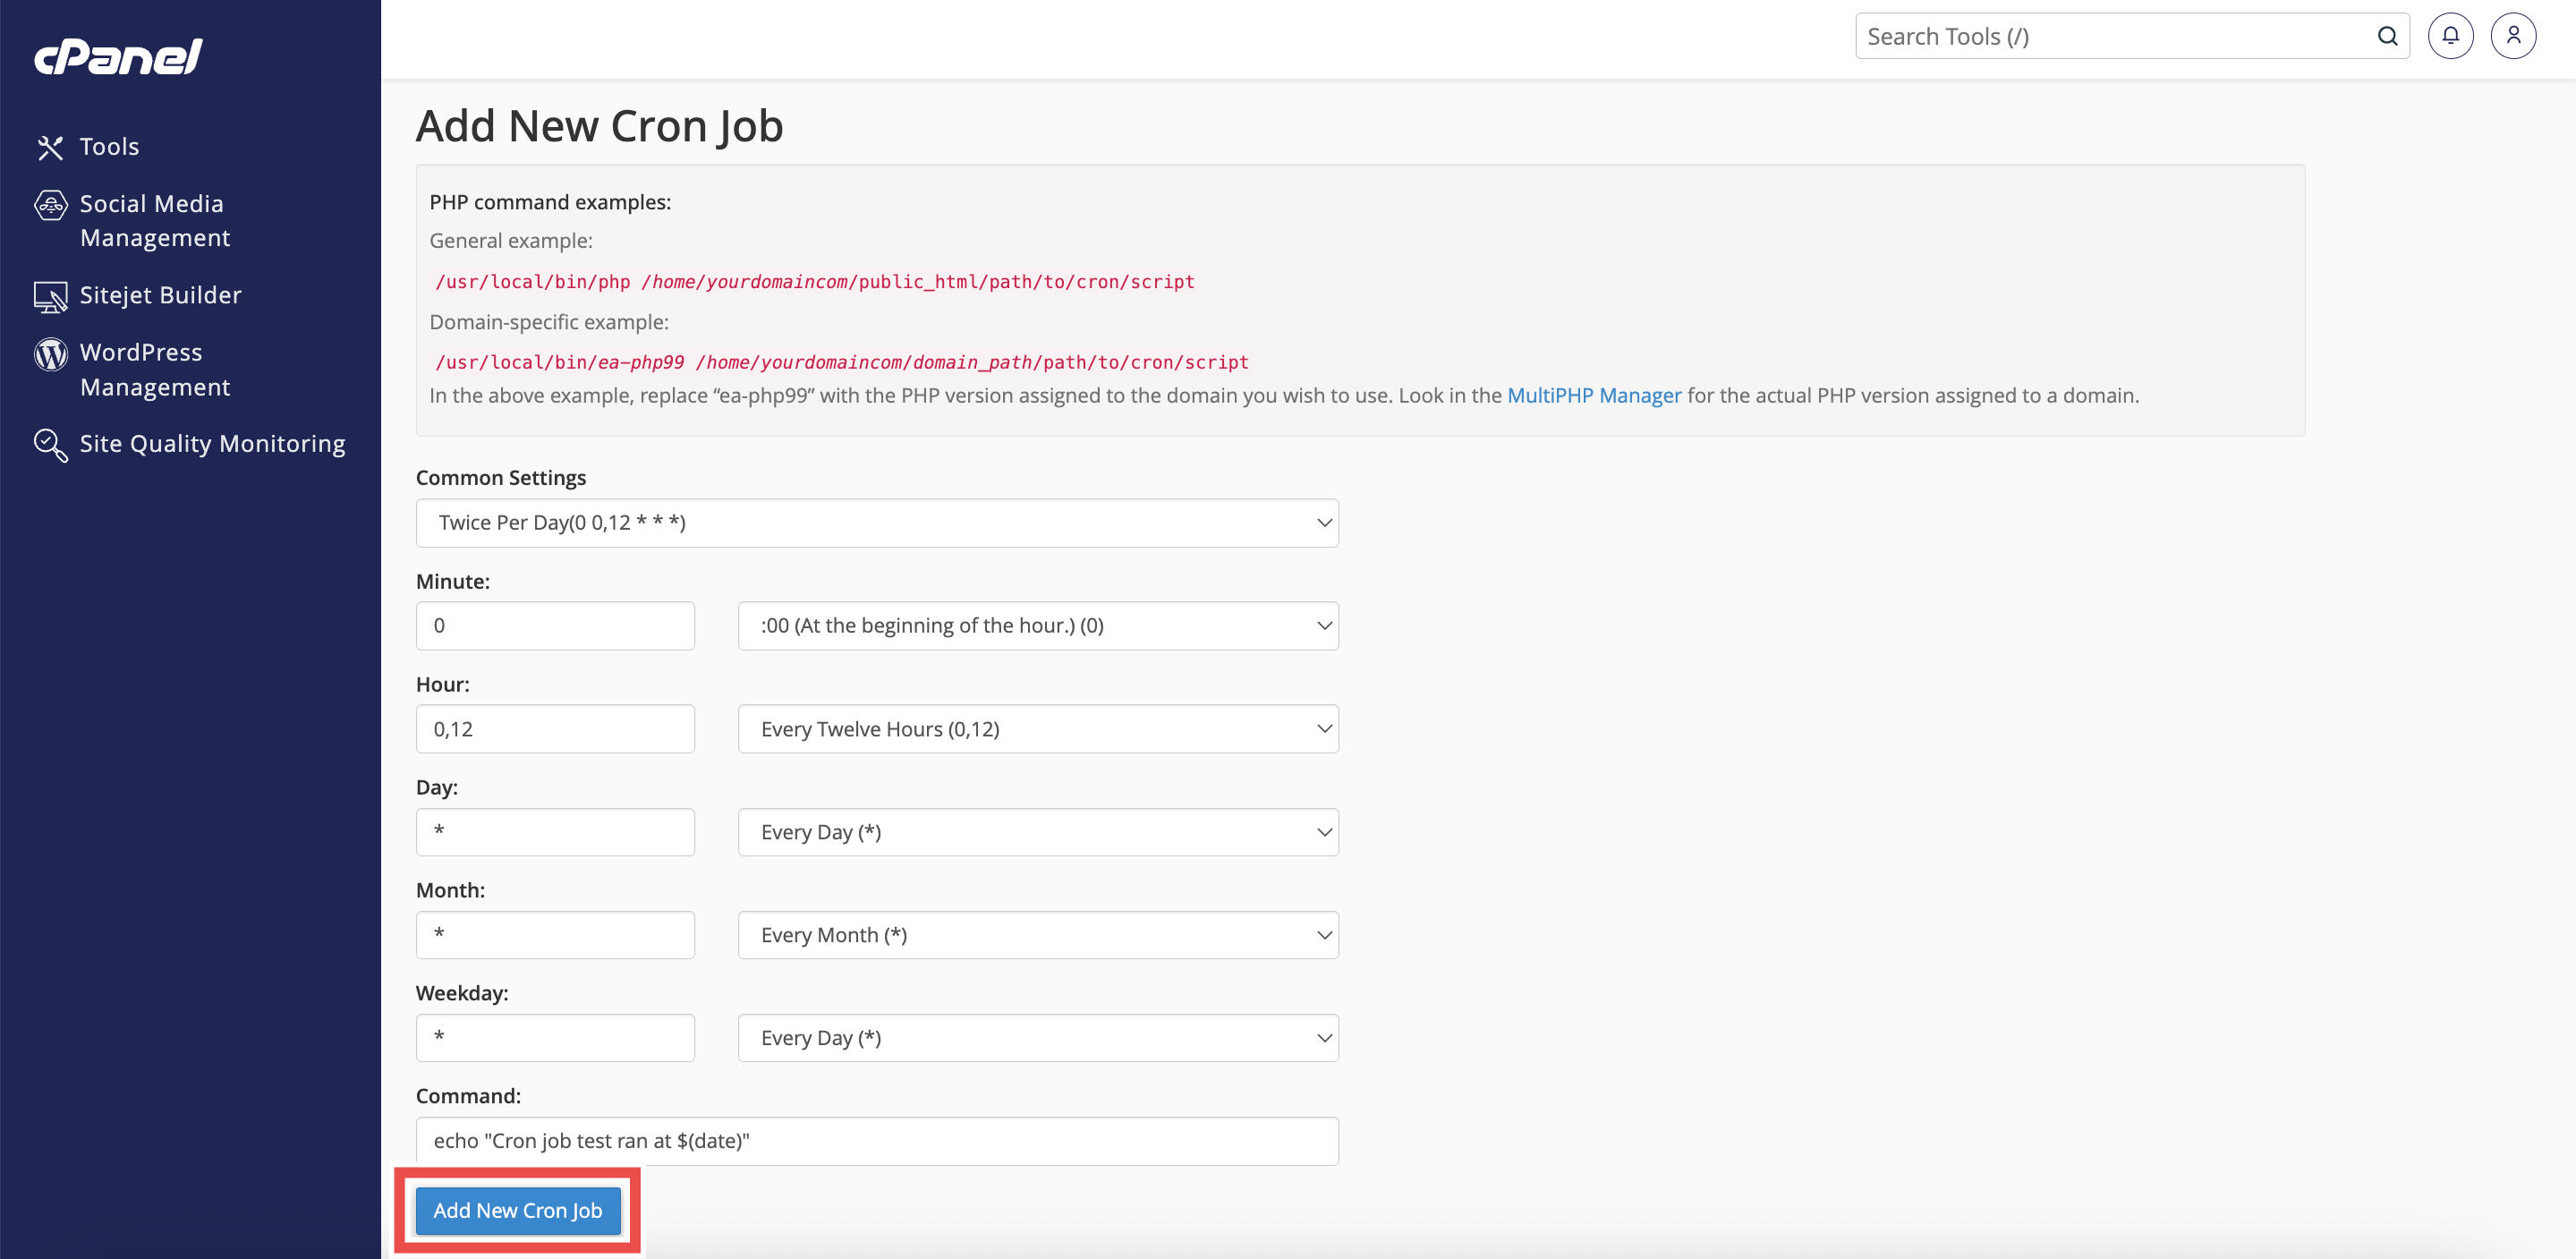
Step 6: Add the Cron Job
- Click Add New Cron Job to save and activate the task.
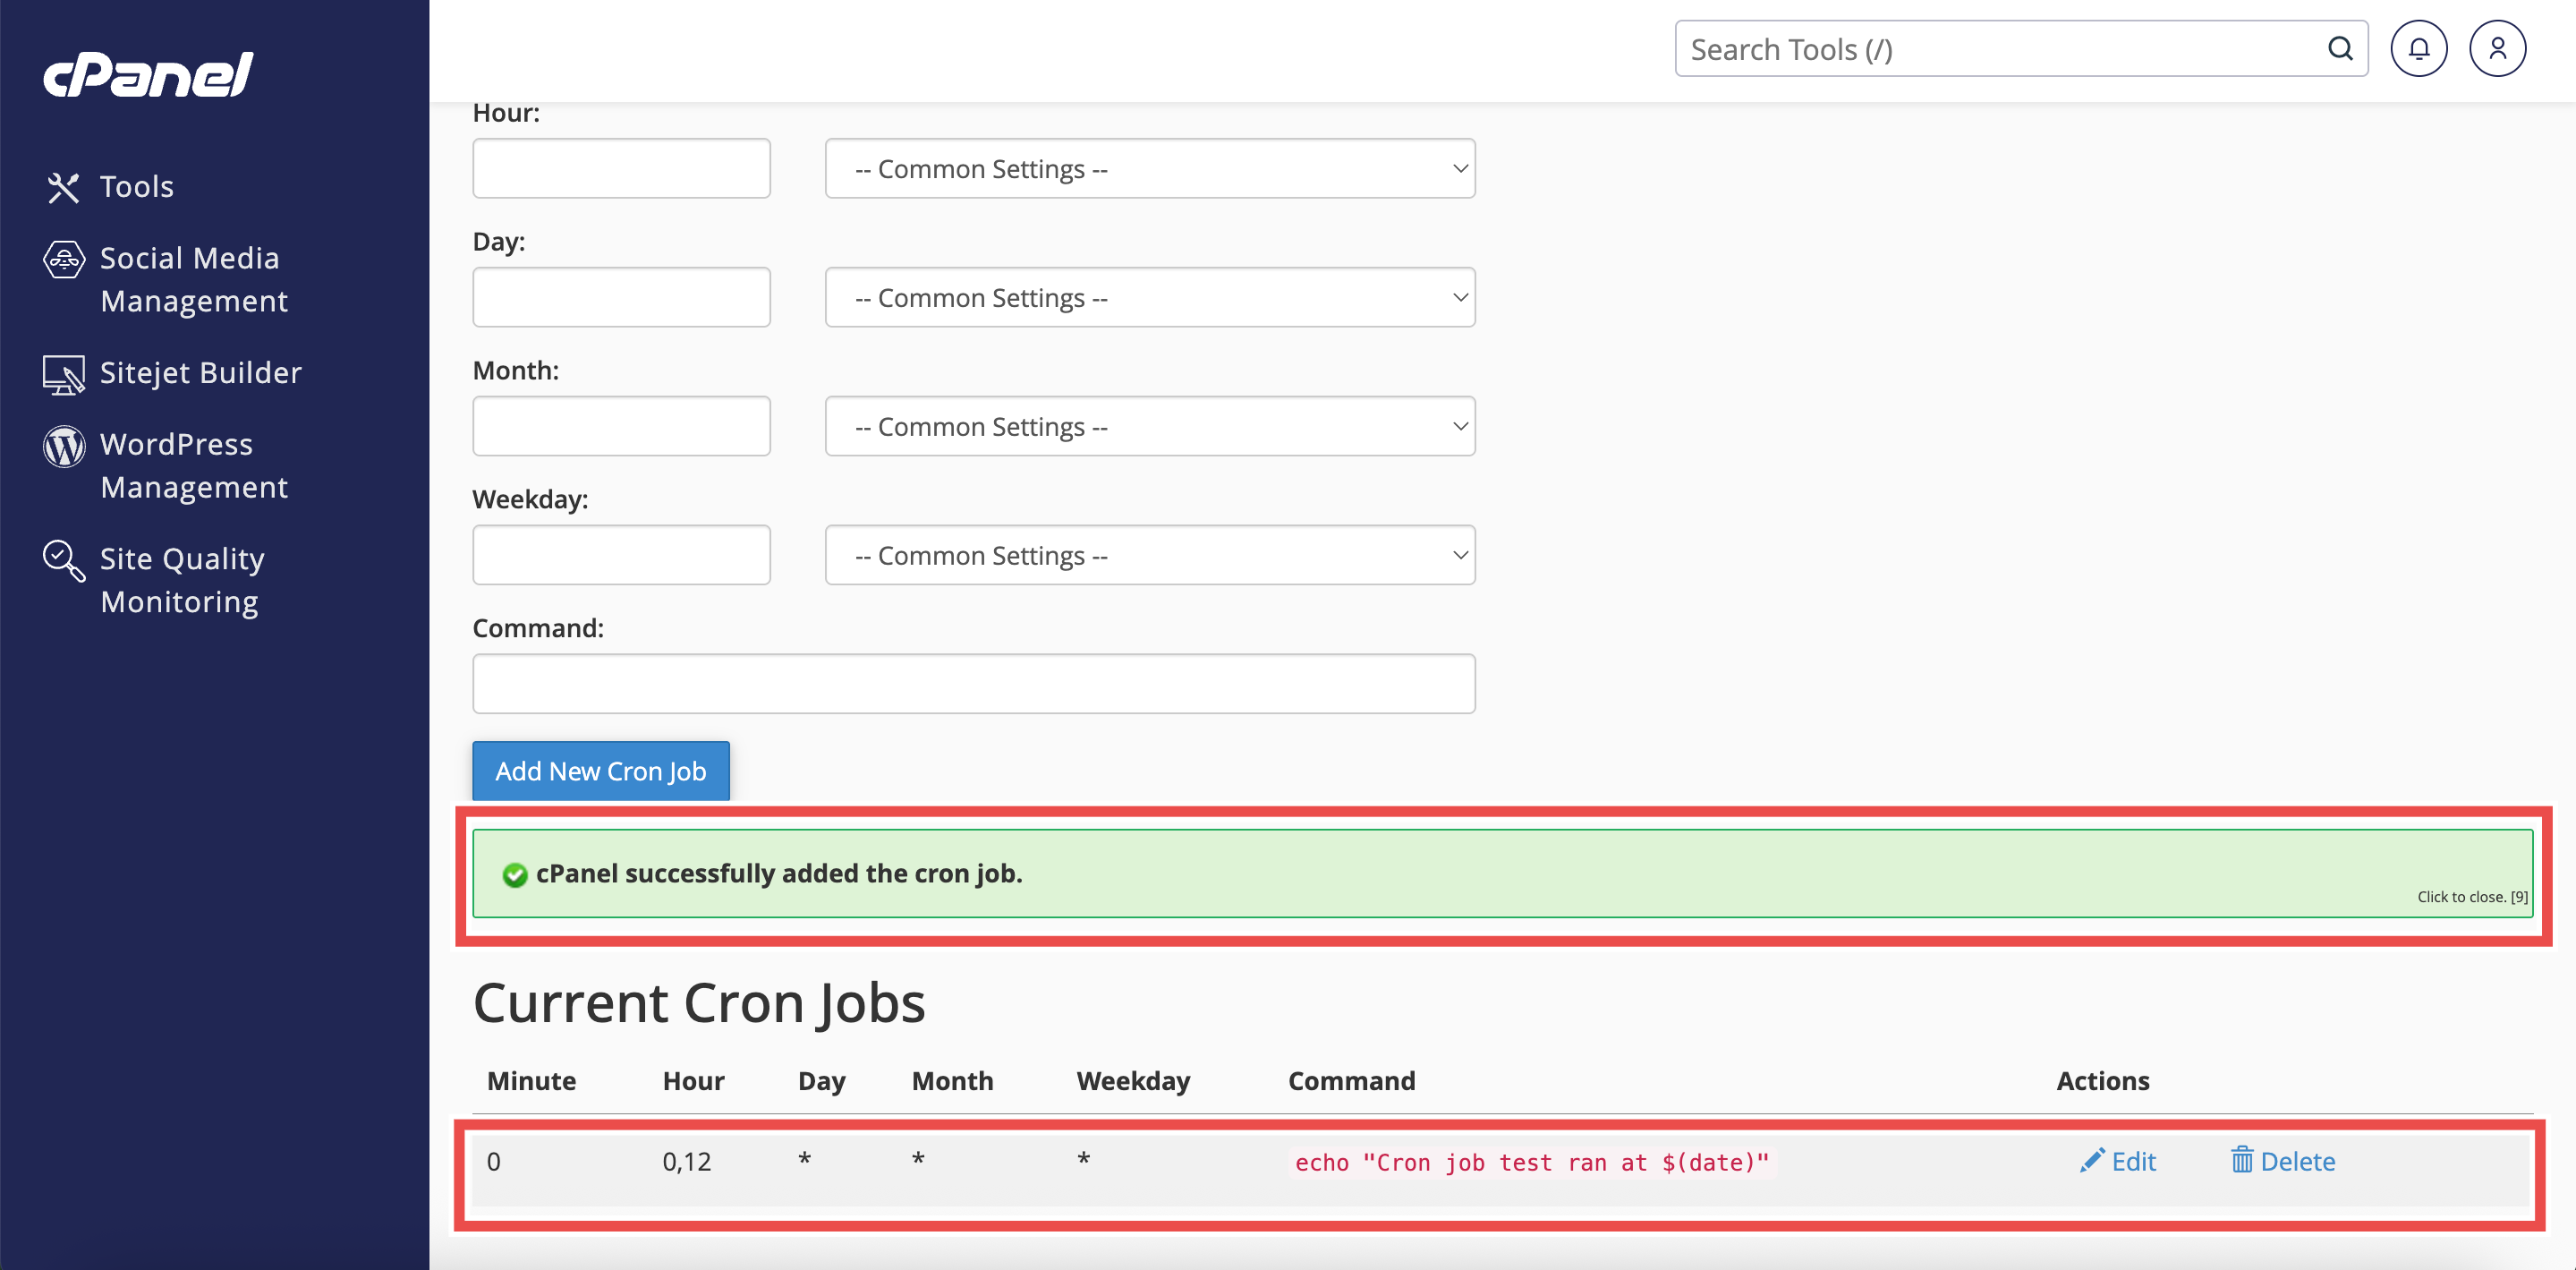
Step 7: Verify the Changes
- A success message will appear confirming that the cron job has been added.
- Additionally, verify that the cron job is listed in the Current Cron Jobs table to ensure it was successfully created.
Conclusion
By following these steps, a new cron job can be easily added and scheduled in cPanel. This allows automated tasks to run at the desired intervals without manual intervention. Regular monitoring of the Current Cron Jobs table ensures that all scheduled tasks are correctly configured and active.
Should you encounter any issues or have any questions, our support team at IPSERVERONE is always here to assist you. Don’t hesitate to reach out to us at support@ipserverone.com for any help you need.