Search Our Database
How to Stop GPU Instance(s) in Customer Portal
Introduction:
The NovaGPU platform provides GPU as a Service, offering affordable and scalable on-demand GPU resources primarily utilized for compute-intensive tasks like training, fine-tuning, and deploying AI/ML workloads. Since all instances are typically charged on an hourly basis once launched, the prompt deactivation of resources that are temporarily not in use is fundamental for maintaining cost efficiency.
This document provides a concise, step-by-step methodology detailing how to quickly and formally stop your GPU Instance(s). The entire process is executed securely within the Customer Portal, requiring navigation through the NovaCloud management dashboard and the specific GPU Instances section. Adherence to the instructions outlined in the accompanying document ensures efficient instance lifecycle management and optimized resource utilization.
Prerequisites:
- Access to the Customer Portal.
- The user must have at least one GPU instance.
- Ensure Stop Action Doesn’t Affect Normal Operations
Step-by-step Guide:
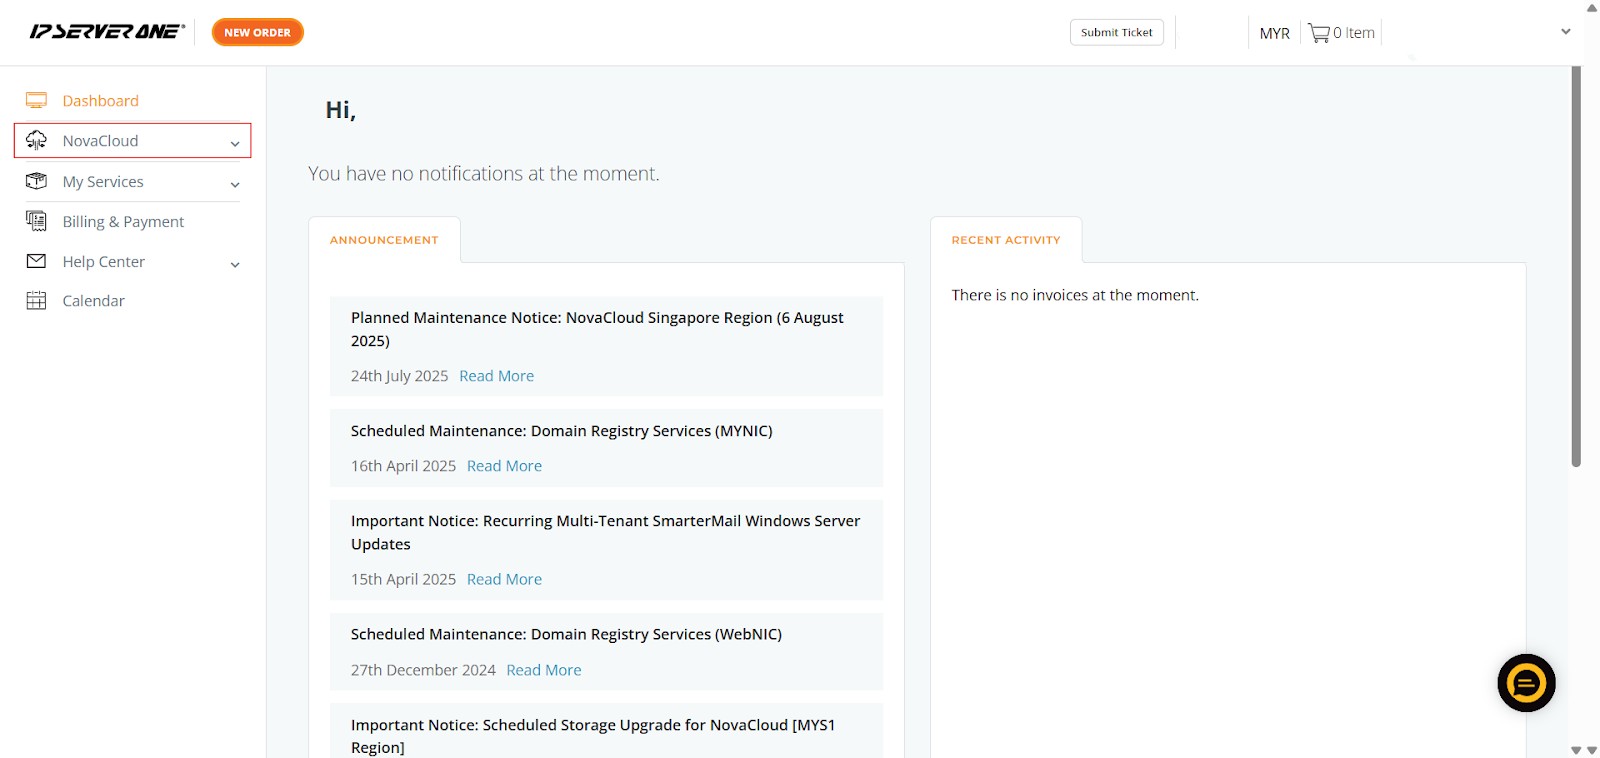
Step 1: Access NovaCloud Services
- After logging into the Customer Portal, locate the left-hand navigation menu. Click NovaCloud.
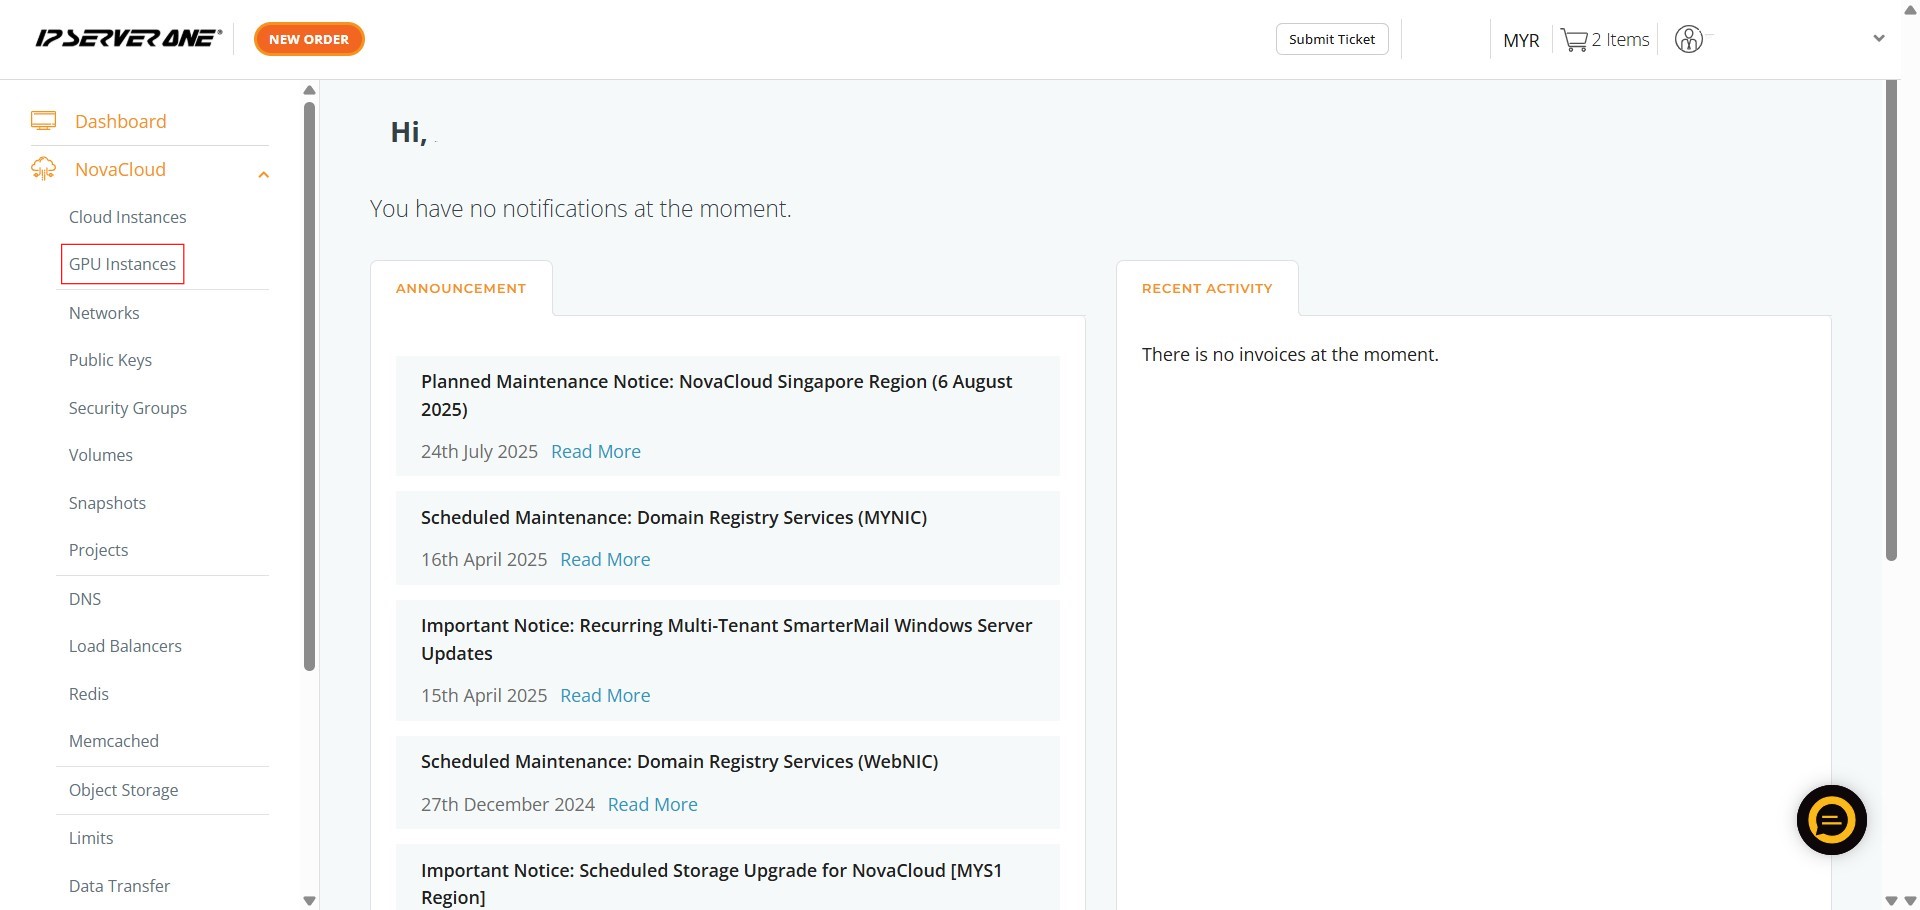
Step 2: Navigate to GPU Instances
- From the expanded NovaCloud menu, locate and Click GPU Instances.
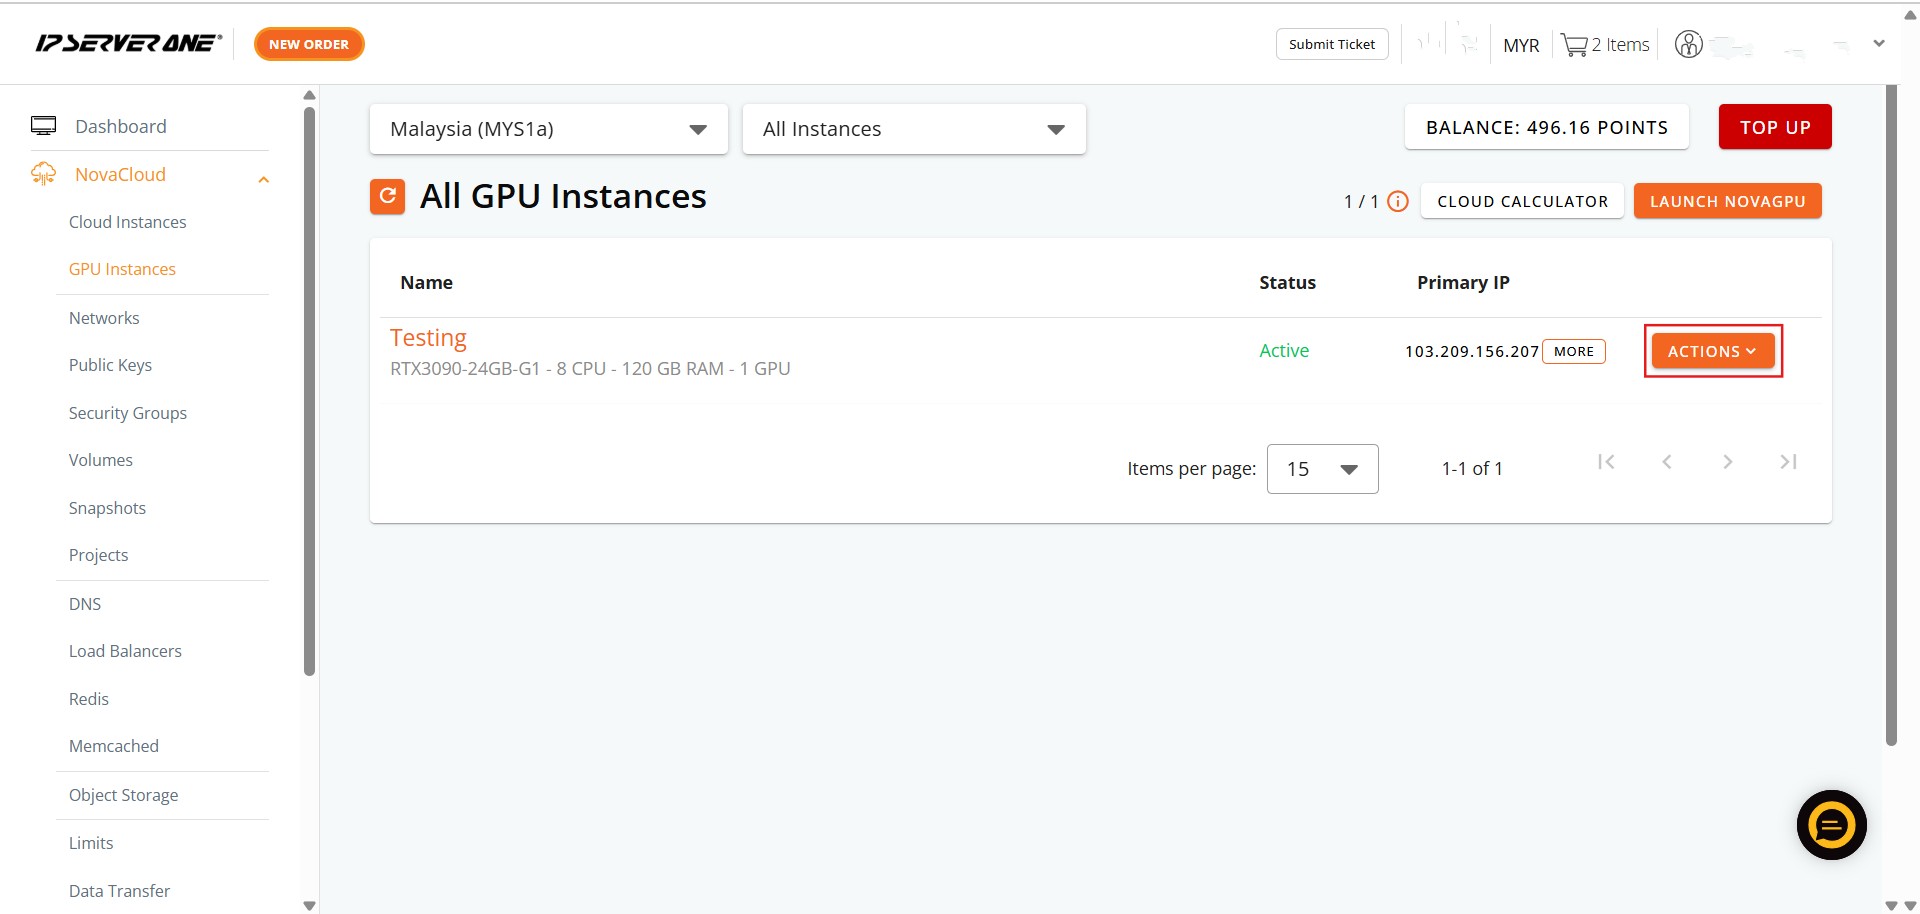
Step 3: Open the Actions Menu
- Identify the specific active GPU instance you intend to stop.
- On the row corresponding to that instance, Click Action. A dropdown menu containing management options will appear.
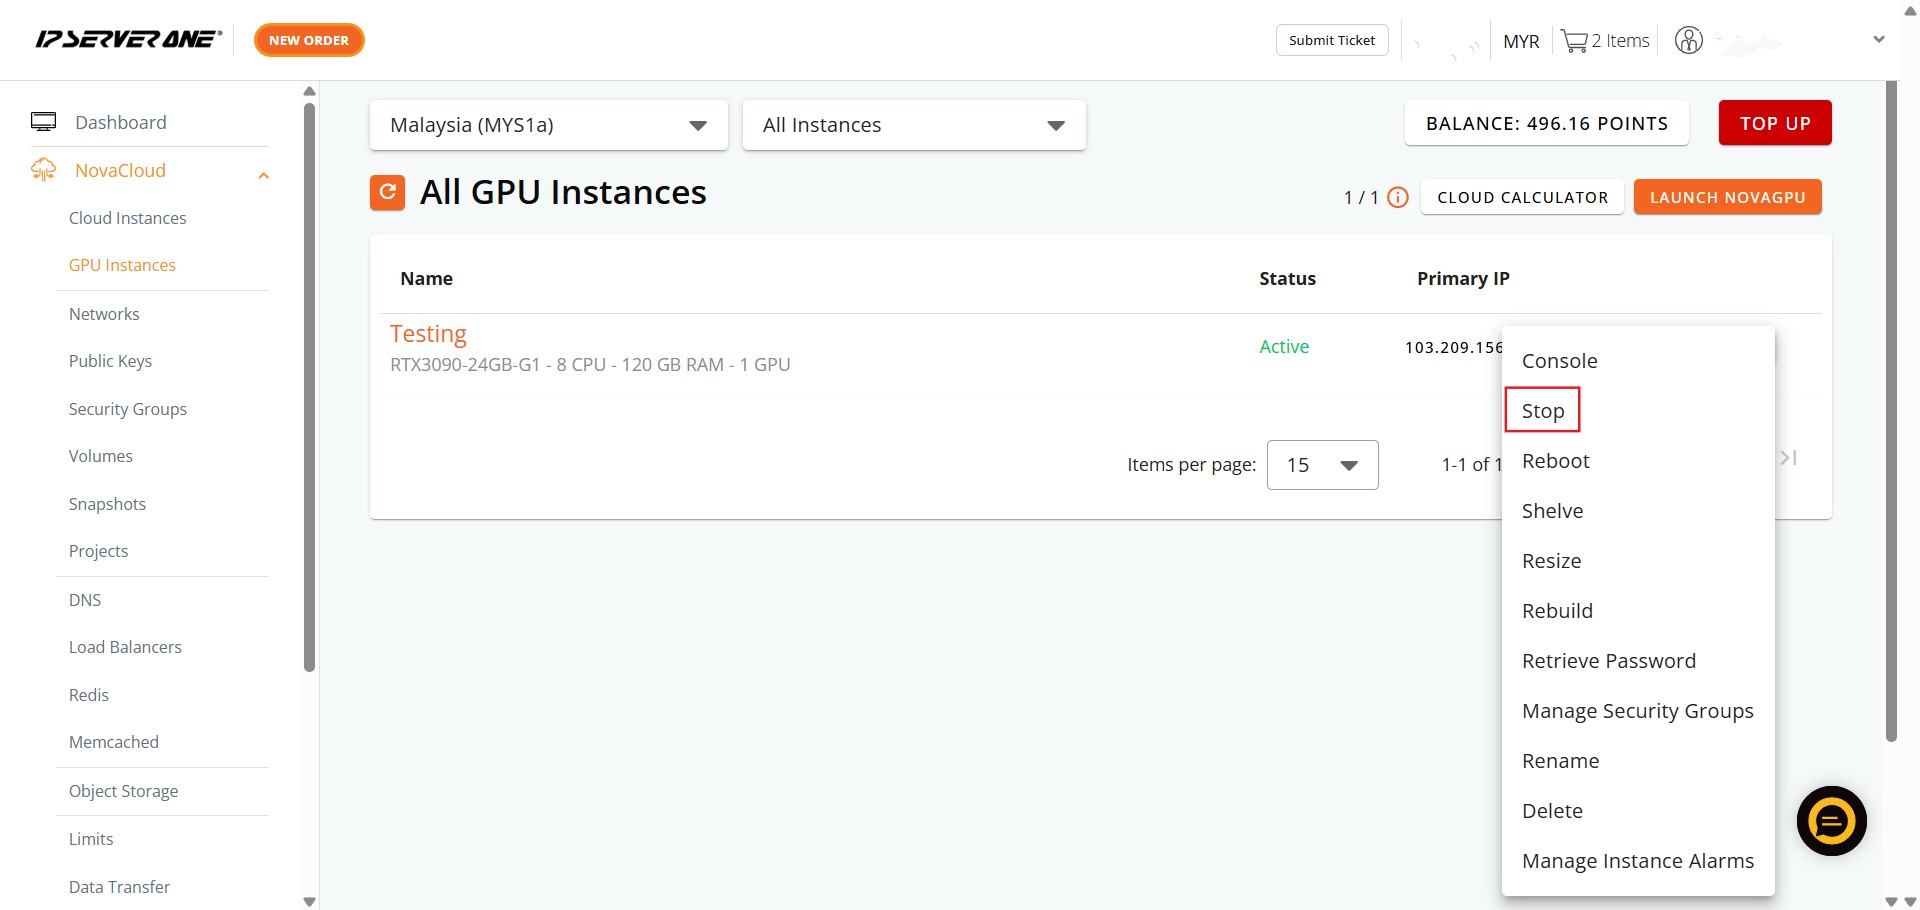
Step 4: Select the Stop Button
- From the actions list, Click Stop.
- This action signals your intent to immediately shut down the running processes and deactivate the instance compute resources.
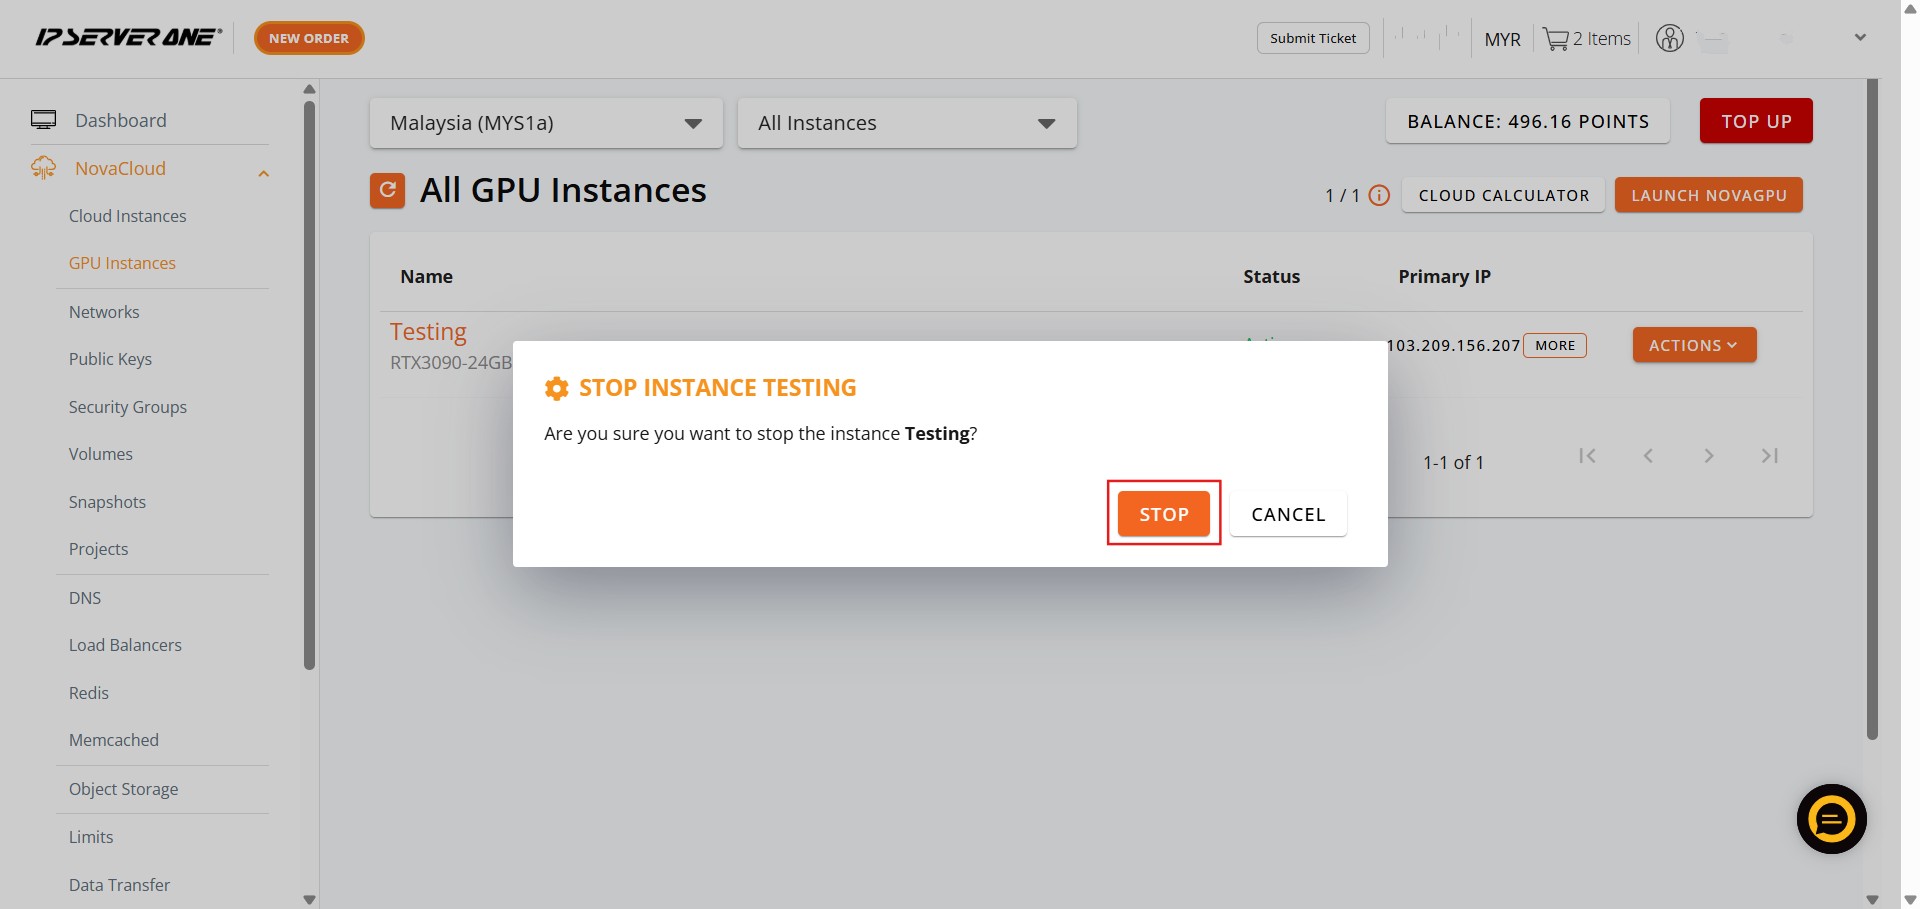
Step 5: Confirm the Stop Action
- A mandatory confirmation prompt will display.
- To finalize the shutdown process and confirm that you wish to stop the instance, Click Stop to confirm.
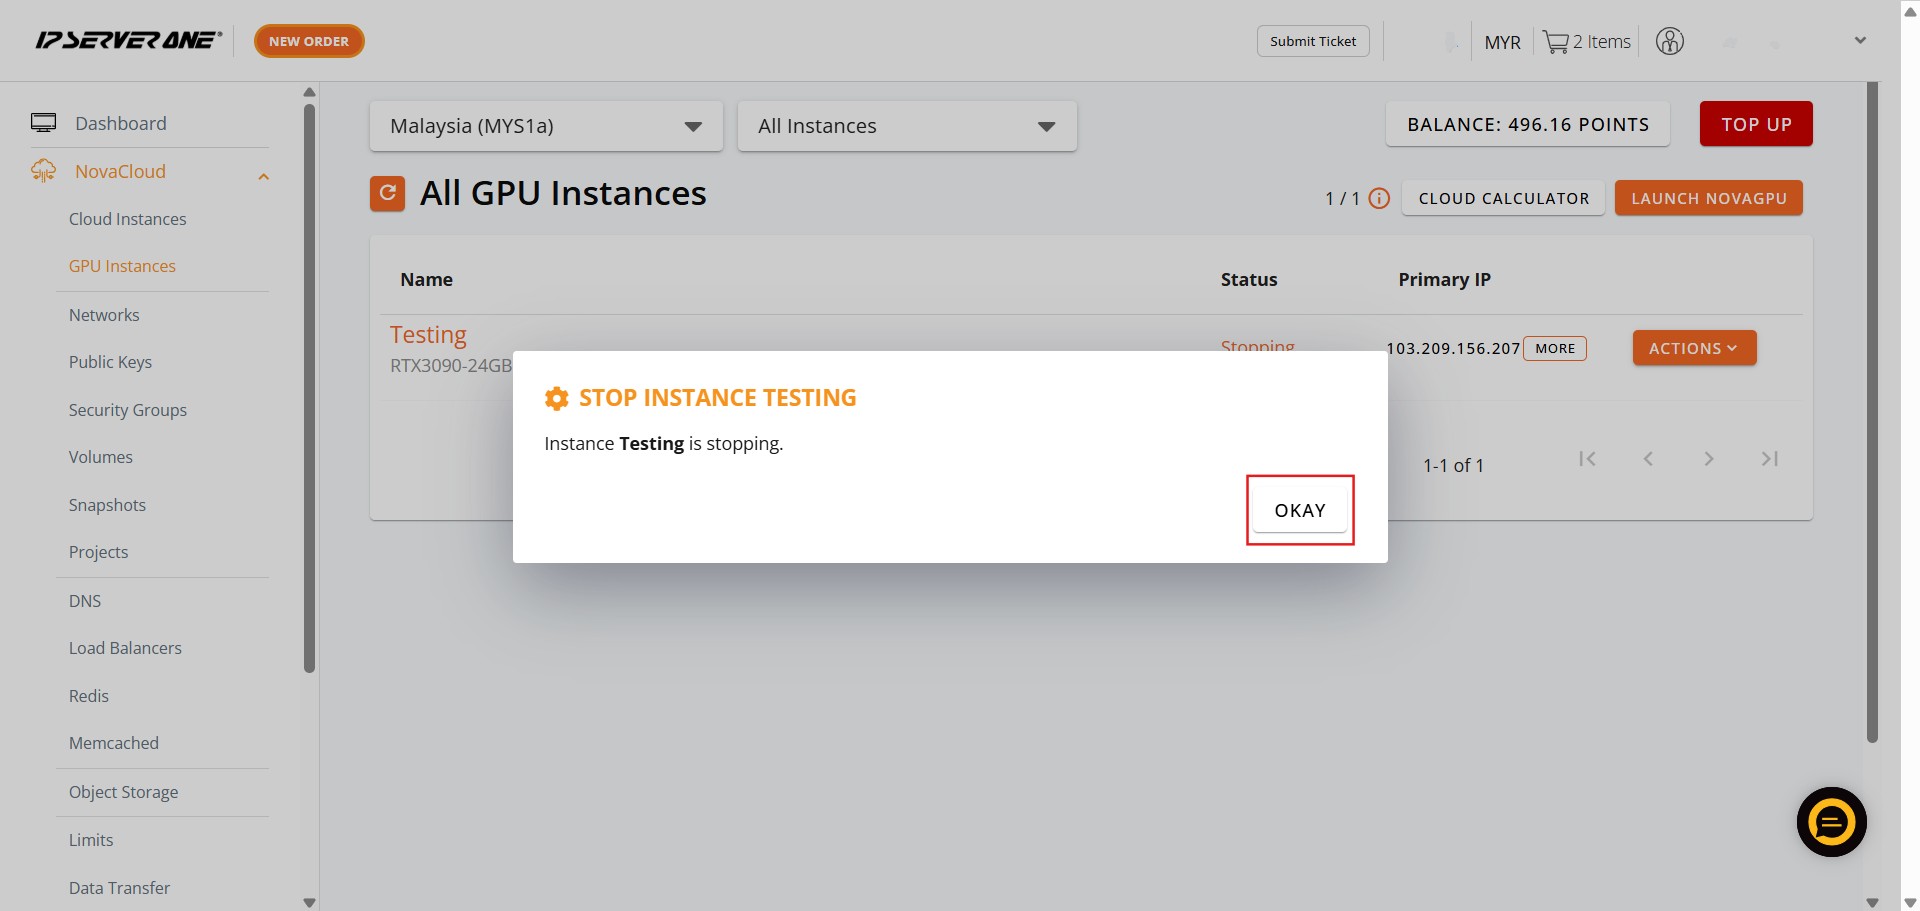
Step 6: Acknowledge the Queue
- Once the stop request is submitted to the system, a notification will appear stating that the action has been queued for processing.
- Click Okay to dismiss this message and acknowledge the request.
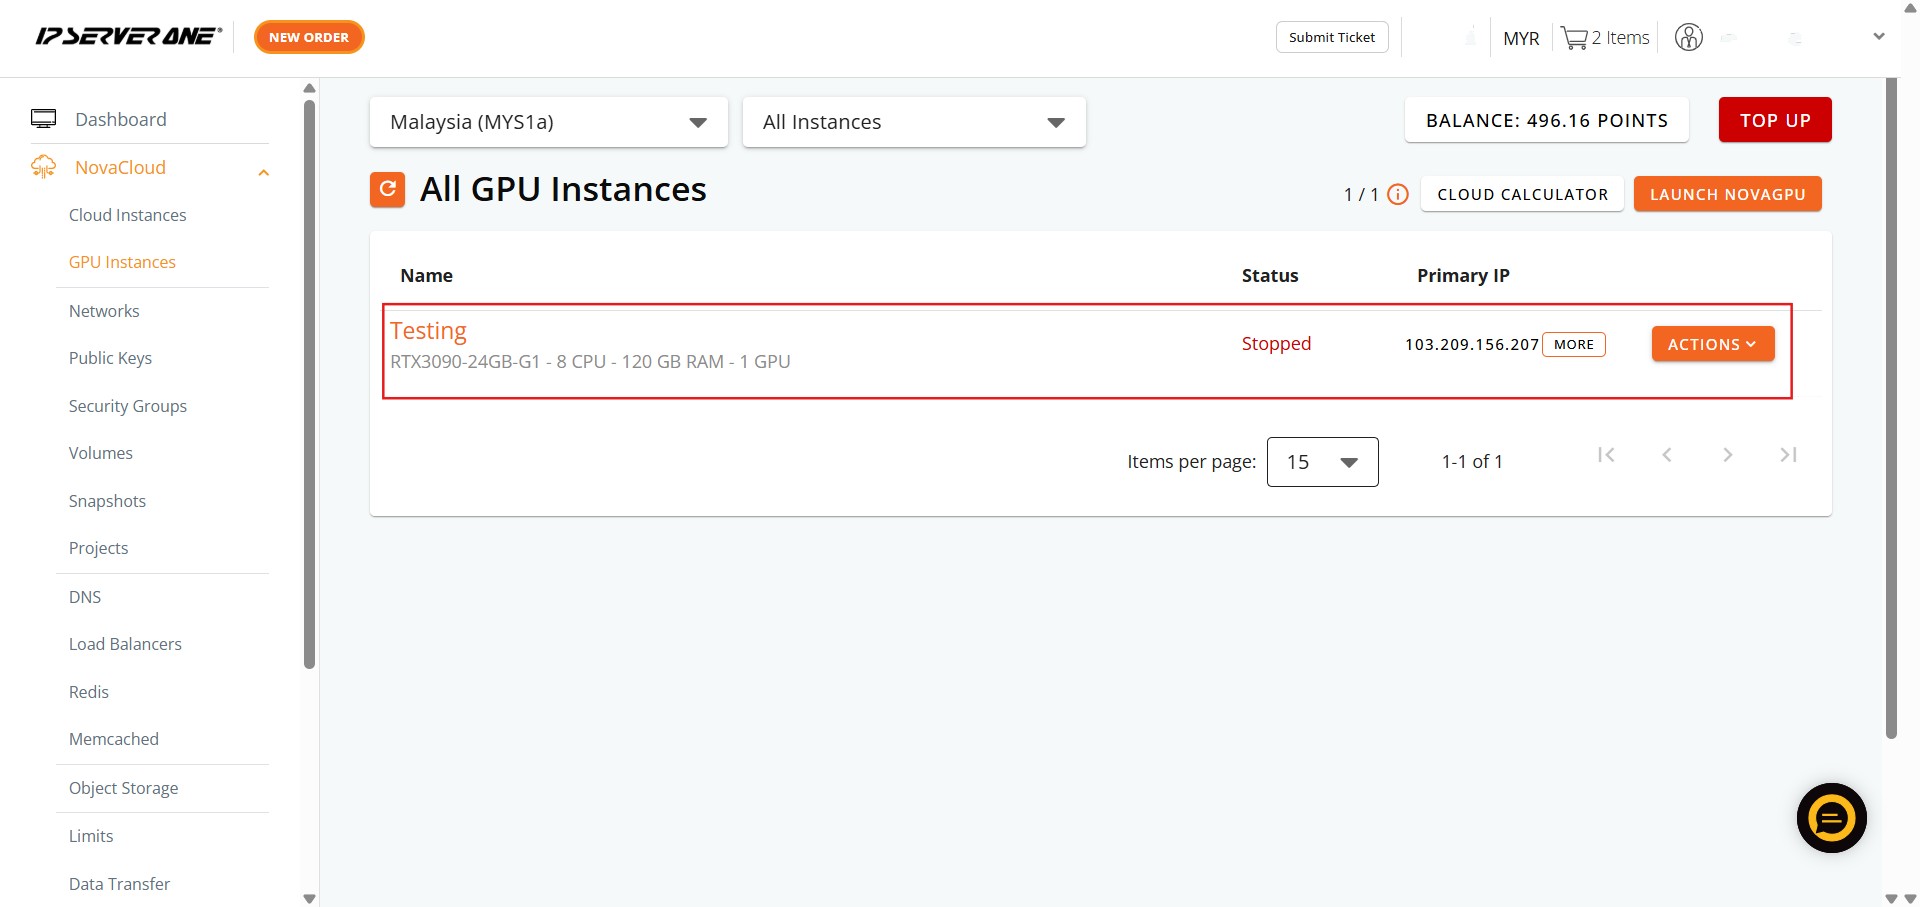
Step 7: Verify Instance Deactivation
- Return to the GPU Instances page. The process is complete when the instance status updates to reflect that the resource is successfully stopped.
Conclusion:
This guide has successfully outlined the process for stopping GPU Instance(s) within the Customer Portal. By following these instructions, you leveraged the NovaCloud section, specifically navigating to the GPU Instances page, and utilizing the Action > Stop command to efficiently manage your resources when the instance is temporarily not in use. This action is vital for achieving cost optimization concerning these resources, which are utilized for tasks like training, fine-tuning, and deploying AI models via the NovaGPU: GPU as a Service platform. It is important to remember that all instances are charged hourly; once an instance is launched, credits will be deducted immediately on a prorated basis until the end of the current hour, with standard hourly charges applying thereafter. For security reasons, outgoing SMTP traffic is restricted.
Should you encounter any issues or have any questions, our support team at IPSERVERONE is always here to assist you. Don’t hesitate to reach out to us at support@ipserverone.com for any help you need.