Search Our Database
How to Delete Additional Web Disk Account in cPanel
Introduction
Managing Web Disk accounts includes removing unnecessary or obsolete accounts to maintain organized access control and security. When team members leave, projects end, or access requirements change, deleting unused Web Disk accounts helps prevent unauthorized access while keeping your account list manageable. cPanel’s Web Disk interface provides a secure method for removing additional accounts while preserving the underlying files and directories. This guide explains how to delete Web Disk accounts using the Files > Web Disk section in cPanel.
Prerequisites
- Access to cPanel with the necessary permissions.
- Existing Additional Web Disk Account you wish to delete.
Step-by-step Guide
Step 1: Log in to cPanel
Access and log in to your cPanel account using your username and password.
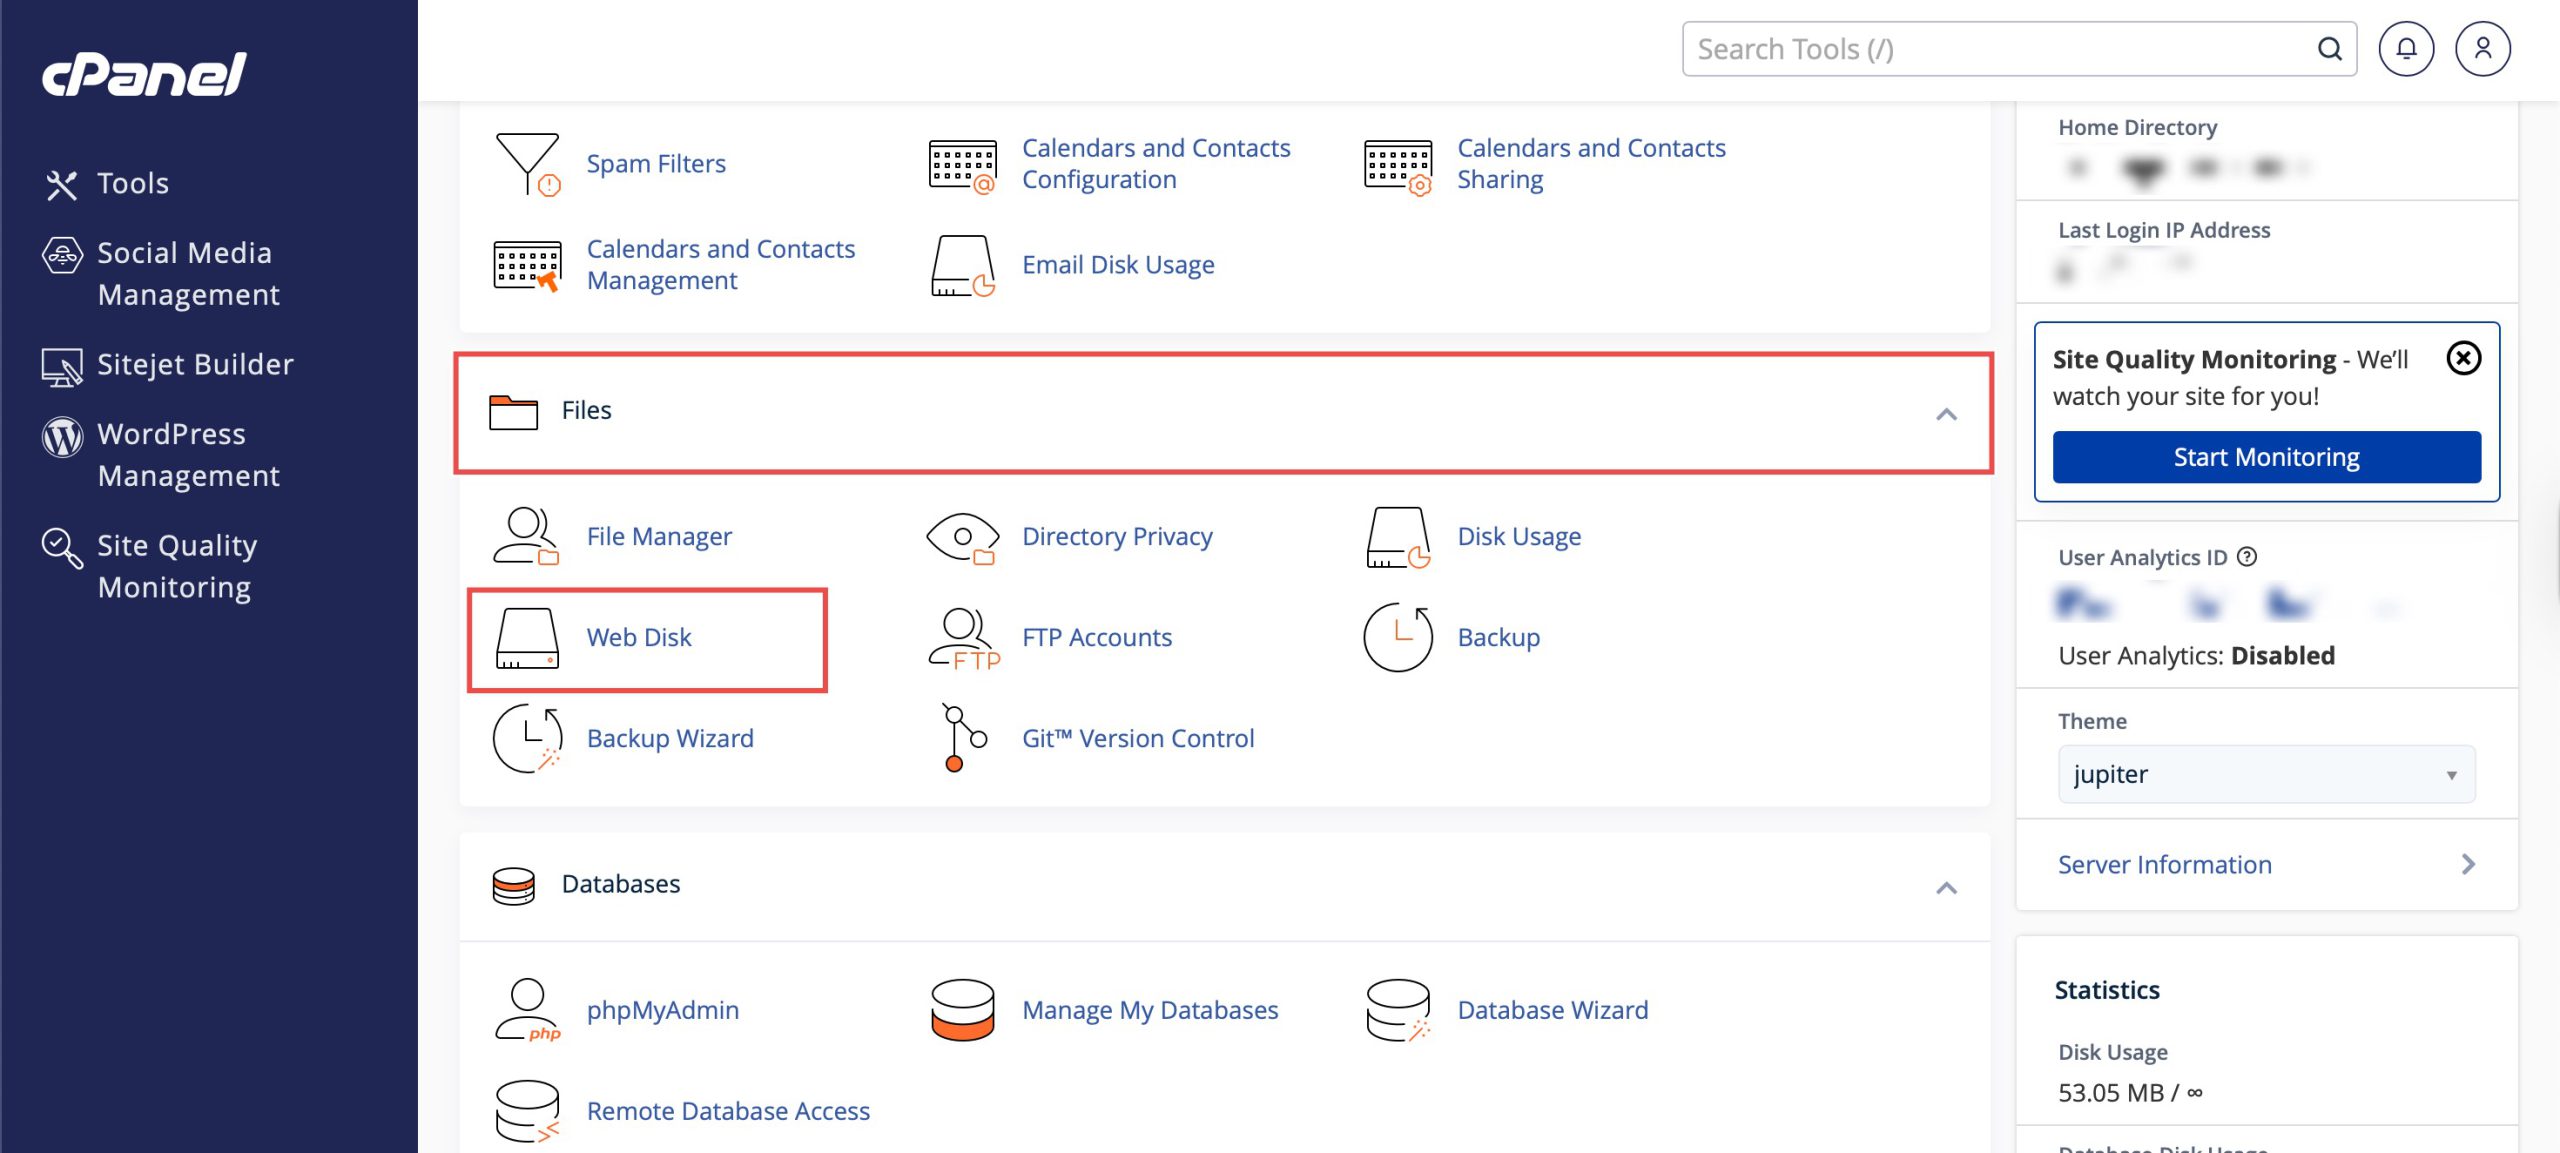
Step 2: Access Web Disk
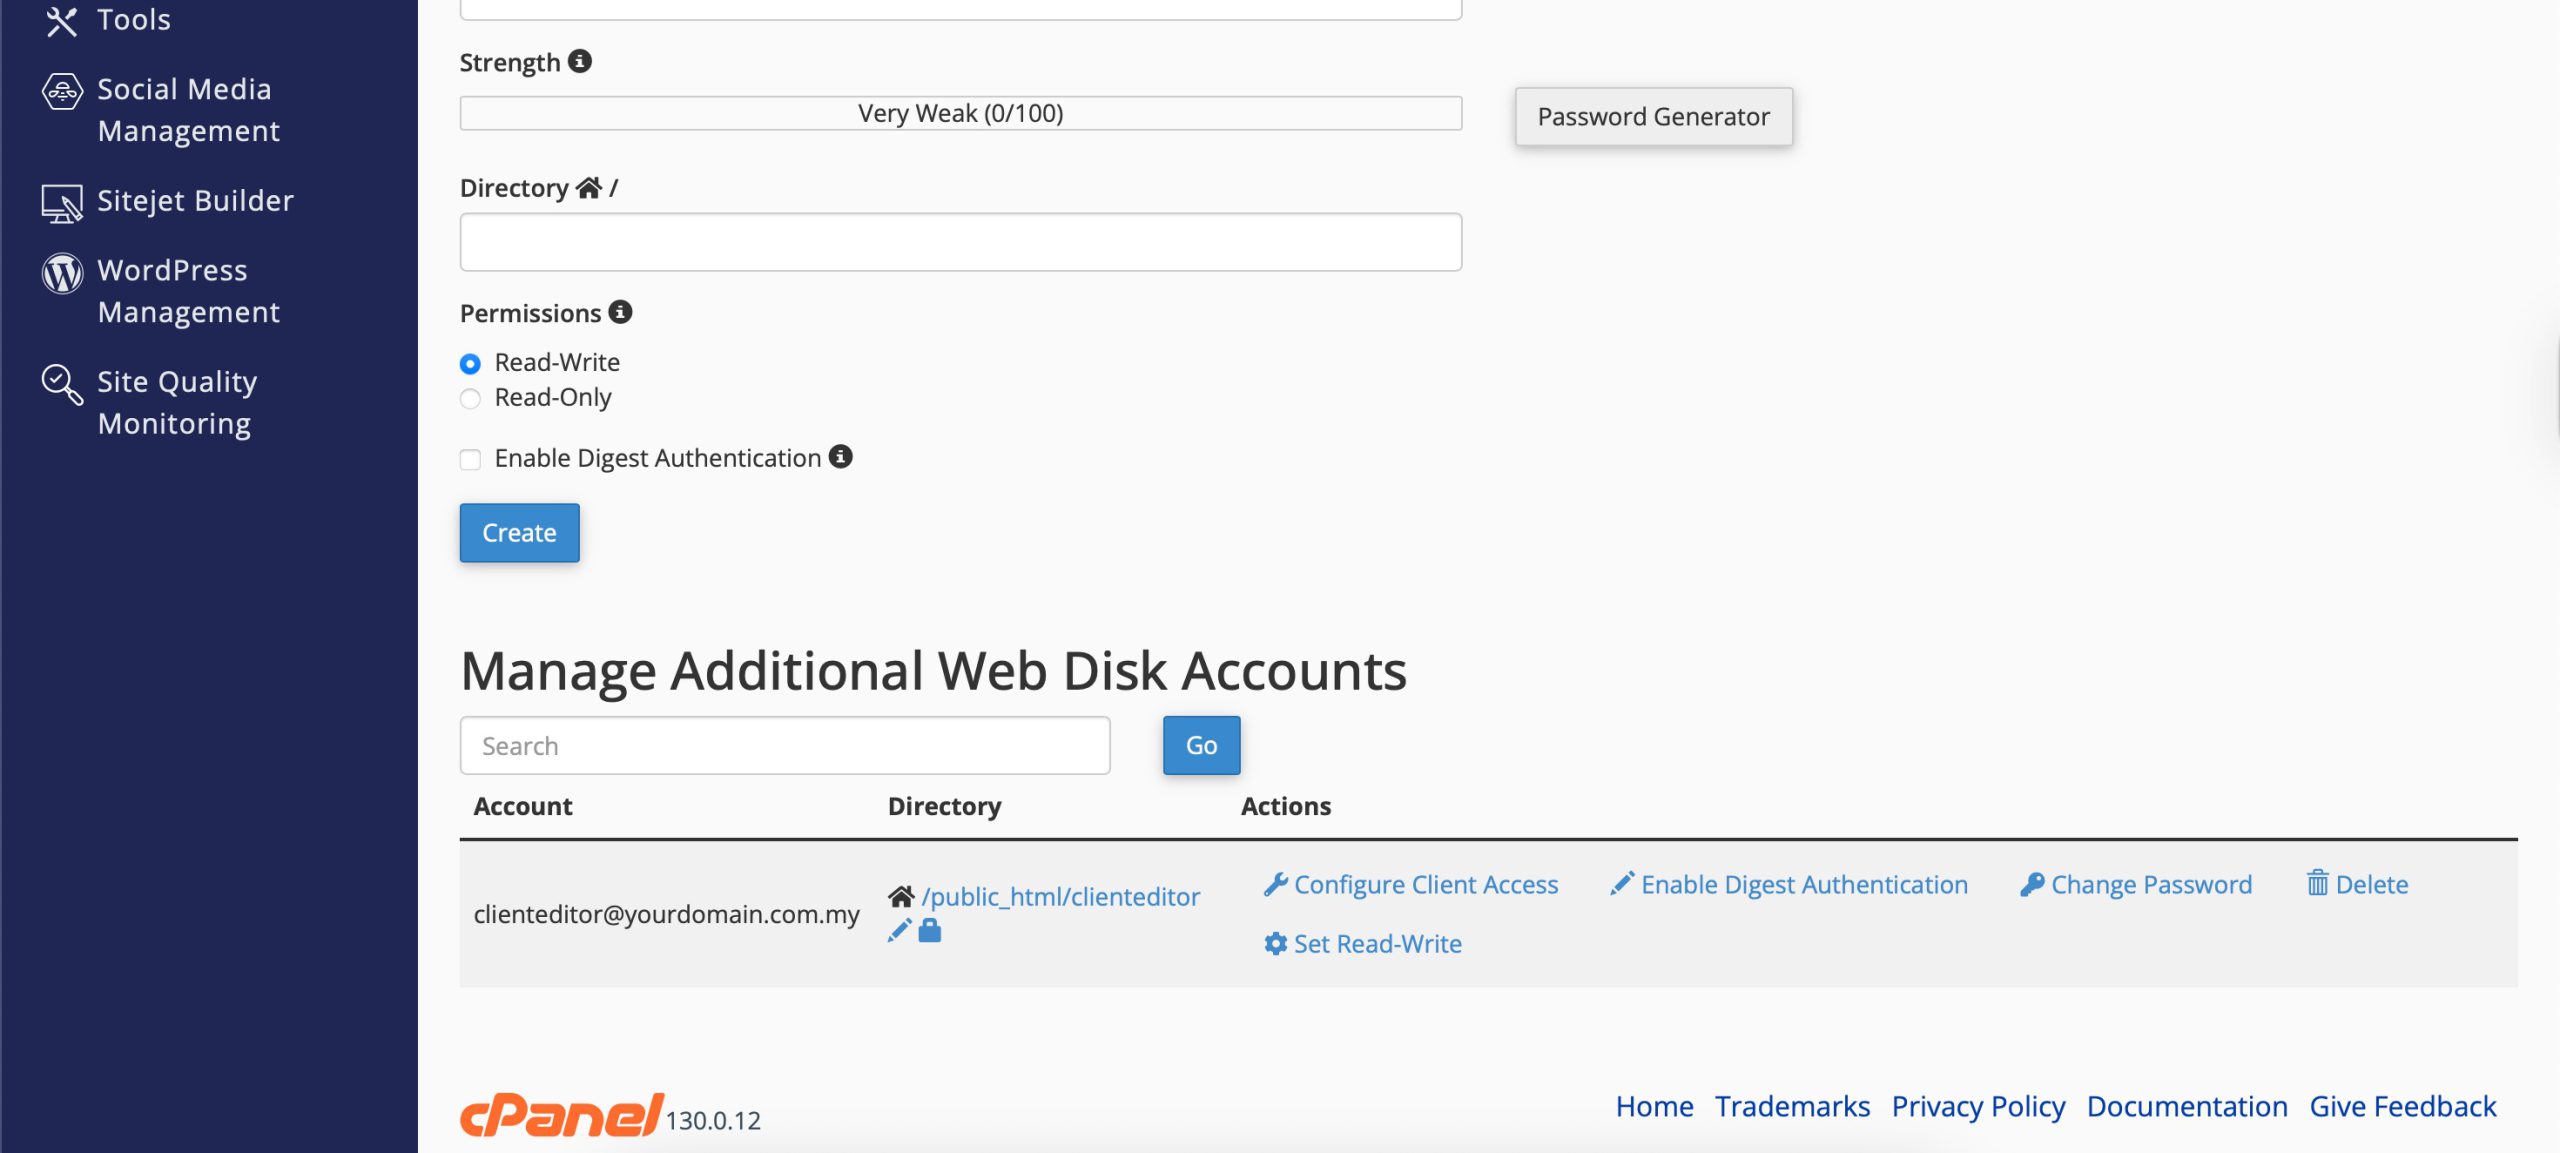
Under the Files section, click Web Disk. You will see your main Web Disk account and a list of additional accounts when you scroll down.
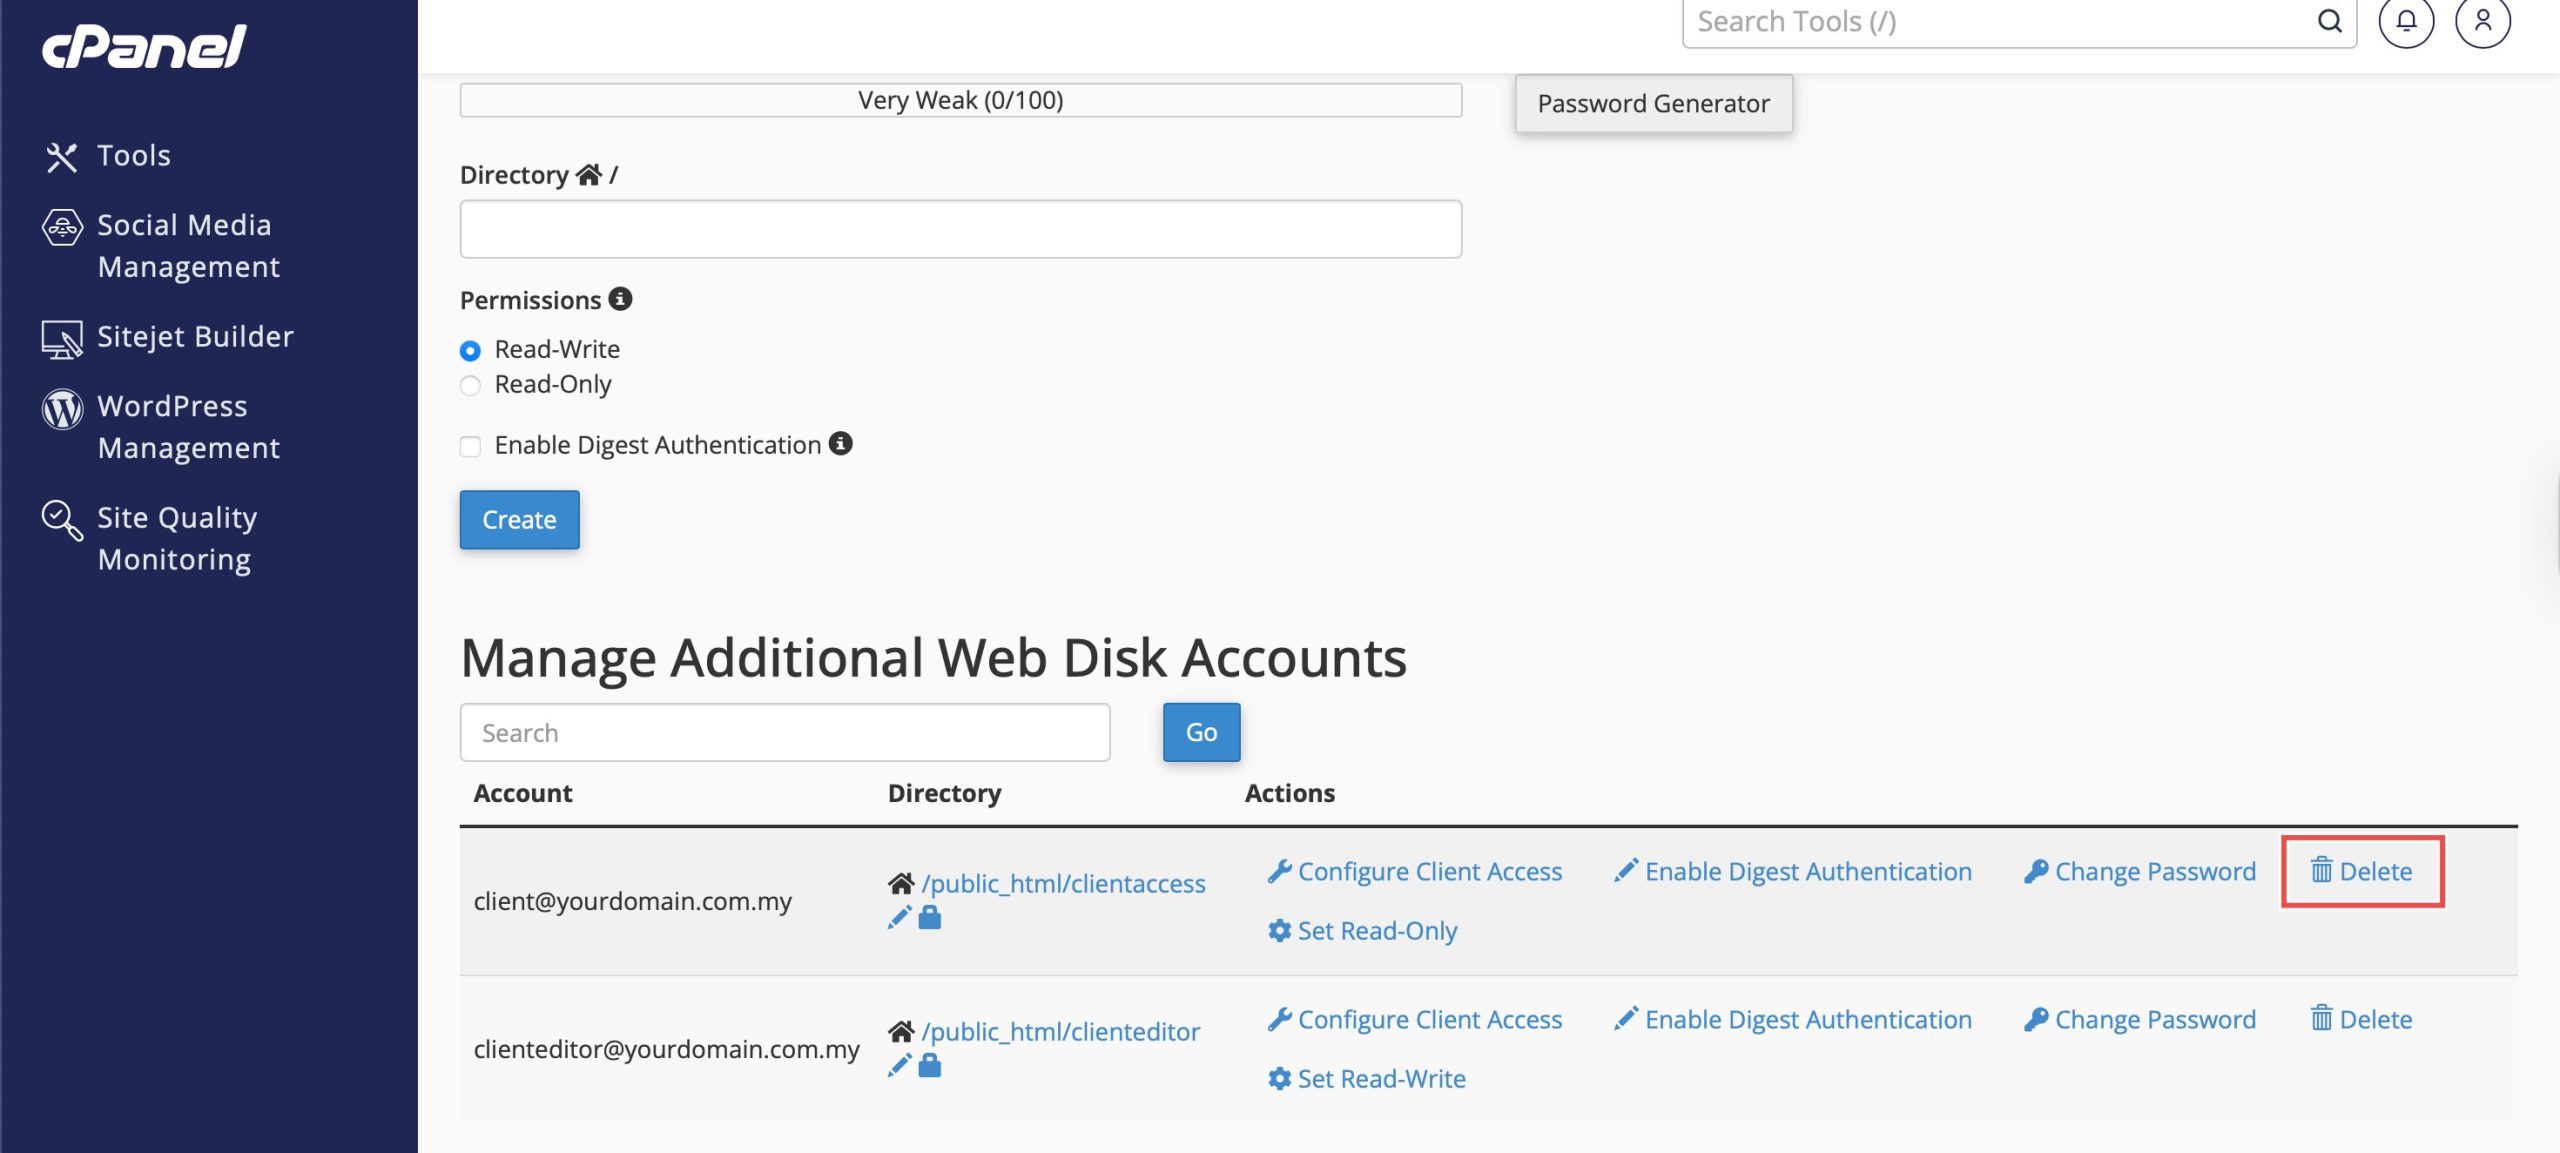
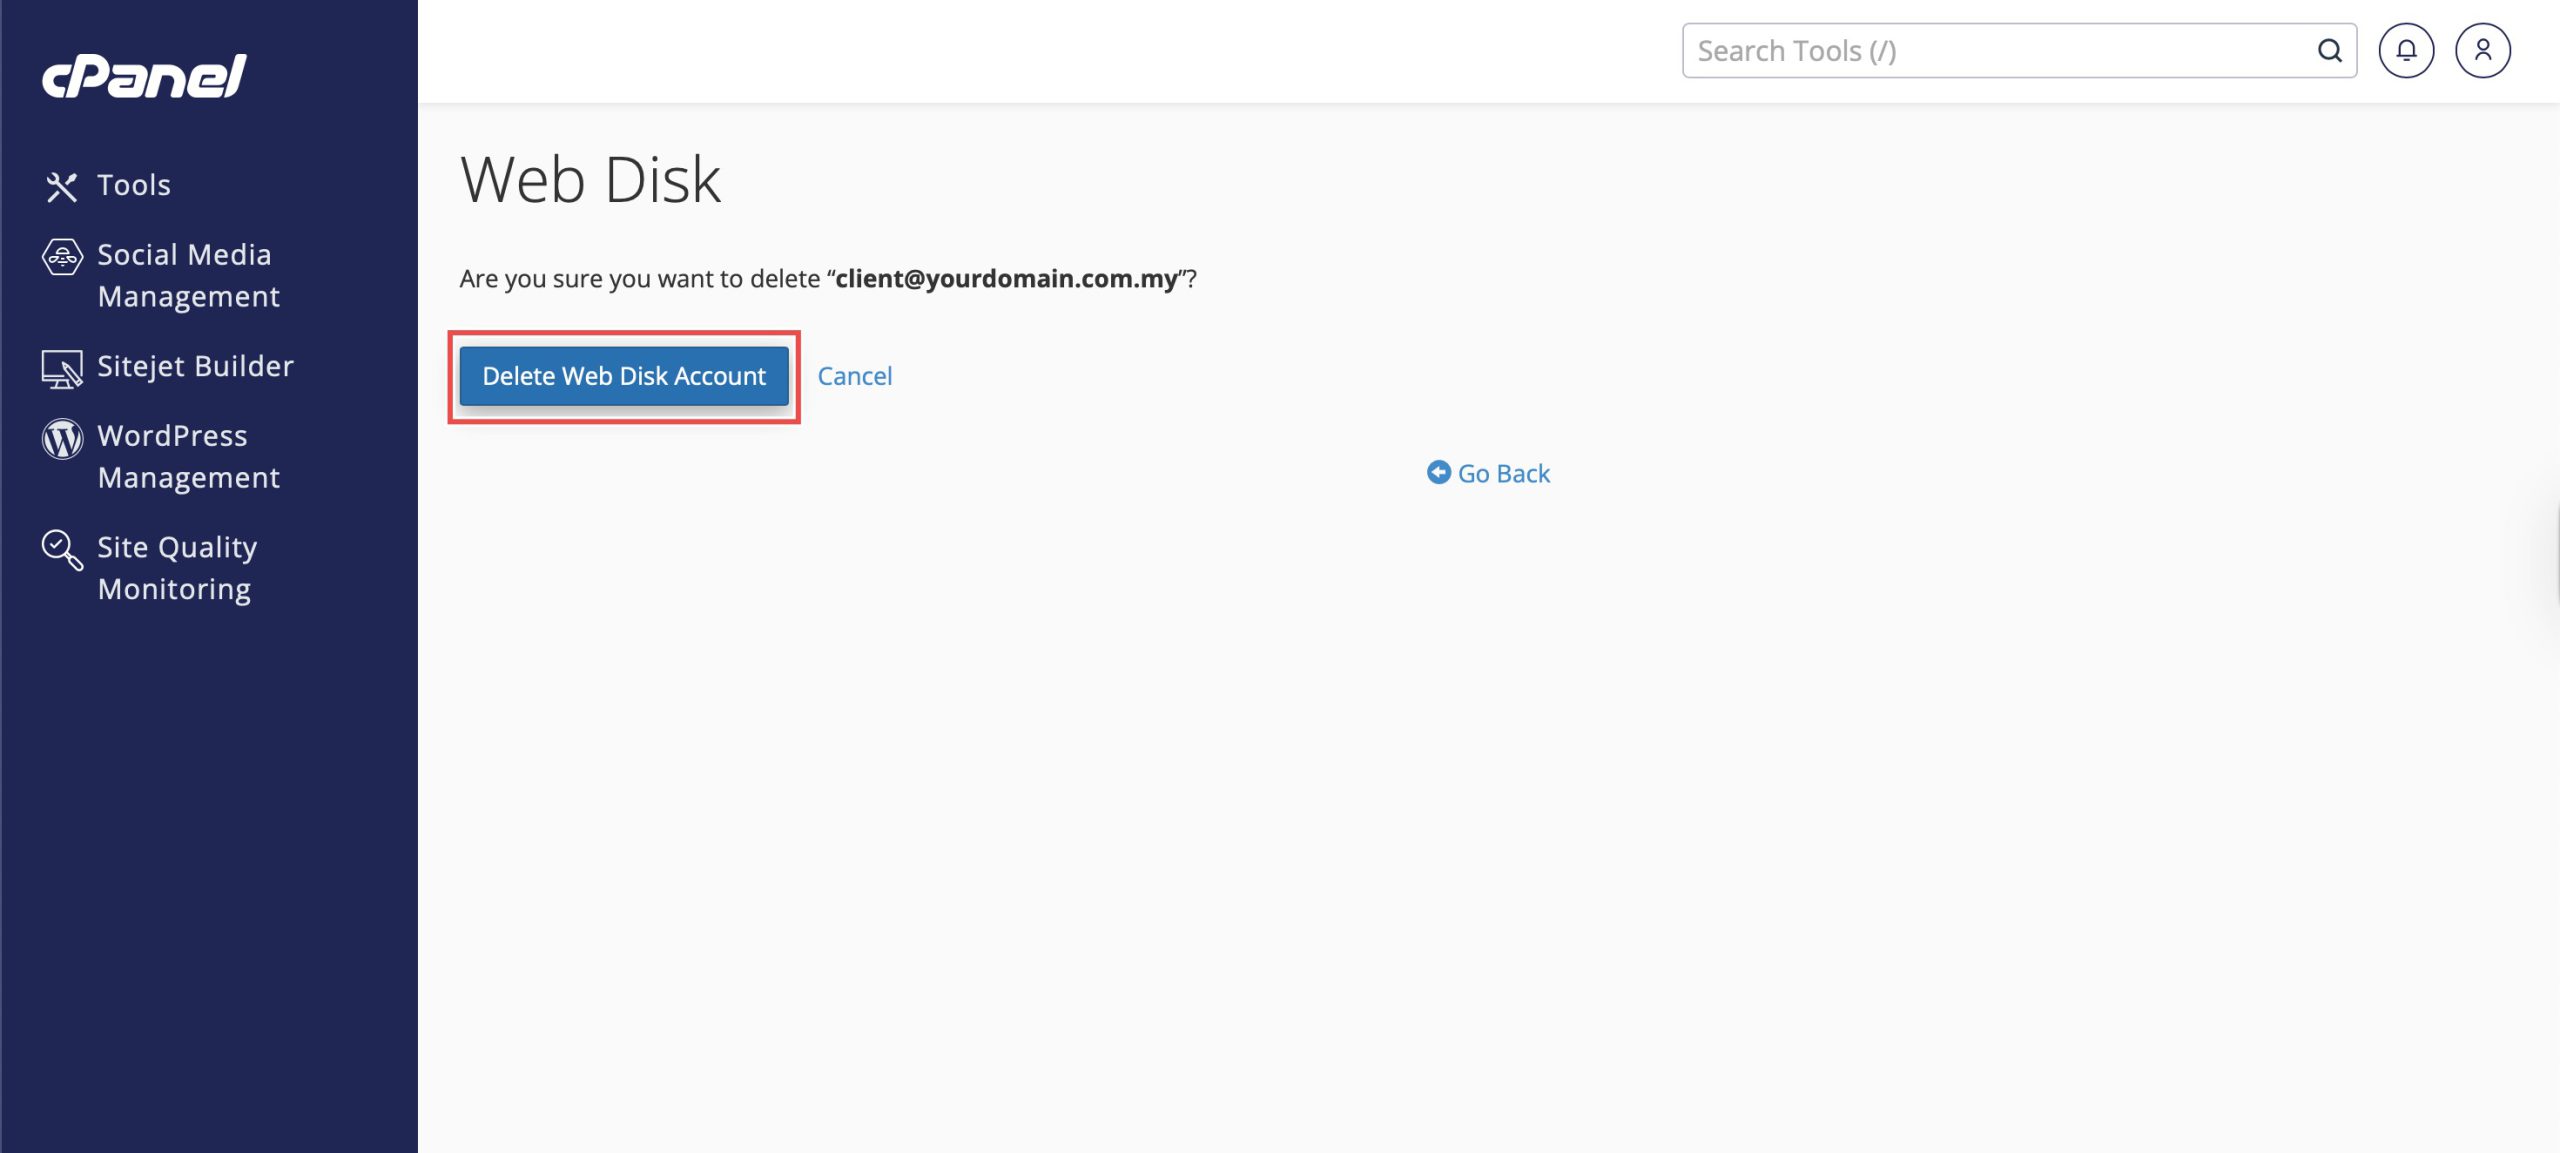
Step 3: Delete Additional Web Disk Account
Locate the Web Disk account you wish to delete, and click Delete. You will be prompted again for confirmation, click Delete Web Disk Account.
Step 4: Verify the Changes
You can verify that the account has been deleted by referring to the list of existing accounts.
Conclusion
Deleting Web Disk accounts through cPanel’s Web Disk interface is a straightforward process that helps maintain secure and organized file access management. The deletion process removes account credentials while preserving server files, ensuring proper access control without data loss.
Should you have any inquiries about the guidelines, please feel free to open a ticket through your portal account or contact us at support@ipserverone.com. We’ll be happy to assist you further.