Search Our Database
How to Delete Public Key(s) for the Cloud Server in Customer Portal
Introduction:
This guide explains how to delete a public key from the IPSERVEONE Portal. The main reason for removing a public key is that the user no longer requires it for authentication or access purposes. Keeping unused keys in the system can pose potential security risks and create unnecessary clutter. By removing outdated or unused public keys, users can maintain a clean and secure environment within the IPSERVEONE Portal.
Prerequisites:
- The public key is no longer in use or required for authentication.
- Any server instances or services previously linked to the public key are no longer active or in operation.
- You have confirmed that removing the key will not affect current access or functionality.
Step-by-step Guide:
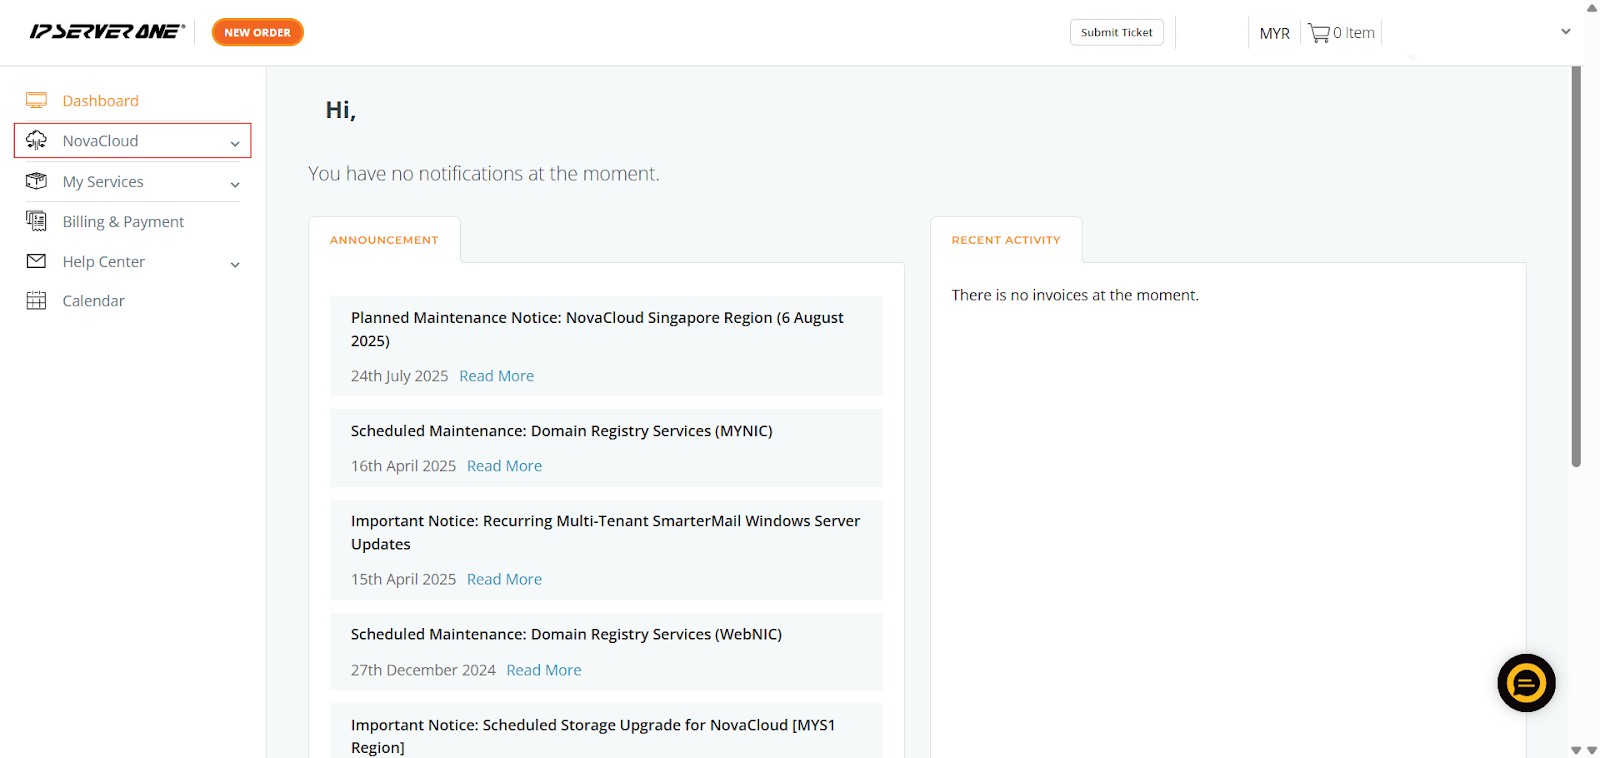
1. Access the NovaCloud Dashboard
- Navigate to your main user interface. On the left-hand side navigation menu, you will find and need to click on “NovaCloud”. This action will expand the NovaCloud specific options.
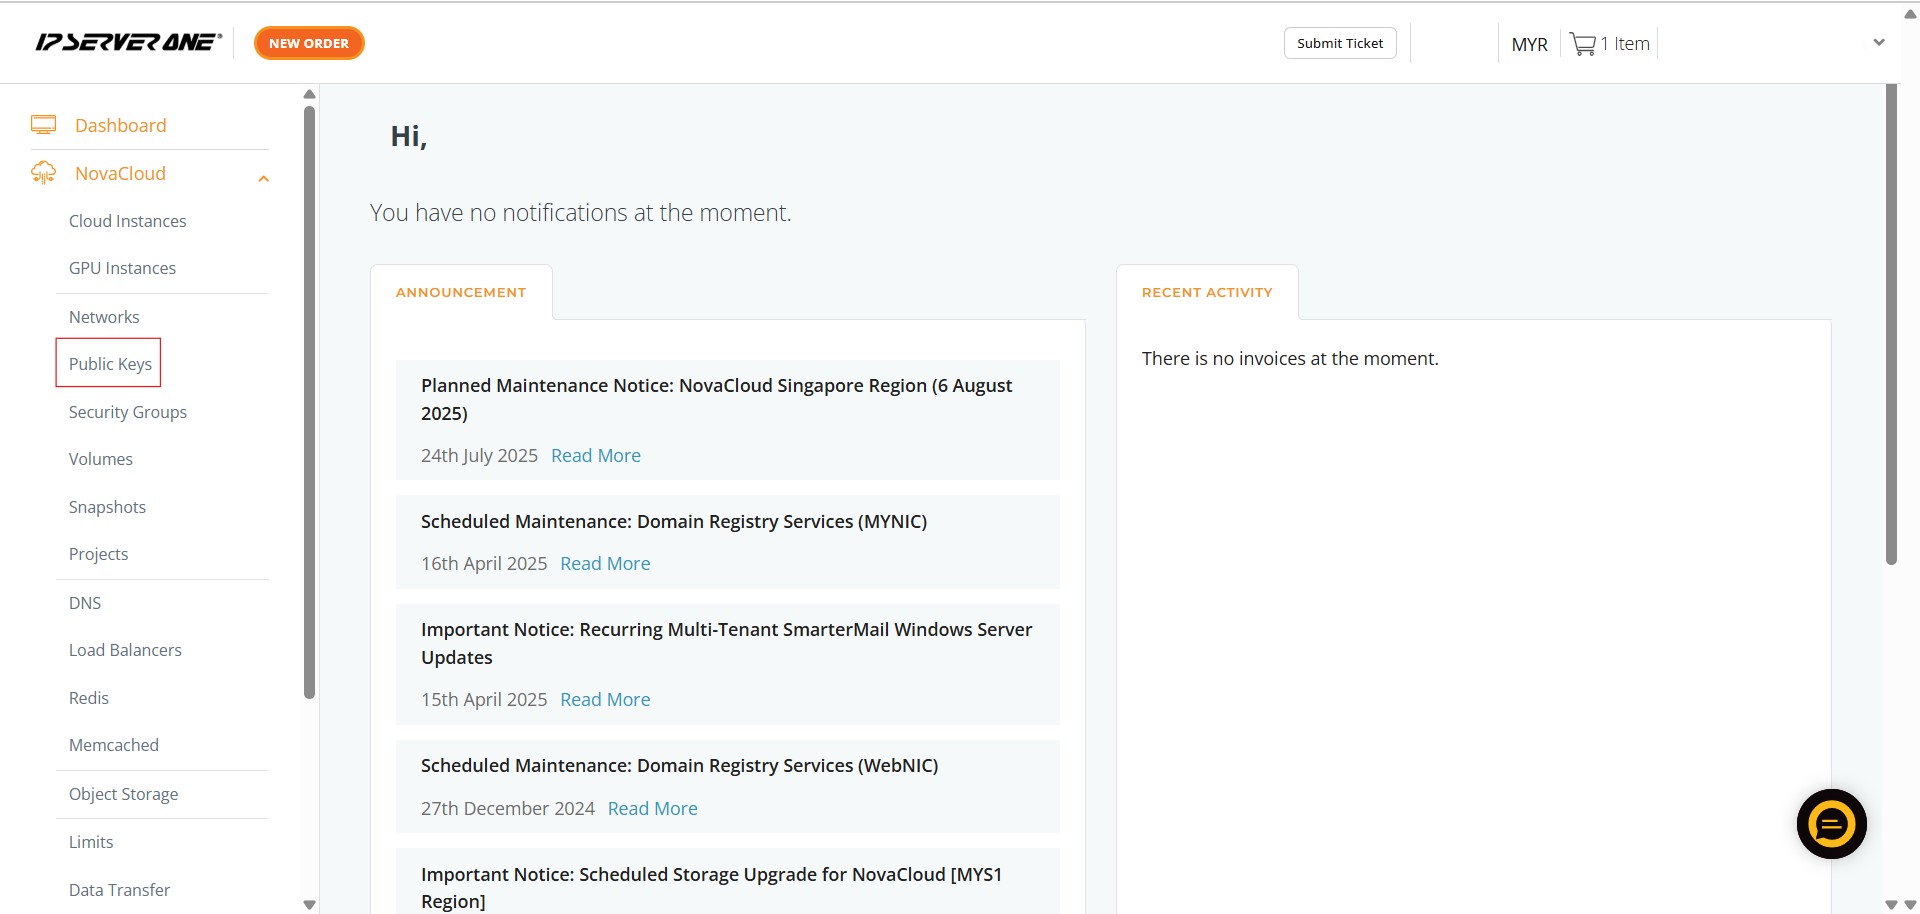
2. Select Public Keys Section
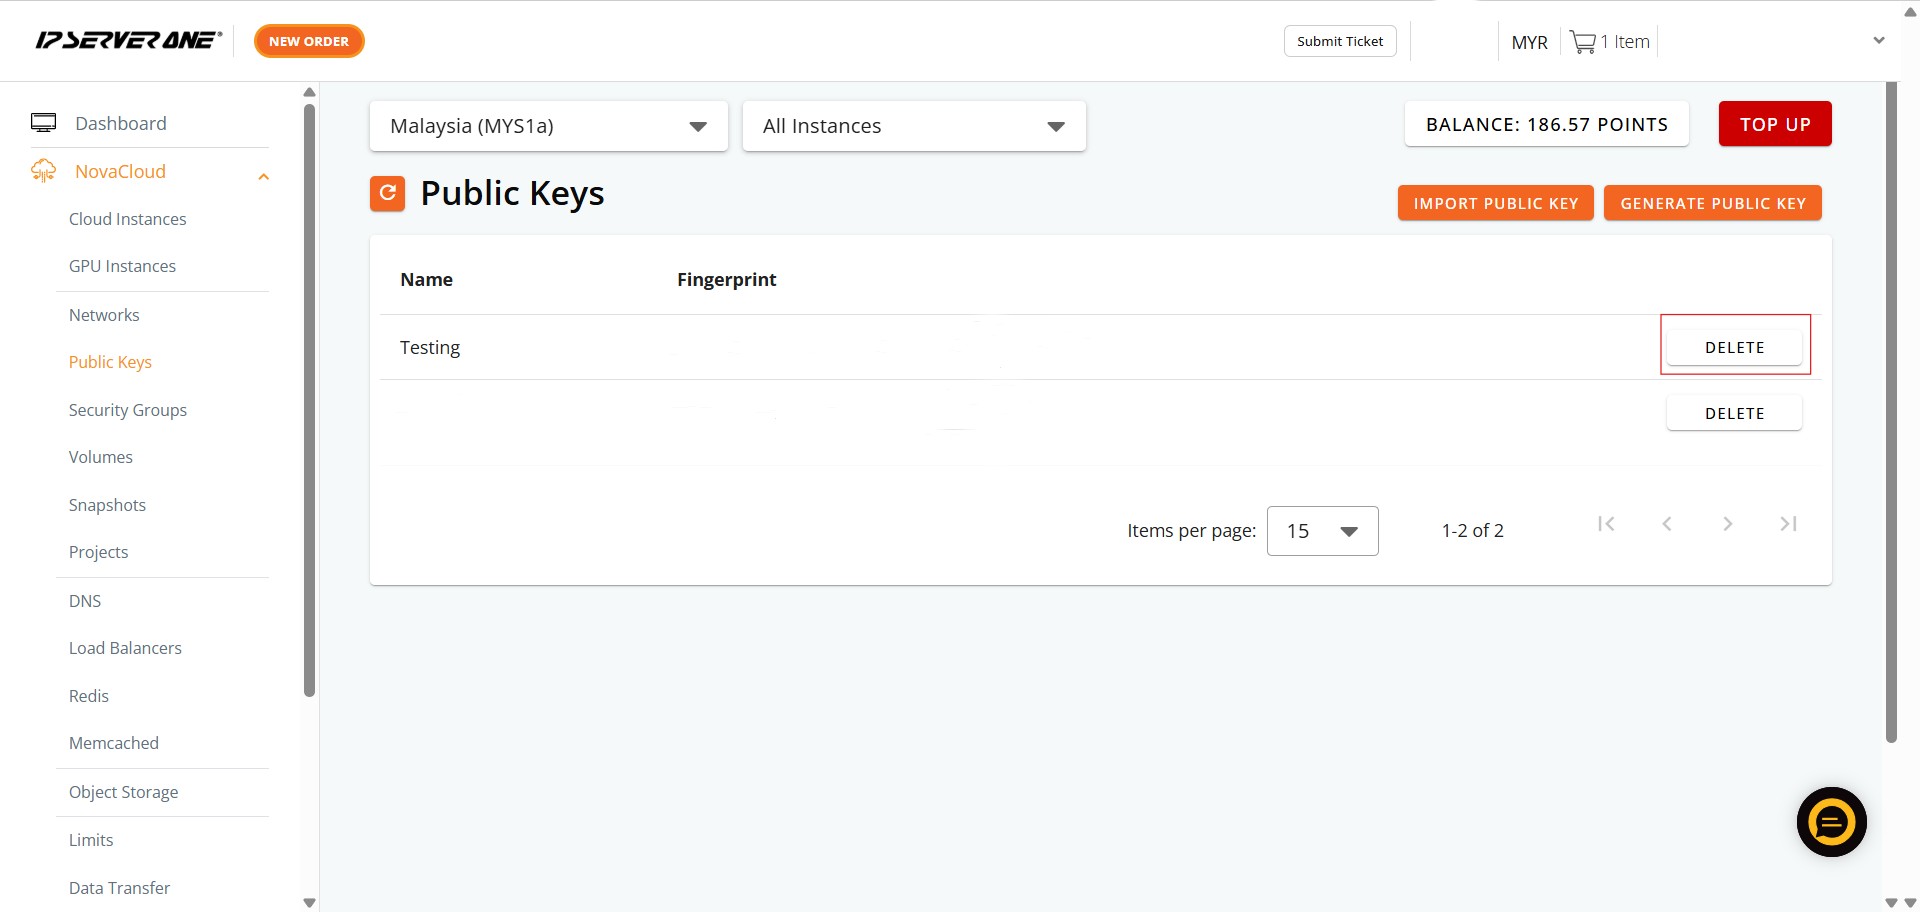
- Once the NovaCloud menu is expanded, locate and click on “Public Keys” from the list of options presented. This will take you to a page displaying all your currently imported or generated public keys. You will see a table listing key names and their fingerprints
3. Initiate Deletion for a Specific Key
- On the “Public Keys” page, identify the specific public key you wish to remove from your account. Each public key entry in the table will have a “DELETE” button located on the far right side of its row. Click this “DELETE” button next to the public key you intend to delete
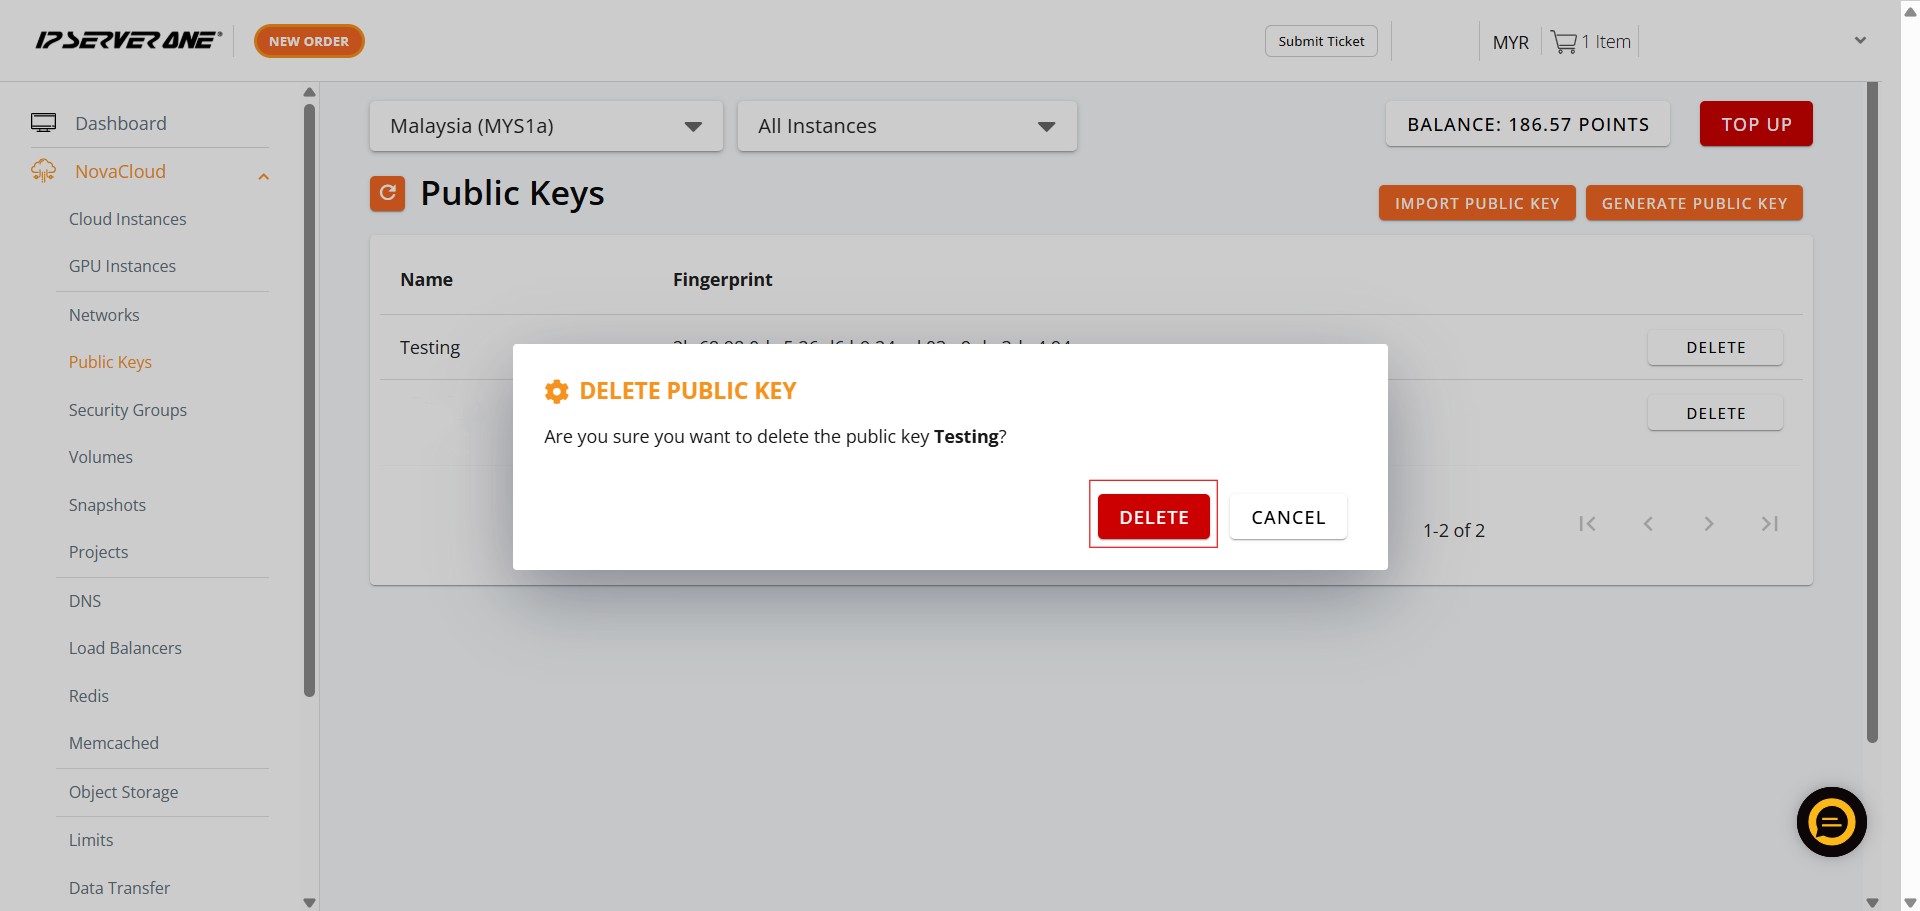
4. Confirm Deletion
- After clicking the “DELETE” button, a confirmation pop-up window will appear. This window will typically ask, “Are you sure you want to delete the public key [Key Name]?” (e.g., “Are you sure you want to delete the public key Testing?”). To proceed with the deletion, click the “DELETE” button within this pop-up confirmation window. If you do not wish to delete, you can click “CANCEL”.
5. Final Acknowledgment
- Upon successful deletion, another pop-up window will appear, confirming that the public key has been removed. It will state something like “Public key [Key Name] has been deleted.” (e.g., “Public key Testing has been deleted.”). To close this notification and complete the process, click the “OKAY” button in this final pop-up. The public key will no longer appear in your list of public keys.

Conclusion
By deleting unused public keys from the IPSERVEONE Portal, you help maintain a secure and organized environment. Removing keys that are no longer associated with active instances or services reduces potential security risks and ensures that only valid, in-use credentials remain in the system. This simple housekeeping step supports both better security practices and more efficient key management.