Search Our Database
How to Create Public Key for the Cloud Server in Customer Portal
Introduction
This Knowledge Base article provides a simple guide to creating public keys in the IP ServerOne Customer Portal for use with your Cloud Server. Public key authentication allows you to log in securely without using a password, reducing the risk of unauthorized access. Once generated, the public key can be attached to your Cloud Instance, while the private key is kept safely on your computer.
Prerequisites
-
Access to the IP ServerOne Customer Portal.
-
An active account in the Customer Portal.
Step-by-Step Guide
Step 1: Log in to the IP ServerOne Customer Portal.
- Access and login to the IP ServerOne Customer Portal.

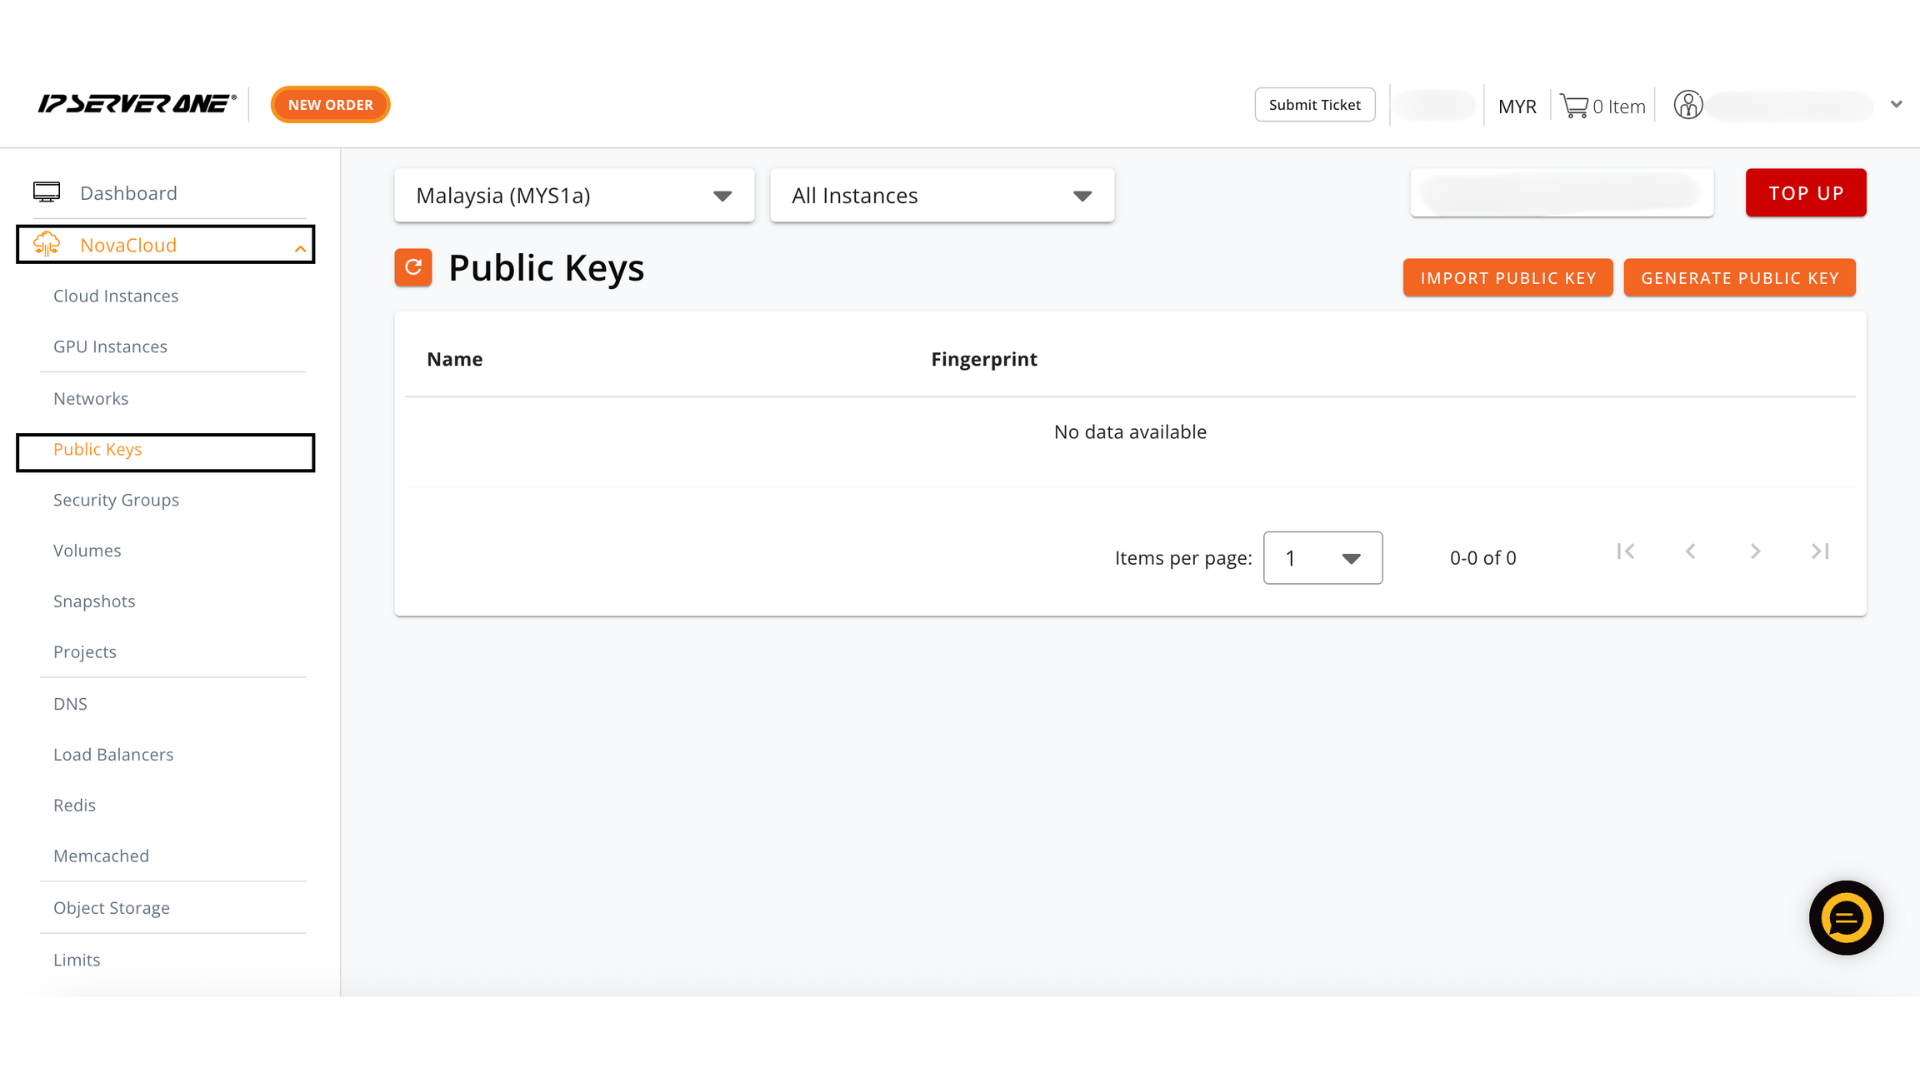
Step 2: Navigate to Public Keys
-
On the left menu, expand NovaCloud and select Public Keys.
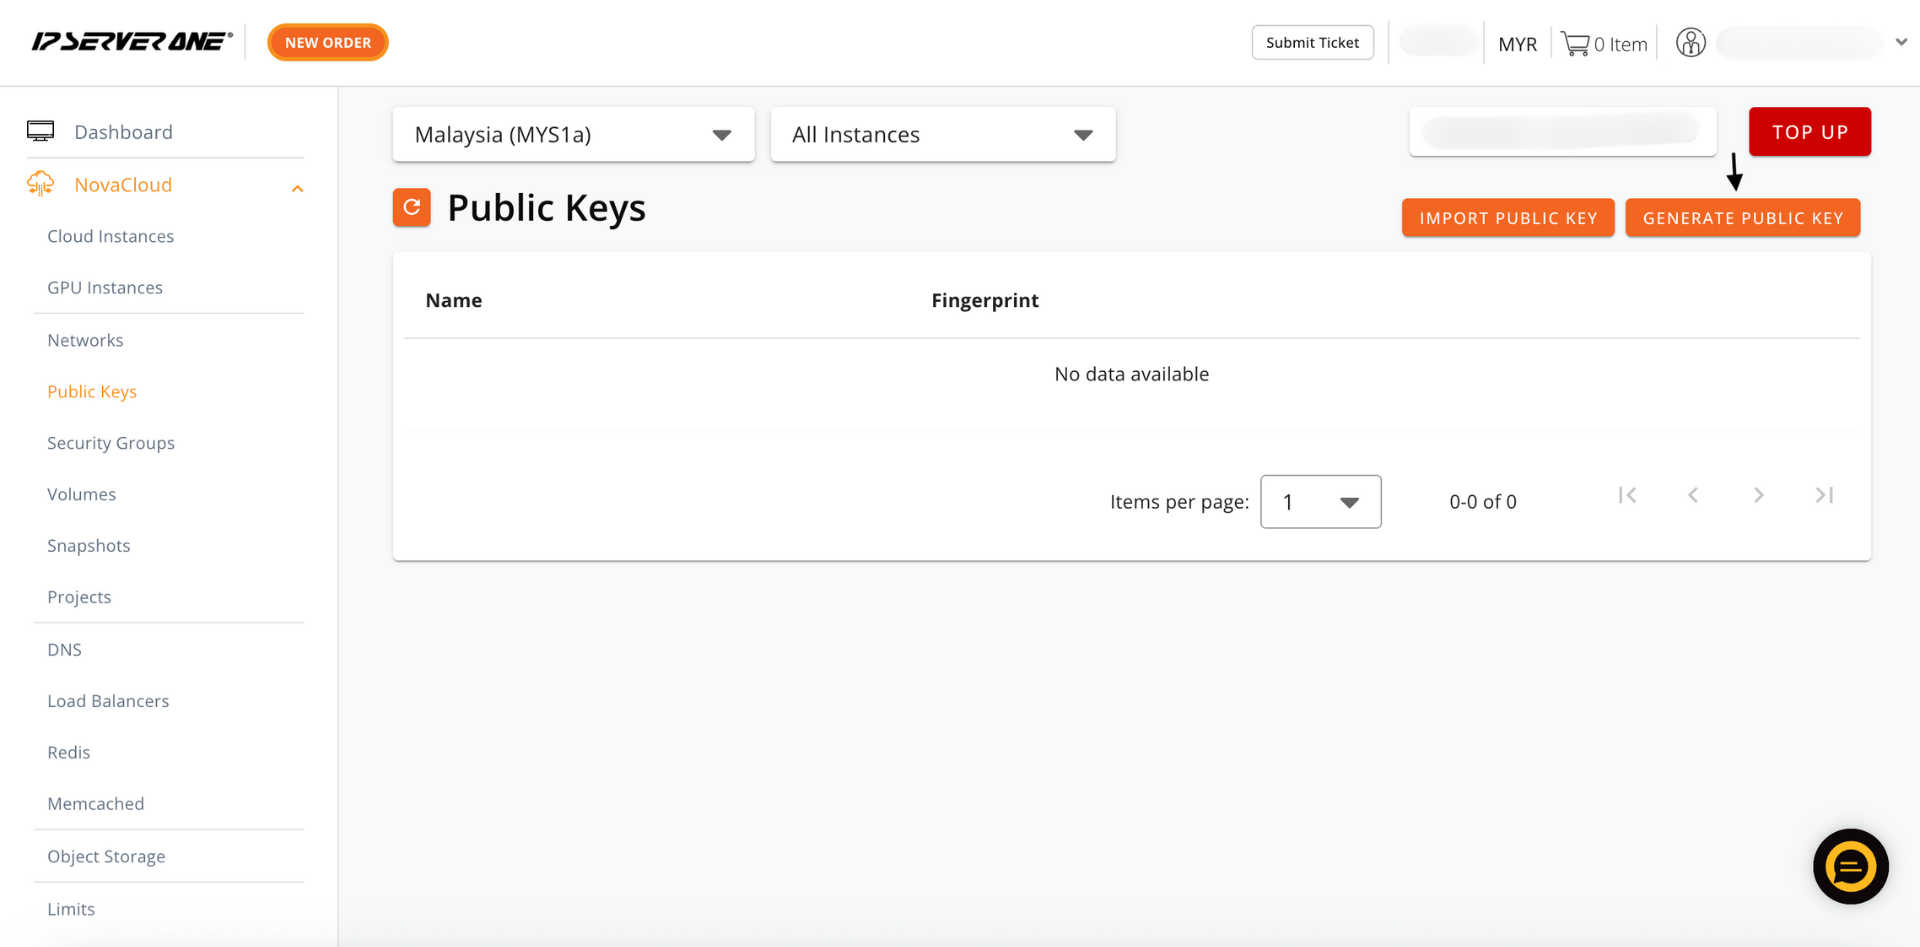
Step 3: Generate a Public Key
- Click Generate Public Key (orange button on the right).
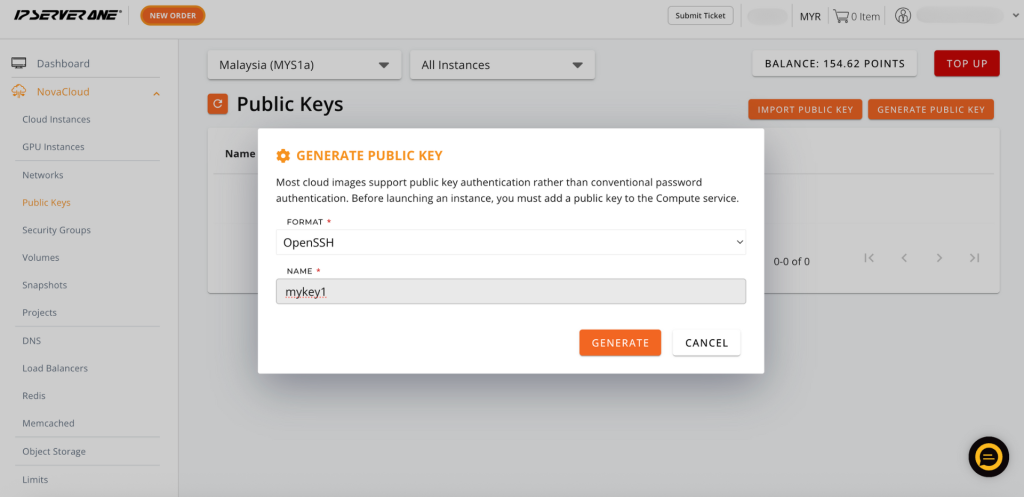
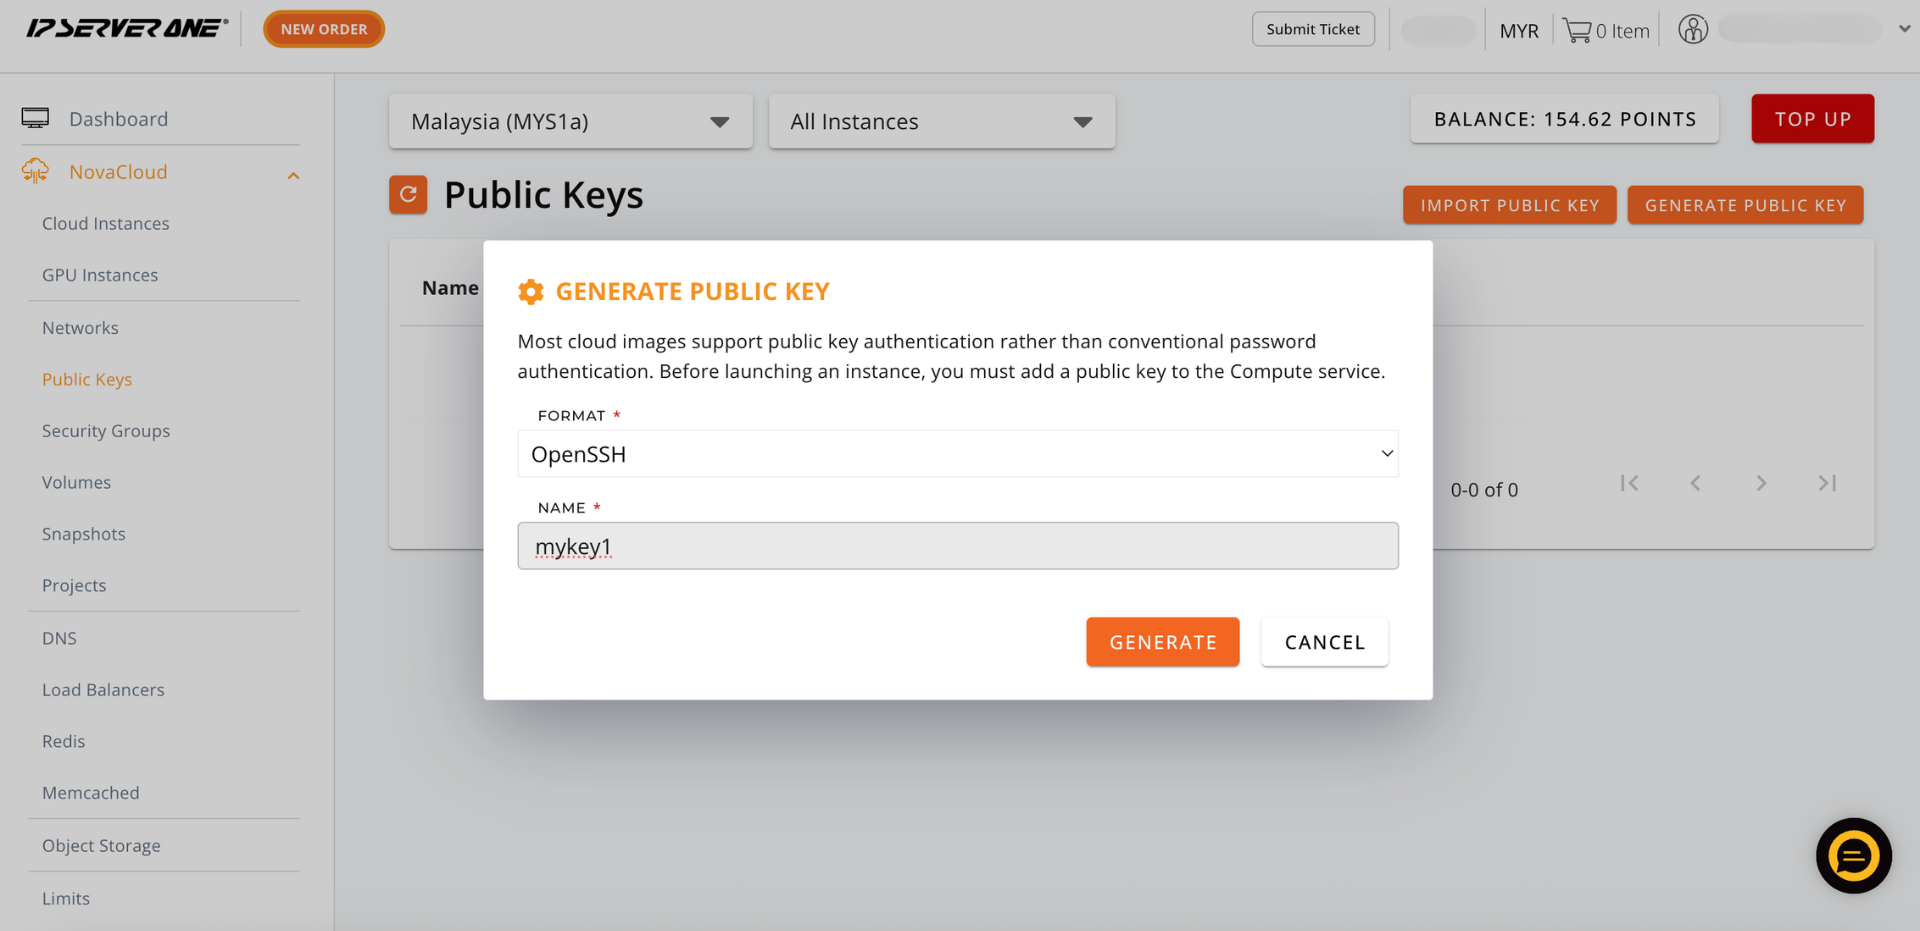
Step 4: Configure Key Settings
- Select OpenSSH (Mac/Linux) or PuTTY (Windows with PuTTY).
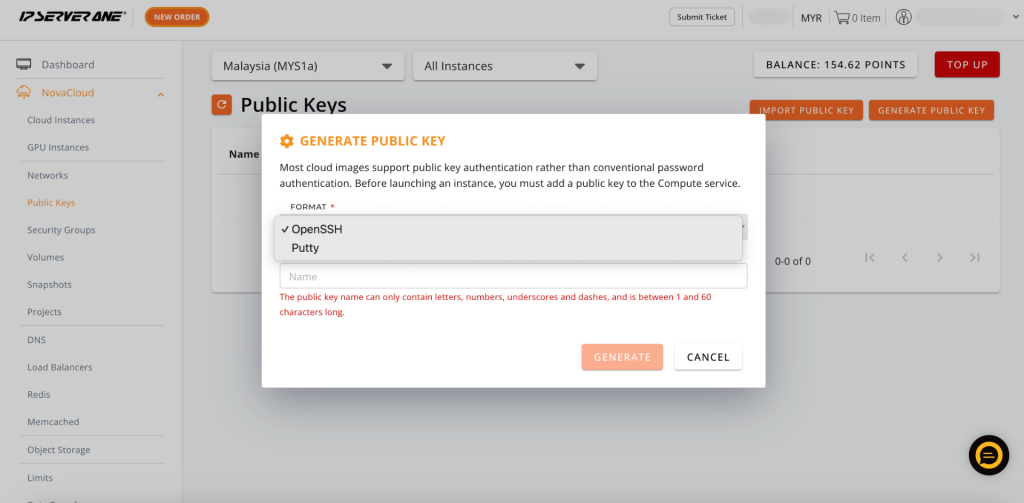
- Enter a key name (letters, numbers, underscores, or dashes only). Example: mykey1.

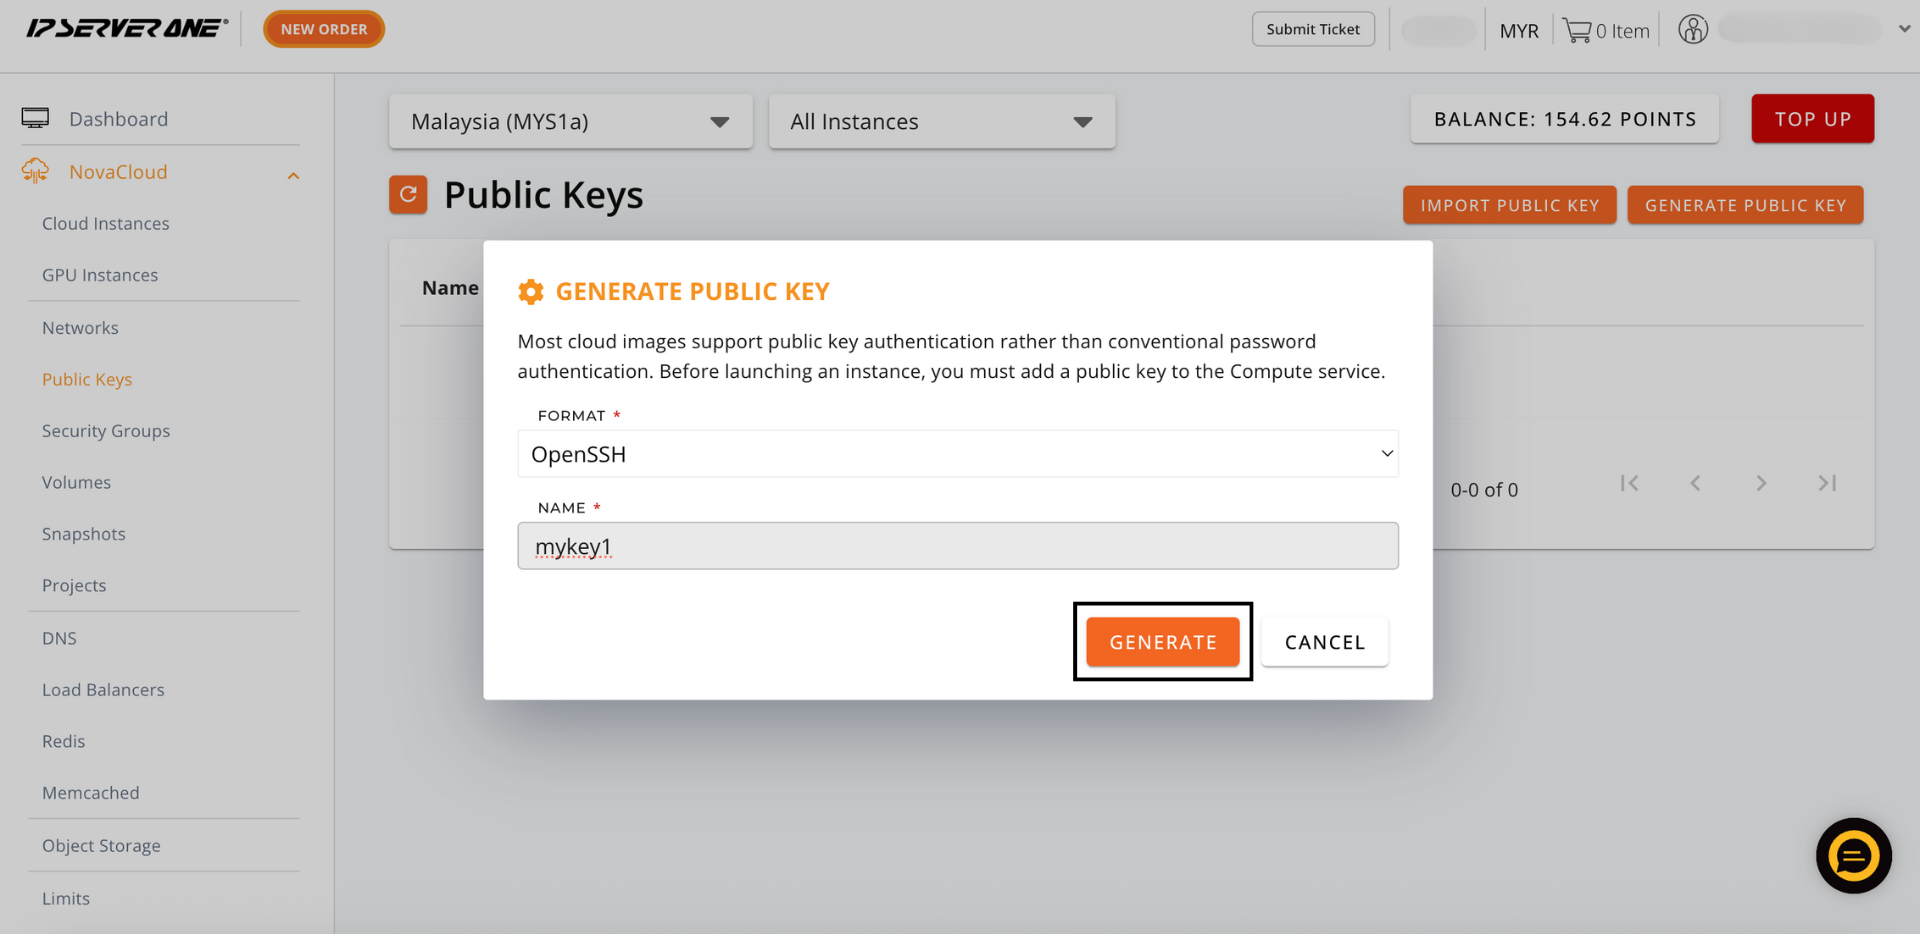
Step 5: Generate and View Private Key
- Click Generate to create the key pair
- A new window will display your private key
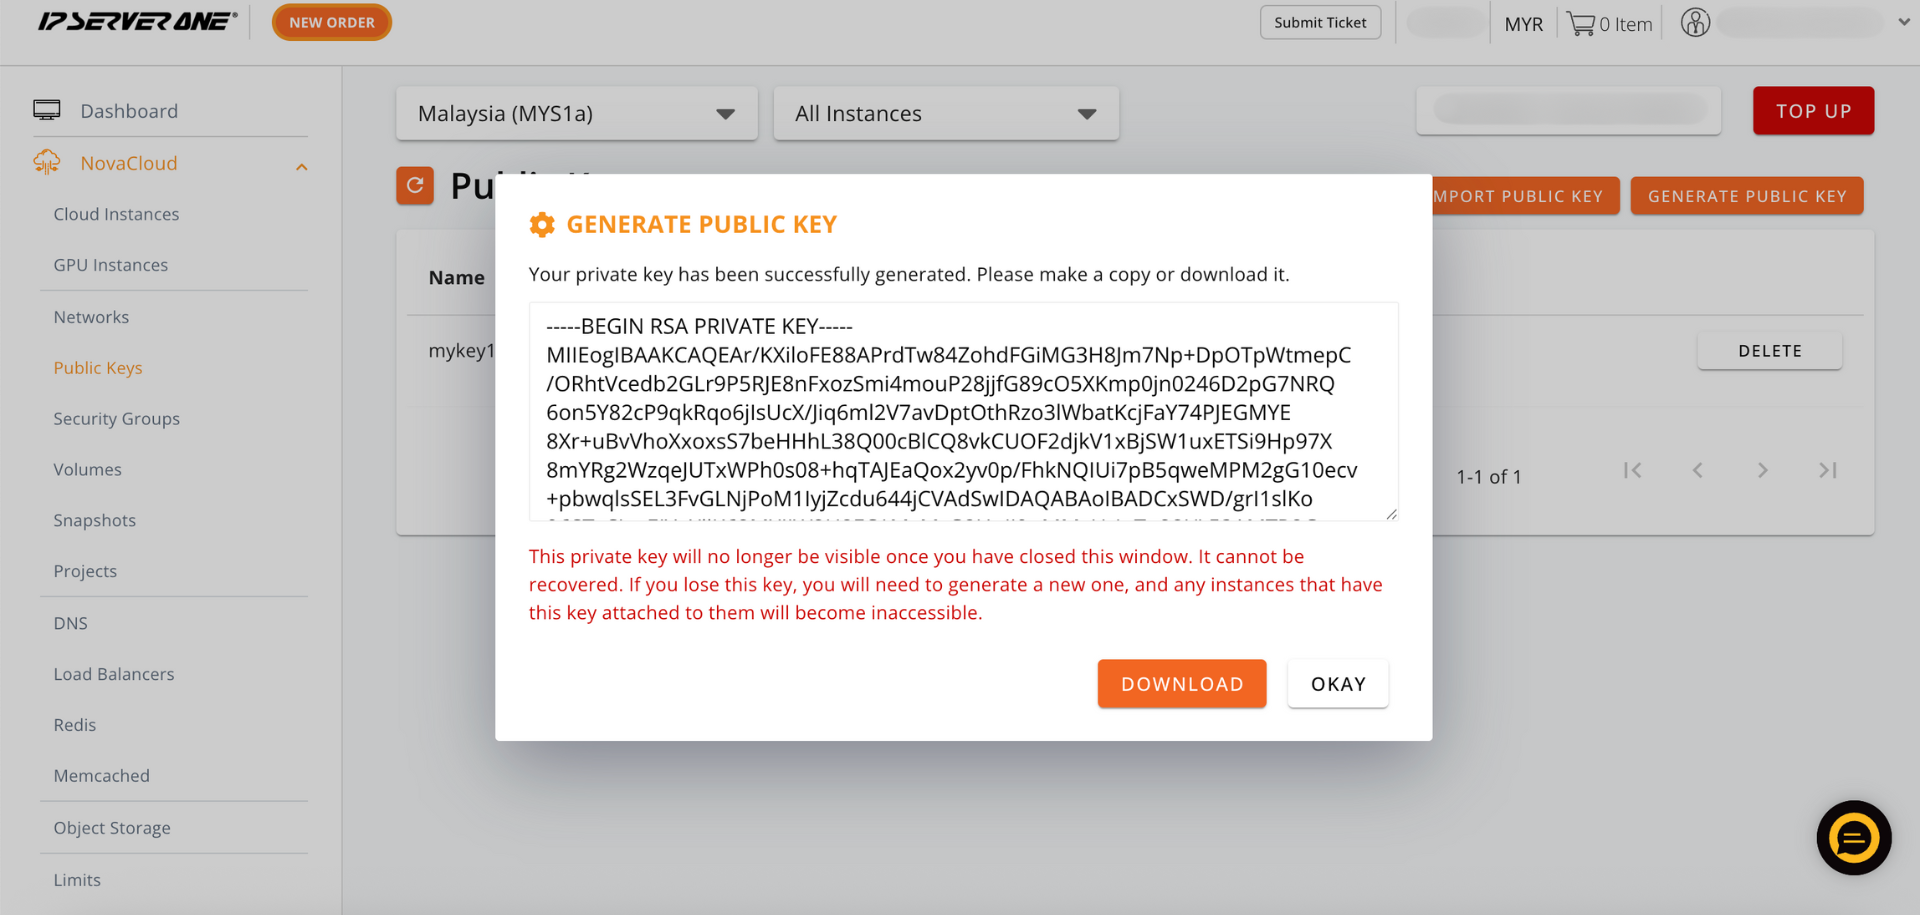
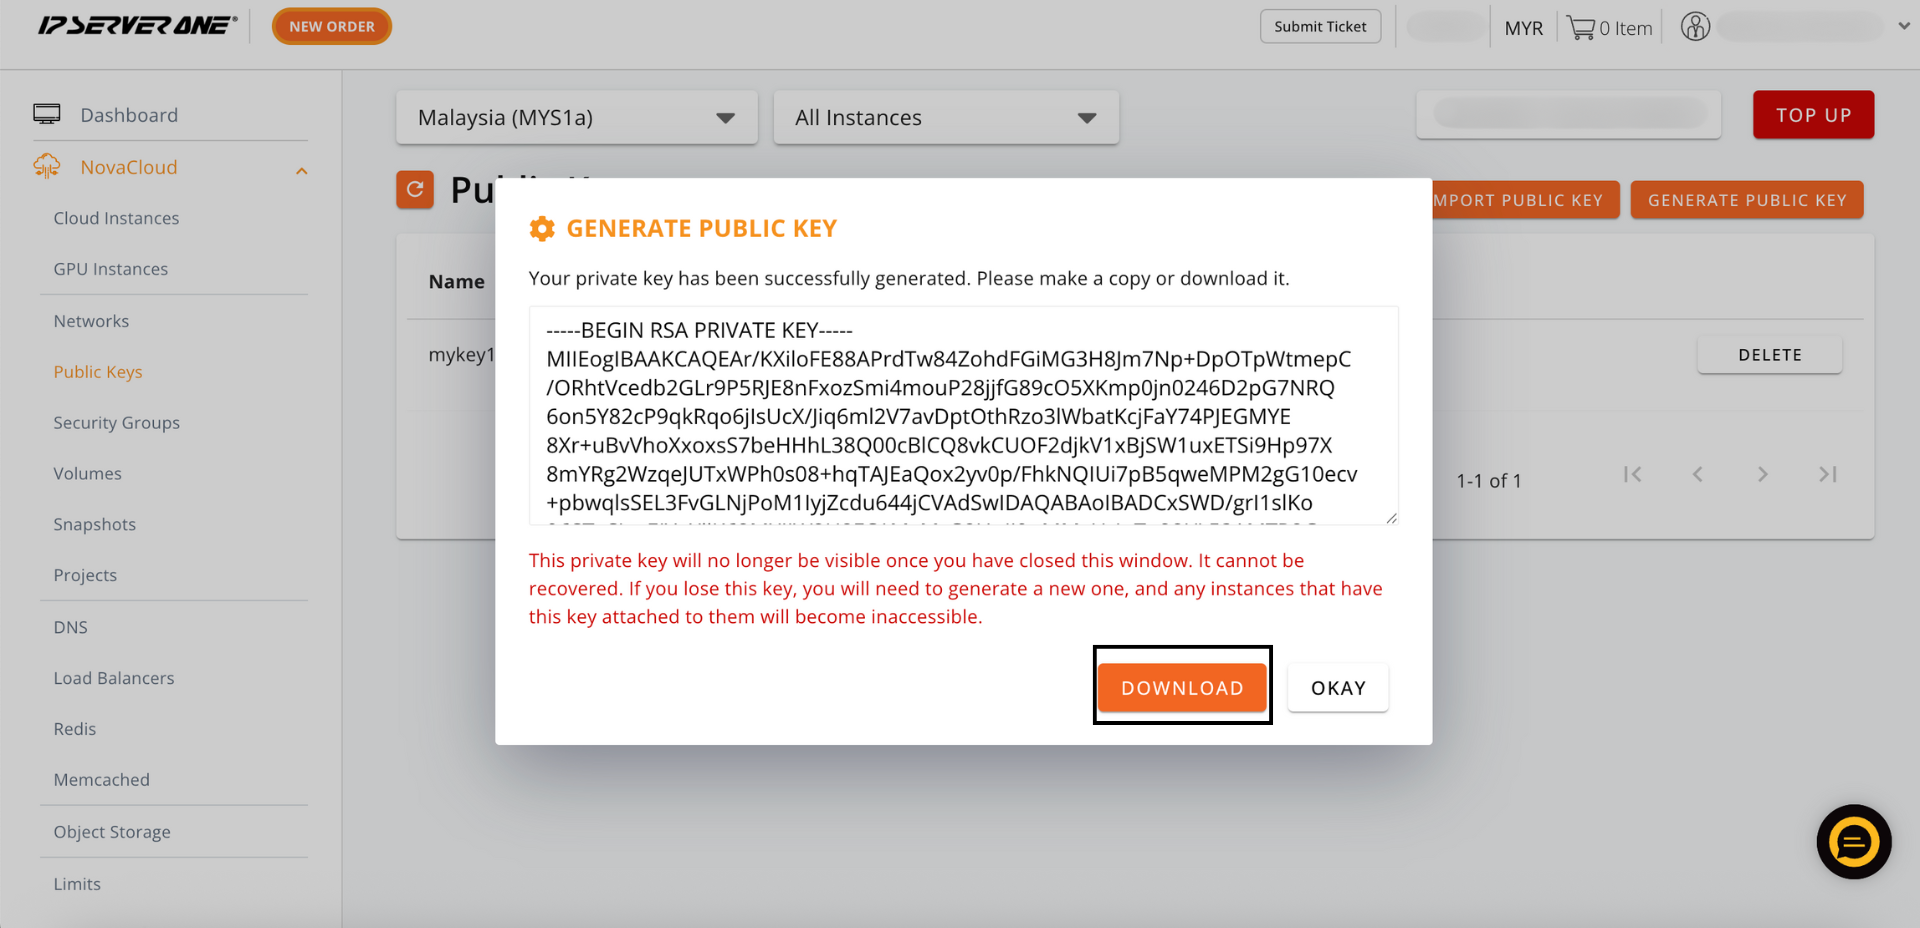
Step 6: Download the Private Key
- Click Download to save the private key file to your computer.
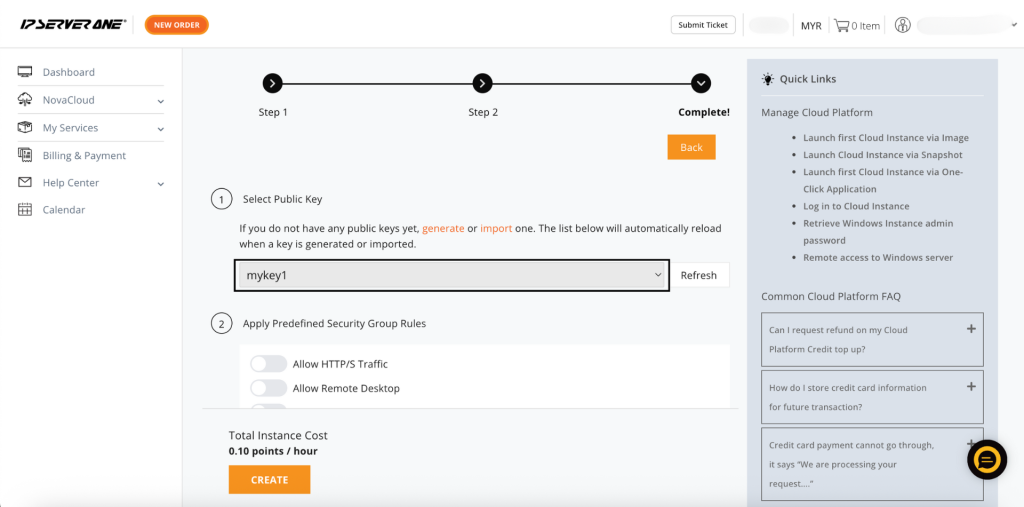
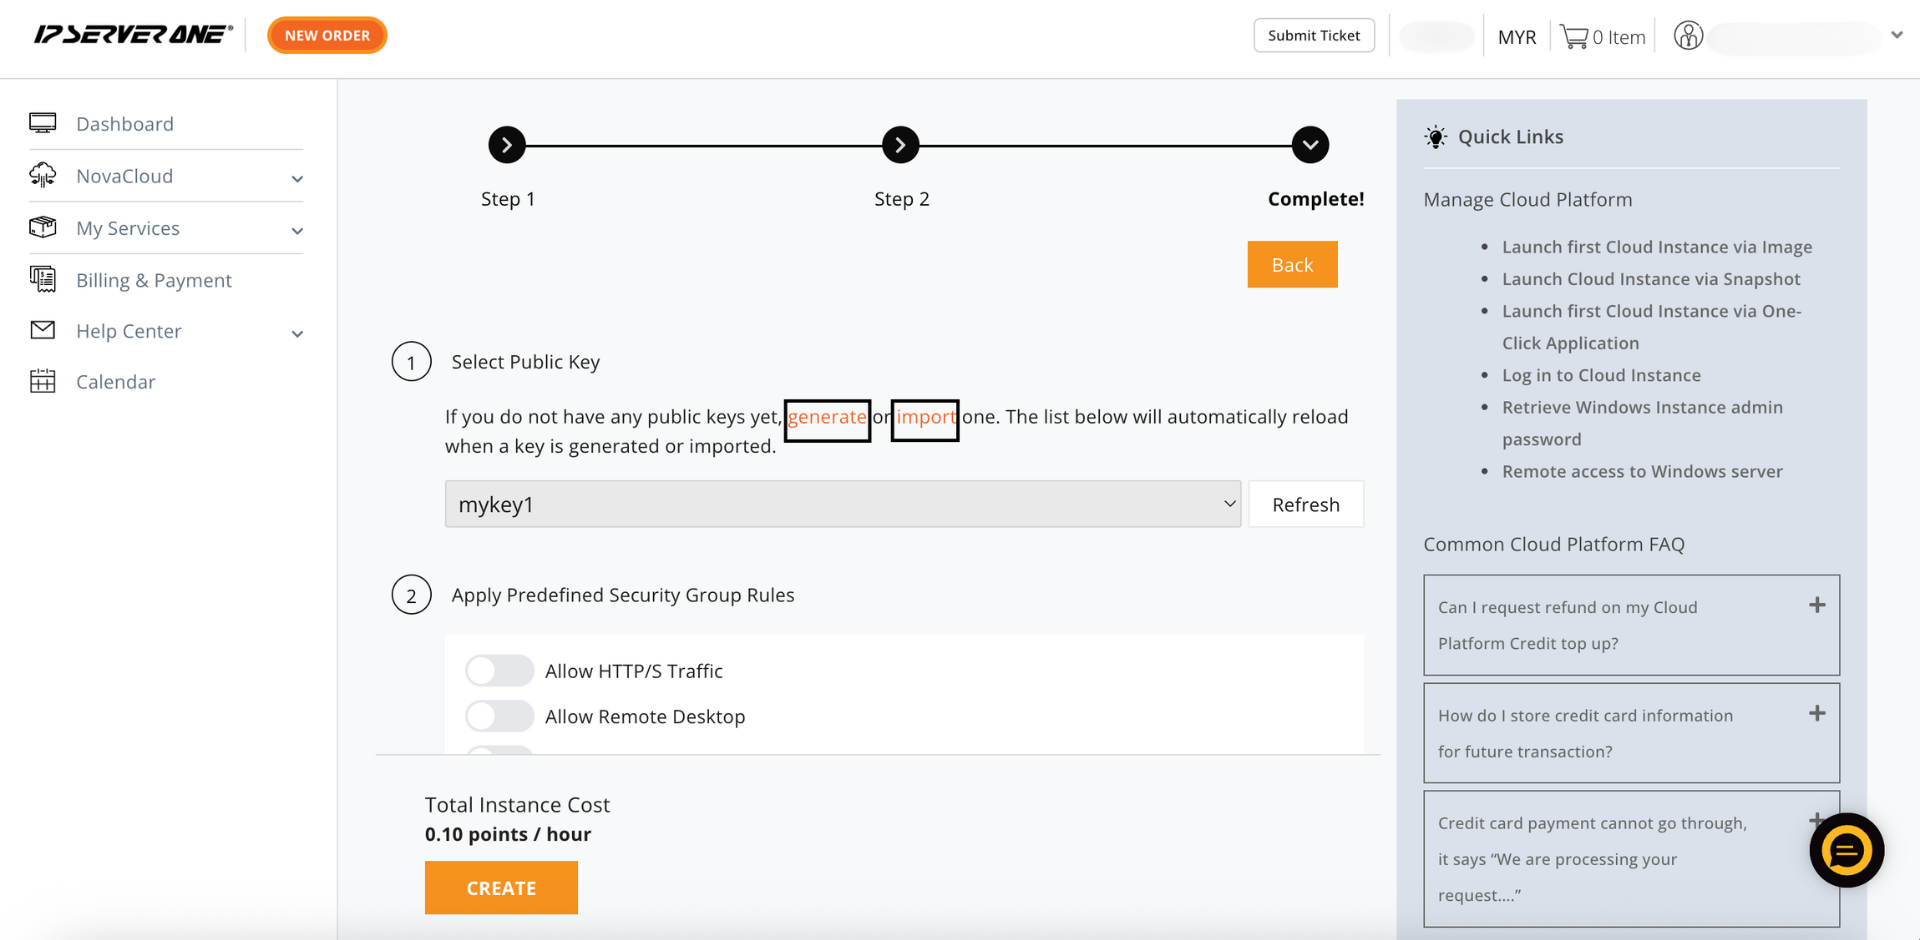
Step 7: Use the Public Key for Cloud Instances
-
When creating a new cloud server, select your public key under Step 1: Select Public Key.
-
You can also generate (refer to the steps above for guidance on generating keys) or import a new public key during the instance creation process.


Conclusion
Creating a public key in the Customer Portal is a quick process that enables secure, password-free access to your cloud server. By downloading and safely storing your private key, you can ensure reliable and secure server management.
For further assistance, contact our support team at support@ipserverone.com.