Search Our Database
How to set maximum parked domain limit for a cPanel account in WHM
Introduction
Web Host Manager (WHM) allows server administrators to manage cPanel user accounts efficiently. This includes modifying account settings, changing passwords, adjusting resource limits, and suspending or terminating accounts. In this guide, we will go through the steps to manage cPanel user accounts in WHM.
Prerequisites
- WHM Root or Reseller Access
- Basic familiarity with WHM interface
Step-by-Step Guide
Step 1: Accessing WHM
- Log in to your WHM.
The URL to your WHM typically will be like <domain>:2087 or <server IP>:2087.
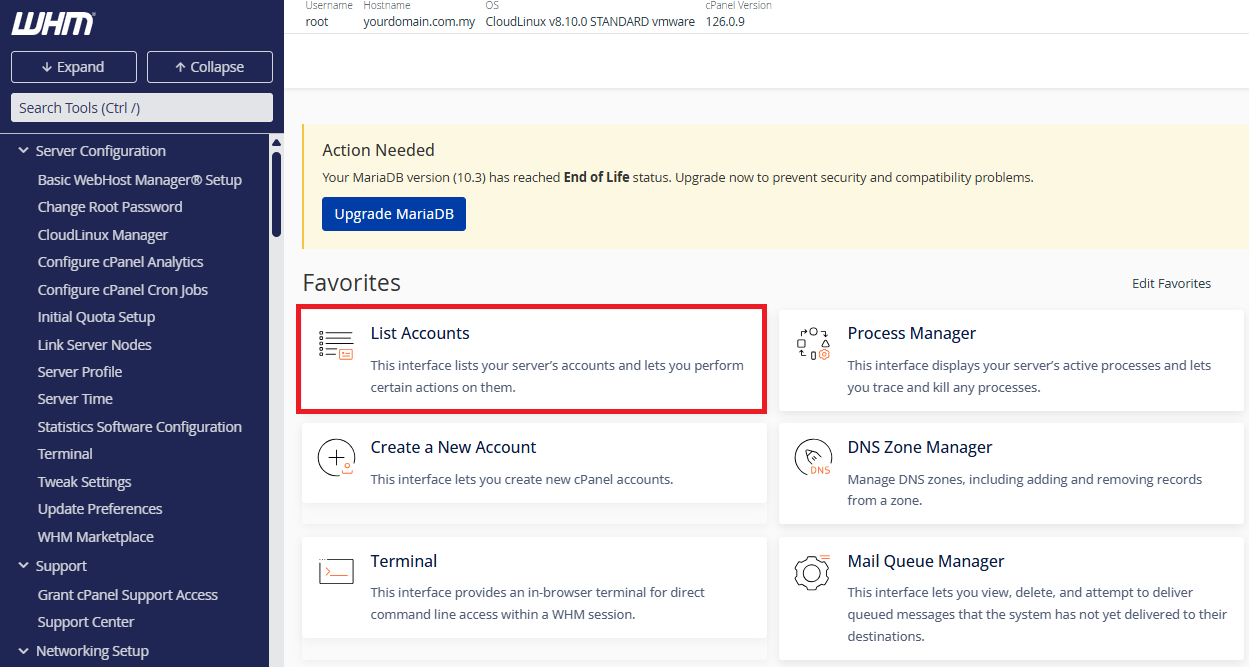
Step 2: cPanel Account Settings
- In WHM, look for List Accounts
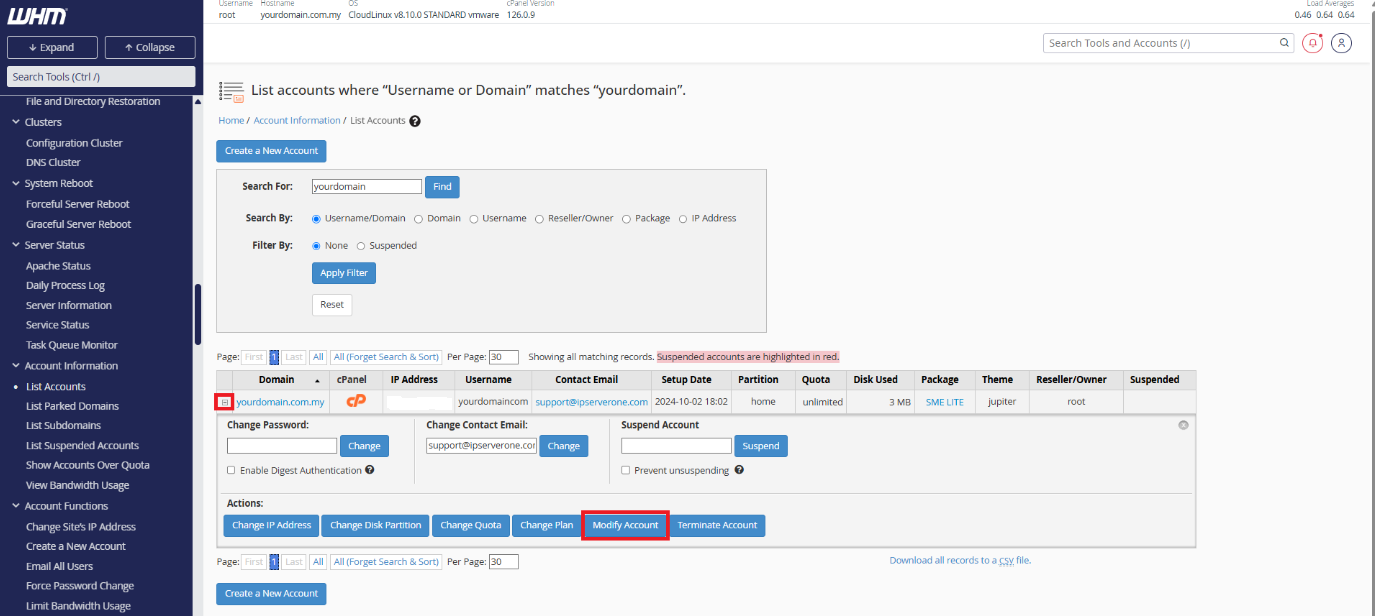
- Locate the cPanel account you wish to modify.
- Click the + (Plus icon) next to the account.
- Click Modify Account.
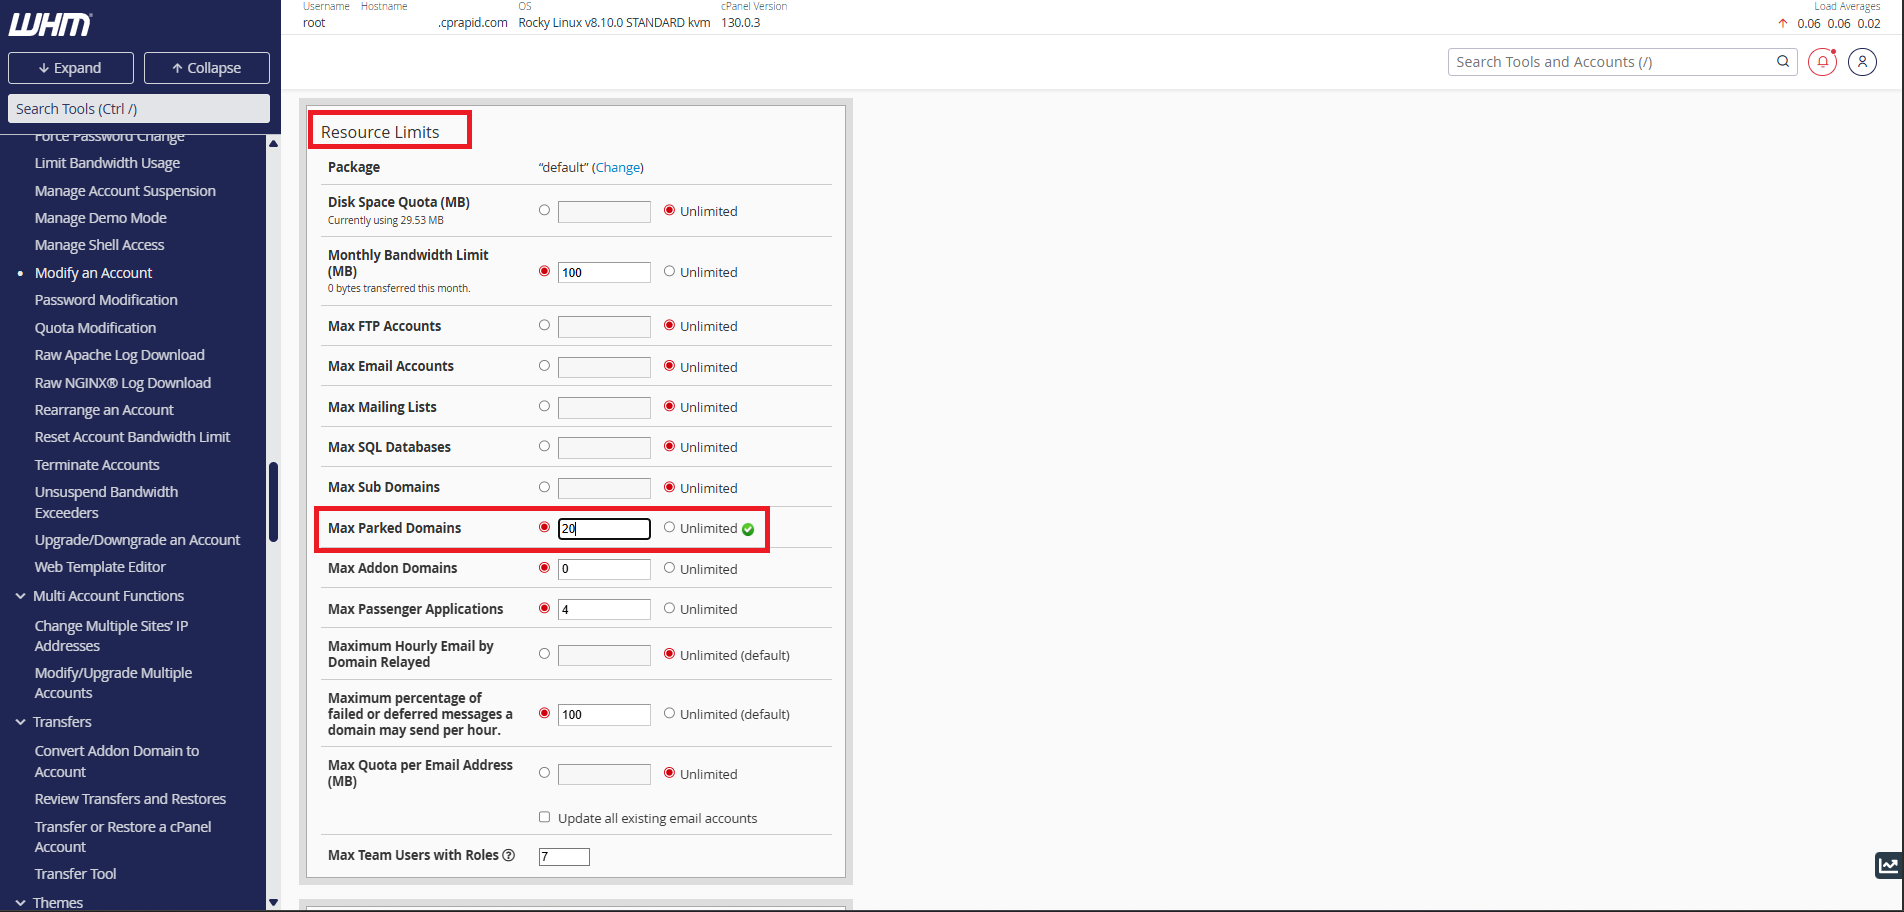
Step 3: Modify the Account Settings
-
Inside the Modify an Account section, scroll down to the Resource Limits section.
-
Locate the Max Parked Domains field.
-
Enter the desired number of parked domains you want to allow for this account.
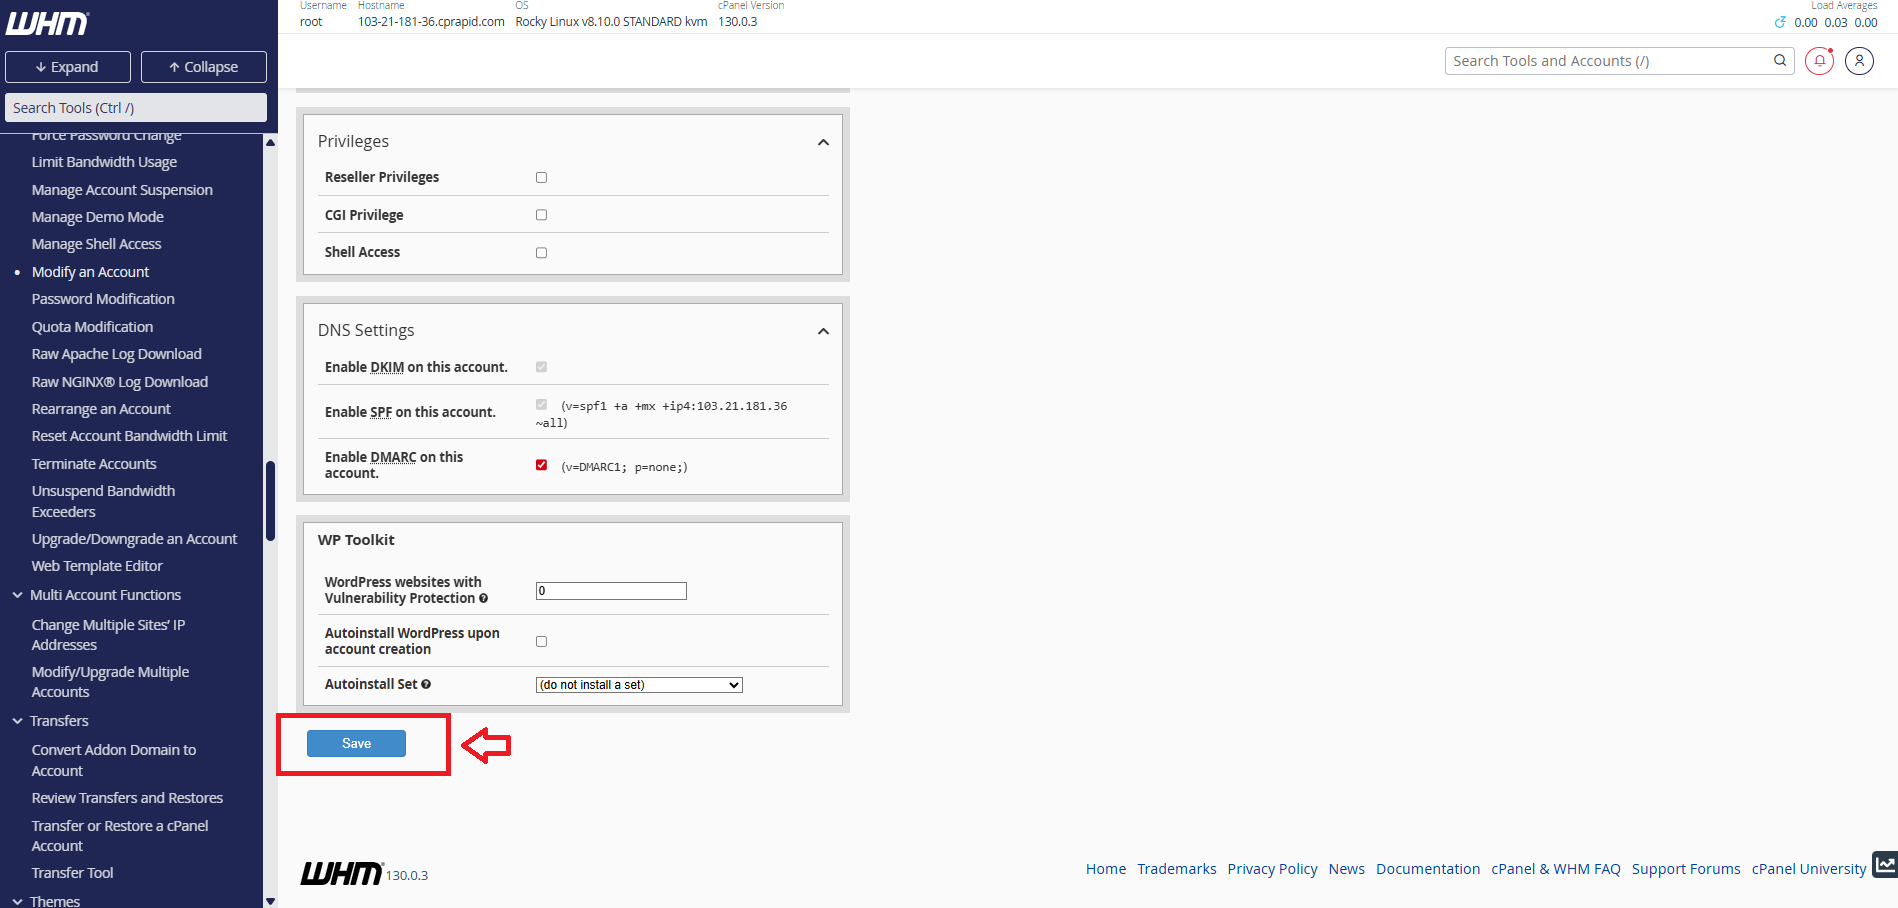
Step 4: Save Changes
-
After adjusting the parked domain limit, scroll to the bottom of the page and click Save.
-
The changes will now apply to the selected cPanel account.
Conclusion
By following the steps above, you can easily set or adjust the maximum parked domain limit for any cPanel account in WHM. This allows you to control how many parked (alias) domains a user can associate with their primary domain, ensuring better resource management and account control.