Search Our Database
How to start scanning in ImunifyAV on cPanel
Introduction
ImunifyAV is a security tool for cPanel that automatically scans for malware. It provides a simple way to initiate a manual scan of your website files when you need to, offering a quick way to check for malicious code and vulnerabilities. You can easily start a scan for your specific user account or, if you have root access, for all users on the server.
Prerequisite
- Access to your cPanel account as root user
- ImunifyAV plugin installed on your cPanel server
- Basic knowledge of navigating the cPanel interface
Step-by-step guide
Step 1: Access cPanel
- Login to your cPanel control panel.
The URL to your cPanel typically will be like <domain>:2087 or <server IP>:2087. - If you have not yet install, you may refer to HERE.
Step 2: Navigate to ImunifyAV
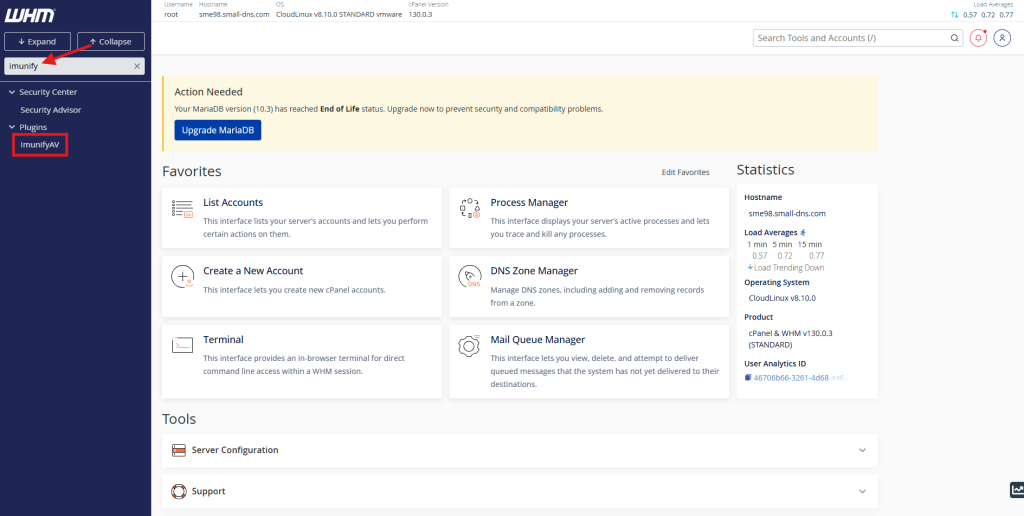
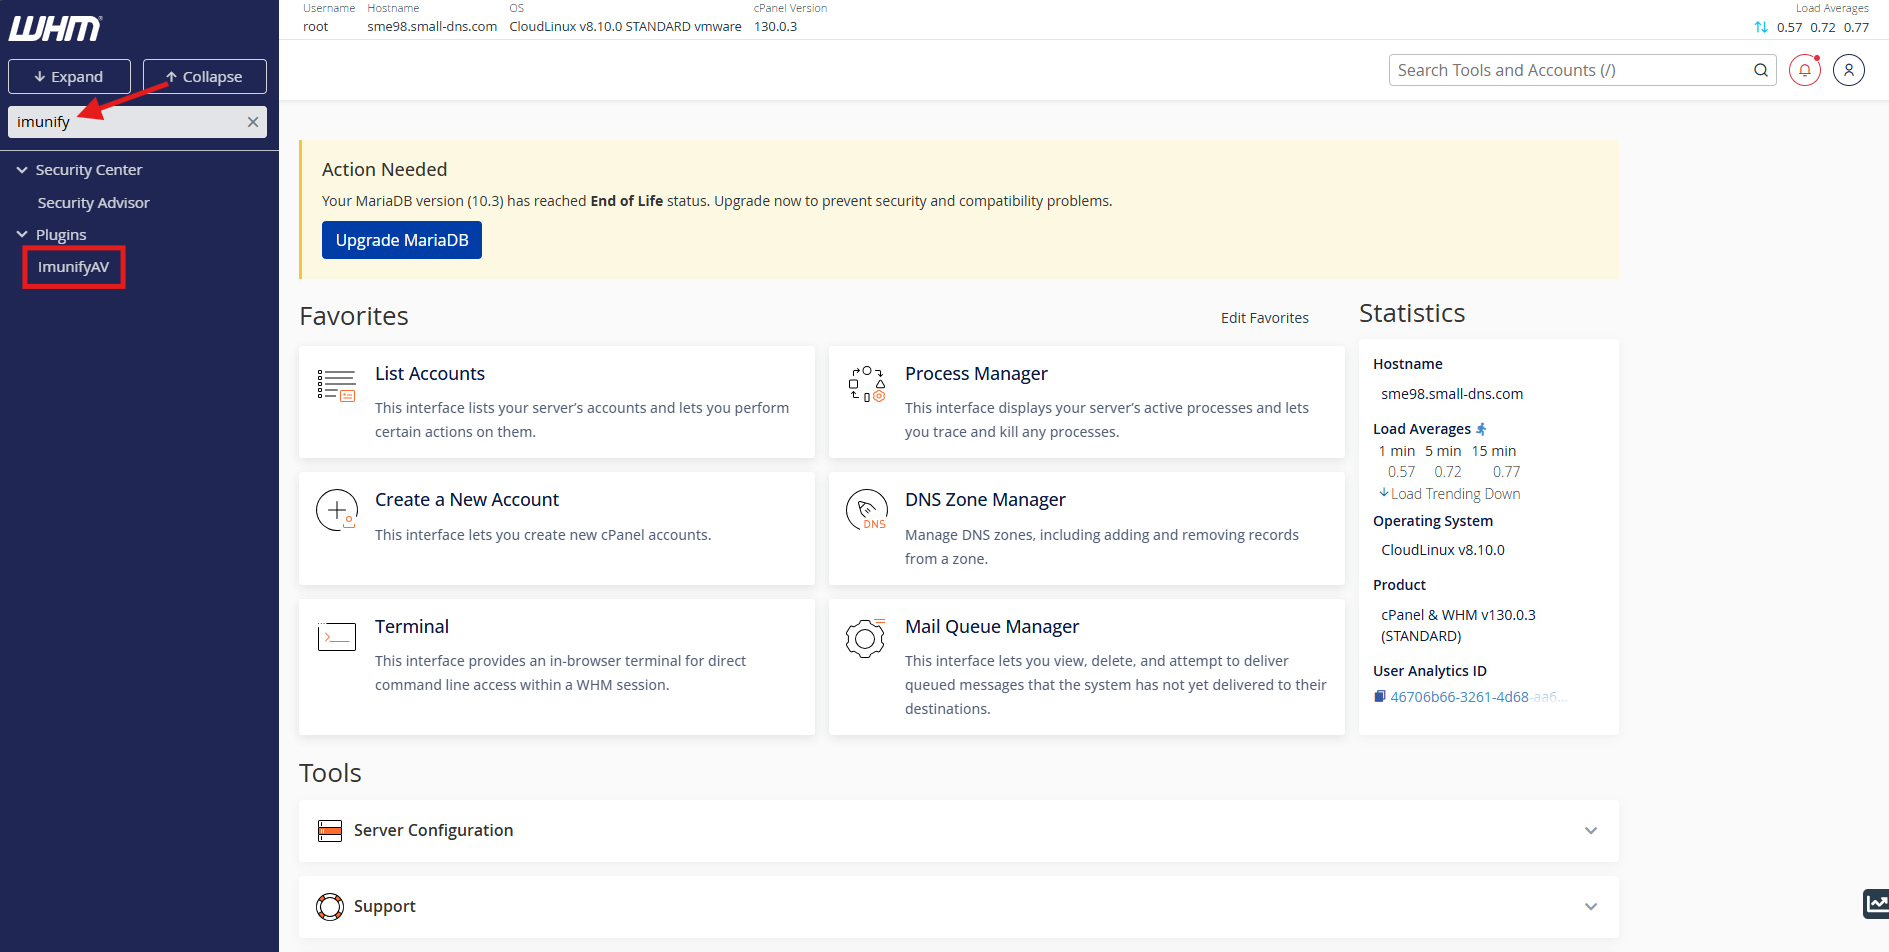
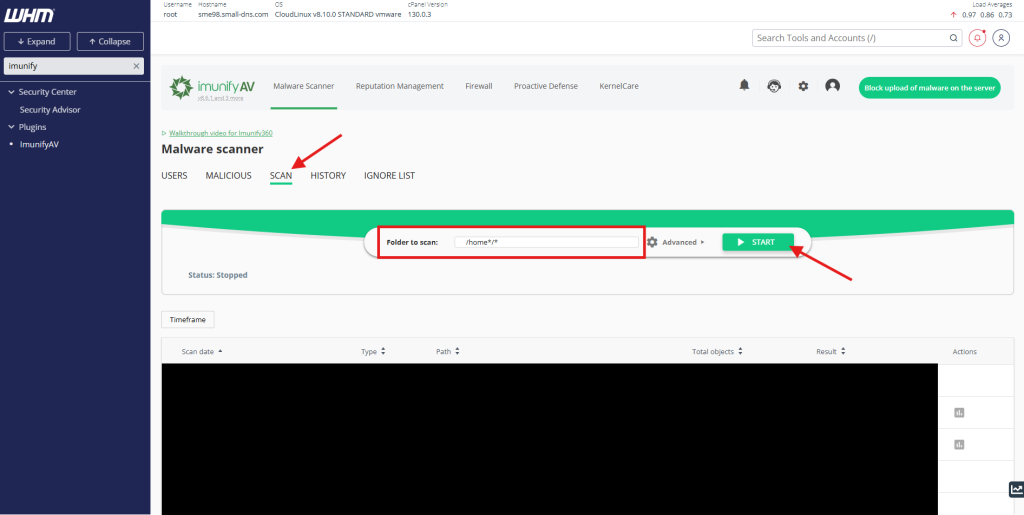
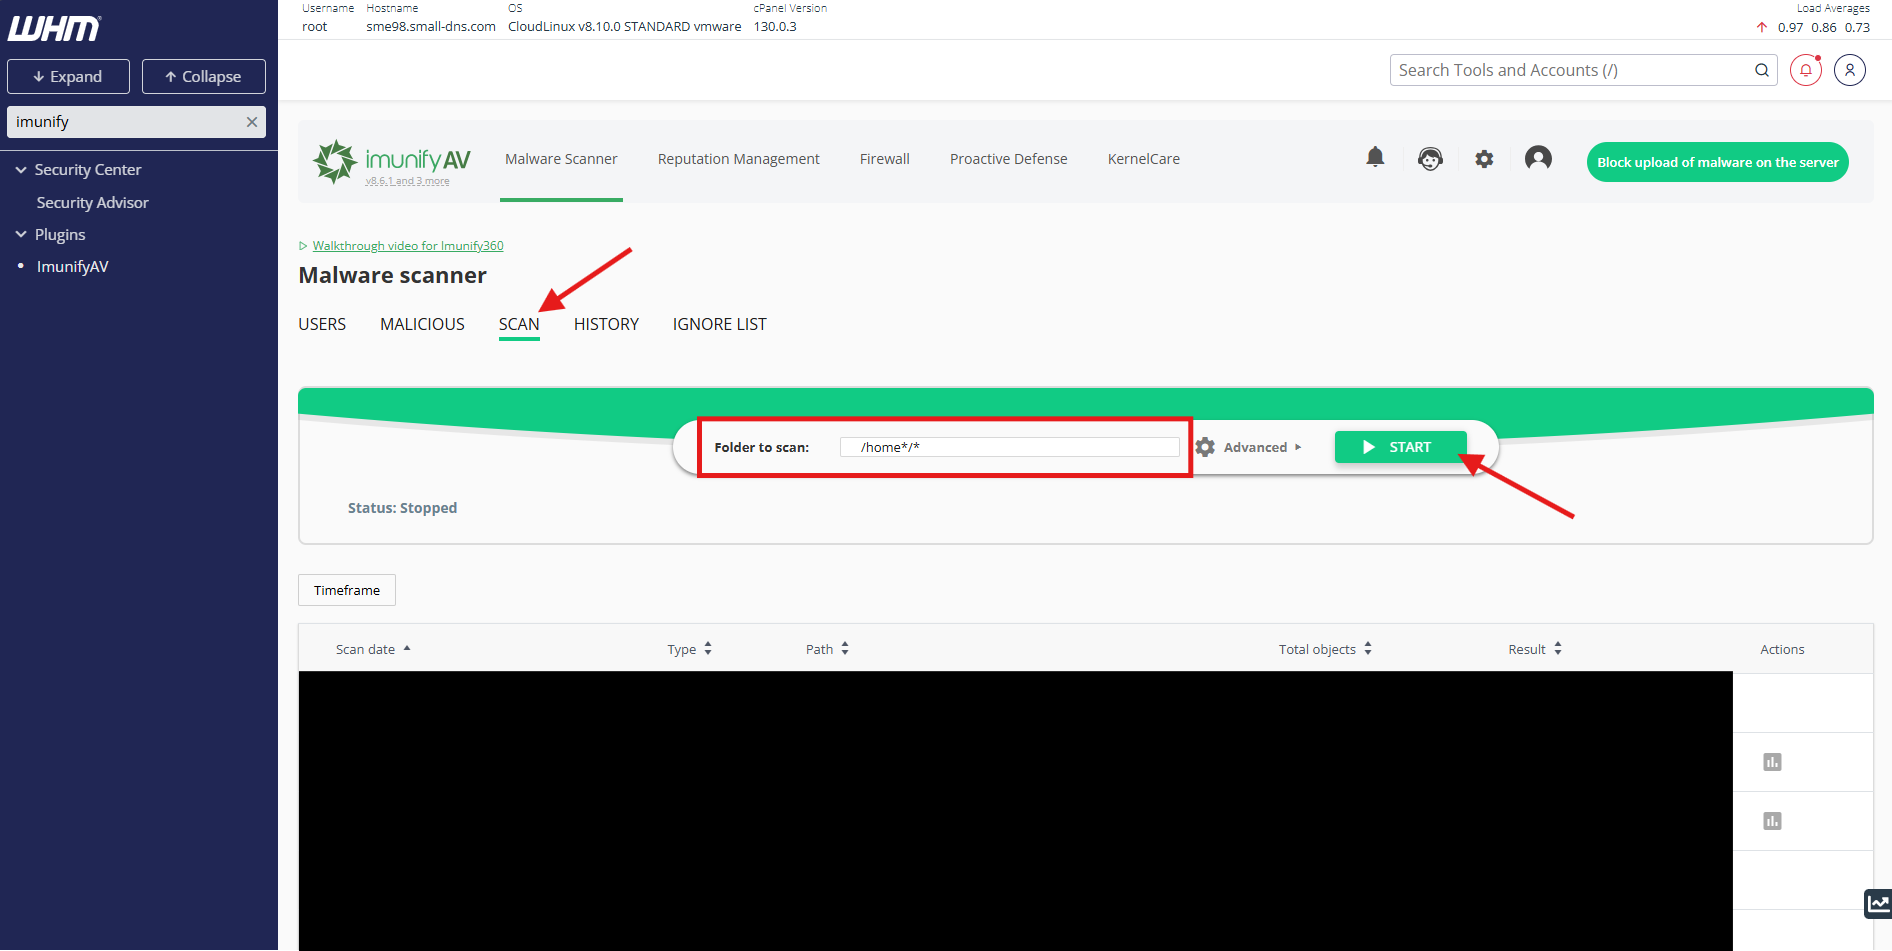
- Search ‘imunify’ in the search bar on top left.
- Select ImunifyAV to enter the scanning page.
Step 3: Scanning
-
Auto scanning
- Navigate to settings.

- Scroll down until you see the Background Scanning.
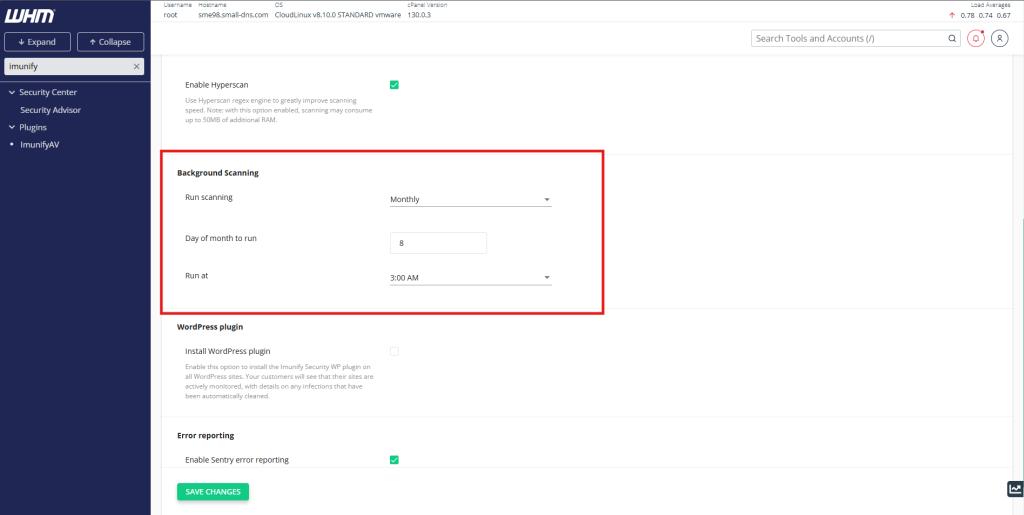
- Navigate to settings.

-
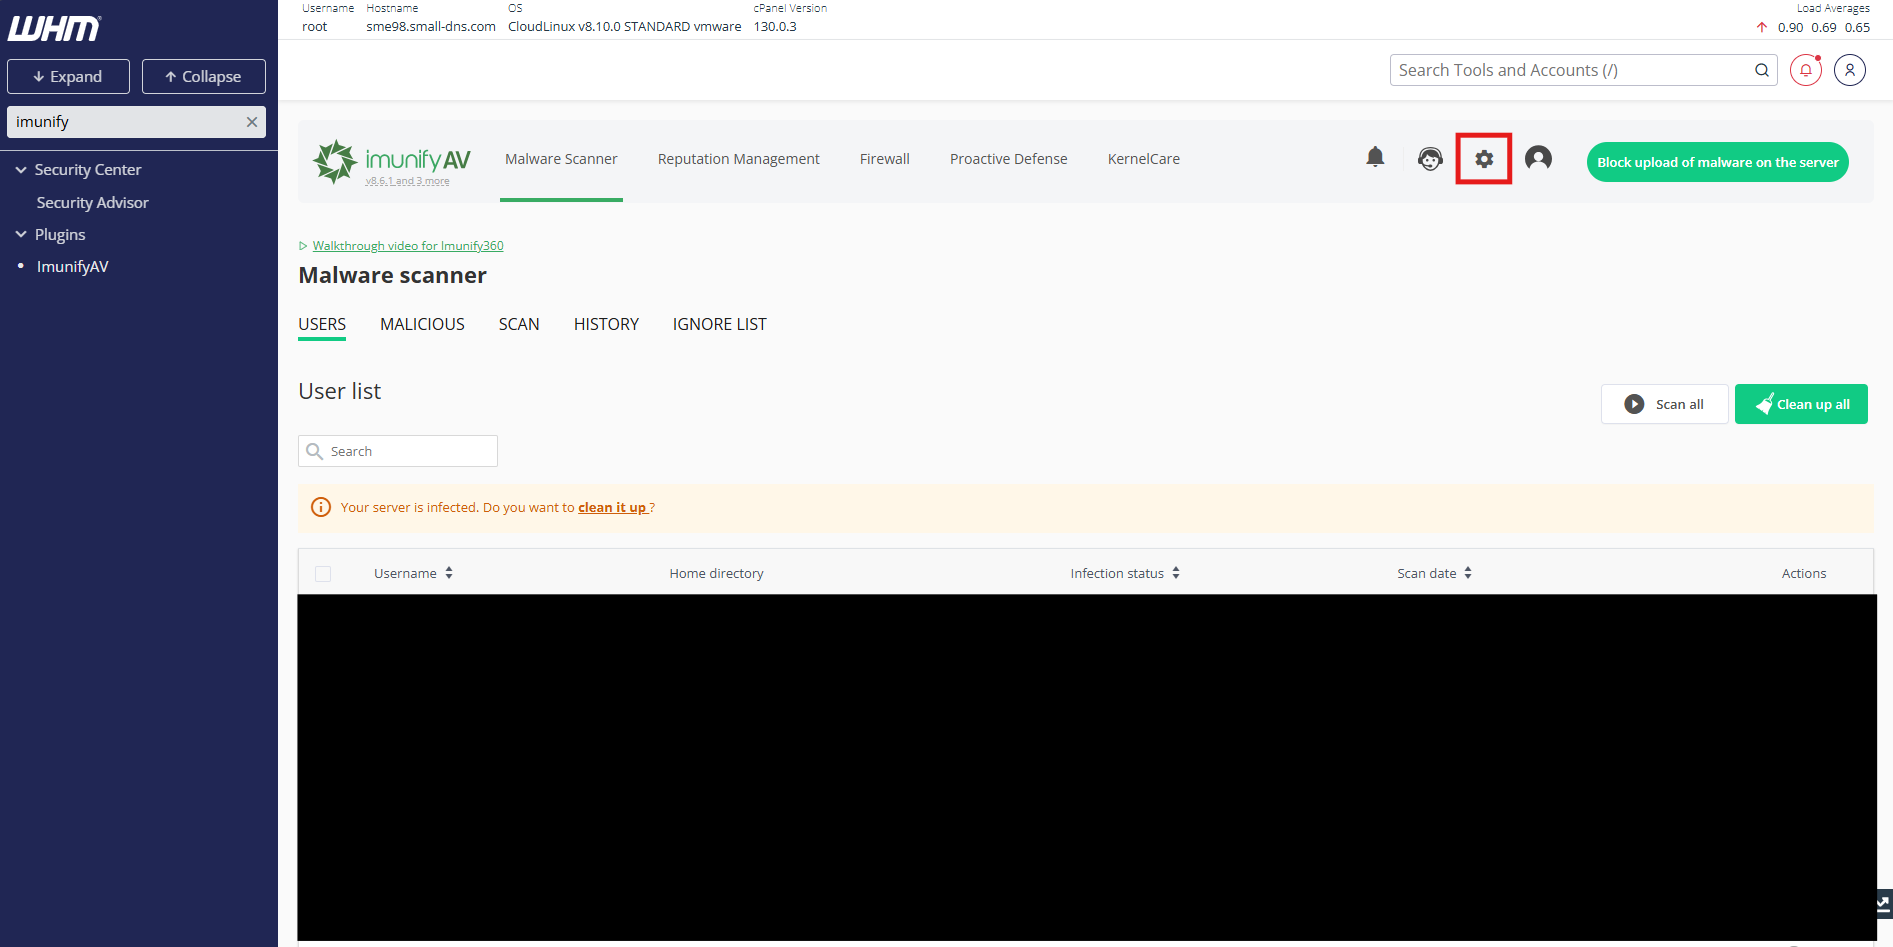
Manually scanning
- Navigate to Scan, enter the folder you wish to scan then click Start.
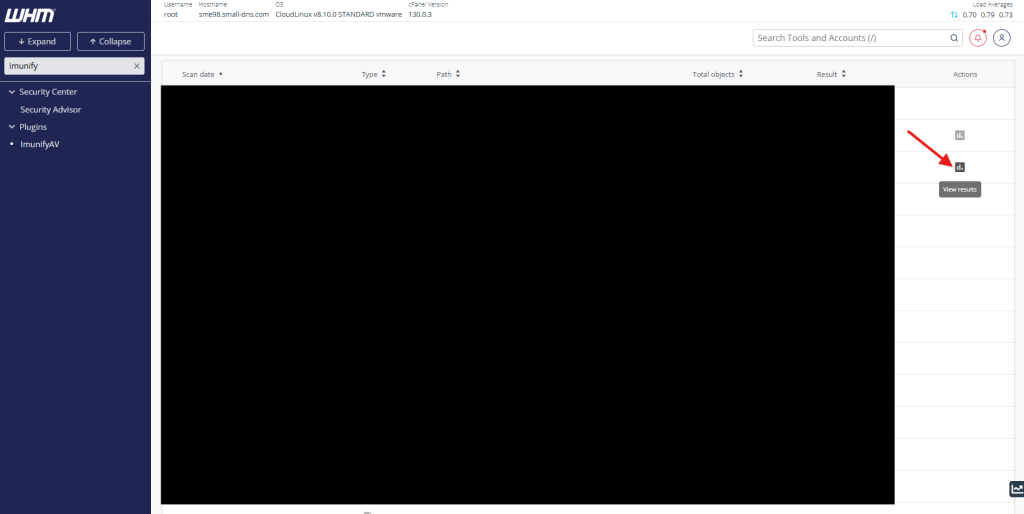
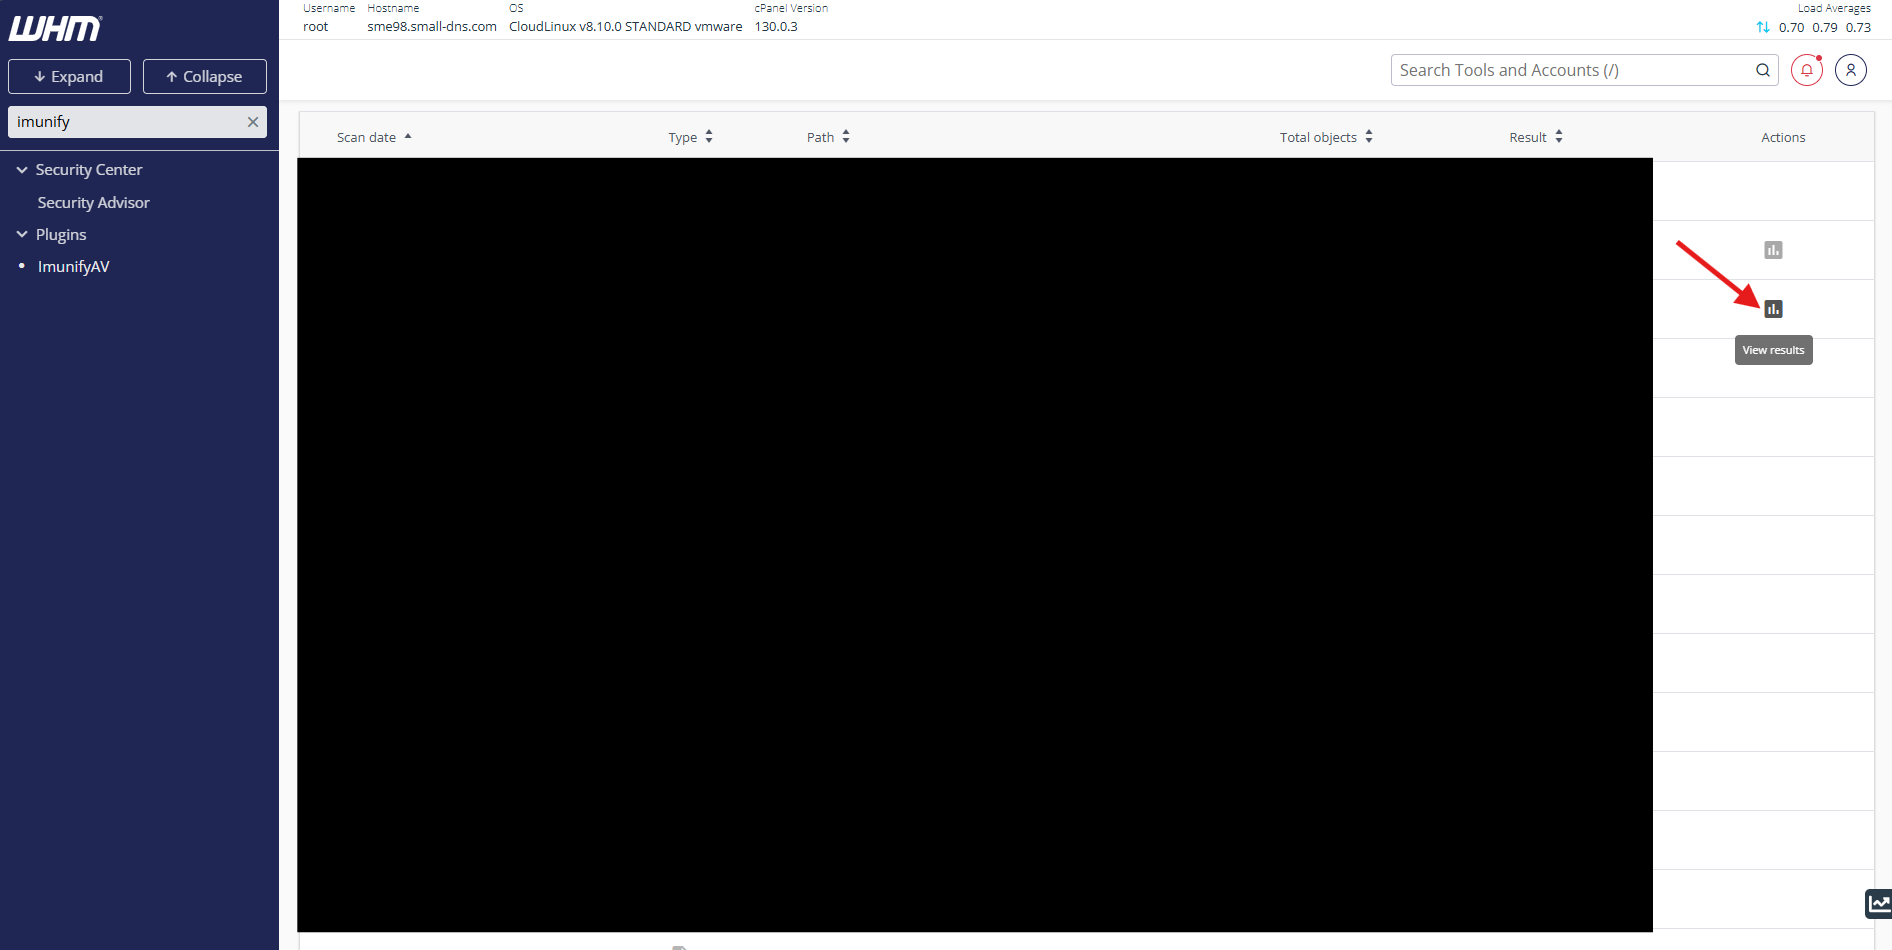
- If there are infected files, you can click on View results to see which files and its path.
- Navigate to Scan, enter the folder you wish to scan then click Start.
Conclusion
By following this guidance, you can successfully initiate a manual malware scan using the ImunifyAV interface in cPanel or WHM, helping you to proactively secure your website and identify potential threats.
For additional assistance or if you encounter any issues, please contact our support team at support@ipserverone.com.