Search Our Database
How to perform HTTP verification for Sectigo SSL using SSH CLI on a Linux server
Introduction
This article guides you through performing HTTP verification for Sectigo SSL certificates using the SSH command-line interface (CLI). This method is commonly used when email or DNS validation is not preferred or possible.
We will provide you a .txt file with a specific name and content. Kindly upload the attached file to the following directory inside your web root (public_html) for yourdomain.com:
../public_html/.well-known/pki-validation/XXXX.txt
Once uploaded, the file should be accessible at:
http://yourdomain.com/.well-known/pki-validation/XXXX.txt
Pre-requisites
-
SSH access to your web server.
-
Your domain (e.g. yourdomain.com is already pointed to the server IP.
-
Apache or Nginx is installed and serving your domain.
-
The .txt validation file and its content.
Steps to Perform HTTP Verification
Step 1: Connect to Your Server via SSH
Use an SSH client (e.g., PuTTY or terminal) and connect to your server:
ssh youruser@your.server.ip
Step 2: Navigate to Your Web Root Directory
Move to your domain’s public_html directory. For example:
cd ../public_html
If you’re unsure which directory you are in right now, confirm it with:
pwd
Step 3: Create the Required Folder (If Not Already Exists)
Check if the folders .well-known and pki-validation already exist:
ls -la .well-known/pki-validation
If they do not exist, create them using:
mkdir -p .well-known/pki-validation
📌 Note: If the folders already exist, you can skip this step and proceed to the next one.
Step 4: Create the Validation File Using vi
Use vito create the validation file with the exact filename provided by Sectigo ( for example:8A1D2C8896C77836E300F9B2A6C1F5E9.txt) :
vi .well-known/pki-validation/8A1D2C8896C77836E300F9B2A6C1F5E9.txt
Then follow these steps:
-
Press ito enter insert mode.
-
Paste the full content from the .txt file provided by us.
-
Press Esc, then type :wq and press Enter to save and exit.
Step 5: Verify the File is Accessible
Open your browser and visit:
http://yourdomain.com/.well-known/pki-validation/8A1D2C8896C77836E300F9B2A6C1F5E9.txt
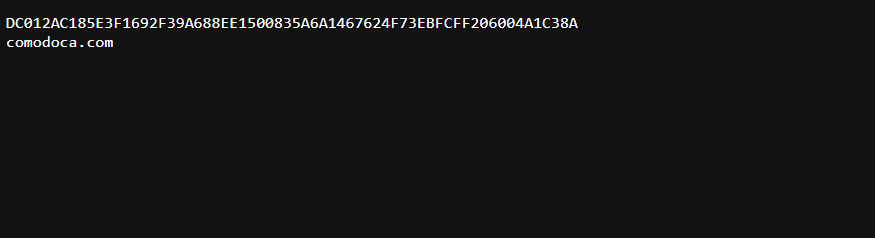
✅ If the file opens and shows the correct content (for example: shown below), the HTTP verification is successfully set up.
Conclusion
Once the validation file is correctly placed and publicly accessible, Sectigo will be able to verify your domain and issue the SSL certificate.This method is quick, efficient, and avoids the need for DNS or email-based domain control validation (DCV).
If you face issues or need further help, contact our support team at support@ipserverone.com.