Search Our Database
How to invite a member to your Cloudflare Account
Introduction
Managing a Cloudflare account often involves collaboration among multiple users, such as administrators, developers, or billing managers. Instead of sharing a single login credential — which poses security risks — Cloudflare allows you to invite additional members with customizable roles and permissions. This ensures that each team member only has access to the areas they are responsible for, improving security, accountability, and operational efficiency.
In this guide, we’ll walk you through the steps to invite a member to your Cloudflare account, and explain the different roles you can assign to manage access more effectively.
Prerequisites
- You must have an existing Cloudflare account with at least one active zone (domain).
- Only account owners or users with Admin privileges can invite new members.
📝 Steps to Invite a Member
Step 1: Log in to the Cloudflare Dashboard
-
Visit https://dash.cloudflare.com and sign in.
Step 2: Select Your Account
-
Choose the account where you want to add a new member.
Step 3: Access the Members Page
- Navigate to the left sidebar
-
Go to Manage Account > Members.

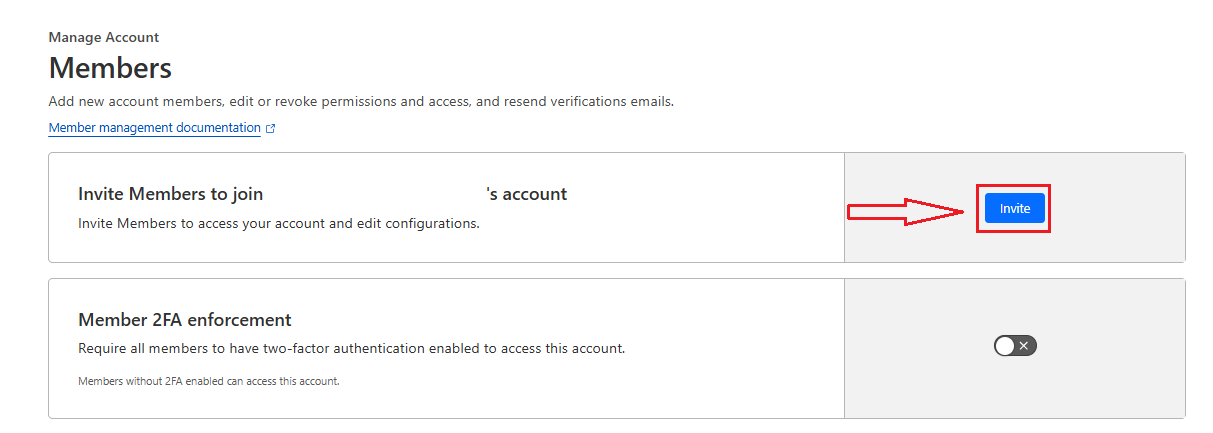
Step 4: Start the Invitation
-
Click Invite.
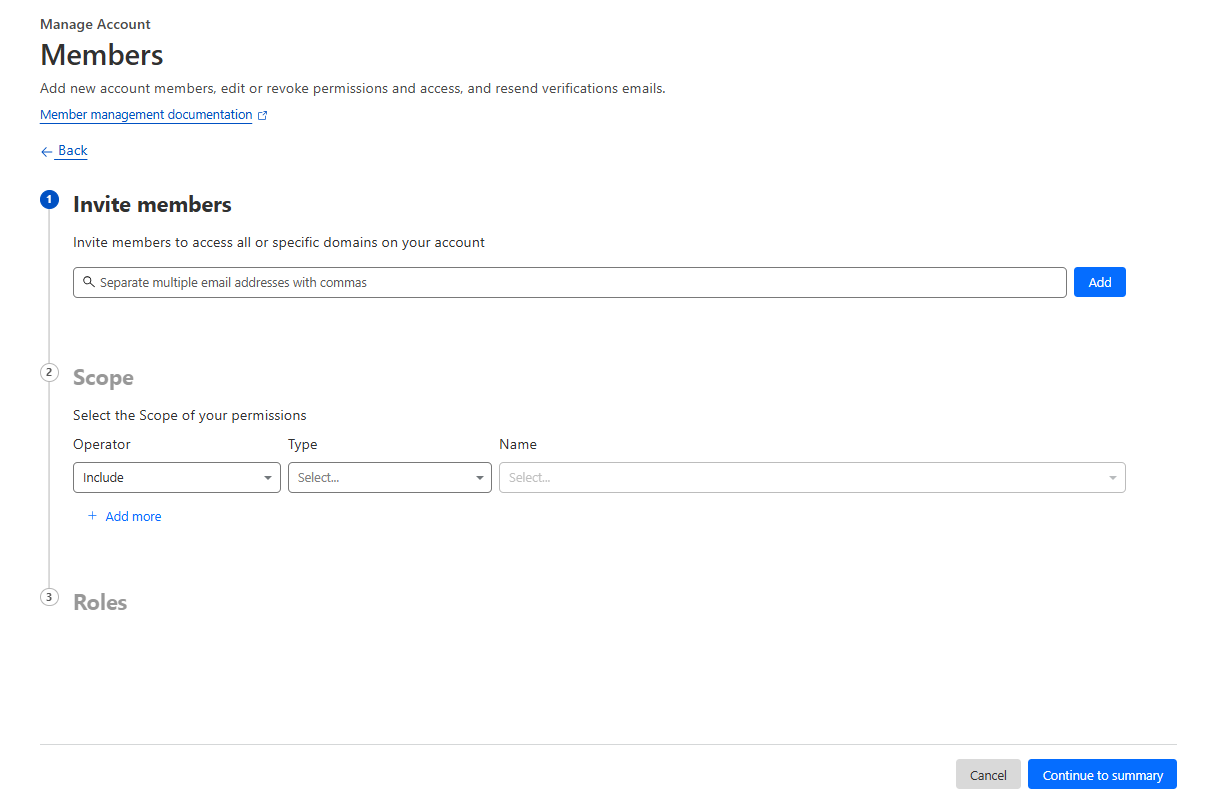
Step 5: Fill in the Invitation Details
-
Invite members: Enter one or more email addresses. (If inviting multiple people, separate email addresses with commas.)
-
Scope: Use various filters to adjust the access scope (zones, services, etc.).
-
Roles: Select one or more roles to assign to the new members.
Step 6: Review and Send
-
Select Continue to summary.
-
Review the information.
-
Select Invite to send the invitations.
The invited members will receive an email with instructions to join your account.
🛡️ Roles and Permissions Overview
Cloudflare supports role-based access control. Common roles include:
| Role | Permissions |
|---|---|
| Administrator | Full access, including user management |
| DNS Editor | Can modify DNS records |
| Billing | Can manage billing info only |
| Read Only | View-only access to account settings and analytics |
Refer to Cloudflare Roles & Permissions documentation for a full list of role capabilities.
Conclusion
By following this guidance, you will be able to successfully invite new members to your Cloudflare account, assign appropriate roles, and manage team access securely and efficiently. This not only helps maintain better control over your domain settings but also enhances the overall security and operational workflow of your account.
For additional assistance or if you encounter any issues during the process, please do not hesitate to contact our support team at support@ipserverone.com. We are always ready to help you.