Search Our Database
How to Convert Primary Domain into Addon Domain in cPanel
Introduction
Converting a primary domain to an addon domain is a process often required when restructuring websites or optimizing account usage. This procedure is done within the cPanel and WHM interfaces and is typically performed by administrators when an account’s domain structure needs adjustment. Following the correct steps ensures that websites remain functional and accessible throughout the transition.
Prerequisites
- Access to WHM with root privileges
-
Familiarity with cPanel interfaces such as “Domains” and “Account Functions.”
-
The new primary domain ready for use.
Step-by-step guide
Step 1: Backup the website data
- Login to your WHM interface using any browser. You may use the following to your WHM:https://your-server-ip: 2087
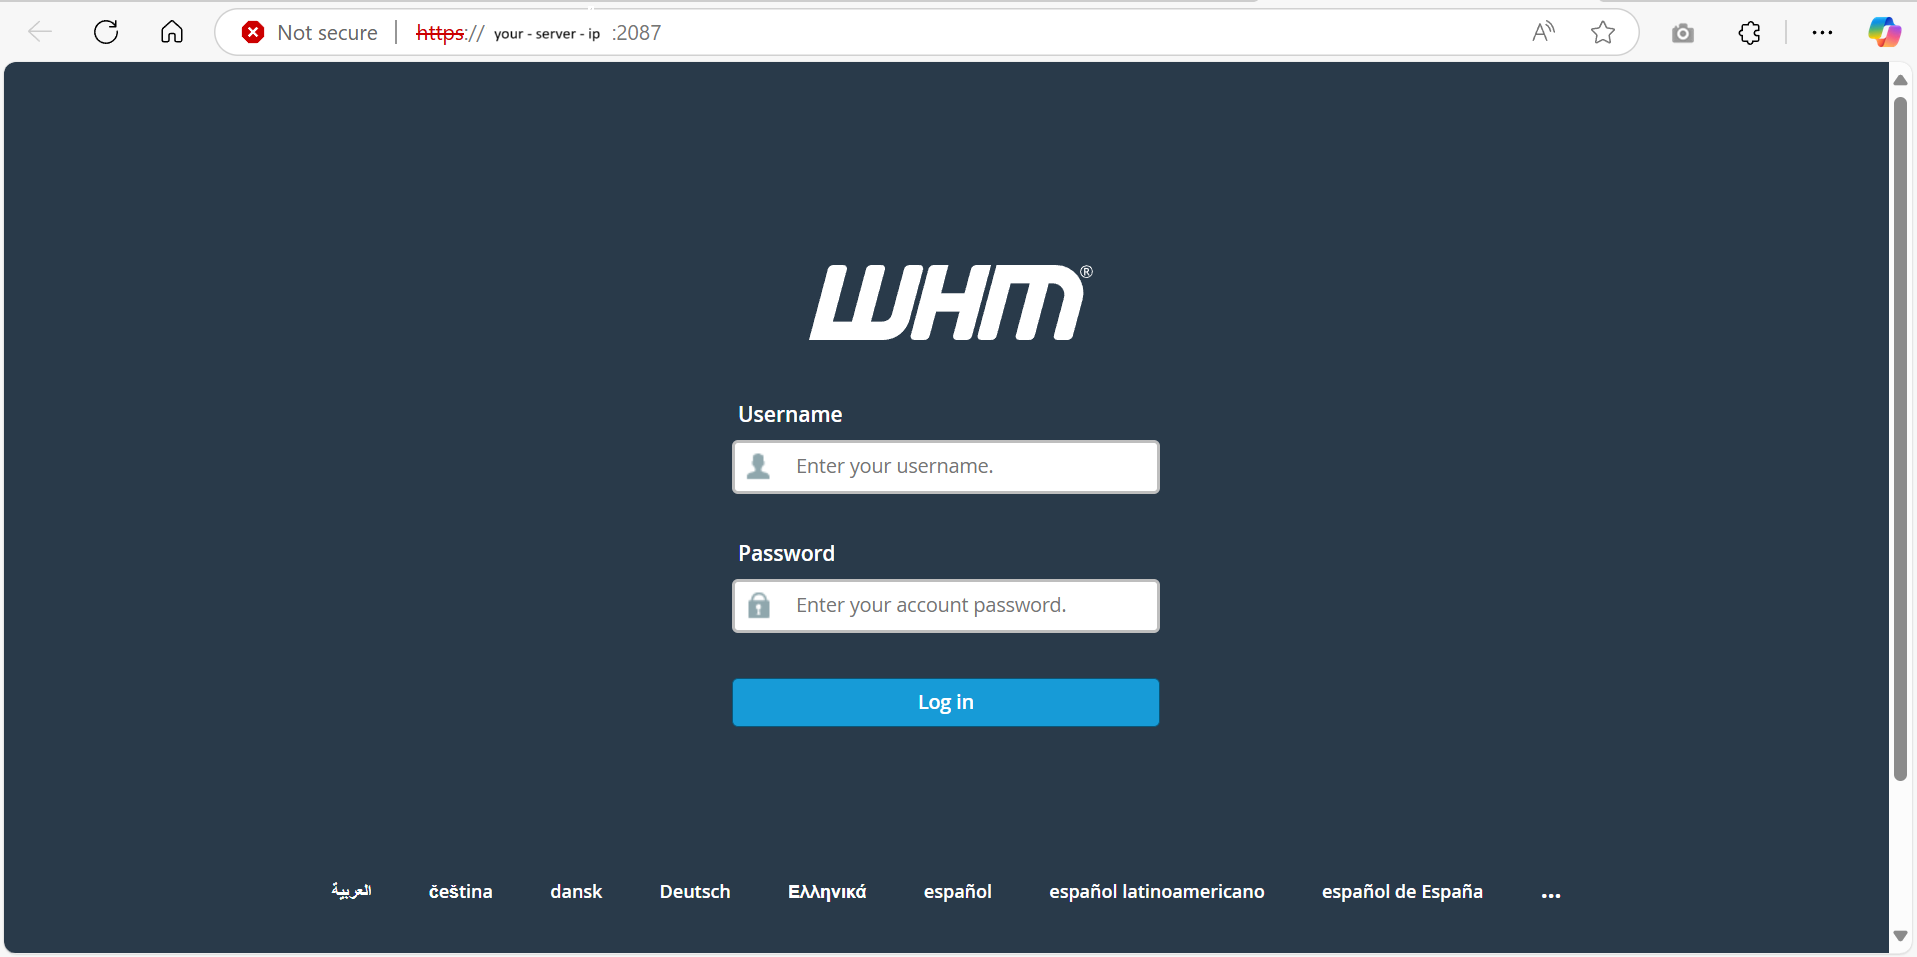
- Login to the WHM using your login credentials
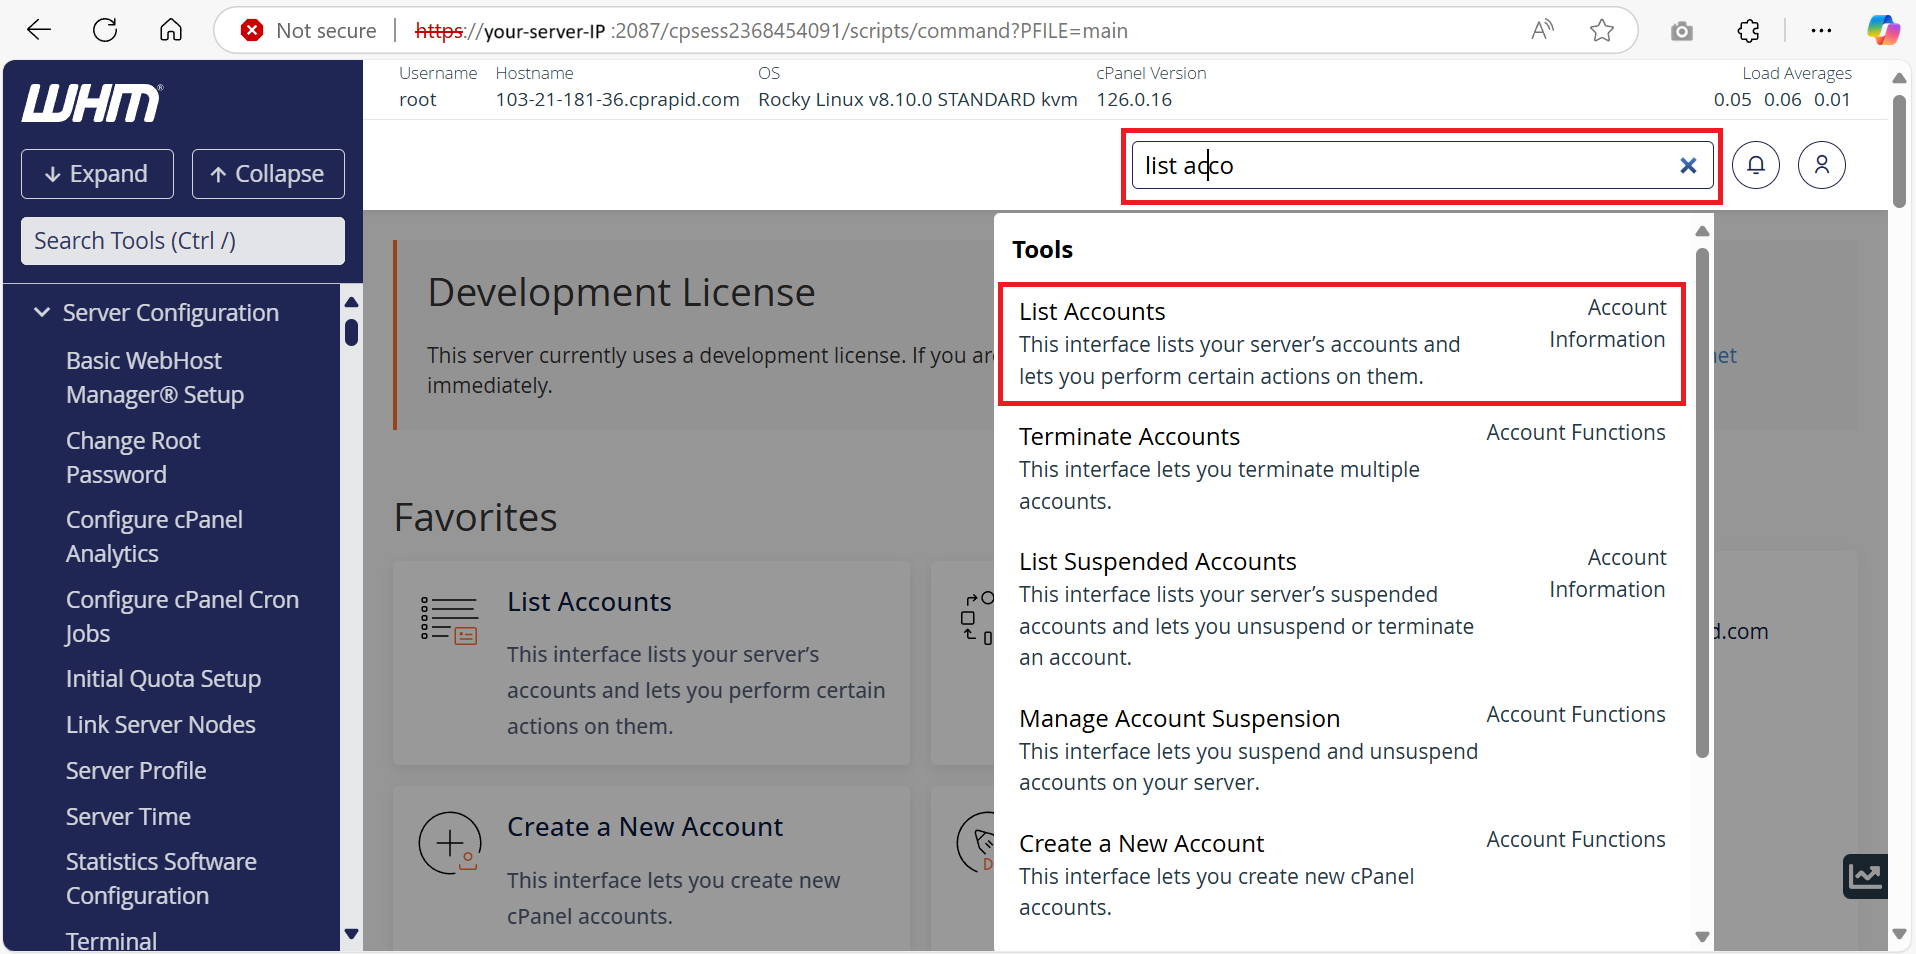
- Once logged in, navigate to List Account. You may use Search Bar to navigate to List Account.
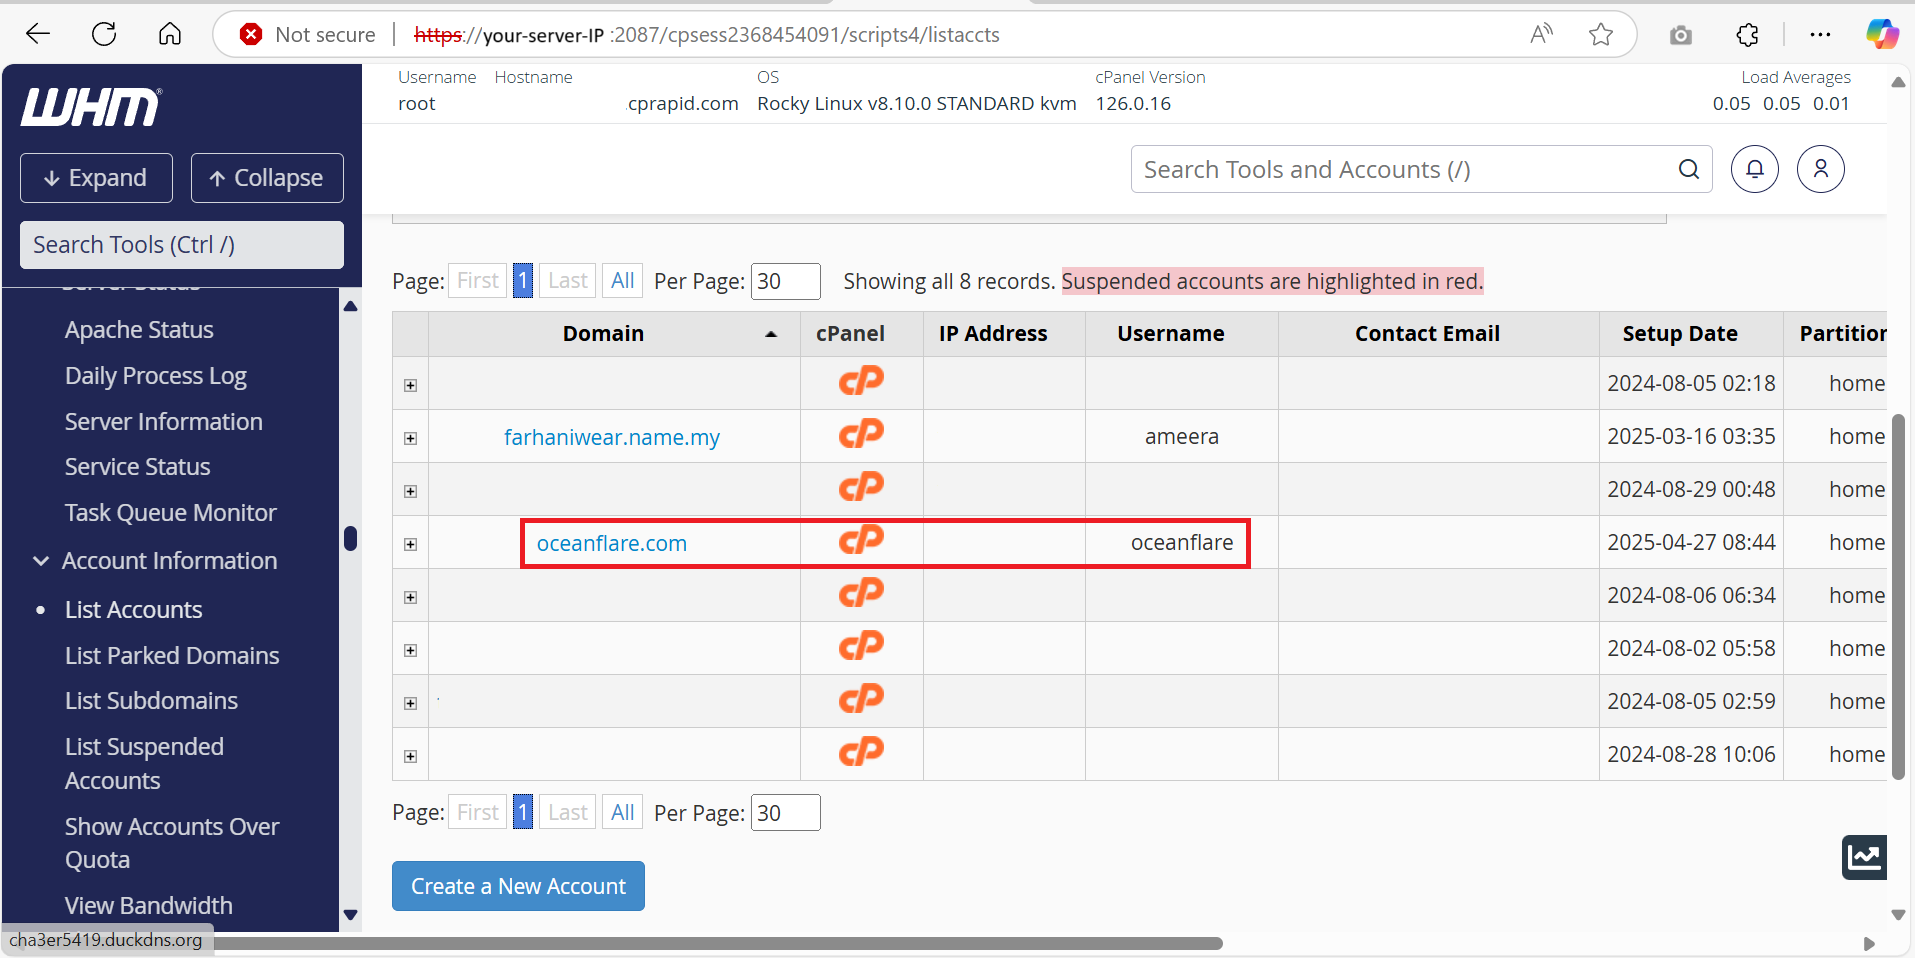
- You will see the list of the users and their respective of the domain as well. For this knowledge base I will be using the domain in the red circle below.
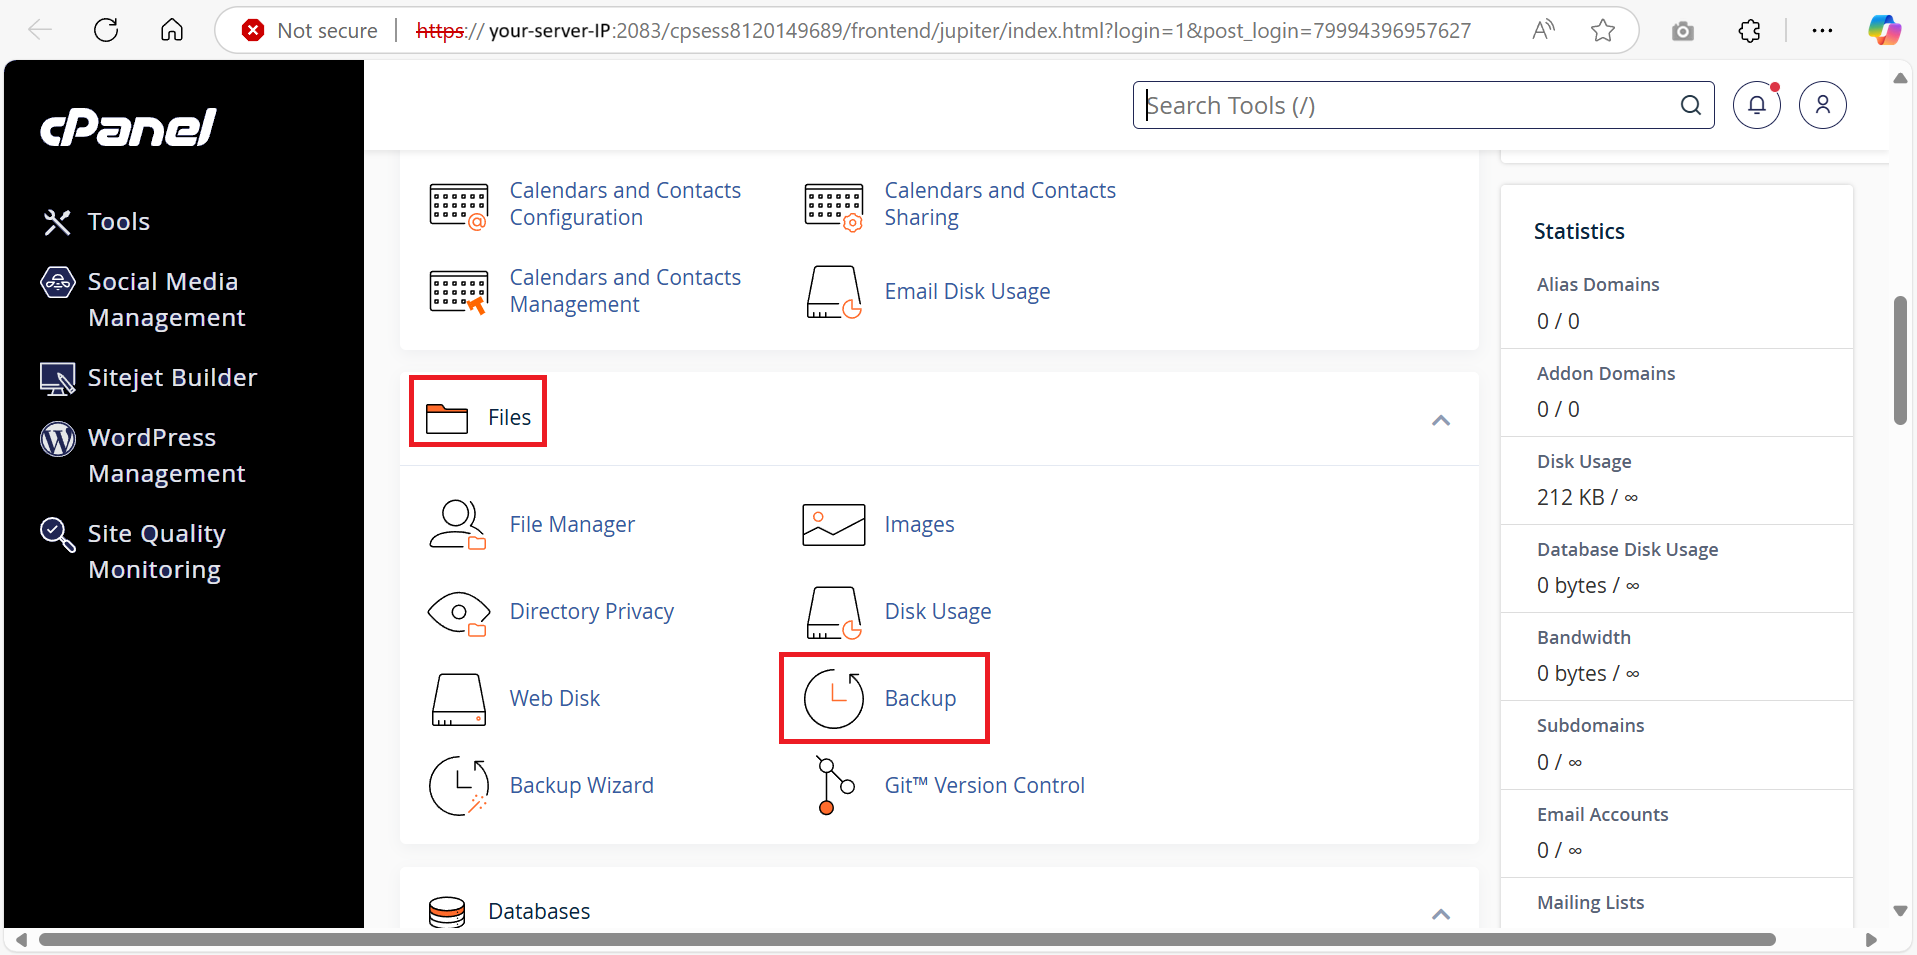
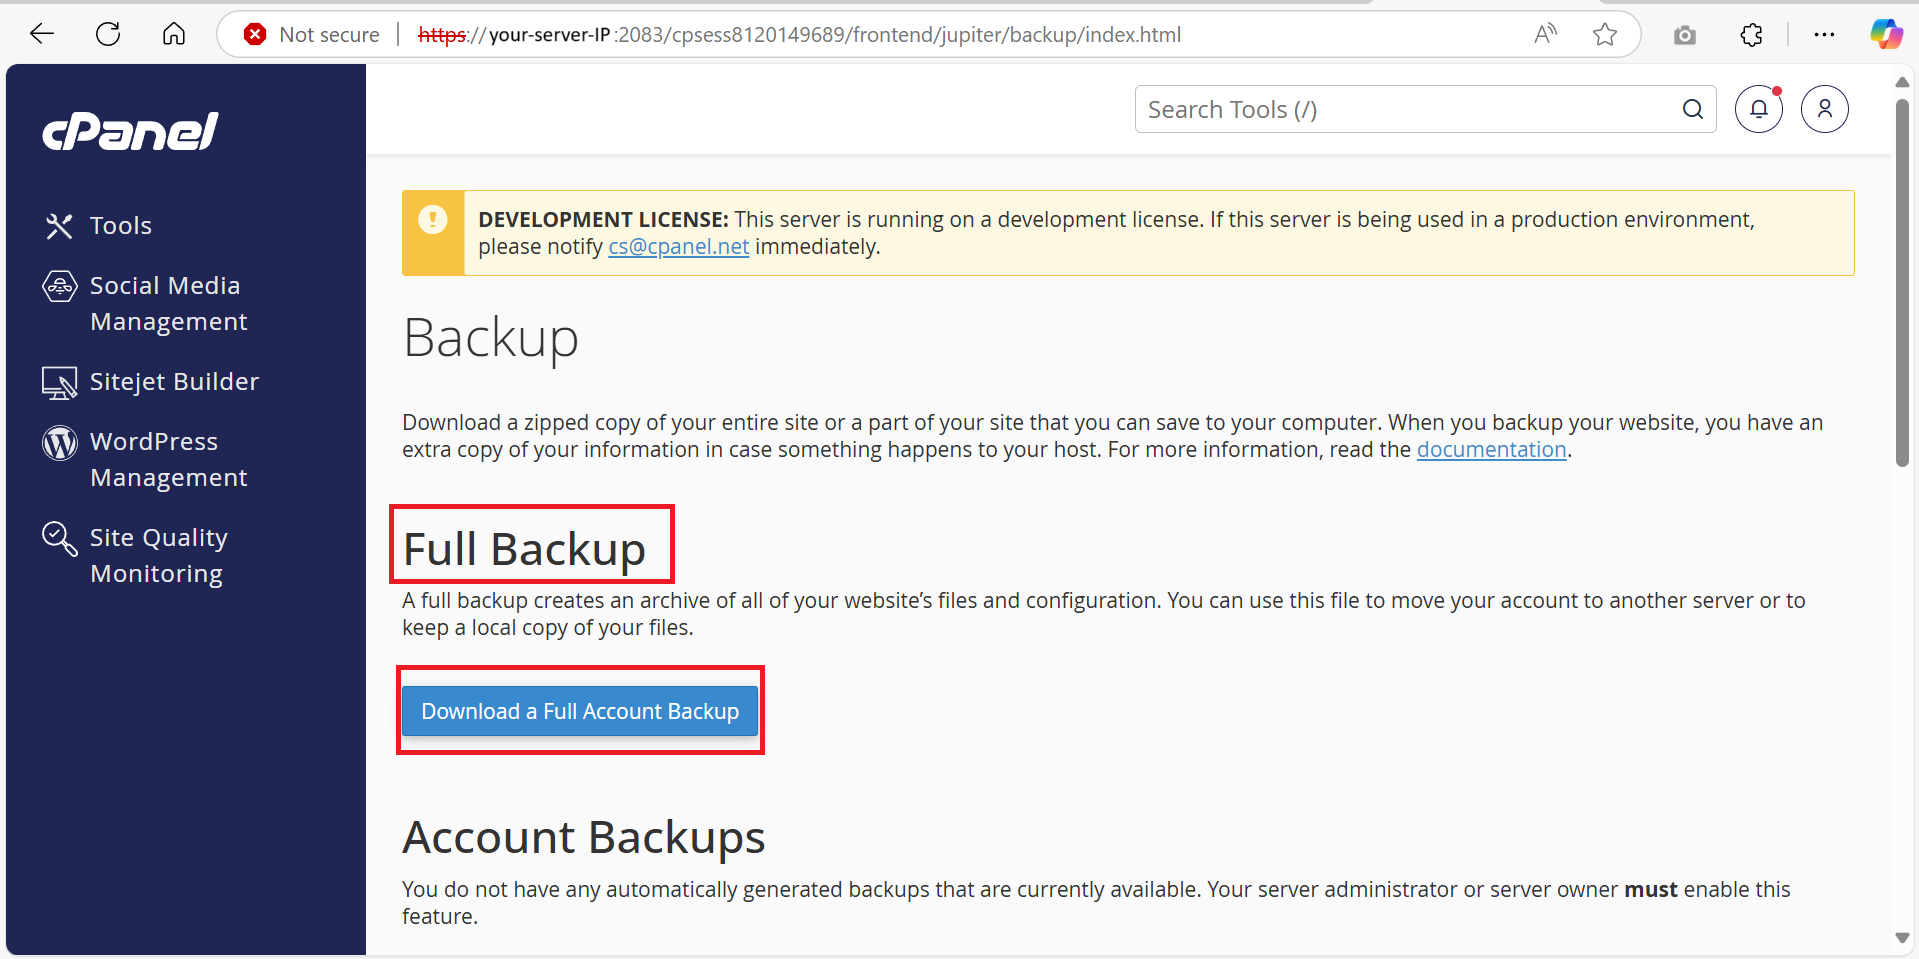
- Click on the “cP” icon to enter the user acount. In order to generate backup, scroll down a bit and you shall find the Files section. There should be Backup icon.
- It is recommended to do a full backup for this step. For information, for quick operation, we usually store the backup in default path which is: /home/username/backup-04.26.2025_user.tar.gz
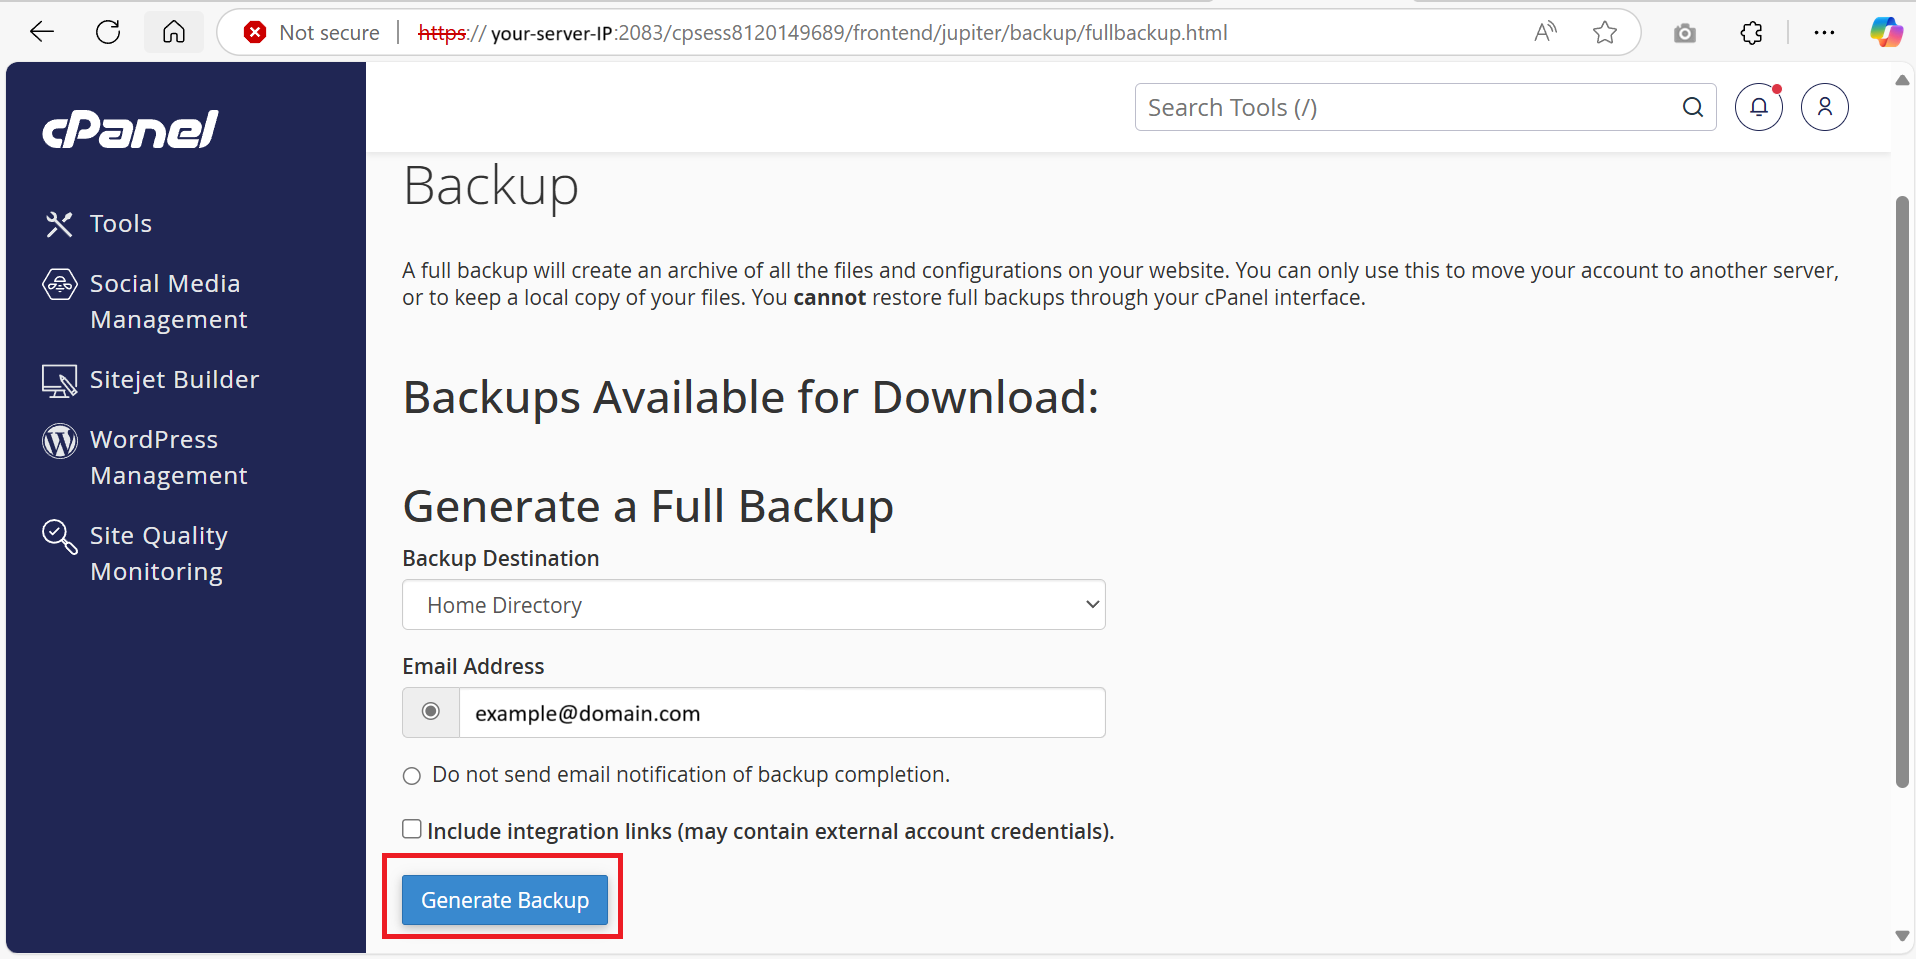
- Then, in the next page after clicking the Download a Full Account Backup. You can choose whether to send the notify you via email if the backup is downloaded or not.
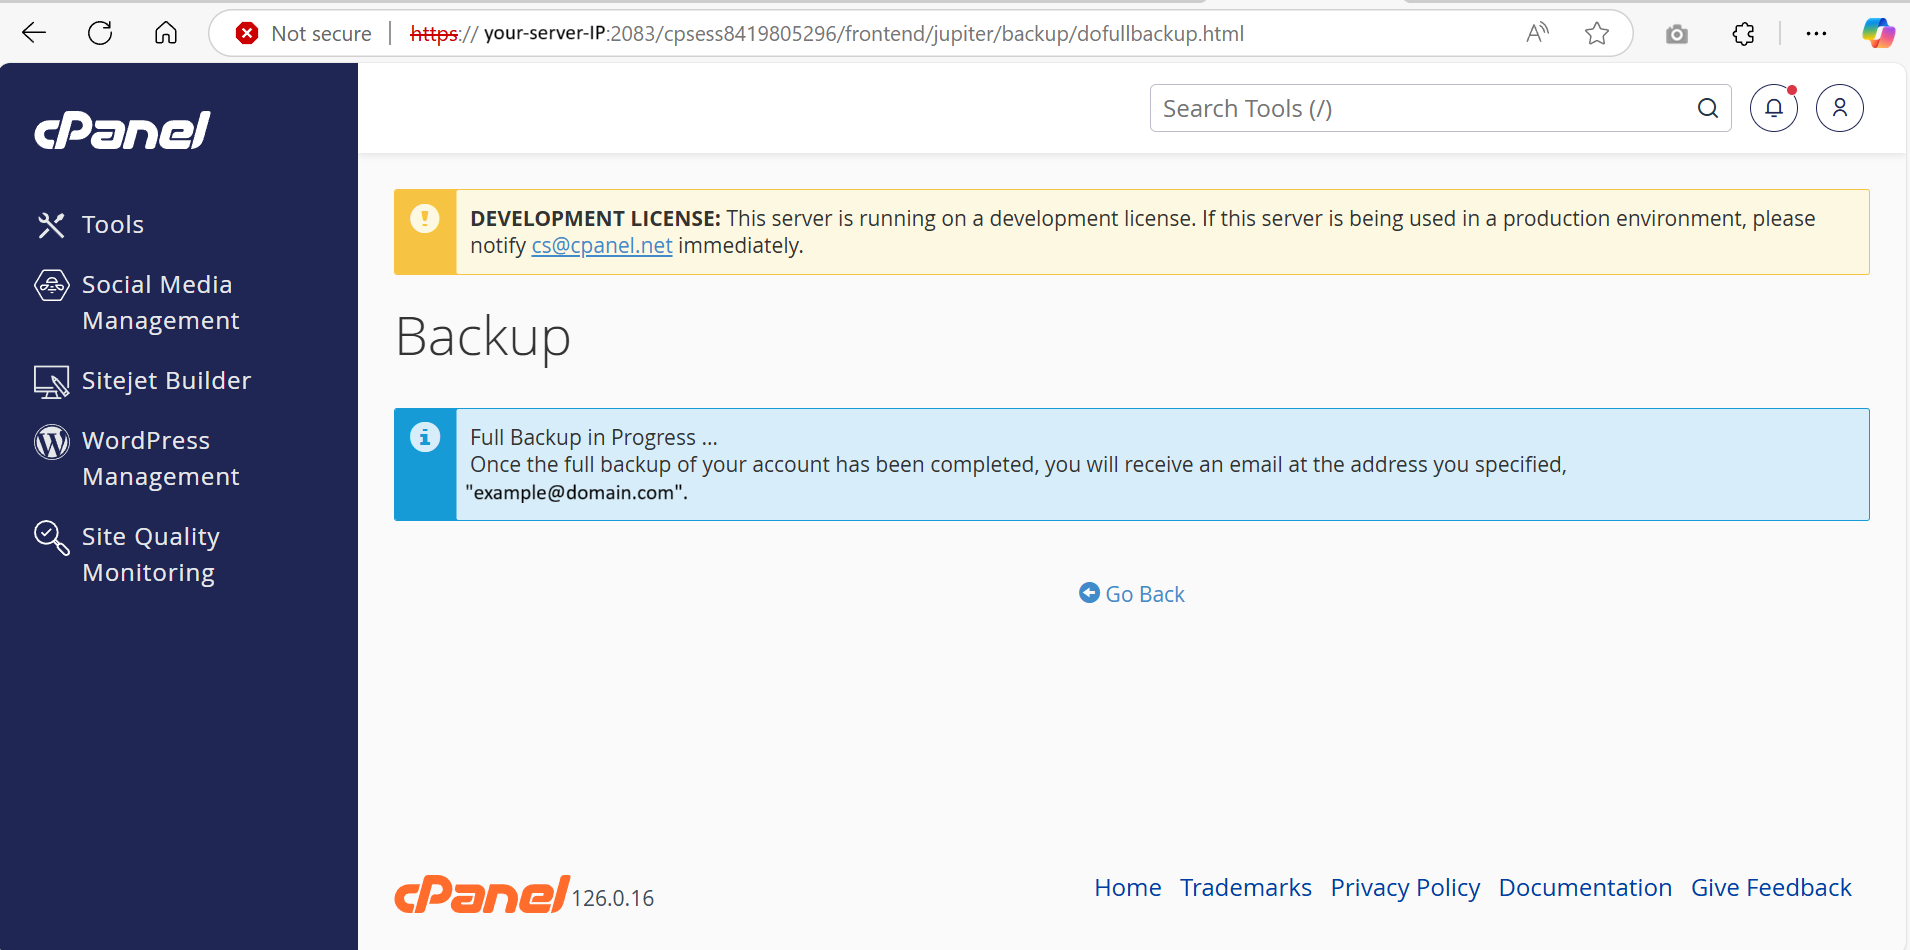
- Once you click on Generate Backup, the cPanel will prompt this page to you.
- Once the backup is done, you can check the backup from the Files Section in the cPanel.
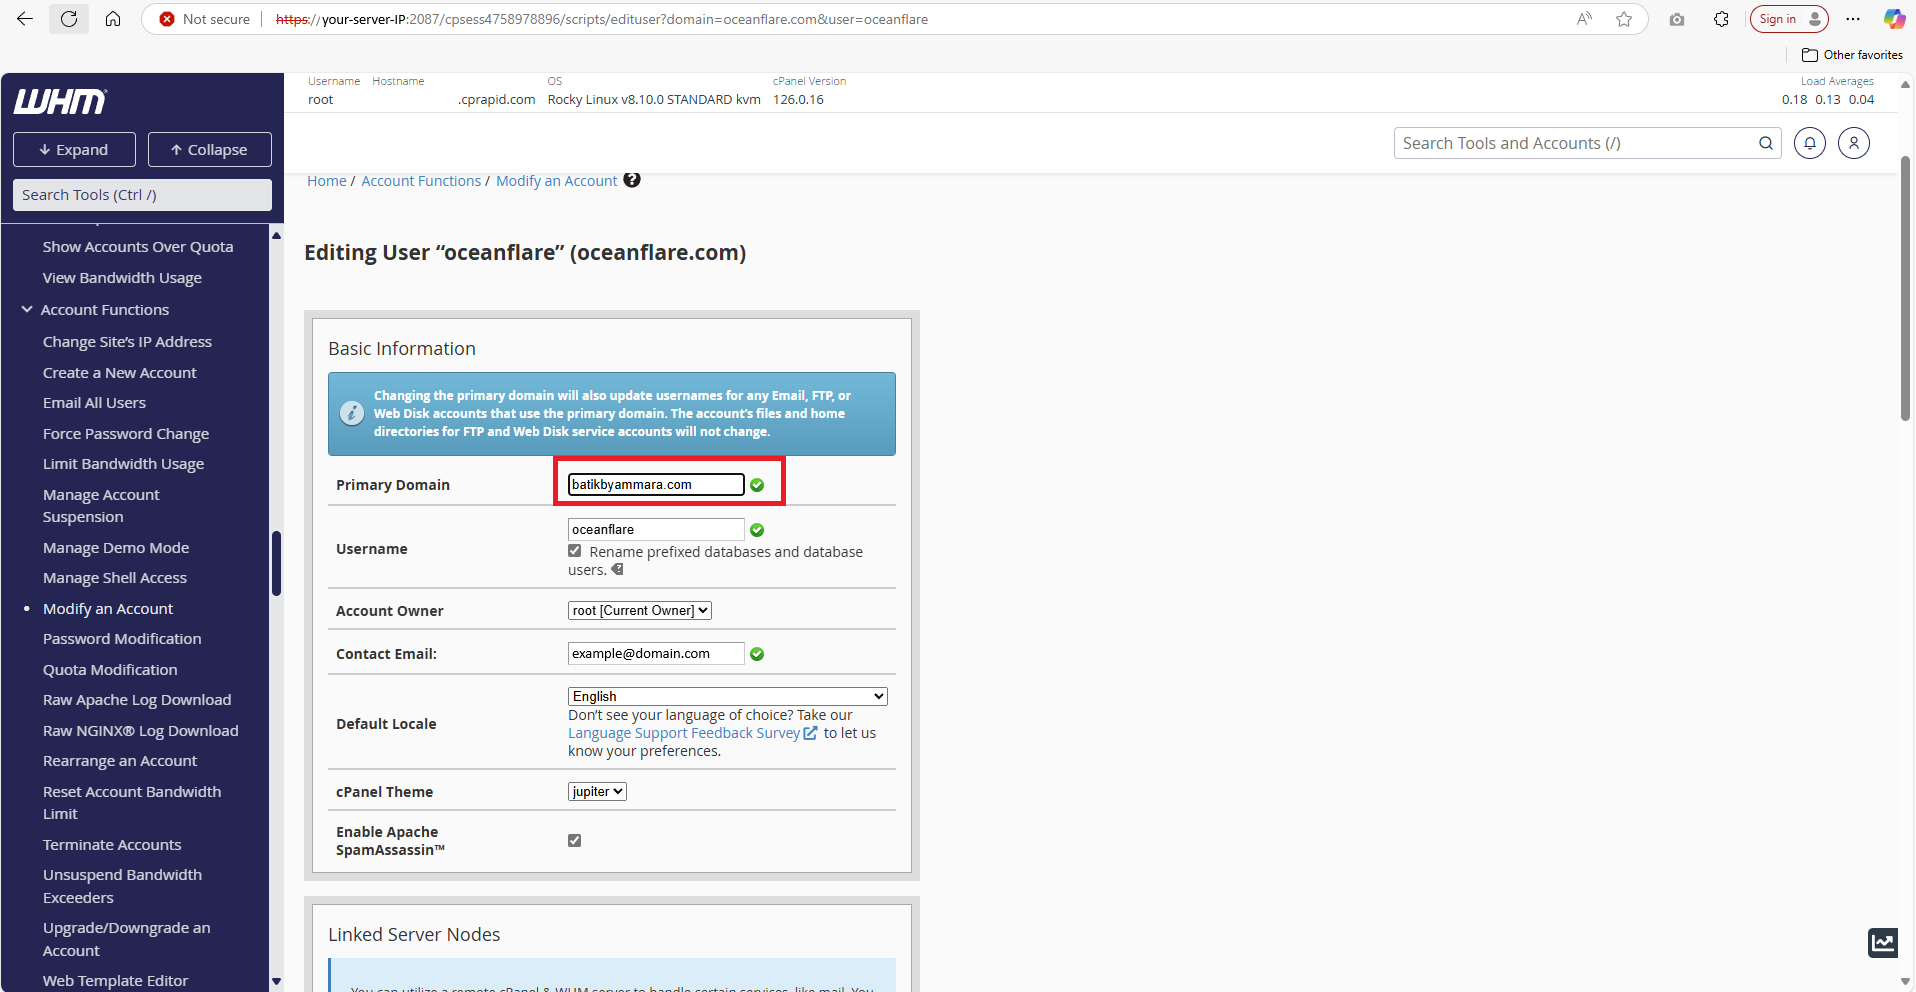
Step 2: Change Primary Domain to addon Domain
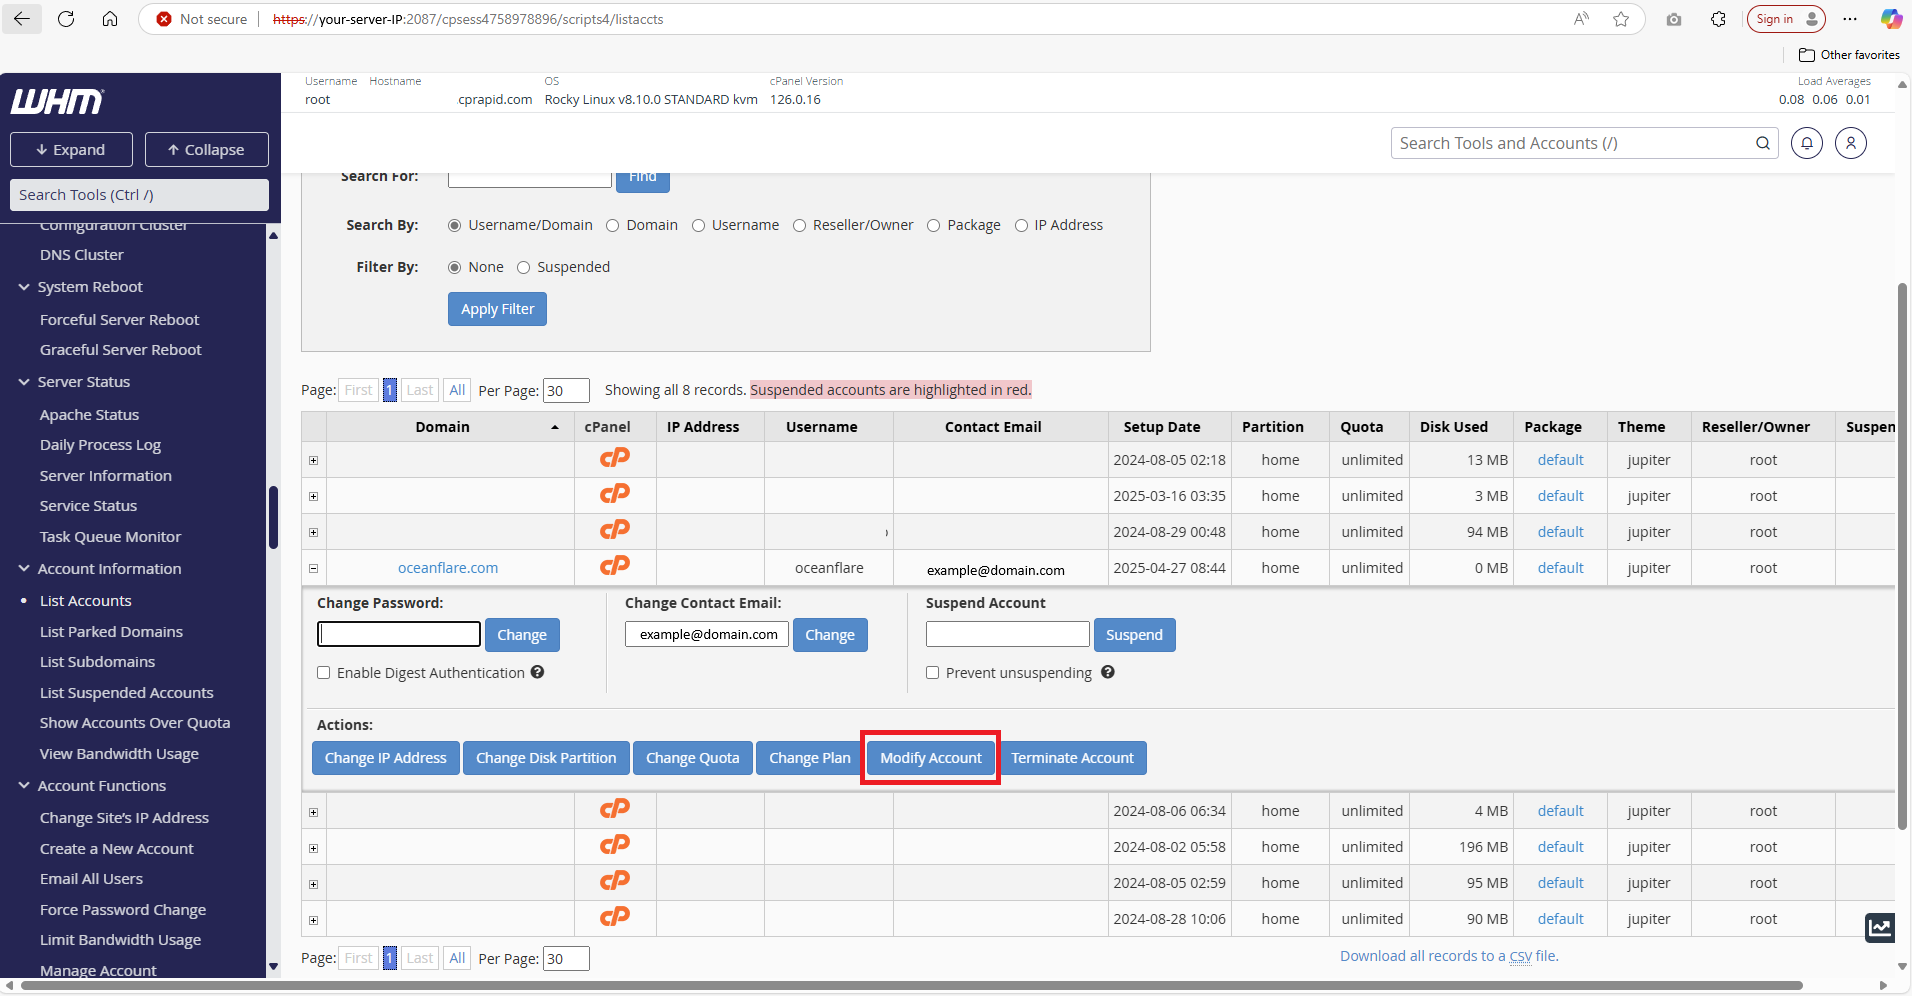
- Next, login as WHM root user, navigate to the List Account, Click the “+” sign on the right side of the account that you want to change the primary to addon domain and then click on Modify Account.
- In the next page, you may edit the primary domain of the account to the new domain. Once you have edited the domain, scroll down to the end of the page and click “Done”.
- Once you click Done, it will need some time to change the domain and will prompt Success.
Step 3: Adding the Former Primary Domain as an Addon Domain
- Once you have changed the primary domain, you can add the former primary domain as addon domain.
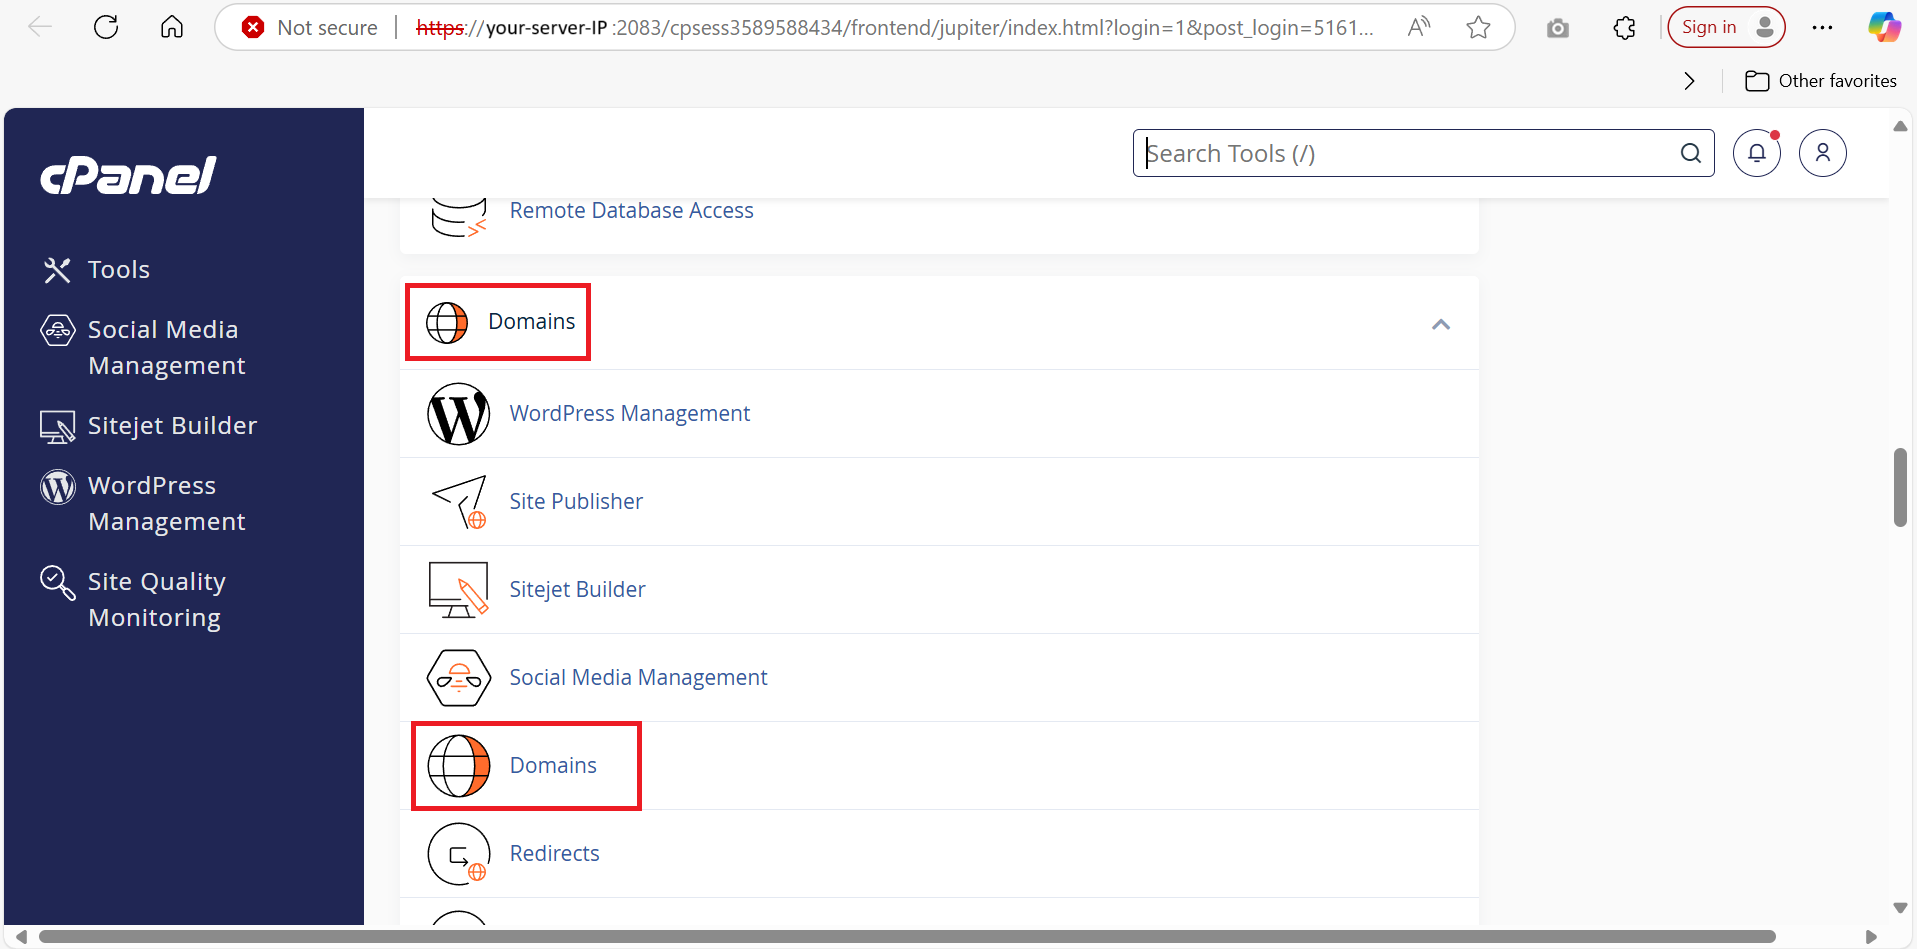
- Login to cPanel where the domain will be added as addon domain.
- In the cPanel, navigate to Domains , and then click on Domain.
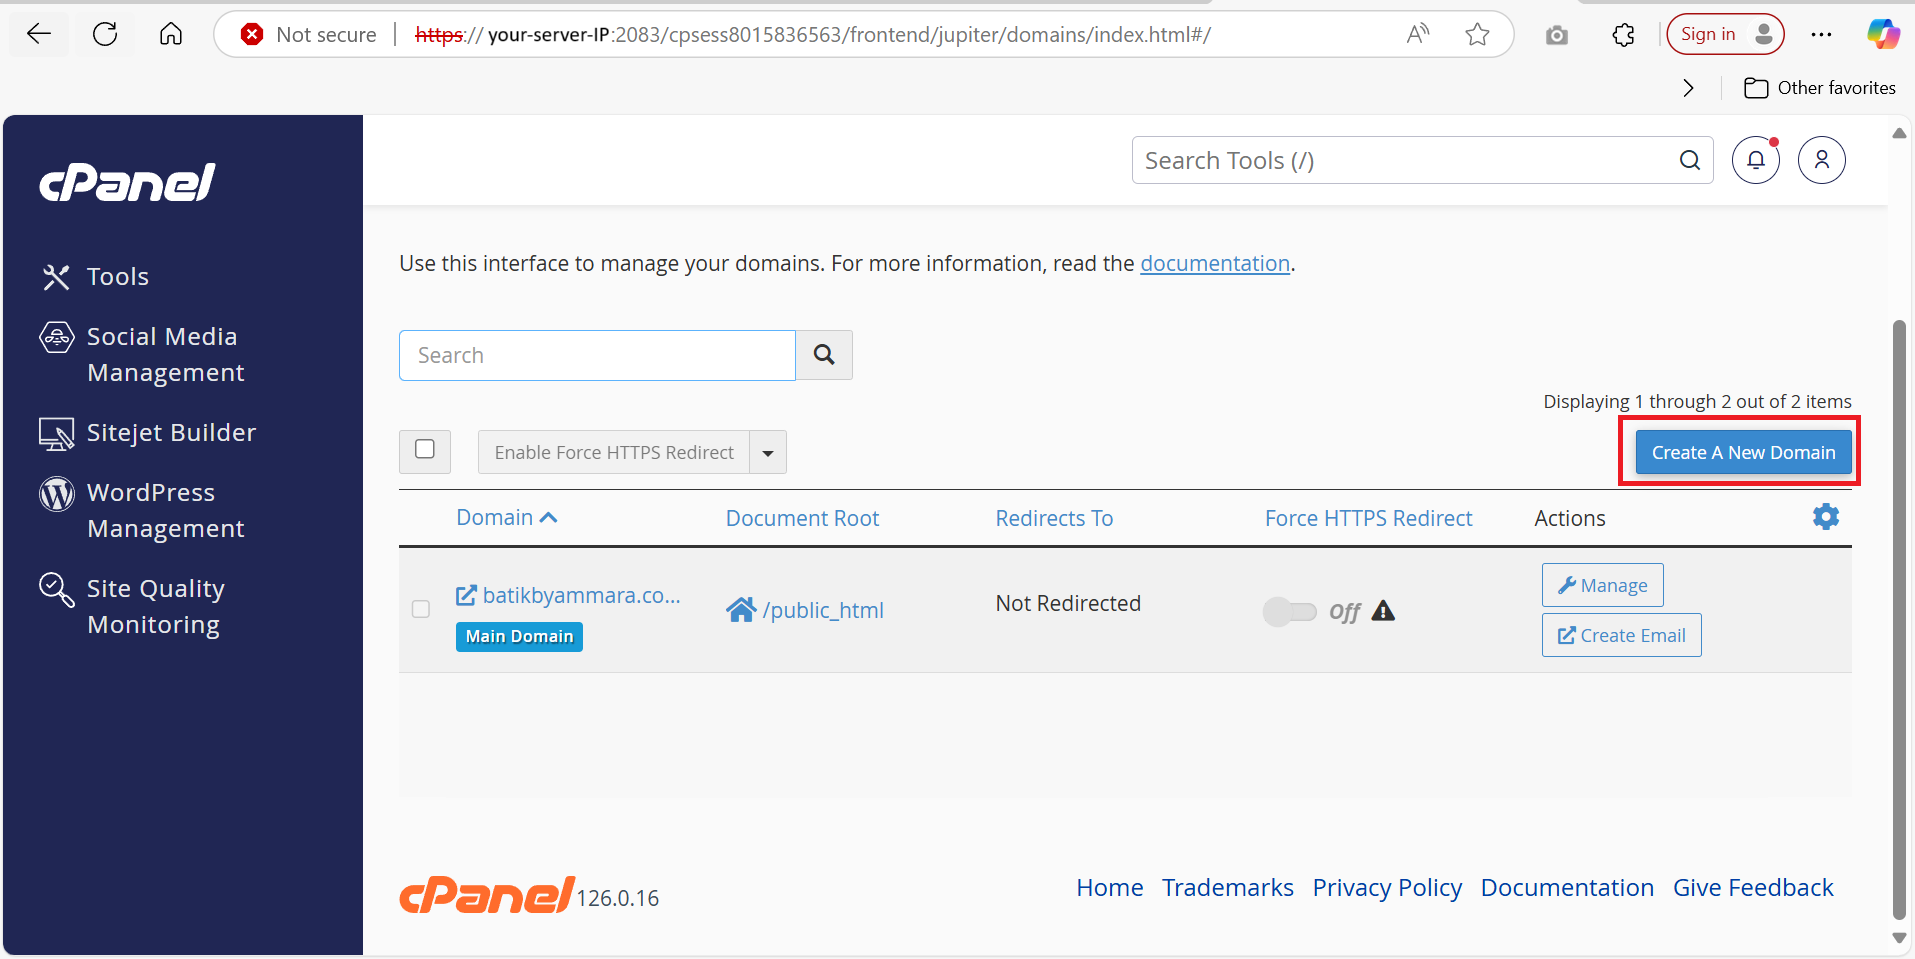
- On the next page, click on Create a New Domain.
And then add the former primary domain.
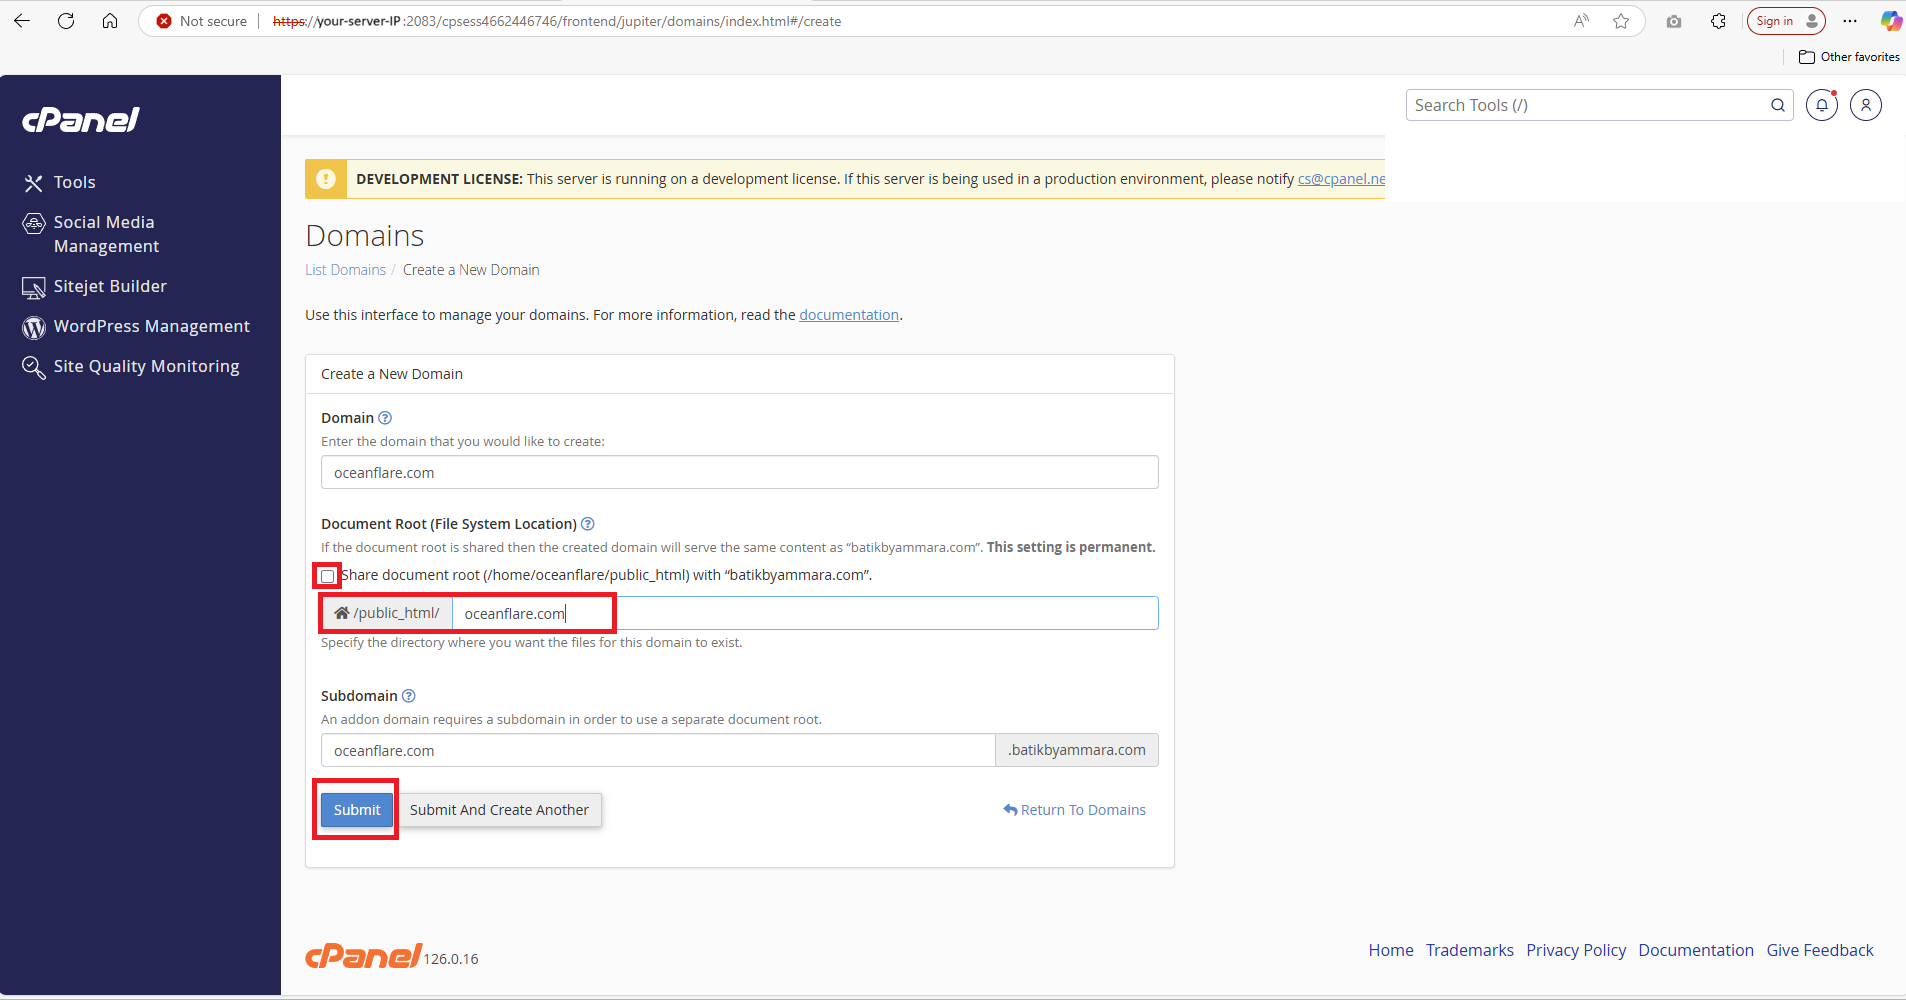
- In the Document Root field, specify where you want to store the files for the Addon Domain, e.g., /public_html/oceanflare.com).
- You can create a new FTP account if needed to manage the addon domain’s files.
- Click Submit to complete the process.
Step 4: Moving Backup Files from the current folder to new folder for the addon domain
- In the cPanel, navigate to Files manager in Files Section. You may create the root directory you have specified first beforehand.
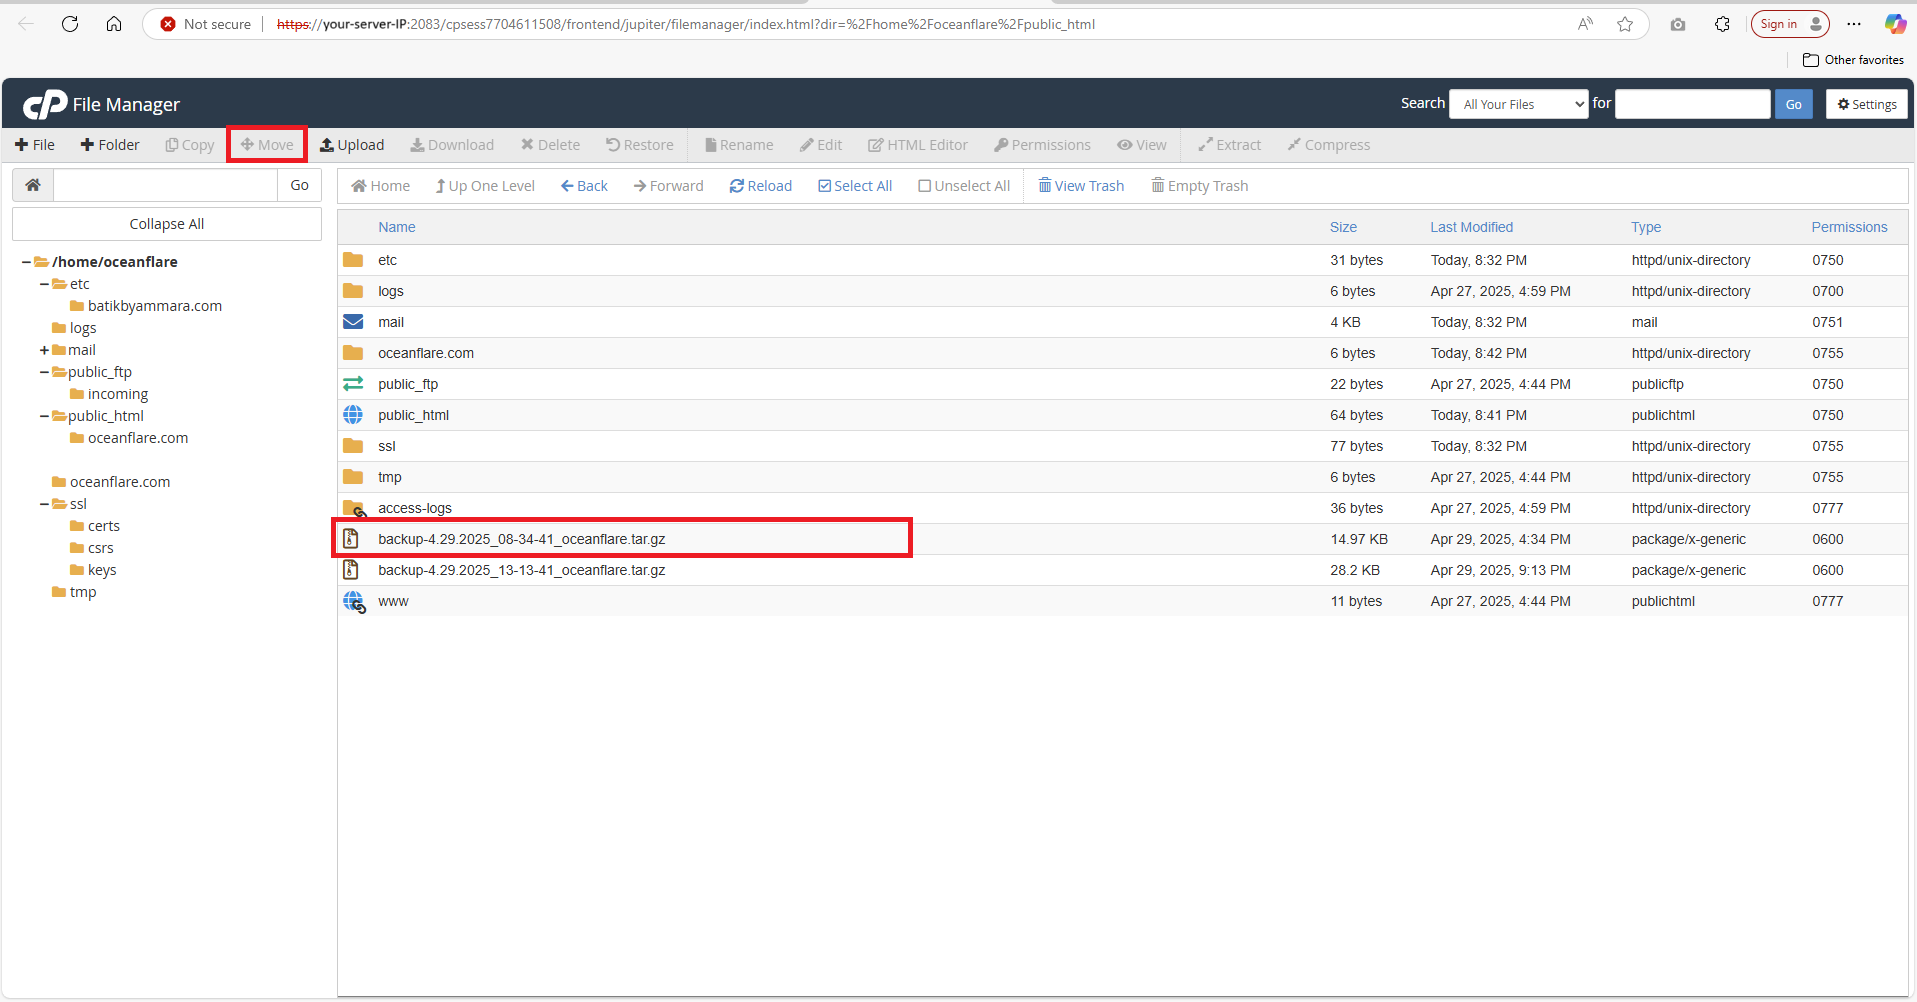
- You can copy the backup file to addon domain root file path. Navigate to the backup files, click on it, then you can click on the Move to move the file to your desired directory.
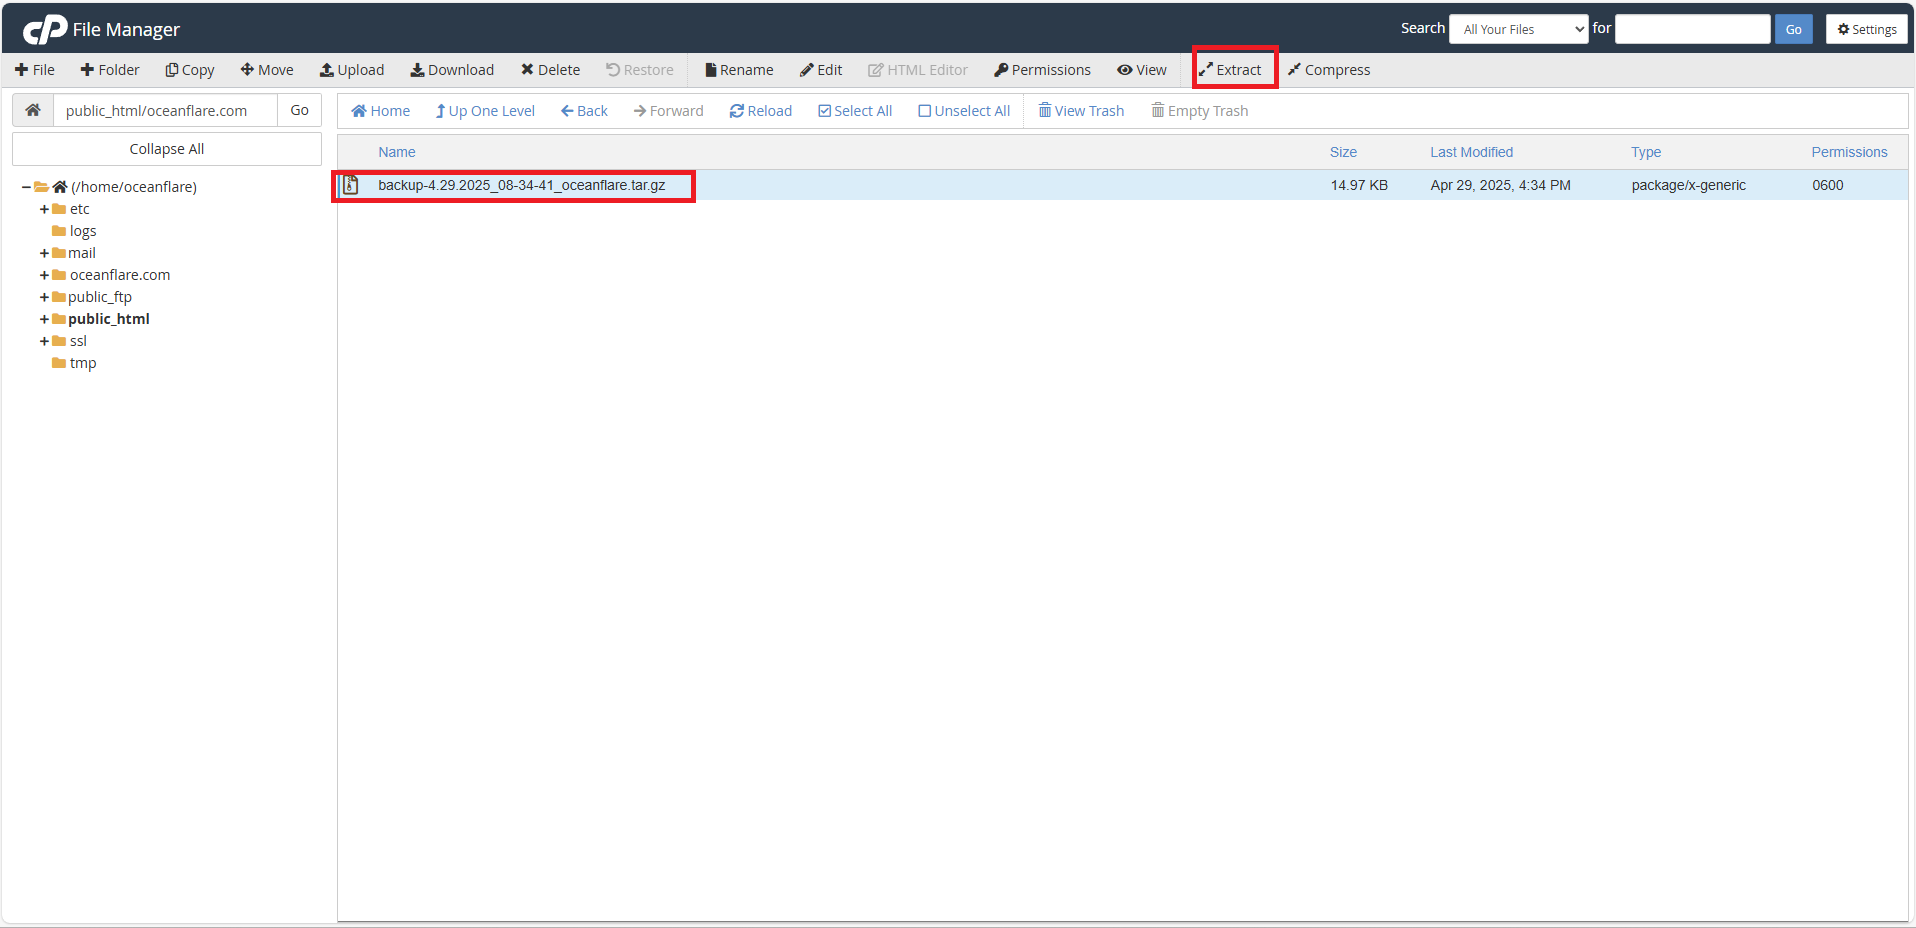
- After moving the backup file into the public_html/domain directory, you will need to extract the contents of the backup file. To do this, select the .tar.gz backup file, click on the Extract button at the top, and choose the extraction path. Make sure to extract the files directly into the /public_html/domain folder. Once extracted, the backup files will be available for use, and you can proceed to organize or modify them as needed..
Step 5: Verify if the domain can be browsed
- Ensure that the DNS for the new domain is correctly configured. For the Addon Domain, the DNS should be pointing to the correct IP address of your cPanel server.
- Type the domain name in a browser (e.g.,https://domain.com).If the website loads successfully and displays the content you expect, the process was successful.
- Should the website fail to load, it is important to verify the status of DNS propagation, as changes may take up to 24-48 hours to fully propagate. Additionally, confirm that the website files have been correctly moved and configured
Conclusion
By following these steps, you will have successfully backed up your cPanel account, converted your primary domain, added your former primary domain as an Addon Domain, and restored the backup files to the appropriate directory. The website should now be functioning correctly under the new domain setup.
Article posted on 11th May 2025.