Search Our Database
How to install Let’s Encrypt SSL Certificate in cPanel & WHM
Introduction
Securing your website with SSL (Secure Socket Layer) is essential for protecting user data and improving your site’s credibility. This article is designed for website administrators or users who manage domains through cPanel and WHM. It covers the steps to enable AutoSSL using the Let’s Encrypt provider, ensuring your site is accessible via HTTPS. You should follow these steps whenever you add new domains or wish to renew SSL certificates. This process is applicable in any hosting environment where WHM and cPanel are available. By the end of this guide, you’ll understand how to effortlessly secure your website with SSL.
Prerequisites
- Access to the WHM root account
- Access to a cPanel account
Step-by-step Guide
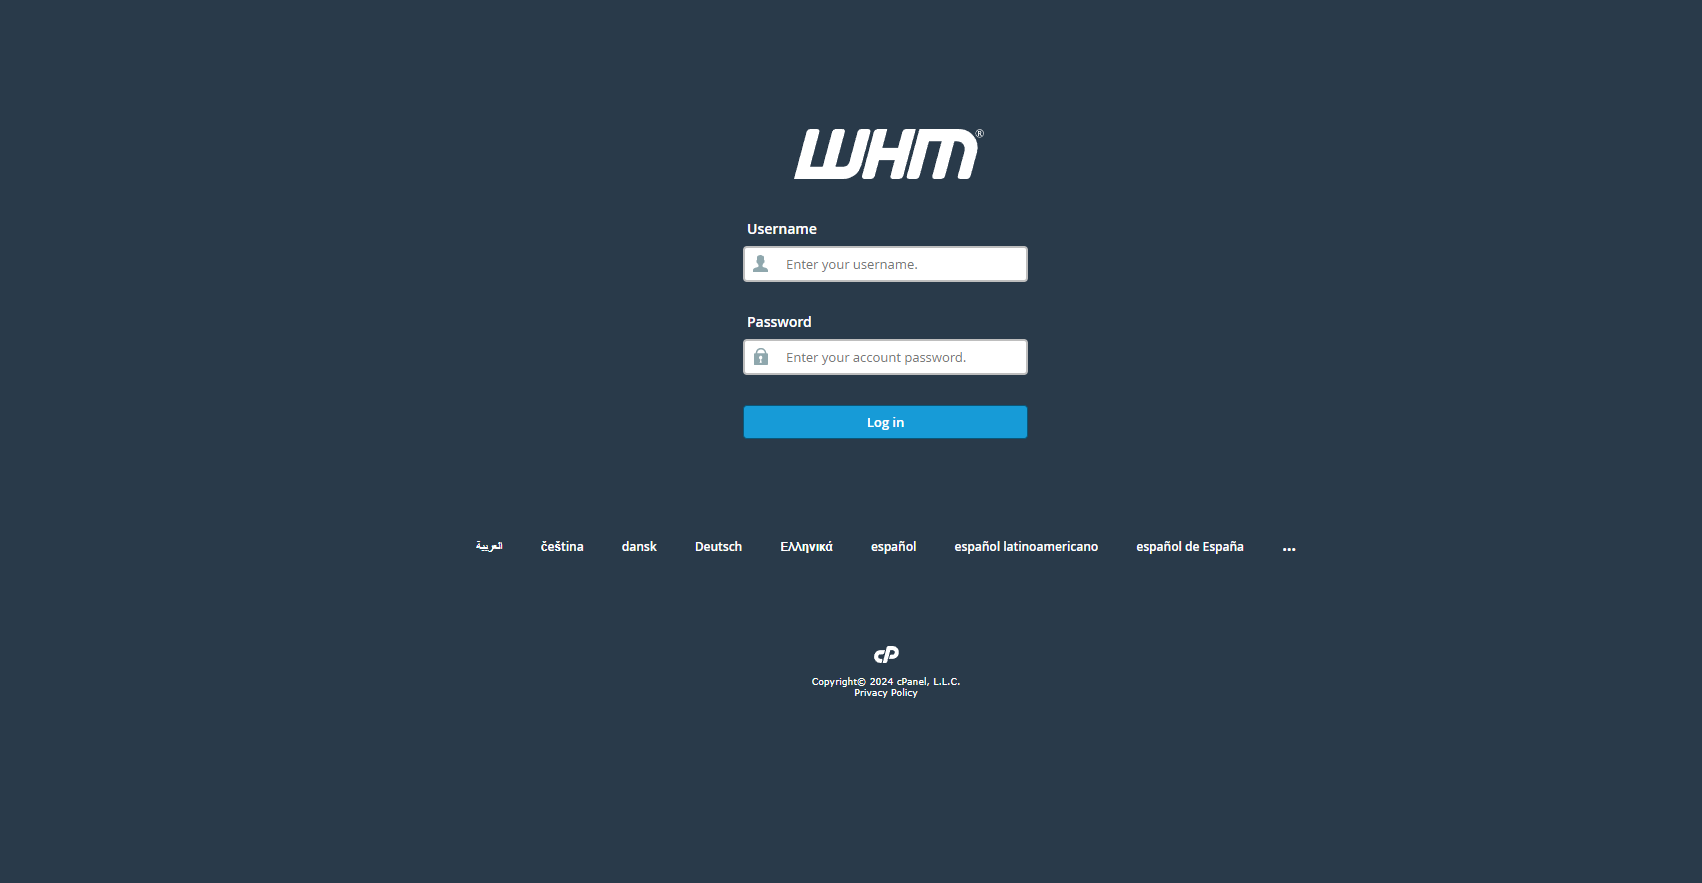
Step 1: Log in to WHM
Log in to your WHM interface as the root user. WHM (Web Host Manager) is where the server’s administrative tasks are managed, including SSL configurations.
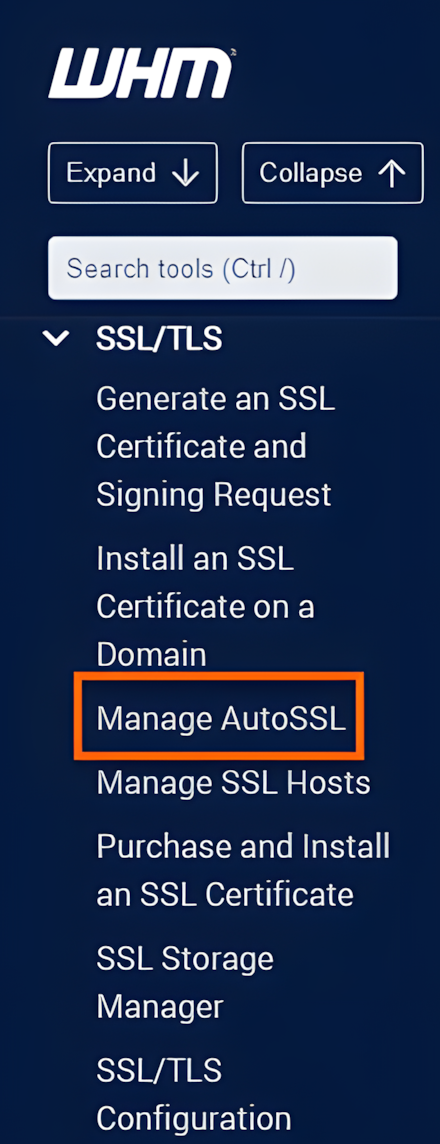
Step 2: Search for Manage AutoSSL
In the WHM search bar, type Manage AutoSSL and select it from the results. This section handles the automation of SSL certificate issuance and renewal.
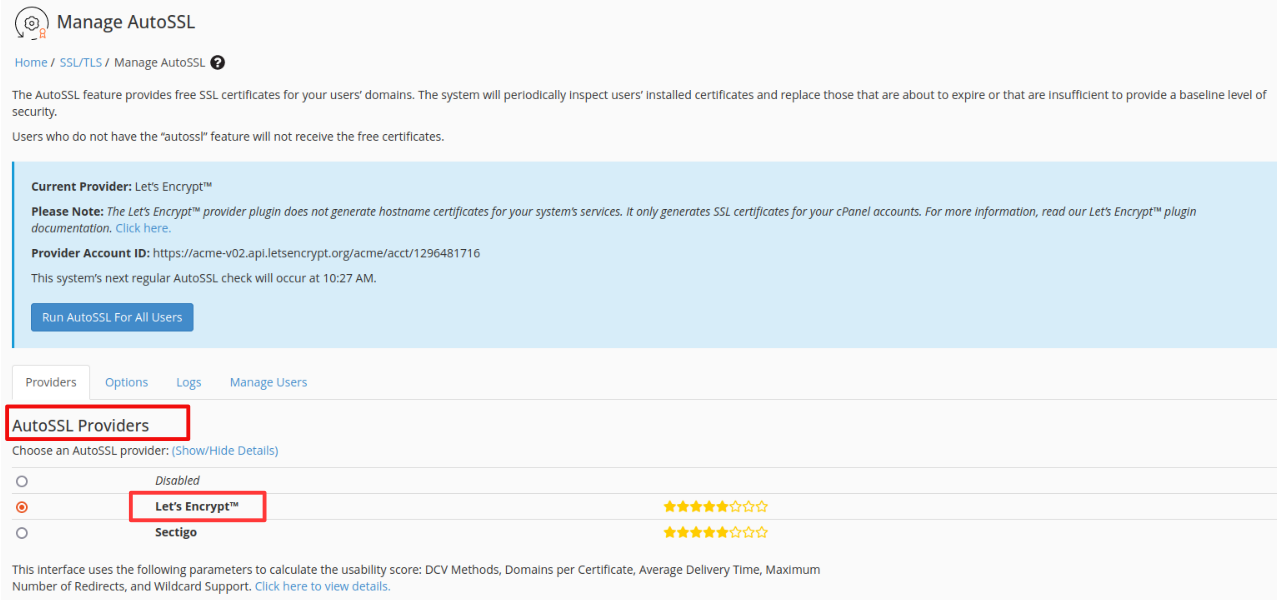
Step 3: Select Let’s Encrypt as the Provider
Under the AutoSSL Providers section, choose Let’s Encrypt from the list of providers. This action enables the use of Let’s Encrypt certificates for domains under your management.
Step 4: Log in to cPanel
Access cPanel for the specific domain(s) you wish to secure. cPanel allows domain-level control and offers a streamlined interface for configuring SSL.
Step 5: Enable AutoSSL for Domains
In cPanel, select the domains you want to secure by clicking on the checkboxes next to each domain name. Then, click the Run AutoSSL button to initiate the SSL installation process for the selected domains.
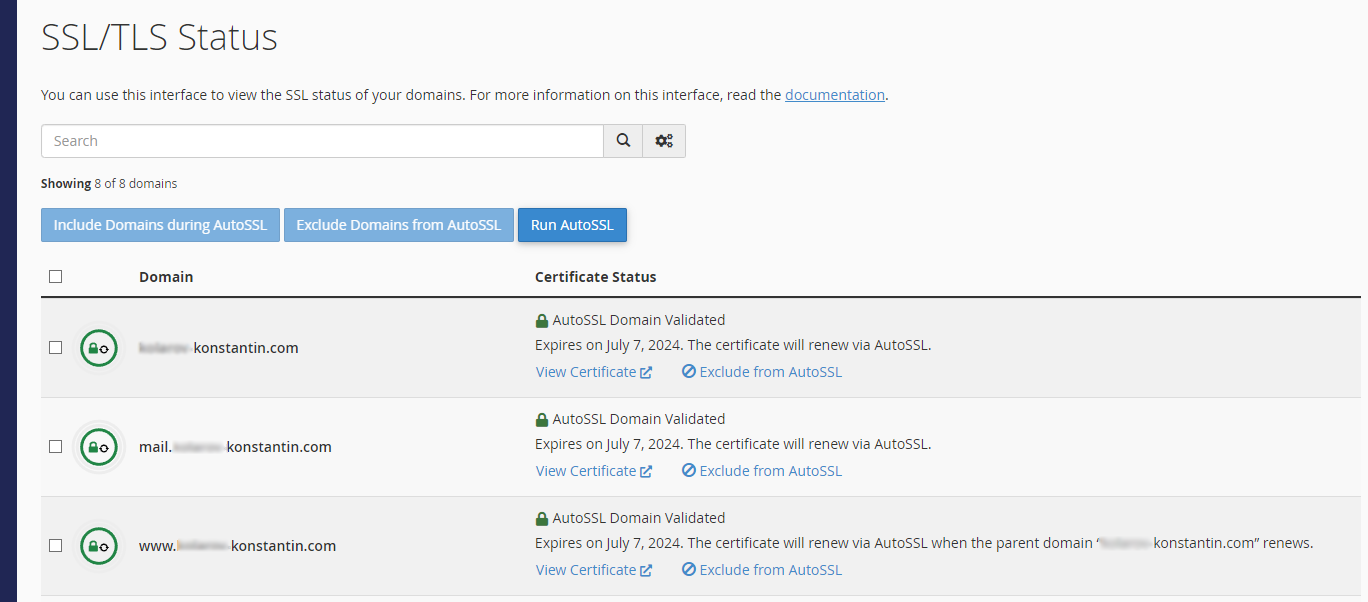
Step 6: Verify SSL Installation
To confirm that the SSL certificate has been applied, open a web browser and type https://yourdomain.com. If the website loads with the HTTPS protocol and a padlock icon, the SSL installation is successful.
Conclusion
By following this guide, you have successfully secured your website using Let’s Encrypt and AutoSSL in WHM/cPanel. This automatic configuration provides a hassle-free approach to ensuring that your website is protected by SSL encryption. Remember to periodically check that your SSL certificate is active and functioning correctly, as this is vital for maintaining site security and user trust.
Should you have any inquiries about the guidelines, please feel free to open a ticket through your portal account or contact us at support@ipserverone.com. We’ll be happy to assist you further.
Article posted on 29 March 2020 by Louis